iOS页面跳转
UINavigationController:
里面有个viewControllers属性,是个栈(NSArray,lastObject为顶)存储VC。栈顶就是当前展示的页面。
uiNavigationController类似flutter的Navigator,保存了页面栈,方法为pushviewController和popviewConroller。
普通的uiviewcontroller对应的有presentViewController和dismissViewController方法。
二者区别:
1.pushViewController 导航控制器入栈的方式切换页面
presentViewController 模态切换的方式切换页面【模态:https://www.jianshu.com/p/a6297a04bf01】
2.present只能逐级返回,push所有视图由视图栈控制,可以返回上一级,也可以返回到根vc,其他vc。
3.模态视图从屏幕下方滑出来,完成的时候需要关闭这个模态视图,如果不关闭,就不能做别的事情,必须有响应处理的含义。(相当类似于flutter的showbottomsheet弹窗!)
我理解的使用场景:
push/pop更多适用于不同业务页面的跳转(返回某制定页面/首页)
present/dismiss适用于弹窗,弹一下必须关掉(名字也看得出:呈现/开除,就是昙花一现)
注意点:present一个uiviewcontroller过去新页面后,self.navigationcontroller是nil。想在当前页面也能返回之前
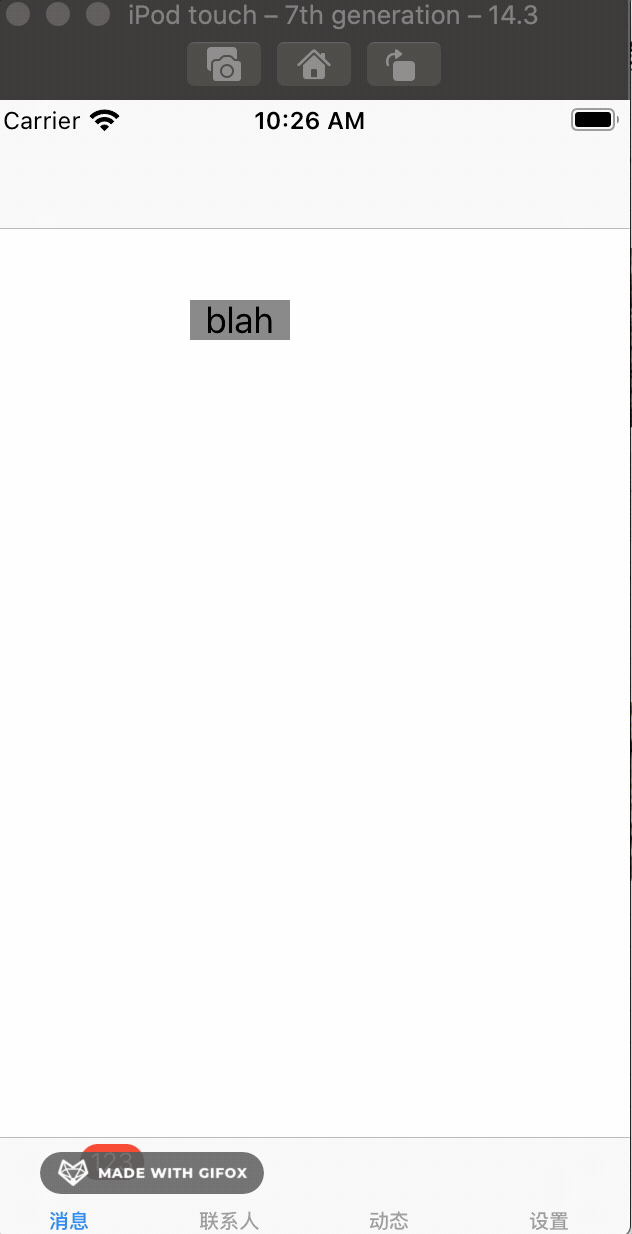
写了三个VC,初始的tabVC是VC1,灰色背景是VC2,黄色背景是VC3。
VC1进入VC2是present,VC2进入VC3是push。
注意点:从一个页面A present一个新页面B,B页面的self.navigationController是nil,即使你在B里新建navController,rootVC指向self(B),也无法从B页面push到任何新页面。
正确方式是:从页面A新建一个navController,rootVC指定为B;然后present:navController;这样可以正常present B页面,并且打断点可以发现此时B页面中的navigationController属性就是传进来的那个navController;从B页面可以直接push任何新页面;当然从B返回A页面还是要用dismiss,毕竟A到B是present方式,来去的方式要一致才行(push--pop,present--dismiss)。
代码:
//
//  AppDelegate.m
//  wzy_ios_demo
//
//  Created by Wzy on 2020/12/21.
//

#import "AppDelegate.h"
#import "ViewController.h"

@interface AppDelegate ()


@end

@implementation AppDelegate


- (BOOL)application:(UIApplication *)application didFinishLaunchingWithOptions:(NSDictionary *)launchOptions {


    //1.创建Window
    self.window = [[UIWindow alloc] initWithFrame:[[UIScreen mainScreen] bounds]];
    self.window.backgroundColor = [UIColor whiteColor];

    //a.初始化一个tabBar控制器
    UITabBarController *tb=[[UITabBarController alloc]init];
    //设置控制器为Window的根控制器
    self.window.rootViewController=tb;

    //b.创建子控制器
    ViewController *c1=[[ViewController alloc]init];

    UINavigationController *nc1 = [[UINavigationController alloc] initWithRootViewController:c1];
    nc1.view.backgroundColor=[UIColor grayColor];
    nc1.view.backgroundColor=[UIColor greenColor];
    nc1.tabBarItem.title=@"消息";
    nc1.tabBarItem.image=[UIImage imageNamed:@"tab_recent_nor"];
    nc1.tabBarItem.badgeValue=@"123";

    ViewController *c2=[[ViewController alloc]init];

    UINavigationController *nc2 = [[UINavigationController alloc] initWithRootViewController:c2];
    nc2.view.backgroundColor=[UIColor brownColor];
    nc2.tabBarItem.title=@"联系人";
    nc2.tabBarItem.image=[UIImage imageNamed:@"tab_buddy_nor"];

    ViewController *c3=[[ViewController alloc]init];

    UINavigationController *nc3 = [[UINavigationController alloc] initWithRootViewController:c3];
    nc3.tabBarItem.title=@"动态";
    nc3.tabBarItem.image=[UIImage imageNamed:@"tab_qworld_nor"];

    ViewController *c4=[[ViewController alloc]init];

    UINavigationController *nc4 = [[UINavigationController alloc] initWithRootViewController:c4];
    nc4.tabBarItem.title=@"设置";
    nc4.tabBarItem.image=[UIImage imageNamed:@"tab_me_nor"];


    //c.添加子控制器到ITabBarController中
    //c.1第一种方式
    //[tb addChildViewController:nc1];
    //[tb addChildViewController:nc2];

    //c.2第二种方式
    tb.viewControllers=@[nc1,nc2,nc3,nc4];


    //2.设置Window为主窗口并显示出来
    [self.window makeKeyAndVisible];


    return YES;
}

@end
//
//  ViewController.m
//  wzy_ios_demo
//
//  Created by Wzy on 2020/12/21.
//

#import "ViewController.h"
#import "MyView.h"
#import "ViewController2.h"


@interface ViewController ()


@end

@implementation ViewController

- (void)viewDidLoad {
    [super viewDidLoad];
    self.view.backgroundColor = [UIColor whiteColor];
    UIButton *button = [[UIButton alloc] initWithFrame:CGRectMake(100, 100, 50,20)];
    button.backgroundColor = [UIColor grayColor];
    [button setTitleColor:[UIColor blackColor] forState:UIControlStateNormal];
    [button addTarget:self action:@selector(func) forControlEvents:UIControlEventTouchUpInside];
    [button setTitle:@"blah" forState:UIControlStateNormal];
    self.navigationItem.hidesBackButton=NO;
    [self.view addSubview: button];
}

- (void)func{
    ViewController2 *vc2 = [[ViewController2 alloc] init];

//    [self.navigationController pushViewController:vc2 animated:YES];    //pushViewController调用

    //使用模态路由必须新建navigationcontroller,不然过去新的页面,新页面self.navigationcontroller是nil!

    UINavigationController *navCtrller = [[UINavigationController alloc] initWithRootViewController:vc2];

    [vc2 setModalPresentationStyle: 0];
    [self presentViewController:navCtrller animated:YES completion: ^(void) {
        NSLog(@"callback");
    }];

}

- (void)callback {
    NSLog(@"callback");
}

- (void)pop {
    [self.navigationController popViewControllerAnimated:YES];
}

@end
//
//  ViewController2.m
//  wzy_ios_demo
//
//  Created by Wzy on 2020/12/22.
//

#import "ViewController2.h"
#import "ViewController3.h"

@interface ViewController2 ()

@end

@implementation ViewController2

- (void)viewDidLoad {
    [super viewDidLoad];
    self.view.backgroundColor = [UIColor grayColor];

    UIButton *button = [[UIButton alloc] initWithFrame:CGRectMake(150, 150, 100,40)];
    button.backgroundColor = [UIColor whiteColor];
    [button setTitleColor:[UIColor blackColor] forState:UIControlStateNormal];
    [button addTarget:self action:@selector(onTap) forControlEvents:UIControlEventTouchUpInside];
    [button setTitle:@"点我返回" forState:UIControlStateNormal];

    UIButton *button2 = [[UIButton alloc] initWithFrame:CGRectMake(150, 250, 100,40)];
    button2.backgroundColor = [UIColor whiteColor];
    [button2 setTitleColor:[UIColor blackColor] forState:UIControlStateNormal];
    [button2 addTarget:self action:@selector(onTap2) forControlEvents:UIControlEventTouchUpInside];
    [button2 setTitle:@"点我进入" forState:UIControlStateNormal];

    self.navigationItem.hidesBackButton=NO;
    [self.view addSubview: button];
    [self.view addSubview: button2];

//    UIBarButtonItem * buttonItem = [[UIBarButtonItem alloc]initWithTitle:@"回去" style:UIBarButtonItemStyleDone target:self action:@selector(tapLeftButton:)];
//        [buttonItem setImage:[UIImage imageNamed:@"back"]];
//    self.navigationItem.leftBarButtonItem= buttonItem;
//    self.navigationItem.title = @"我最帅";
}

- (void)tapLeftButton:(UIButton *)sender
{
    [self.navigationController popViewControllerAnimated:YES];
}

- (void)onTap {
    [self dismissViewControllerAnimated:YES completion:nil];
}

- (void)onTap2 {
    [self.navigationController pushViewController:[[ViewController3 alloc] init] animated:YES];
}

@end
//
//  ViewController3.m
//  wzy_ios_demo
//
//  Created by Wzy on 2020/12/23.
//

#import "ViewController3.h"

@interface ViewController3 ()

@end

@implementation ViewController3

- (void)viewDidLoad {
    [super viewDidLoad];
    [self.view setBackgroundColor: [UIColor yellowColor]];
    // Do any additional setup after loading the view.
}

/*
#pragma mark - Navigation

// In a storyboard-based application, you will often want to do a little preparation before navigation
- (void)prepareForSegue:(UIStoryboardSegue *)segue sender:(id)sender {
    // Get the new view controller using [segue destinationViewController].
    // Pass the selected object to the new view controller.
}
*/

@end
进击的小🐴农

 浙公网安备 33010602011771号