实验4:开源控制器实践——OpenDaylight
一、实验目的
- 能够独立完成OpenDaylight控制器的安装配置;
- 能够使用Postman工具调用OpenDaylight API接口下发流表。
二、实验环境
Ubuntu 20.04 Desktop amd64
三、实验要求
(一)基本要求
-
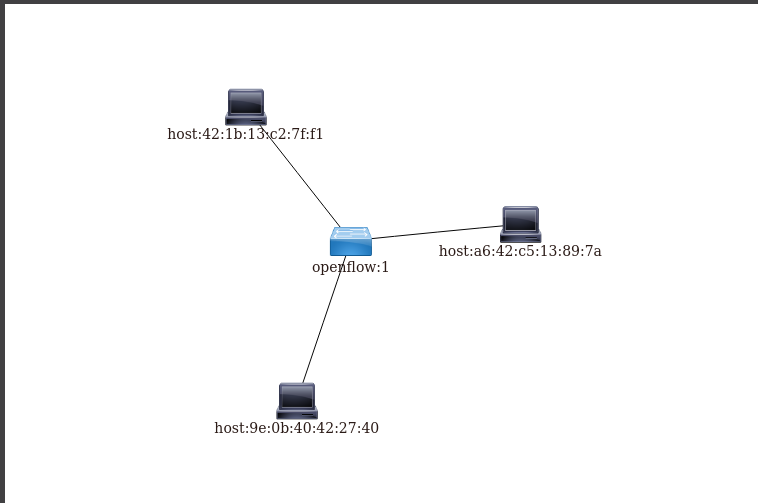
Mininet拓扑生成并连接控制器的结果
-
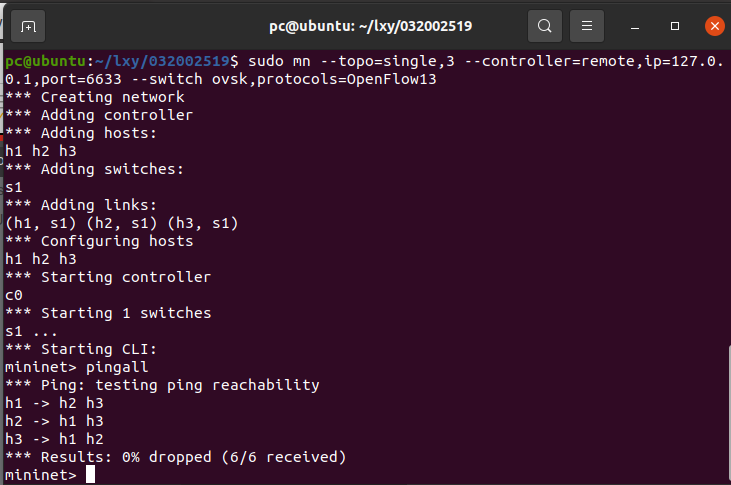
Mininet中ping测试
-
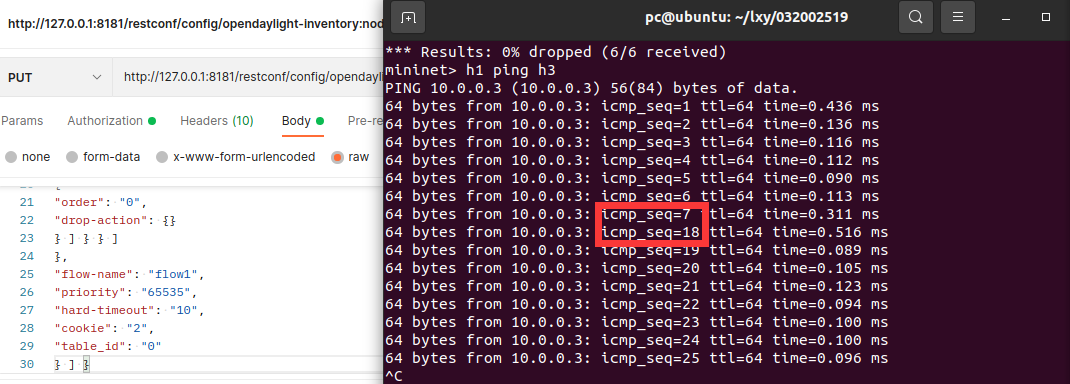
通过Postman工具调用OpenDaylight提供的API下发流表,实现拓扑内主机h1和h3网络中断10s
(二)进阶要求
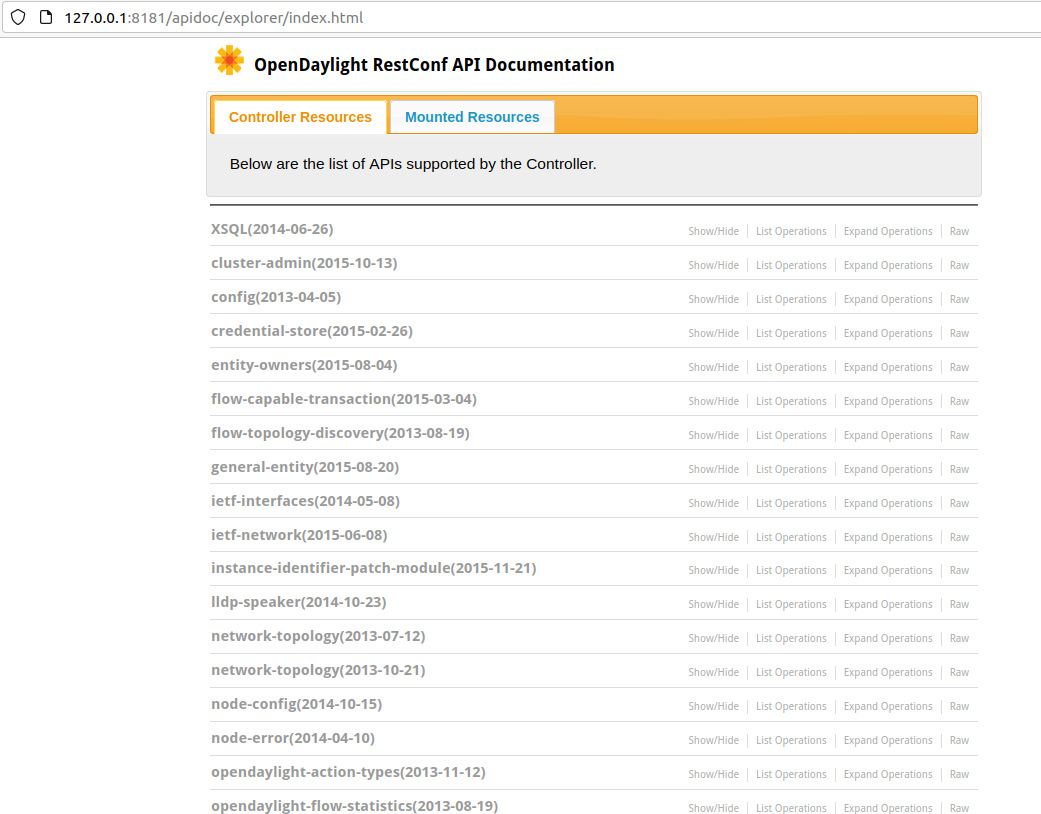
- REST API文档汇总
http://127.0.0.1:8181/apidoc/explorer/index.html
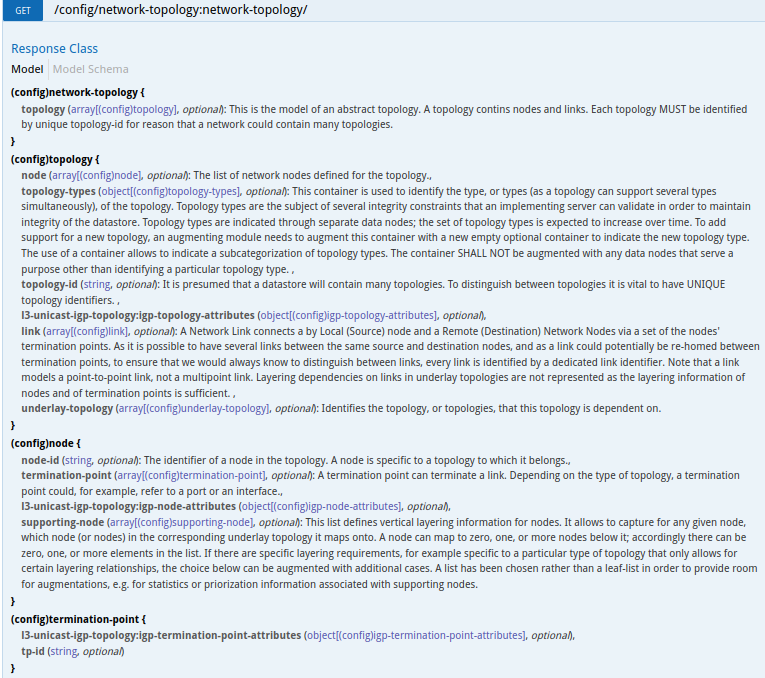
- 获取拓扑的交换机
http://127.0.0.1:8181/apidoc/explorer/index.html#!/network-topology(2013-07-12)/GET_network_topology_get_1
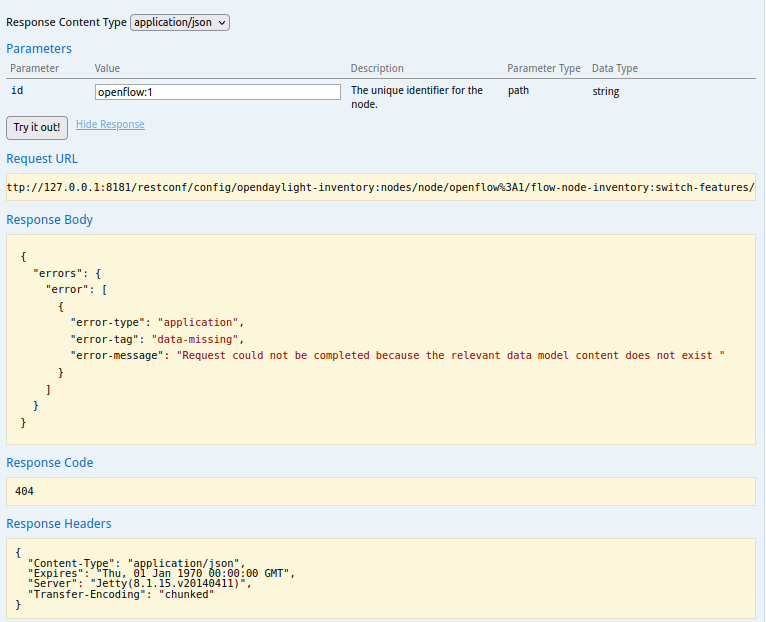
- 获取指定交换机信息
http://127.0.0.1:8181/apidoc/explorer/index.html#!/opendaylight-inventory(2013-08-19)/GET_meter_band_headers_get_80
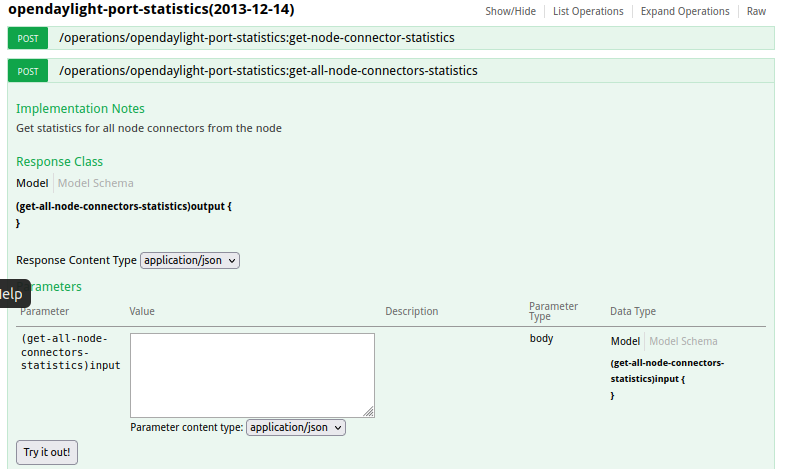
- 获取特定交换机端口的状态
http://127.0.0.1:8181/apidoc/explorer/index.html#!/opendaylight-port-statistics(2013-12-14)/get_all_node_connectors_statistics_post_1
- 新增修改和删除流表
http://127.0.0.1:8181/apidoc/explorer/index.html#!/opendaylight-inventory(2013-08-19)/GET_flow_get_198
http://127.0.0.1:8181/apidoc/explorer/index.html#!/opendaylight-inventory(2013-08-19)/PUT_flow_put_199
http://127.0.0.1:8181/apidoc/explorer/index.html#!/opendaylight-inventory(2013-08-19)/DELETE_flow_delete_200
http://127.0.0.1:8181/apidoc/explorer/index.html#!/opendaylight-inventory(2013-08-19)/POST_flow_post_201

四、个人总结
实验遇到的困难及解决方法
在整个实验过程当中,遇到的两个个问题如下:第一个是刚开始的时候以为自己已经将OpenDaylight安装配置好了,就直接去访问那个页面,但是页面出现404,后经检查发现,再配置完之后,问题解决。第二个时是在json填写的时候,不小心多复制了一行无用信息,在下发流表时就出现了问题,后面在群里发现有同学有同样的问题并解决了,后经订正解决问题。
个人感想
整个实验其实还是比较简单的,按照pdf做其实就能完成,但是要更加深入理解,就要另外再搜集资料与学习部分知识,且在实验当中要细心,这样才能做好实验并学习到东西。


 浙公网安备 33010602011771号