CentOS 7搭建KVM在线管理面板WebVirtMgr之使用SSH授权登录
环境:CentOS 7.4
1、创建SSH私钥和ssh配置选项(在安装了WebVirtMgr的系统上):
# 切换到nginx用户
su - nginx -s /bin/bash
# 生产ssh密钥
ssh-keygen
# 出现如下信息后一路回车
Enter file in which to save the key (path-to-id-rsa-in-nginx-home): ...
# 配置权限
touch ~/.ssh/config && echo -e "StrictHostKeyChecking=no\nUserKnownHostsFile=/dev/null" >> ~/.ssh/config
chmod 0600 ~/.ssh/config
2、添加webvirt用户(在qemu-kvm/libvirt主机服务器上)并将其添加到正确的组:
groupadd libvirtd
adduser webvirtmgr
passwd webvirtmgr
usermod -G libvirtd -a webvirtmgr
usermod -G libvirtd -a root
3、返回webvirtmgr主机并将公钥复制到qemu-kvm/libvirt主机服务器(在安装了WebVirtMgr的系统上):
su - nginx -s /bin/bash
sh-copy-id webvirtmgr@qemu-kvm-libvirt-host -P port
# 此处会出现密码输入
# 成功后使用此命令测试,如果能快速登录那么说明新建成功
ssh webvirtmgr@qemu-kvm-libvirt-host -P port
4、设置管理libvirt的权限(在qemu-kvm/libvirt主机服务器上):
vi /etc/polkit-1/localauthority/50-local.d/50-libvirt-remote-access.pkla
# (远程用户权限webvirtmgr)
[Remote libvirt SSH access]
Identity=unix-user:webvirtmgr
Action=org.libvirt.unix.manage
ResultAny=yes
ResultInactive=yes
ResultActive=yes
vi /etc/polkit-1/localauthority/50-local.d/50-org.libvirtd-group-access.pkla
# (本地用户组libvritd权限)
[libvirtd group Management Access]
Identity=unix-group:libvirtd
Action=org.libvirt.unix.manage
ResultAny=yes
ResultInactive=yes
ResultActive=yes
5、设置启动libvirtd服务的用户组
vi /etc/libvirt/libvirtd.conf
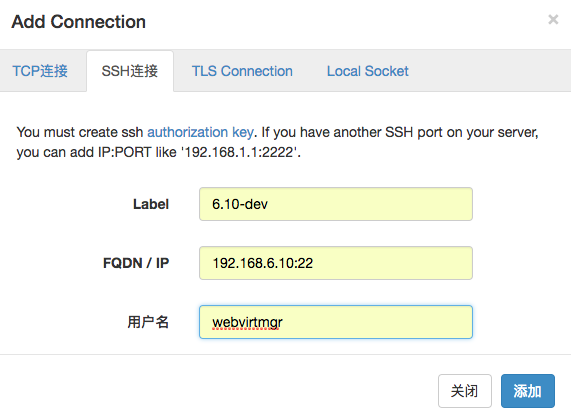
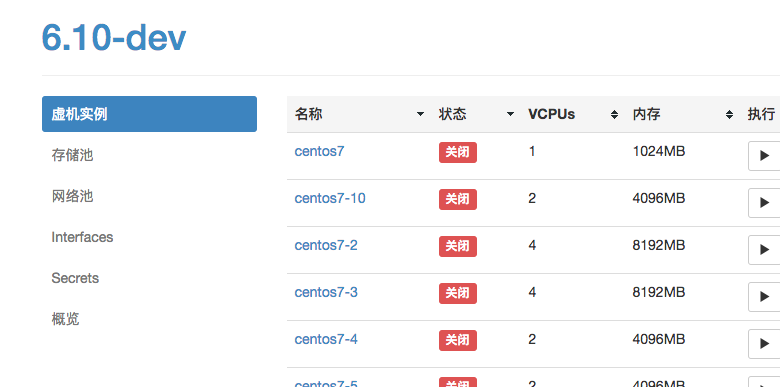
6、在WebVirtMgr增加SSH登录配置


参考:
https://github.com/retspen/webvirtmgr/wiki/Setup-SSH-Authorization


