UE | 自定义深度渲染实现物体描边
自定义深度渲染实现物体描边
Scene Texture
首先我们要先了解清楚关于深度渲染的几个属性的含义
-
Scene Texture(场景纹理)节点:通过这个节点,输入UV值,你可以获取到这个UV对应的像素点的各个属性,比如
Scene Color(场景颜色),Scene Depth(场景深度),Custom Depth(自定义深度),Opacity(不透明度)等等。
如果不输入UV,则默认为对所有像素点都做一样的处理。 -
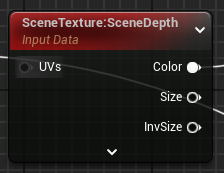
Scene Depth(场景深度):当前画面上的像素点和摄像机之间的距离,也就是从你看得到的地方开始算,比如镜头正对着一面墙,墙后有块石头,那么UV(0.5,0.5)获取到的场景深度就是墙中间的部分与摄像机之间的距离,跟石头无关了。
-
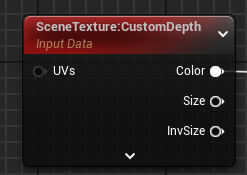
Custom Depth(自定义深度):想获得被遮挡的物体离相机的距离,就要开启物体上的自定义深度了。如果在UV对应的像素点方向上有物体开启了自定义深度,即使被遮挡也可以获取到它的场景深度。如果该位置没有物体开启自定义深度,那么访问到的值则是无穷大。
-
所以我们就可以根据自定义深度和场景深度的差来判断是否有东西被挡住,如果被挡住显示什么颜色等等了。
-
Post Process Input0:这个节点其实就是SceneColor,也就是场景本来的颜色。SceneColor只能用于
MaterialDomain为Surface(表面)的材质。

- ScreenPosition(屏幕位置):
ViewportUV输出的就是每个像素点在屏幕上的UV值,等于是每个像素点的UV都获取一次,然后进行处理。

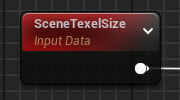
- SceneTexelSize(场景纹素大小):这是一个
float2的值,对应着UV,(u,v),uv均为正数。
-
Custom Depth Stencil Value(自定义深度蒙版值):这个值的作用就是用来处理更复杂的情况的,等于把开启了自定义深度的物体再分级,也是可以在
Scene Texture中获取到的。默认为0。要记得在编辑器里把
Custom Depth-Stencil Pass改为Enabled with Stencil,这样蒙版值才会生效。

- 可以在编辑器窗口打开
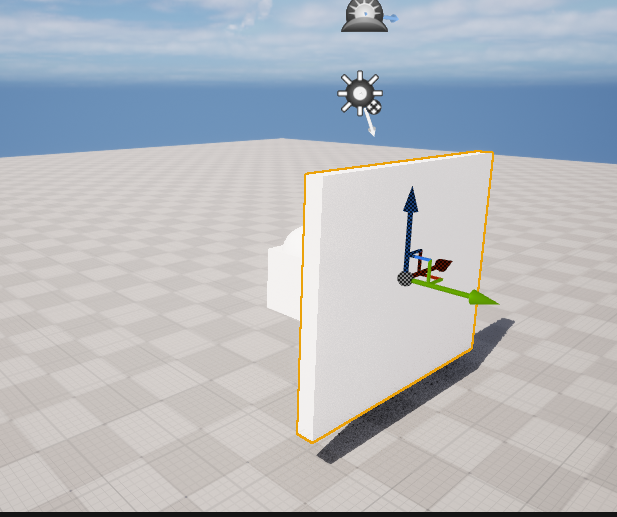
Buffer Visualization(可视化缓冲区)设置为Custom Stencil,可以看到蒙版值非0的物体。(还可以试试其他选项感受下)

后处理材质
M_DepthRenderTest 可通过 Width 和 EdgeColor 调整描边宽度和颜色
边缘像素
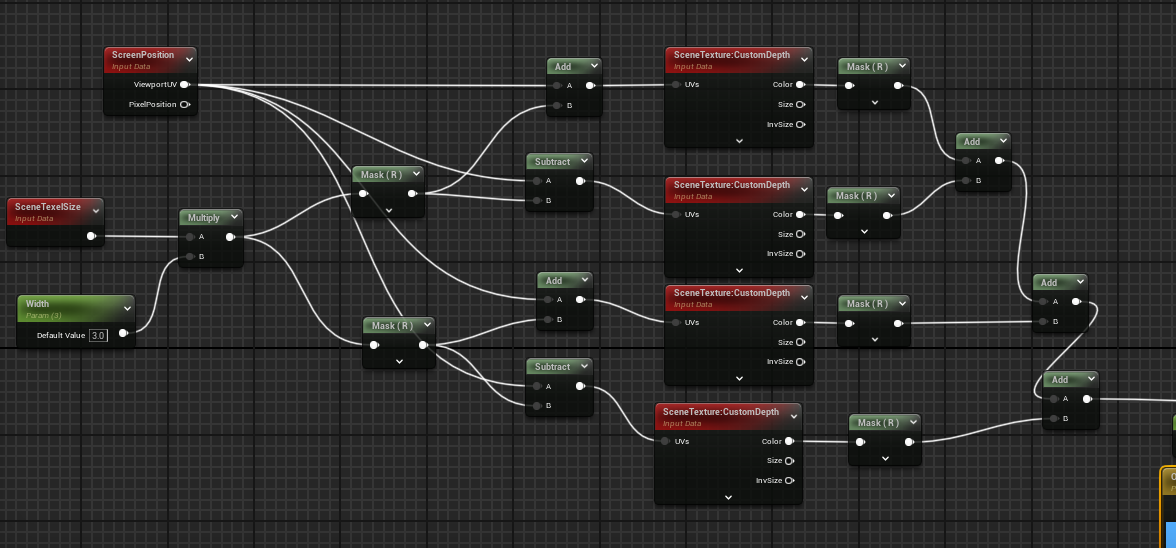
深度差值

Post Process Volume:这个是用来控制后期处理效果的模块,可以在左侧可放置的Volumes里找到。
在settings里可以设置范围,如果勾选了Unbound,则是覆盖整个世界空间。
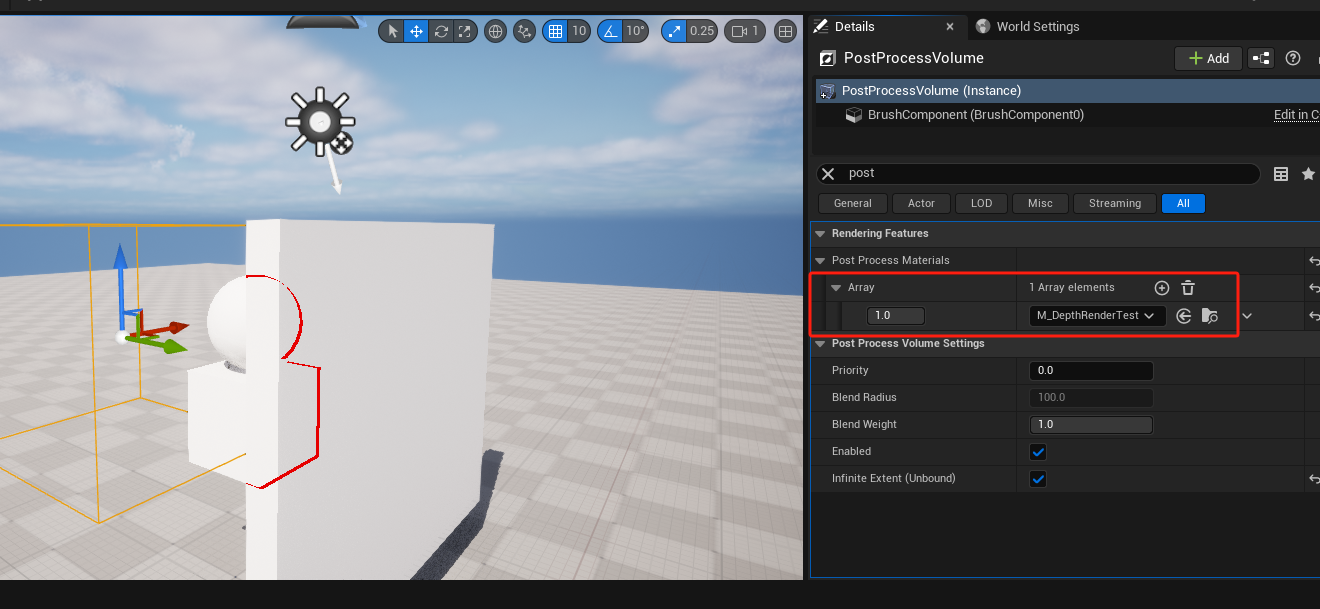
代码实现
通过双击产生的射线检测到的物体作为actor参数传进来
开启自定义深度渲染 SetRenderCustomDepth(bool);
设置自定义深度模板 SetCustomDepthStencilValue(int32);
void UEditManager::HighLightActor(AActor* actor, bool bHighLight, int32 stencil, bool bForceClose)
{
	if (actor == nullptr) {
		return;
	}
	if (!bHighLight && Is2D() && !bForceClose) {
		bHighLight = true;
		stencil = 1;
	}
	const TSet<UActorComponent*>& components = actor->GetComponents();
	for (auto& component : components)
	{
		UMeshComponent* staticMeshComp = Cast<UMeshComponent>(component);
		if (staticMeshComp && staticMeshComp->IsVisible())
		{
			staticMeshComp->SetRenderCustomDepth(bHighLight);
			if (stencil == 255) {
				staticMeshComp->SetCustomDepthStencilValue(255);
			}
			else {
				//CustomDepth++;
				//CustomDepth = CustomDepth % 253;
				//CustomDepth += 1;
				CustomDepth = 1;
				staticMeshComp->SetCustomDepthStencilValue(stencil);
			}
		}
	}
}


【推荐】国内首个AI IDE,深度理解中文开发场景,立即下载体验Trae
【推荐】编程新体验,更懂你的AI,立即体验豆包MarsCode编程助手
【推荐】抖音旗下AI助手豆包,你的智能百科全书,全免费不限次数
【推荐】轻量又高性能的 SSH 工具 IShell:AI 加持,快人一步
· 震惊!C++程序真的从main开始吗?99%的程序员都答错了
· 单元测试从入门到精通
· 【硬核科普】Trae如何「偷看」你的代码?零基础破解AI编程运行原理
· 上周热点回顾(3.3-3.9)
· winform 绘制太阳,地球,月球 运作规律