HuGo博客的搭建以及上传到GitHub
按照步骤来#
我用的是windows操作系统
1.下载Githttps://git-scm.com/#
2.下载GuGohttps://github.com/gohugoio/hugo/releases 往下拖,选择对应的系统下载#
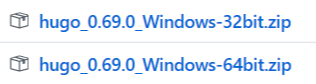
3.配置HuGo的环境变量百度一波#

4.输入cmd命令查看是否安装成功#
hugo version

5.建文件夹cmd命令 e: 跳转到E盘下 执行:#
hugo new site MyBlog

6.下载一个喜欢的主题https://themes.gohugo.io/#
我喜欢 m10c 地址(https://themes.gohugo.io/hugo-theme-m10c/)
网页下方位置有一个git clone命令 复制粘贴 下载到指定的文件夹目录下(文件夹下有一个theme)

7.本地启动博客cmd 命令 跳转到你第五步新建的文件夹目录 执行:#
hugo server -t m10c --buildDrafts(这一步很重要 之后会经常用到)
cmd下方会有个 http://localhost:1313/ 这就是你的本地地址,粘贴到网页打开

8.创建一篇文章还是在你第五步文件夹目录下 执行cmd命令:#
hugo new post/test1.md此文件在content文件夹下创建的
用vscode 写点东西 用vscode打开程序
第五步文件夹目录下 执行:
hugo server -t m10c --buildDrafts
找到本地地址运行看看效果 http://localhost:1313/

9.注册一个github账号创建一个仓库 hpf189/hpf189.github.io 仓库名字的格式要跟你账号名字一样,具体规则上网查#
10.把博客部署到 github上去(部署到远端服务器)第五步的文件夹目录下 执行cnd命令:#
hugo --theme=m10c --baseUrl="https://hpf189.github.io/" --buildDrafts
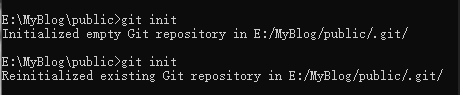
执行完后会在文件夹下出现一个public文件 将public 文件夹 把这个上传到github上去 在public下执行以下三个操作:
git init (第一次出现empty 再输入一次 出现existing) 初始化仓库 会出现一个 .git的隐藏文件
git add .
git commit -m "我的第1次提交"

11.将本地的 public 和 github仓库里的关联在public下执行以下两个操作:#
git remote add origin https://github.com/hpf189/hpf189.github.io.git
git push -u origin master
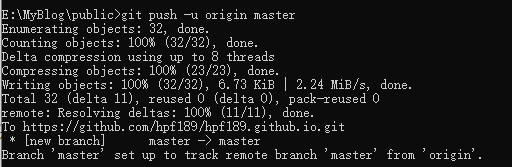
若是第一次提交,会弹出对话框让你输入username 和 password 记住是输入你的名称 不是你的账号名
比如我的账号是 9759***19@qq.com 我的名称是 hpf189
作者:DotNeter-Hpf
出处:https://www.cnblogs.com/DotNeter-Hpf/p/16619816.html
版权:本作品采用「署名-非商业性使用-相同方式共享 4.0 国际」许可协议进行许可。
客官,点个推荐再走可好


【推荐】国内首个AI IDE,深度理解中文开发场景,立即下载体验Trae
【推荐】编程新体验,更懂你的AI,立即体验豆包MarsCode编程助手
【推荐】抖音旗下AI助手豆包,你的智能百科全书,全免费不限次数
【推荐】轻量又高性能的 SSH 工具 IShell:AI 加持,快人一步
· 震惊!C++程序真的从main开始吗?99%的程序员都答错了
· 【硬核科普】Trae如何「偷看」你的代码?零基础破解AI编程运行原理
· 单元测试从入门到精通
· 上周热点回顾(3.3-3.9)
· winform 绘制太阳,地球,月球 运作规律