

Apisix单元测试
可参考官网的教程:
https://apisix.apache.org/blog/2022/06/27/getting-start-with-apisix-test-cases/
准备条件:
测试
在apisix中有个 t 文件夹,内部都是放的测试文件,借助于test::Apisix.使用perl语言进行测试,还是比较麻烦。
但是apisix又需要nginx,因此,需要安装test::nginx
cpan Test::Nginx
APISIX.pm
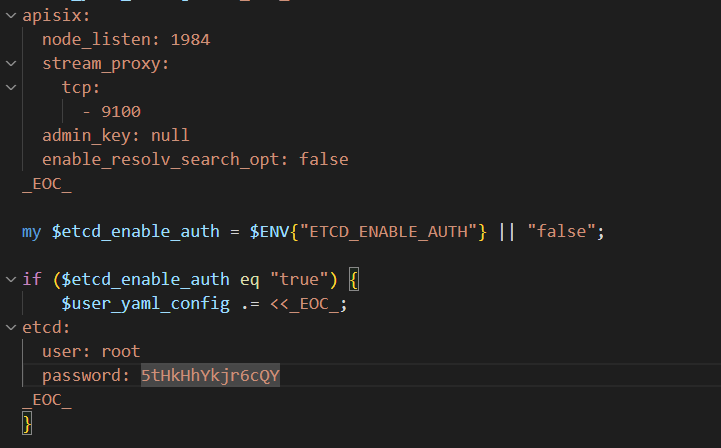
apisix的测试和apisix的加载过程本身不是一条路线。APISIX.pm 内部定义了自己用的etcd的地址,而非我们config.yaml中定义的地址。
etcd
测试时,确认当前local环境下存在etcd地址,不然路由无法启动。
lua_shared
lua_shared也没有使用config-default.yml中配置内容。而是使用apisix.pm中写的,因此,共享变量要在此处提前定义好。
配置
config:
apisix在执行测试时,会将当前文件夹/config/config-default.yaml文件copy到/t/servroot/下。因此,插件及其插件配置信息要执行测试,需要配置到config-default.yaml中。
日志:
日志会输出到/t/servroot/log 下,每次执行都会销毁重建。
执行:
PATH=/usr/local/openresty/nginx/sbin:/usr/bin PERL5LIB=.:$PERL5LIB FLUSH_ETCD=1 prove -Itest-nginx/lib t/plugin/my-test.t
测试编写:
文件头统一
use t::APISIX 'no_plan';

repeat_each(1);
no_long_string();
no_root_location();
no_shuffle();

# 定义log配置
add_block_preprocessor(sub {
    my ($block) = @_;

    if ((!defined $block->error_log) && (!defined $block->no_error_log)) {
        $block->set_value("no_error_log", "[error]");
    }

    if (!defined $block->request) {
        $block->set_value("request", "GET /t");
    }
});


run_tests;

__DATA__
测试示例:helloworld
=== TEST 1: helloworld
--- config
    location /t {
        content_by_lua_block {
            ngx.say("hello, world")
        }
    }
--- request
GET /t
--- response_body
hello, world
--- error_code: 200
--- no_error_log
[error]
校验Schema
执行check时,会自动触发模块的init()方法。
Schema的写法参照:
https://json-schema.apifox.cn/
=== TEST 2: configtest1
--- config
    location /t {
        content_by_lua_block {
            local my_schemas = {
			 {},
			 {my_list={}},
            }
            local plugin = require("apisix.plugins.my_test")
            for _, case in ipairs(my_schemas) do
                local ok, err =  plugin.check_conf(case)
                ngx.say(ok and "done" or err)
            end
        }
    }
--- response_body
property "my_list" is required
property "my_list" validation failed: expect array to have at least 1 items
done
--- no_error_log
[error]
路由添加插件
=== TEST 4: write my-test plugin
--- config
    location /t {
        content_by_lua_block {
            local t = require("lib.test_admin").test
            local code, body = t('/apisix/admin/routes/123',
                 ngx.HTTP_PUT,
                 [[{
                        "plugins": {
                            "my-test": {
                              "my_list":           ["172.20.55.55:8000"]
                        },
                        "upstream": {
                            "nodes": {
                                "127.0.0.1:5000": 1
                            },
                            "type": "roundrobin"
                        },
                        "uri": "/*"
                }]]
                )
            if code >= 300 then
                ngx.status = code
            end
            ngx.say(body)
        }
    }
--- request
GET /t
--- response_body
passed
--- error_log
[error]
路由请求访问
Test3中的配置可以直接在Test4中使用,无需重新建立测试路由
=== TEST 5: hit route (with correct request)
--- request
GET /hello?test=AAAA&user=none
--- more_headers
test-header: only-for-test
--- response_body
hello world AAAA!

=== TEST 6: hit route2 (with correct request)
--- request
GET /hello?test=BBB
--- more_headers
test-header: only-for-test
--- response_body
hello world BBB!


【推荐】国内首个AI IDE,深度理解中文开发场景,立即下载体验Trae
【推荐】编程新体验,更懂你的AI,立即体验豆包MarsCode编程助手
【推荐】抖音旗下AI助手豆包,你的智能百科全书,全免费不限次数
【推荐】轻量又高性能的 SSH 工具 IShell:AI 加持,快人一步
· 无需6万激活码!GitHub神秘组织3小时极速复刻Manus,手把手教你使用OpenManus搭建本
· C#/.NET/.NET Core优秀项目和框架2025年2月简报
· Manus爆火,是硬核还是营销?
· 终于写完轮子一部分:tcp代理 了,记录一下
· 【杭电多校比赛记录】2025“钉耙编程”中国大学生算法设计春季联赛(1)