
读取nessus扫描器csv文件获取url
nessus扫描器
这里我是为了简化工作量,nessus批量扫描全端口,一个一个访问 ip + 端口太慢了,所以写了一个脚本来获取存在的 url
使用条件:nessus扫描结果导出,只保存host和port的内容,如果全部保存,修改代码即可。

python源代码
#!/usr/bin/env python
#-*- coding:utf-8 -*-
import requests
import random
import csv
def get_random_ip():
ip = ".".join(str(random.randint(0,255)) for _ in range(4))
return ip
headers = {
'User-Agent': 'Mozilla/5.0 (Windows NT 10.0; Win64; x64) AppleWebKit/537.36 (KHTML, like Gecko) Chrome/111.0.0.0 Safari/537.36',
'X-Forwarded-For': get_random_ip()
}
with open('D:\\your_scanner_file.csv', 'r') as file:
reader = csv.reader(file)
next(reader)
for row in reader:
host = row[0]
port = row[1]
if int(port) <= 60:
continue
url = "http://" + host + ':' + port
try:
response = requests.get(url, headers=headers, timeout=5)
status_code = response.status_code
print("[+]" + "URL: {}, Status Code: {}".format(url, status_code))
with open('url.txt','w',encoding="utf-8") as f:
f.write("[+]" + "URL: {}, Status Code: {}".format(url, status_code)+"\n")
except requests.exceptions.RequestException as e:
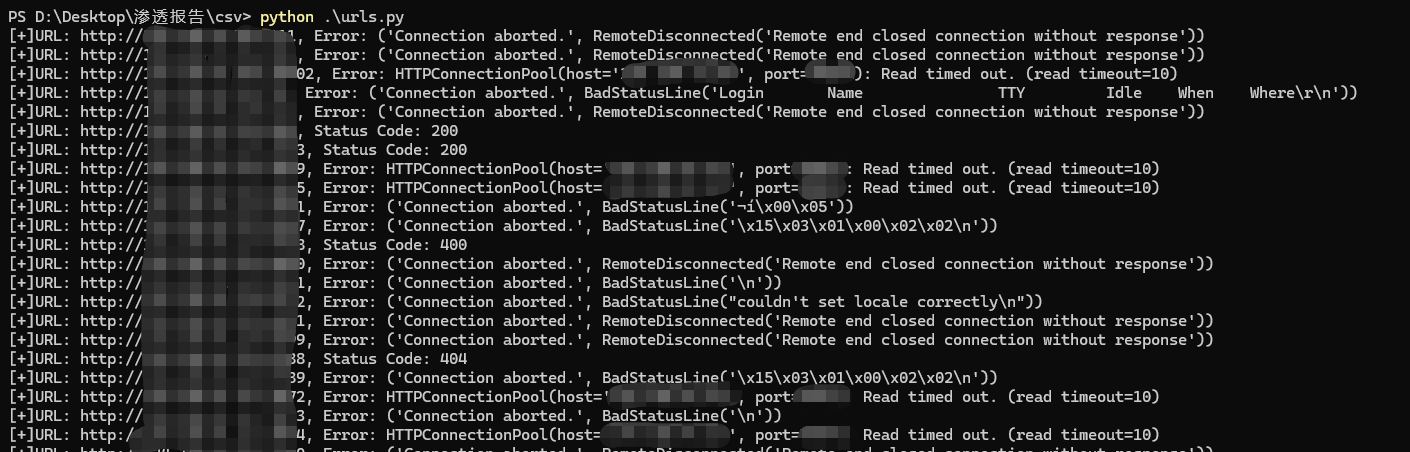
print("[+]" + "URL: {}, Error: {}".format(url, str(e)))
使用效果
如果有什么想法可以多多提意见。。。
注意:此脚本只能检测http协议,如果想根据IP和端口来准确识别HTTP/HTTPS协议,可以前往如下地址下载工具进行检测
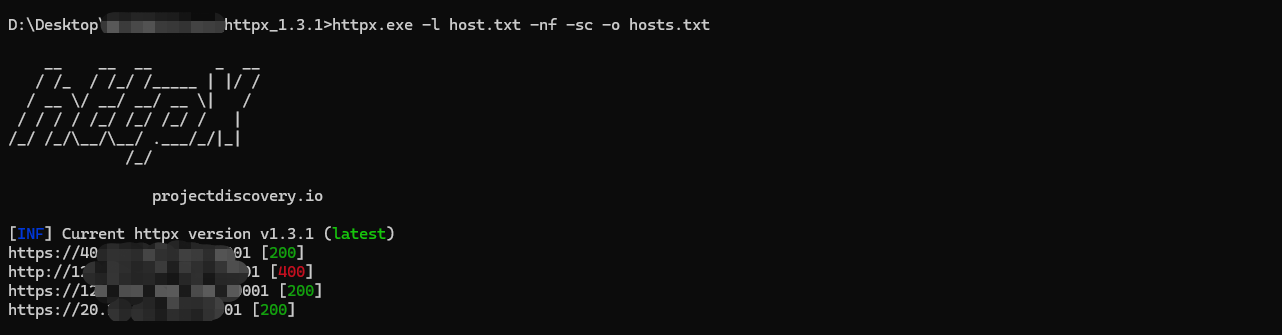
httpx工具介绍
-l  # 要检测的文件
-nf # 检测是HTTP还是HTTPS
-sc # 显示状态码
-o  # 输出

httpx.exe -l host.txt -nf -sc -o hosts.txt
因为这里只能读取txt文件,扫描器导出来的都是csv文件,所以我写了一个简单的脚本来读取csv来生成txt文件
import csv
import sys

if len(sys.argv) == 2:
    csv_file = sys.argv[1]
else:
    print("\033[91m[+]Usage: python %s <csv_filename>\033[0m" % sys.argv[0])
    sys.exit()

with open(csv_file, 'r') as csvfile:
    reader = csv.reader(csvfile)
    with open('output.txt', 'w') as txtfile:
        next(reader)  # 跳过第一行标题
        for row in reader:
            host = row[0]  # ip地址列
            port = row[1]  # 端口列
            txtfile.write(f'{host}:{port}\n')
            print(f'{host}:{port}')
根据自己导出的csv文件修改python代码读取的ip地址列和端口列

这里在实际工作中用了几次,但是总有点瑕疵,然后现在基本是完美了
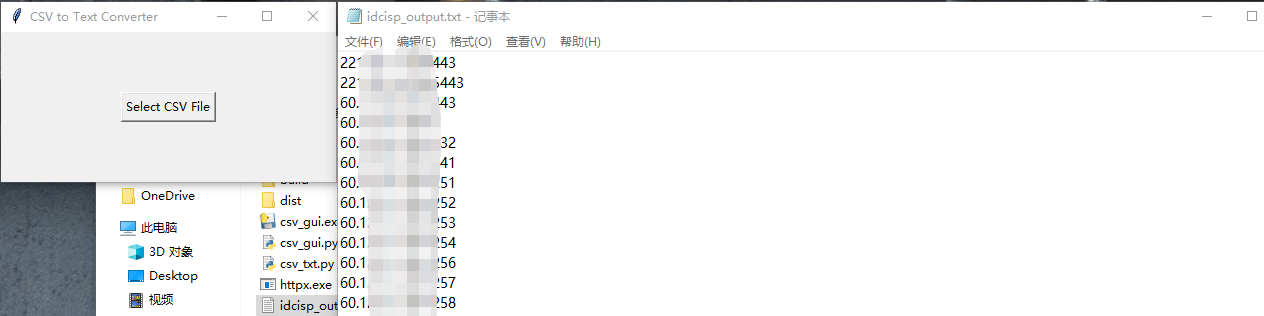
新增去重功能、新增图形化、有需要的也可以使用exe文件
import csv
import sys
import os
import tkinter as tk
from tkinter import filedialog, messagebox

def process_csv():
    csv_file = filedialog.askopenfilename(title="Select CSV File", filetypes=[("CSV Files", "*.csv")])
    if csv_file:
        try:
            unique_entries = set()  # Set to store unique combinations of IP addresses and ports

            with open(csv_file, 'r') as csvfile:
                reader = csv.reader(csvfile)
                file_name = os.path.splitext(os.path.basename(csv_file))[0]
                output_file = f'{file_name}_output.txt'

                with open(output_file, 'w') as txtfile:
                    next(reader)  # Skip the first row (headers)
                    for row in reader:
                        host = row[0]  # IP address column
                        port = row[1]  # Port column

                        if port != '0':
                            entry = f'{host}:{port}'
                            if entry not in unique_entries:
                                unique_entries.add(entry)
                                txtfile.write(f'{host}:{port}\n')
                                print(f'{host}:{port}')

            messagebox.showinfo("CSV Processing", "CSV file processed successfully.")
        except Exception as e:
            messagebox.showerror("CSV Processing Error", str(e))
    else:
        messagebox.showwarning("CSV Processing", "No CSV file selected.")

if __name__ == "__main__":
    root = tk.Tk()
    root.title("CSV to Text Converter")

    button = tk.Button(root, text="Select CSV File", command=process_csv)
    button.pack(padx=120, pady=60)

    root.mainloop()
本文作者:Cx330Lm
版权声明:本作品采用知识共享署名-非商业性使用-禁止演绎 2.5 中国大陆许可协议进行许可。
安全声明:⽂中所涉及的技术、思路和⼯具仅供以安全为⽬的的学习交流使⽤,任何⼈不得将其⽤于⾮法⽤途以及盈利等⽬的,否则后果⾃⾏承担。所有渗透都需获取授权!
