
opencv部分基本操作:读图片,视频,画矩形,圆形,直线,写字
基本读取
读图像
import cv2 as cv
# 读一个图像,返回它的矩阵. img = cv.imread(filename="文件路径")
img = cv.imread(filename="./cat.jpg")
# 显示图像矩阵.cv.imshow(winname="窗口名", mat="图像矩阵")
cv.imshow(winname="test", mat=img)
cv.waitKey(0)
效果
读视频1,从摄像头获取视频
注:按d键退出
def readvideo():
    # 0代表调用本地摄像头
    capture = cv.VideoCapture(0)
    while True:
        isTrue, frame = capture.read()
        cv.imshow(winname="camera from pc", mat=frame)
        if cv.waitKey(20) & 0xFF==ord('d'):
            break
    capture.release()
    cv.destroyAllWindows()
readvideo()
效果
读视频2,从本地文件的视频获取
注:按d键退出
def readvideo2():
    # 指定路径即可
    capture = cv.VideoCapture('./video.mp4')
    while True:
        isTrue, frame = capture.read()
        cv.imshow(winname="video from pc", mat=frame)
        if cv.waitKey(20) & 0xFF==ord('d'):
            break
    capture.release()
    cv.destroyAllWindows()
readvideo2()
效果
读视频2,从本地文件视频获取。且缩小视频的尺寸
注:这个rescalevideo,适用于图片,视频,摄像头
import cv2 as cv
def rescalevideo(frame, size=0.5):
width = frame.shape[1] * size
width = int(width)
heigh = frame.shape[0] * size
heigh = int(heigh)
dimensions = (width, heigh)
return cv.resize(src=frame, dsize=dimensions,
interpolation=cv.INTER_AREA
)
def readvideo2():
# 指定路径即可
capture = cv.VideoCapture('./video.mp4')
while True:
isTrue, frame = capture.read()
newframe = rescalevideo(frame)
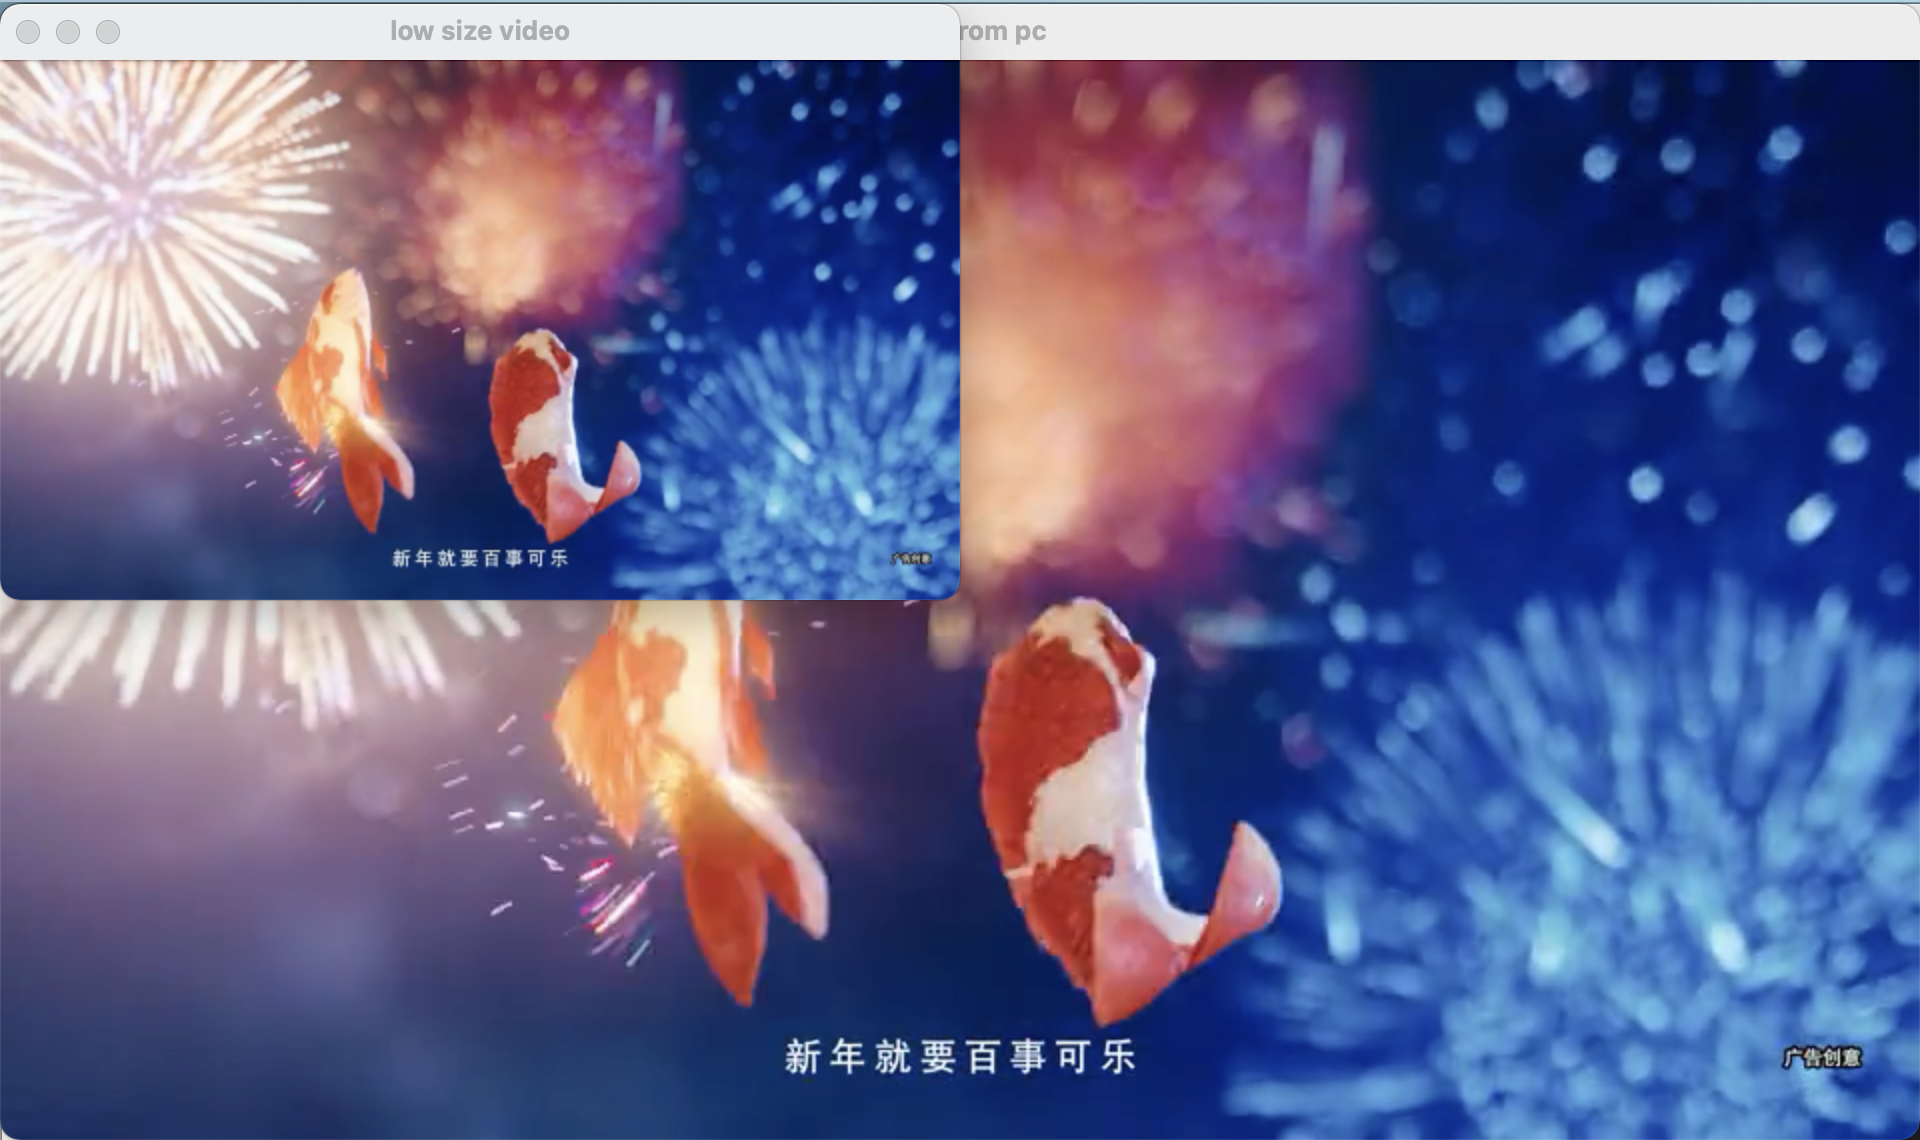
cv.imshow(winname="video from pc", mat=frame)
cv.imshow(winname="low size video", mat=newframe)
if cv.waitKey(20) & 0xFF==ord('d'):
break
capture.release()
cv.destroyAllWindows()
readvideo2()
效果
画线等操作
画一个纯黑的图像
import cv2 as cv
import numpy as np
创建一个黑色的图像
blank = np.zeros(shape=(200, 200), dtype="uint8")
cv.imshow("blank", blank)
cv.waitKey(0)
效果
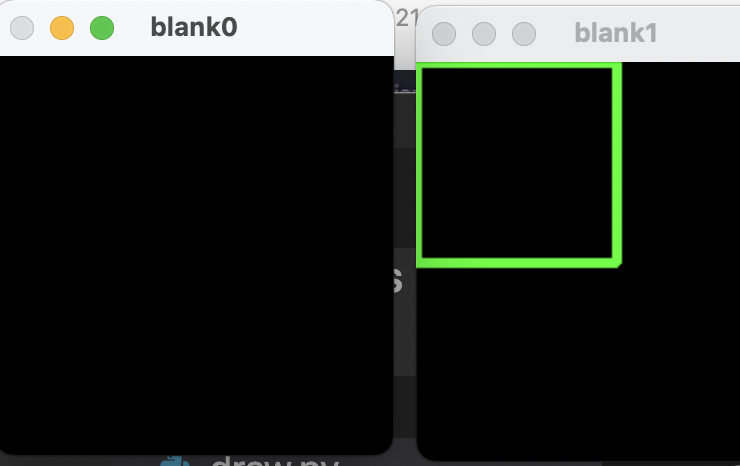
在黑色图像上画一个矩形
import cv2 as cv
import numpy as np
# 创建一个黑色的图像
# 这里要增加3,表示rgb三层通道
blank = np.zeros(shape=(200, 200, 3), dtype="uint8")

cv.imshow("blank0", blank)
cv.rectangle(blank, pt1=(0,0),pt2=(100,100), color=(0,255,0), thickness=3)
cv.imshow("blank1", blank)
cv.waitKey(0)
效果
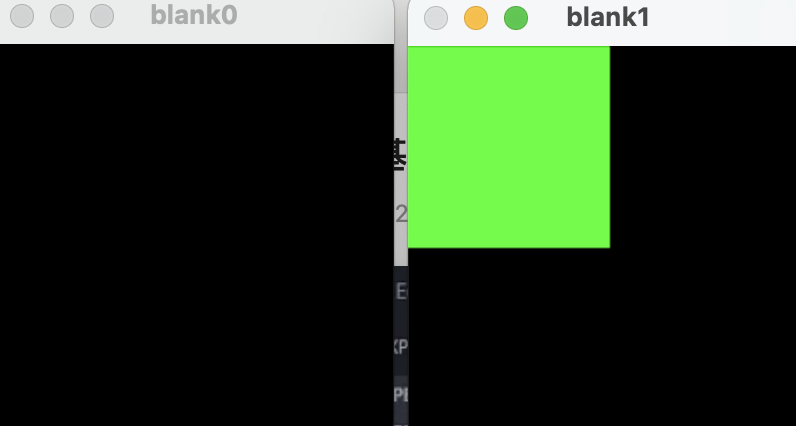
填充矩形
注:和上述操作类似,给thickness设置为cv.FILLED或者-1
import cv2 as cv
import numpy as np
# 创建一个黑色的图像
# 这里要增加3,表示rgb三层通道
blank = np.zeros(shape=(200, 200, 3), dtype="uint8")

cv.imshow("blank0", blank)
cv.rectangle(blank, pt1=(0,0),pt2=(100,100), color=(0,255,0), thickness=cv.FILLED)
cv.imshow("blank1", blank)
cv.waitKey(0)
效果
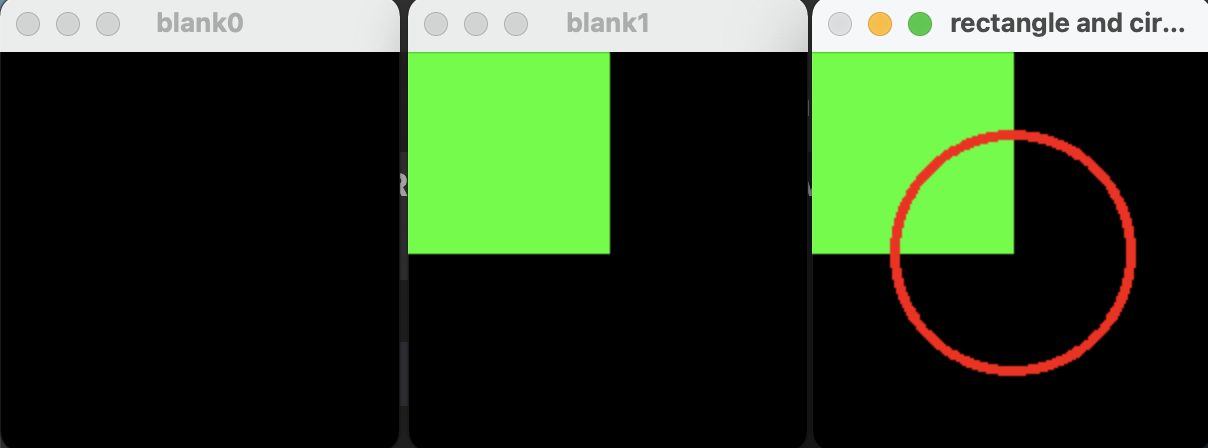
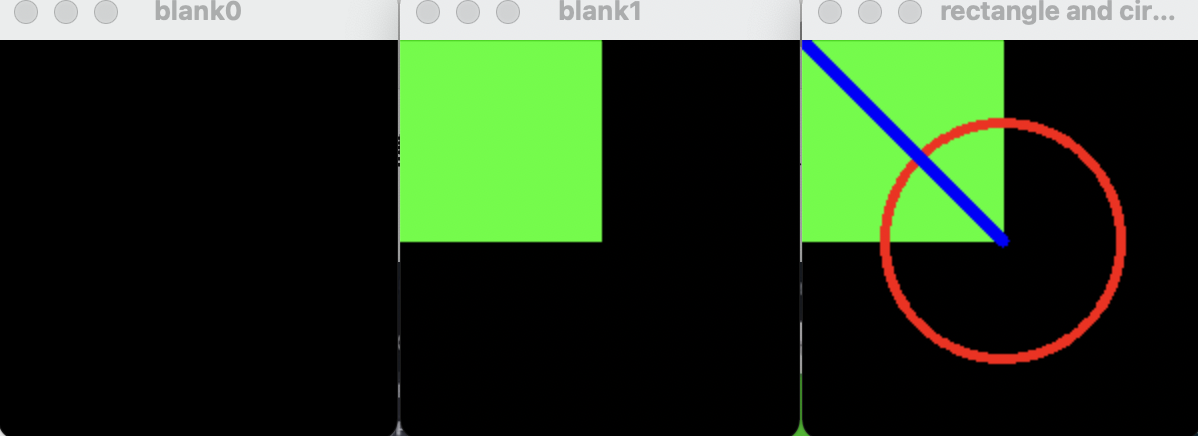
画矩形加圆形
注:和上述操作类似,如果想要填充圆形,给thickness设置为cv.FILLED或者-1
import cv2 as cv
import numpy as np
# 创建一个黑色的图像
# 这里要增加3,表示rgb三层通道
blank = np.zeros(shape=(200, 200, 3), dtype="uint8")
cv.imshow("blank0", blank)
cv.rectangle(blank, pt1=(0,0),pt2=(100,100), color=(0,255,0), thickness=cv.FILLED)
cv.imshow("blank1", blank)
# 增加圆圈的显示
cv.circle(blank, center=(100,100), radius=59, color=(0,0,255), thickness=3)
cv.imshow("rectangle and circle", blank)
cv.waitKey(0)
结果
注:部分重复在上方,这里只展示关键代码
画线
# 增加直线
cv.line(blank, pt1=(0,0), pt2=(100,100), color=(255,0,0), thickness=5)
cv.imshow("line", blank)
效果
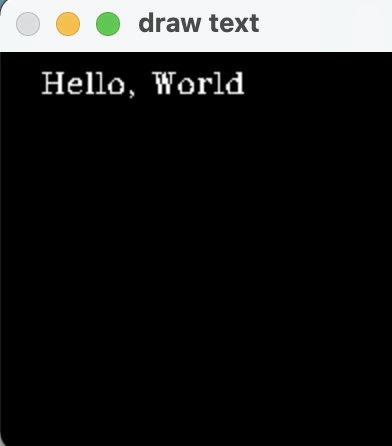
显示文字
注:部分重复在上方,这里只展示关键代码
cv.putText(blank, text="Hello, World", org=(20,20), fontFace=cv.FONT_HERSHEY_COMPLEX, fontScale=0.5, color=(255,255,255))
效果

 浙公网安备 33010602011771号