

在Debian11搭建LAMP环境
Apache2
apt-get install apache2 apache2-utils -y
运行以上命令安装Apache2, 并输入以下命令验证是否安装成功
apache2 -v
若安装成功, 应该能看到类似以下信息
Server version: Apache/2.4.48 (Debian) Server built: 2021-08-12T11:51:47
版本号和时间与最新版本有关.
验证完毕后开启Apache2服务
systemctl start apache2
也可以运行以下命令让Apache2随开机启动
systemctl enable apache2
Apache2运行在80端口, 可以通过以下命令查看Apache2是否工作在80端口
ss -antpl | grep apache2
应当能看到类似以下信息
LISTEN 0 511 *:80 *:* users:(("apache2",pid=44022,fd=4),("apache2",pid=44021,fd=4),("apache2",pid=44020,fd=4),("apache2",pid=44019,fd=4),("apache2",pid=44018,fd=4),("apache2",pid=44017,fd=4))
也可以直接访问服务器IP, 如果一切正常应当能看到以下页面

MariaDB
apt-get install mariadb-server -y systemctl start mariadb systemctl enable mariadb
运行以上命令安装MariaDB, 开启MariaDB服务, 使MariaDB随开机启动.
接下来设置root密码
mysql_secure_installation
随后会出现以下信息, 按照提示根据情况设置即可
Enter current password for root (enter for none): Change the root password? [Y/n] New password: Re-enter new password: Remove anonymous users? [Y/n] Disallow root login remotely? [Y/n] Remove test database and access to it? [Y/n] Reload privilege tables now? [Y/n]
MariaDB工作在3306端口, 可以通过以下命令检测是否如此
ss -antpl | grep mariadb
应当能看到类似以下信息
LISTEN 0 80 127.0.0.1:3306 0.0.0.0:* users:(("mariadbd",pid=12181,fd=15))
接下来进入MariaDB初始化一下设置
mysql -u root -p
应当能看到类似以下信息, 输入密码后回车即可进入数据库
Enter password: Welcome to the MariaDB monitor. Commands end with ; or \g. Your MariaDB connection id is 64 Server version: 10.5.11-MariaDB-1 Debian 11 Copyright (c) 2000, 2018, Oracle, MariaDB Corporation Ab and others. Type 'help;' or '\h' for help. Type '\c' to clear the current input statement.
PHP
apt-get install php libapache2-mod-php php-cli php-mysql php-zip php-curl php-xml -y
以上命令安装PHP以及若干常用扩展, 可以根据自己需要添加.
安装完毕后运行以下命令检验是否安装成功
php -v
应当能看到类似以下信息
PHP 7.4.21 (cli) (built: Jul 2 2021 03:59:48) ( NTS ) Copyright (c) The PHP Group Zend Engine v3.4.0, Copyright (c) Zend Technologies with Zend OPcache v7.4.21, Copyright (c), by Zend Technologies
至此, LAMP基本框架搭建完毕, 接下来是若干配置和验证工作.
为Apache2创建VHost(虚拟主机)
mkdir /var/www/html/example.com chown -R www-data:www-data /var/www/html/example.com vim /etc/apache2/sites-available/example.com.conf
以上命令创建网页文件夹, 分配权限以及修改站点配置文件, 在配置文件内填入以下内容
<VirtualHost *:80> ServerAdmin xxx@localhost ServerName example.com DocumentRoot /var/www/html/example.com ErrorLog ${APACHE_LOG_DIR}/error.log CustomLog ${APACHE_LOG_DIR}/access.log combined </VirtualHost>
字段根据自己实际情况修改填写, 不可完全照搬.
接下来开启刚刚创建好的VHost, 关闭默认的VHost
a2ensite example.com.conf a2dissite 000-default
在启动Apache2服务前运行以下命令检验配置文件语法是否正确
apache2ctl configtest
如果正确应当会有以下信息
Syntax OK
重启Apache2服务
systemctl reload apache2
检验PHP是否正确安装于Apache2
vim /var/www/html/example.com/phpinfo.php
写入
<?php phpinfo(); ?>
随后访问你的ip/phpinfo.php, 应当能看到以下页面
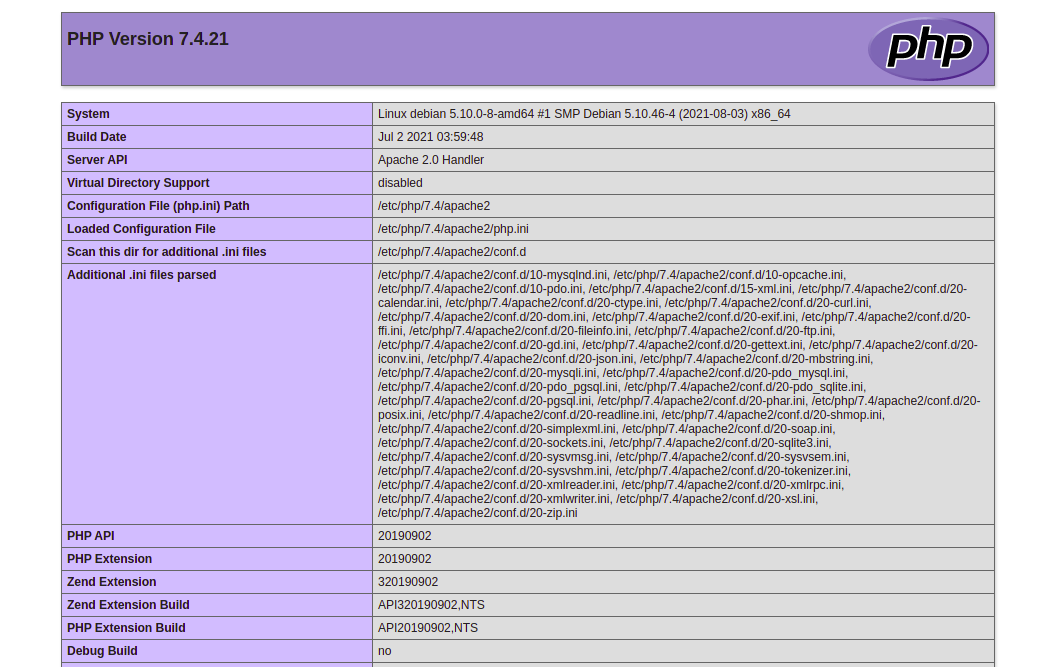
代表安装成功, 此页面可以查看PHP的配置文件php.ini文件的路径以及各个扩展的信息.


【推荐】国内首个AI IDE,深度理解中文开发场景,立即下载体验Trae
【推荐】编程新体验,更懂你的AI,立即体验豆包MarsCode编程助手
【推荐】抖音旗下AI助手豆包,你的智能百科全书,全免费不限次数
【推荐】轻量又高性能的 SSH 工具 IShell:AI 加持,快人一步
· 分享一个免费、快速、无限量使用的满血 DeepSeek R1 模型,支持深度思考和联网搜索!
· 25岁的心里话
· 基于 Docker 搭建 FRP 内网穿透开源项目(很简单哒)
· ollama系列01:轻松3步本地部署deepseek,普通电脑可用
· 按钮权限的设计及实现