《操作系统真象还原》环境搭建
最近事情比较多,博客的留言可能过一段时间才能一一回复,抱歉。
《30天自制操作系统》一书感觉不太适合我hhh,然后就换了一本《操作系统真象还原》,接着拼命肝
基础环境 腾讯云Ubuntu服务器
清理无用空间
查看服务器docker占用的空间
docker system df

使用命令
docker system prune
可以用于清理磁盘,删除关闭的容器、无用的数据卷和网络,以及 dangling 镜像(即无 tag 的镜像)。
docker system prune -a命令清理得更加彻底,可以将没有容器使用 Docker 镜像都删掉。注意,这两个命令会把你暂时关闭的容器,以及暂时没有用到的 Docker 镜像都删掉了
安装gcc
root权限下
apt-get update
apt-get upgrade
等待一小段时间,因为腾讯云用了加速的,更新起来还是很快的
apt-get install build-essential

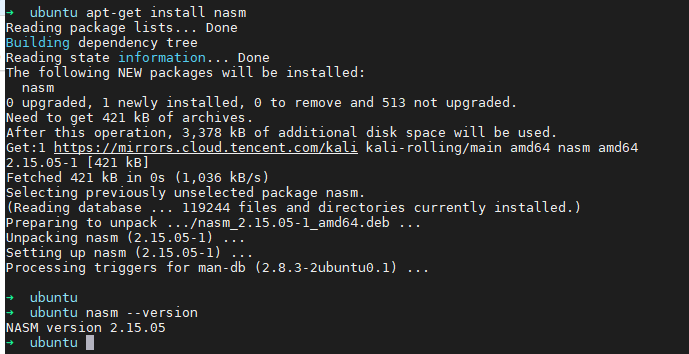
安装nasm
apt-get install nasm
安装bochs
好像网上大部分都是源码安装,试试
apt-get install bochs

安装了挺多东西的
bochs --version
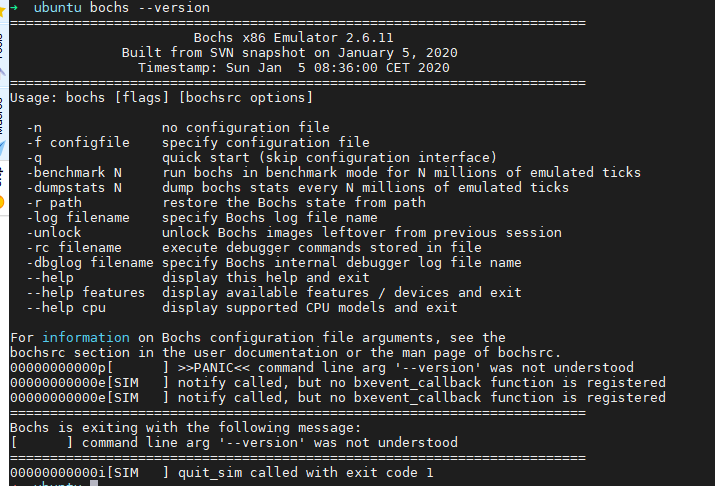
暂时没啥问题,写个代码看能不能正常运行
编译
把书上那部分汇编代码放到 mbr.S 里面去
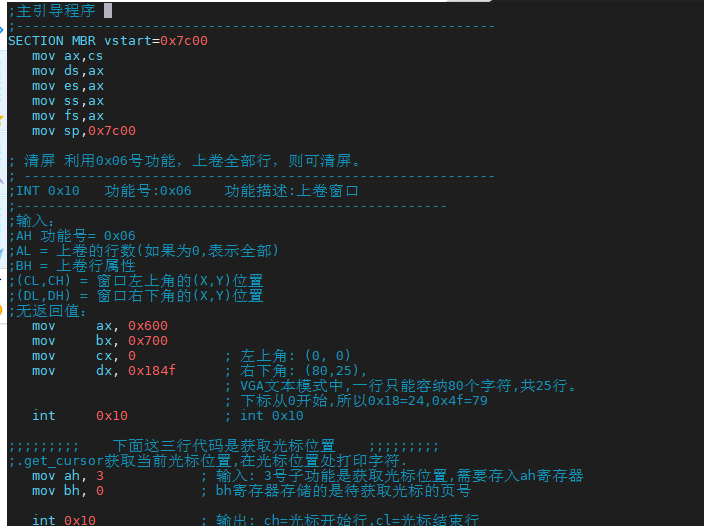
nasm -o mbr.bin mbr.S

ls -l

可以看到确实是 512 字节,笨扇区内的剩余空间被填充满了。
成为MBR
接着我们将该文件写入 0盘0道1扇区
路径修改为我们的,如下:
dd if=./mbr.bin of=./hd60M.img bs=512 count=1 conv=notrunc

跟书中的记录是一样的,不过换成了英文
运行测试
先输一个 bochs ,接着输入6,发生错误
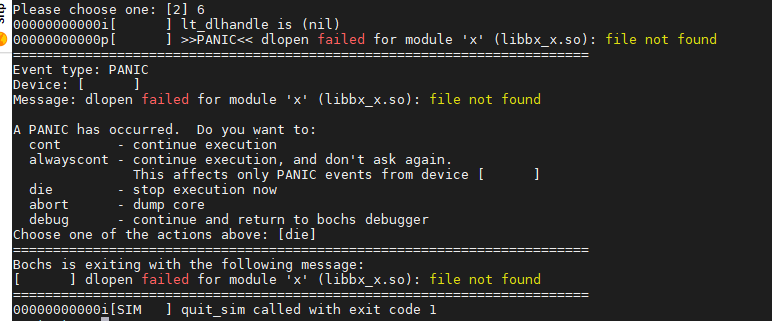
Message: dlopen failed for module 'x' (libbx_x.so): file not found
原因是没有安装 bochs-x,解决:
apt-get install bochs-x
突然想起来还没有弄 bochsrc.disk 文件
到/usr/bin目录下去:

到了目录之后才惊觉自己是没有 bochsrc.disk文件,书中该文件是由 share/doc/bochs/bochsrc-sample.txt文件换名得来的,但是直接使用apt-get install bochs安装导致我们寻找不到配置文件目录(主要还是太菜了
源码安装bochs
卸载之前安装的文件
apt-get --purge remove bochs
apt-get autoremove bochs
dpkg -l |grep ^rc|awk '{print $2}' |sudo xargs dpkg -P
apt-get --purge remove bochs-x
apt-get autoremove bochs-x
dpkg -l |grep ^rc|awk '{print $2}' |sudo xargs dpkg -P
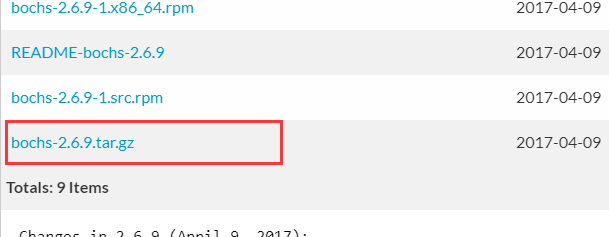
我下载的是2.6.9版本的压缩包
https://sourceforge.net/projects/bochs/files/bochs/2.6.9/bochs-2.6.9.tar.gz/download
然后安装一系列的包
apt-get install xorg-dev libgtk2.0-dev bison
省掉config过程很多依赖编译报错
解压
tar zxvf bochs-2.6.9.tar.gz

cd bochs-2.6.9
运行configure脚本,它会测试你的机器,C/C++编译器以及一些库,用来判断何种配置适合于你的机器。运行:
./configure --enable-debugger --enable-disasm
解压如果正常的话,会生成一个Makefile文件,运行
make clean
make
安装
make install
错误解决
1,出现
install: cannot stat './bochsdbg': No such file or directory
Makefile:429: recipe for target 'install_bin' failed
make: [install_bin] Error 1 (ignored)

将源文件中bochs的文件夹名称改为bochsdbg

2,出现
mkdir: cannot create directory ‘/usr/local/share/bochs/keymaps’: File exists
Makefile:445: recipe for target 'install_share' failed
make: [install_share] Error 1 (ignored)

应该是已经安装了一遍的原因,删除 /usr/local/share/bochs 文件夹
然后make install
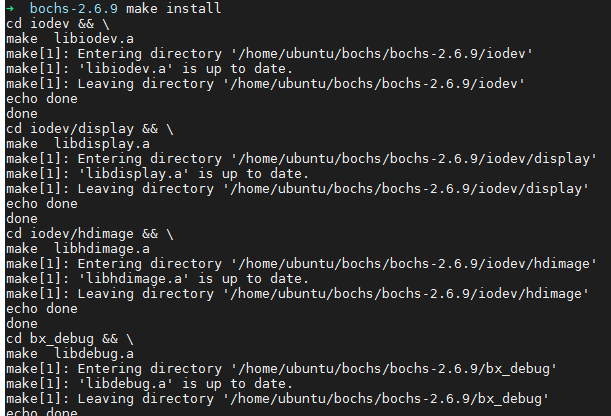
无报错
输入bochs
出现错误:
bx_dbg_read_linear: physical memory read error (phy=0x000000000000, lin=0x00000000)

查阅资料后解决方案为:将bochsrc文件中第10行
vgaromimage: /usr/share/vgabios/vgabios.bin改为 vgaromimage: file=/usr/share/vgabios/vgabios.bin
但是我没有bochsrc文件,看看这个文件好像是书中的bochsrc.disk文件,也就是由安装目录下的样本文件bochs/share/doc/bochs/bochsrc-sample.txt重命名而来。
寻找一下该文件
find / -name "*bochsrc-sample.txt"

修改之后发现没有卵用,重新搜索:
Bochs is exiting with the following message:
[ ] .bochsrc:187: cpu directive malformed.

输入 bochs -help cpu
查看支持的CPU
Supported CPU models:
bx_generic
pentium
pentium_mmx
amd_k6_2_chomper
p2_klamath
p3_katmai
p4_willamette
core_duo_t2400_yonah
atom_n270
然后 vi .bochsrc
大概在187行会找到cpu: model=

将 cpu: model= 后面的部分修改为以上支持的cpu models中的一个
(建议注释原来的而不是删除原来的)
例如:
cpu: model=bx_generic

保存退出
重新运行bochs
出现新错误:
Bochs is exiting with the following message:
[ ] .bochsrc:915: Bochs is not compiled with lowlevel sound support

继续修改 .bochsrc 文件
vi .bochsrc
大概在915行,注释掉文件中的sound: driver=default, waveout=/dev/dsp. wavein=, midiout=

再次重新运行bochs
运行成功

选择 6 进行模拟后出现错误
MoTTY X11 proxy: Unsupported authorisation protocol
Event type: PANIC
Device: [GUI ]
Message: Cannot connect to X display

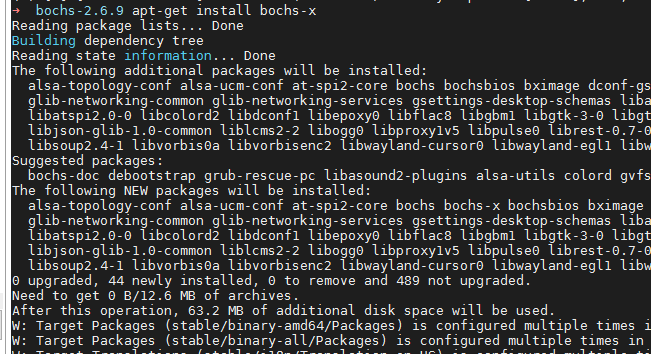
安装 bochs-x,之前不应该卸载的
apt-get install bochs-x
查找后发现该问题的主要原因是:
使用了终端 比如 xshell or putty 去连接 centos ,而以这种方式的连接 是只能够 传递字符,不能传送图像的。而bochs是有界面的,图像界面无法在git bash命令行下展示。所以启动一直报错。
给云服务器安装图形化界面
apt-get install xinit
apt-get install gdm3
apt-get install ubuntu-desktop
shutdown -r now (重启操作,不行服务器重启)
获取root权限
使用vnc方式登录。
不过好像我云服务器的空间安装到这一步的时候空间就不足了,只能放弃hhh,安装了图形化界面之后应该就能正常模拟运行了。
笔者换成虚拟机安装这些环境,从头再来。
虚拟机环境 VMware Ubuntu16iso
记得先更改Ubuntu源,不然下载太慢了
自带gcc

安装nasm

在ubuntu图形化界面的火狐浏览器里面下载bochs安装包
跟之前一样解压安装,进行到 make 时出现错误
/usr/bin/ld: gui/libgui.a(x.o): undefined reference to symbol 'XSetForeground'
/usr/lib/x86_64-linux-gnu/libX11.so.6: error adding symbols: DSO missing from command line
collect2: error: ld returned 1 exit status

此时可以考虑在执行configure时添加参数LIBS='-lX11',也就是说可以是这样的:
./configure --enable-debugger --enable-disasm --enable-readline LIBS='-lX11'
然后接着像之前那样安装
几经坎坷,终于又到了这里

选择 6 ,回车

成功出现模拟界面,安装完成~
参考链接:
https://blog.fundebug.com/2018/01/10/how-to-clean-docker-disk/
https://cloud.tencent.com/developer/article/1616590?from=information.detail.腾讯云ubuntu图形界面
https://blog.csdn.net/AnneQiQi/article/details/51725658
https://www.jianshu.com/p/6b3df43932c3
https://blog.csdn.net/ChrisNiu1984/article/details/6620722
https://blog.csdn.net/get_set/article/details/51276609
https://blog.csdn.net/weixin_42605042/article/details/90299638
https://cloud.tencent.com/developer/article/1616590?from=information.detail.腾讯云 ubuntu 图形界面


