Vue+arcgis(1)
研发环境:node
1.创建项目 webgis
命令如下:
vue create webgis
2.引入arcgis库
cd webgis
npm install  esri-loader@2.14.0 --save-dev
3. 编写自己的组件
在components下增加了WebMap.vue组件
代码如下
<template>
    <div>

    </div>
</template>

<script>
import {loadModules} from 'esri-loader';

export default {
    name: 'webmap',
    mounted(){
        // 懒加载
        loadModules([
            'esri/Map',
            'esri/views/MapView'
        ], {css:true}).then(([ArcGISMap, MapView]) => {

        console.log('112')

         const map = new ArcGISMap({
             basemap: 'streets'
        });

         this.view = new MapView({
            container: this.$el,
            map: map,
            center: [118,34],
            zoom: 8
        });

        });

    },
    beforeDestroy(){
        if (this.view)
        {
            this.view.container = null;
        }
    }

}
</script>

<style  scoped>
div{
    padding: 0;
    margin: 0;
    width: 100%;
    height: 100%;
}
</style>
如果是用arcgis脚手架搭建的,则是另外一种写法,具体的写法看官网
arcgis VUE搭建快速指导: https://developers.arcgis.com/javascript/latest/guide/vue/
4.在app中引入webmap
代码如下
<template>
  <div id="app">
     <webmap />
  </div>
</template>

<script>
import webmap from './components/WebMap'
export default {
  name: 'App',
  components: {
    webmap
  }
}
</script>

<style>
html,body {
  margin: 0;
  padding: 0;
  height: 100%;
  width: 100%;
}
#app {
  display: flex;
  flex-direction: column;
  padding: 0;
  margin: 0;
  width: 100%;
  height: 100%;
}
</style>
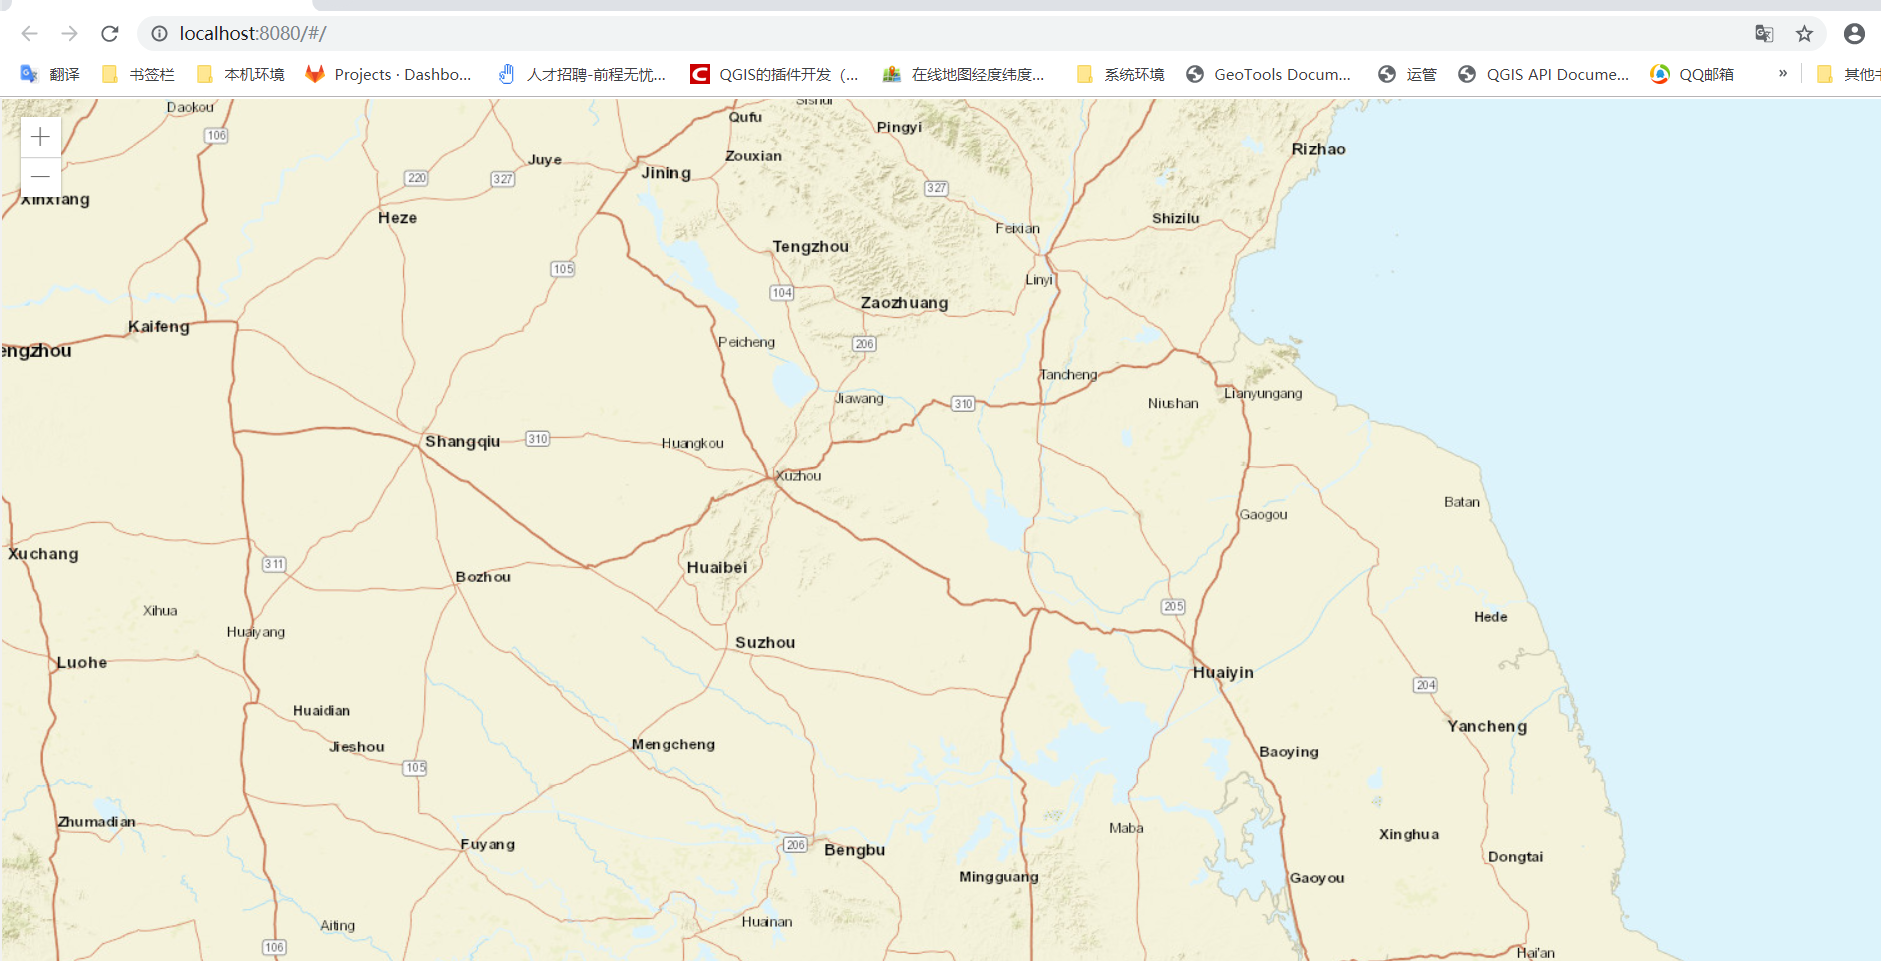
5.执行npm run serve命令后,即可查看结果如下


 浙公网安备 33010602011771号