如何使用 TimeShift 备份和还原 Ubuntu Linux
https://linux.cn/article-11619-1.html
你是否曾经想过如何备份和还原 Ubuntu 或 Debian 系统?Timeshift 是一款自由开源工具,可让你创建文件系统的增量快照。你可以使用 RSYNC 或 BTRFS 两种方式创建快照。
让我们深入研究并安装 Timeshift。在本教程,我们将安装在 Ubuntu 18.04 LTS 系统上。
在 Ubuntu / Debian Linux 上安装 TimeShift
TimeShift 尚未正式托管在 Ubuntu 和 Debian 仓库中。考虑到这一点,我们将运行以下命令来添加 PPA:
# add-apt-repository -y ppa:teejee2008/ppa
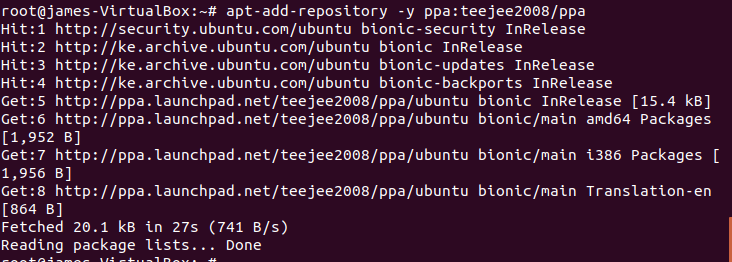
Add timeshift repository
接下来,使用以下命令更新系统软件包:
# apt update
成功更新系统后,使用以下 apt 命令安装 Timeshift:
# apt install timeshift
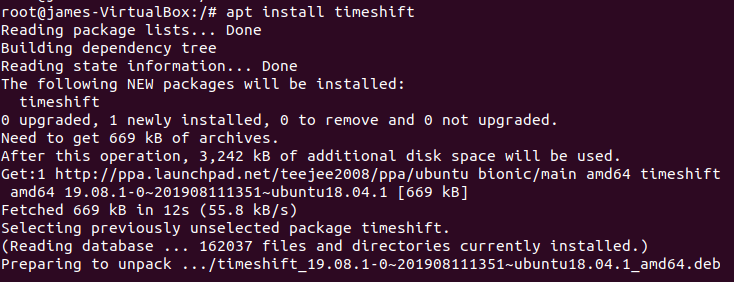
apt install timeshift
准备备份存储设备
最佳实践要求我们将系统快照保存在系统硬盘之外的单独的存储卷上。对于本指南,我们将使用 16GB 闪存作为第二个驱动器,并在该驱动器上保存快照。
# lsblk | grep sdb

lsblk sdb ubuntu
为了将闪存用作快照的备份位置,我们需要在设备上创建一个分区表。运行以下命令:
# parted /dev/sdb mklabel gpt# parted /dev/sdb mkpart primary 0% 100%# mkfs.ext4 /dev/sdb1
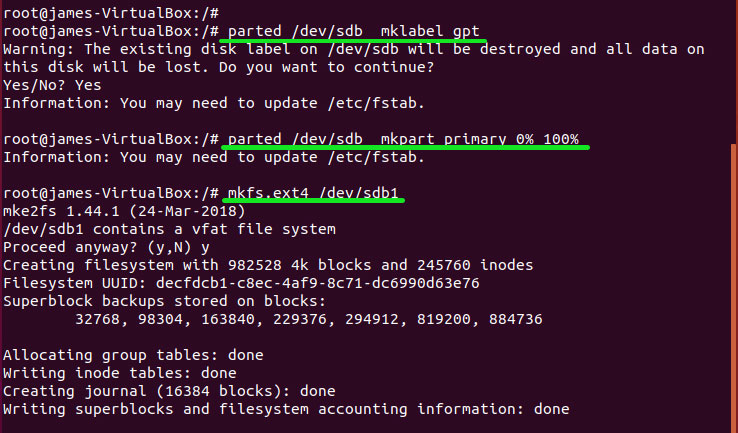
create partition table on drive ubuntu
在 USB 闪存上创建分区表后,我们可以开始创建文件系统的快照!
使用 Timeshift 创建快照
要启动 Timeshift,使用应用程序菜单搜索 “Timeshift”。
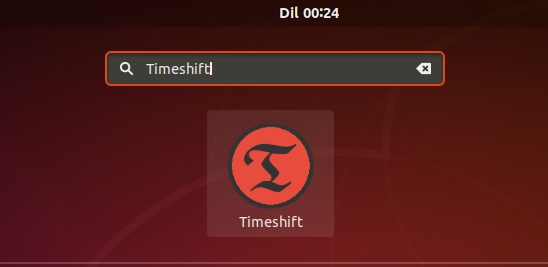
Access timeshift
单击 Timeshift 图标,系统将提示你输入管理员密码。提供密码,然后单击验证。
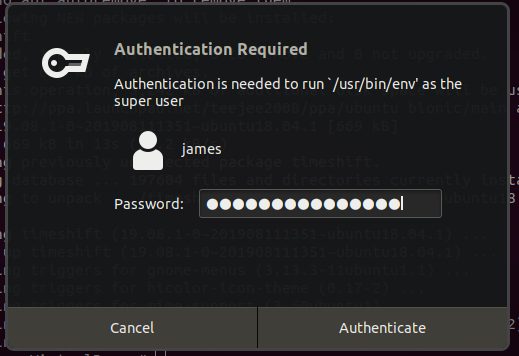
Authentication required
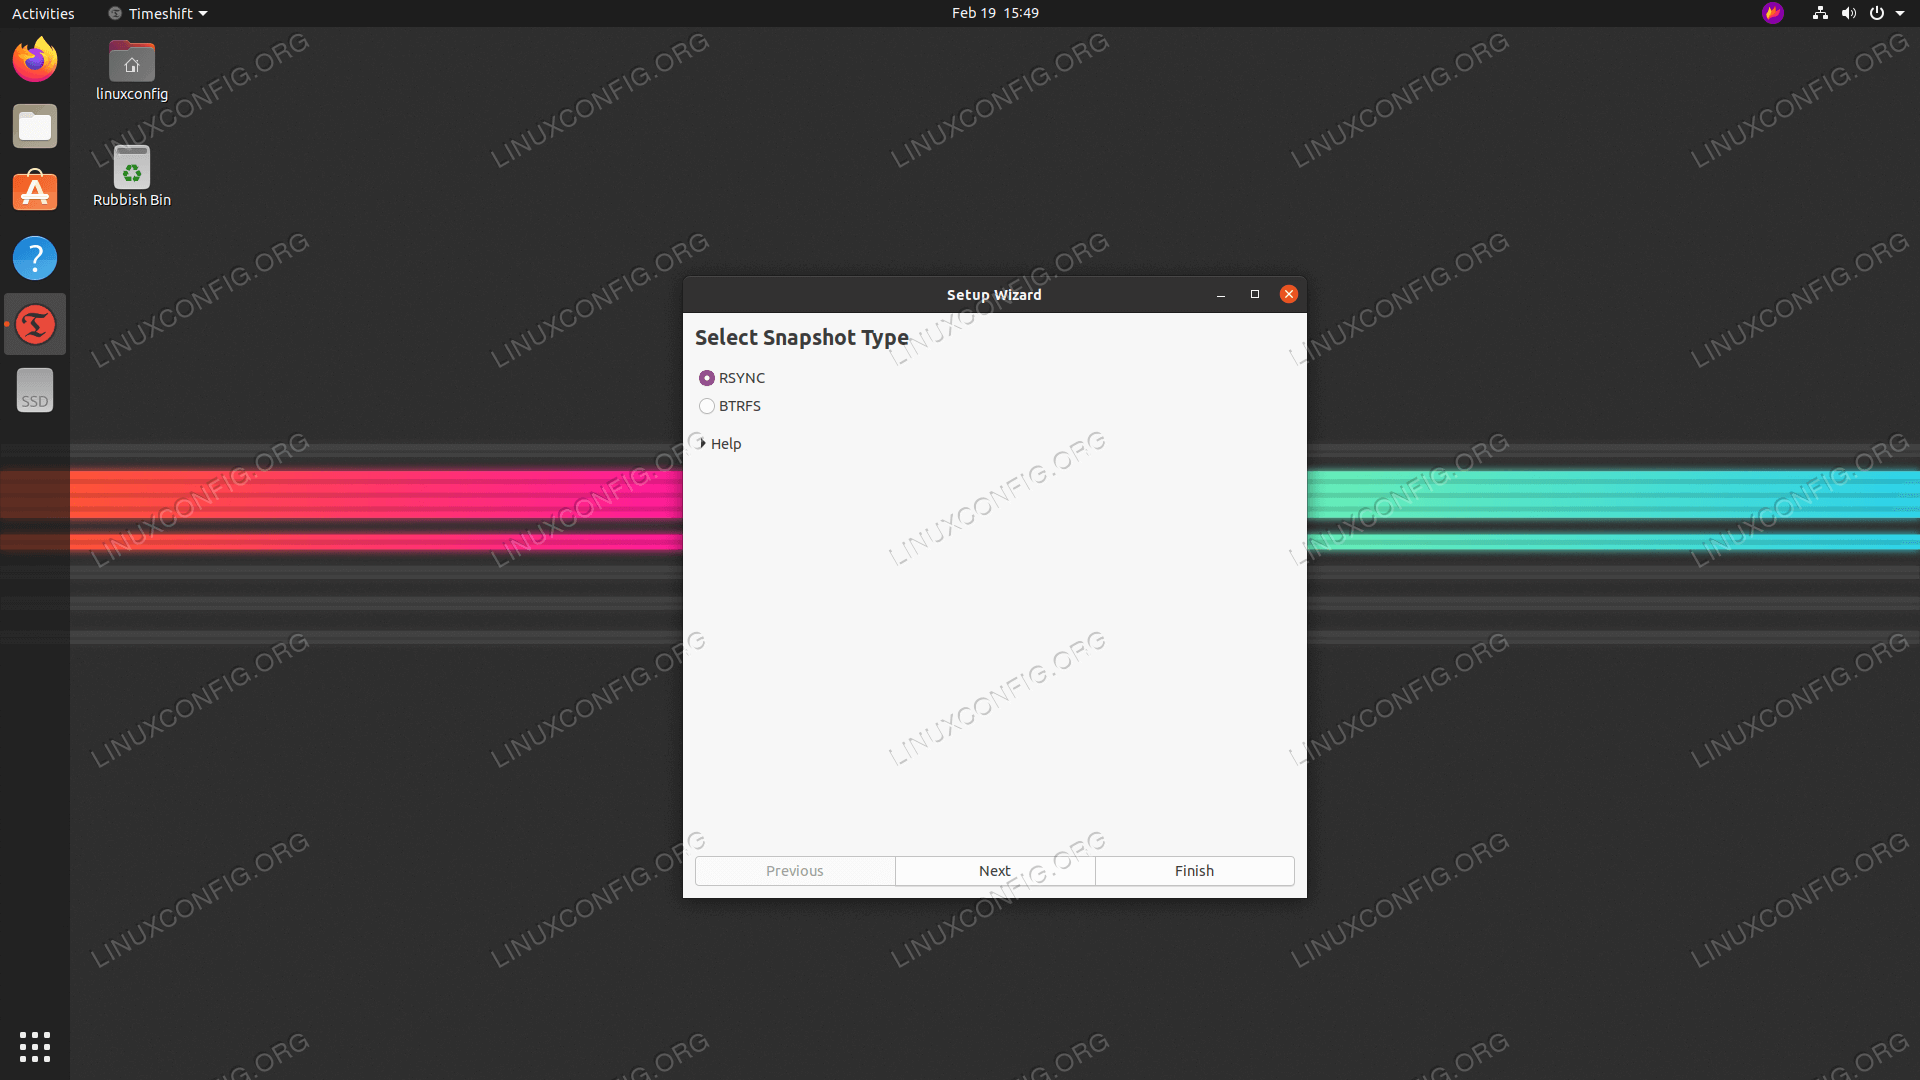
接下来,选择你喜欢的快照类型。
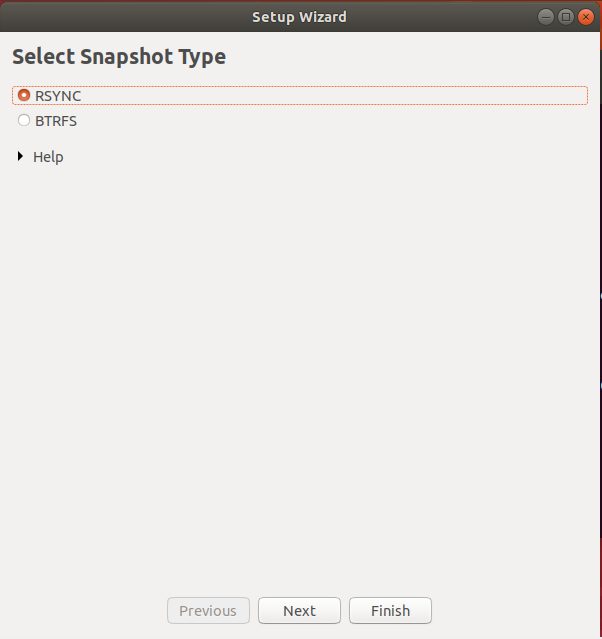
Select rsync option
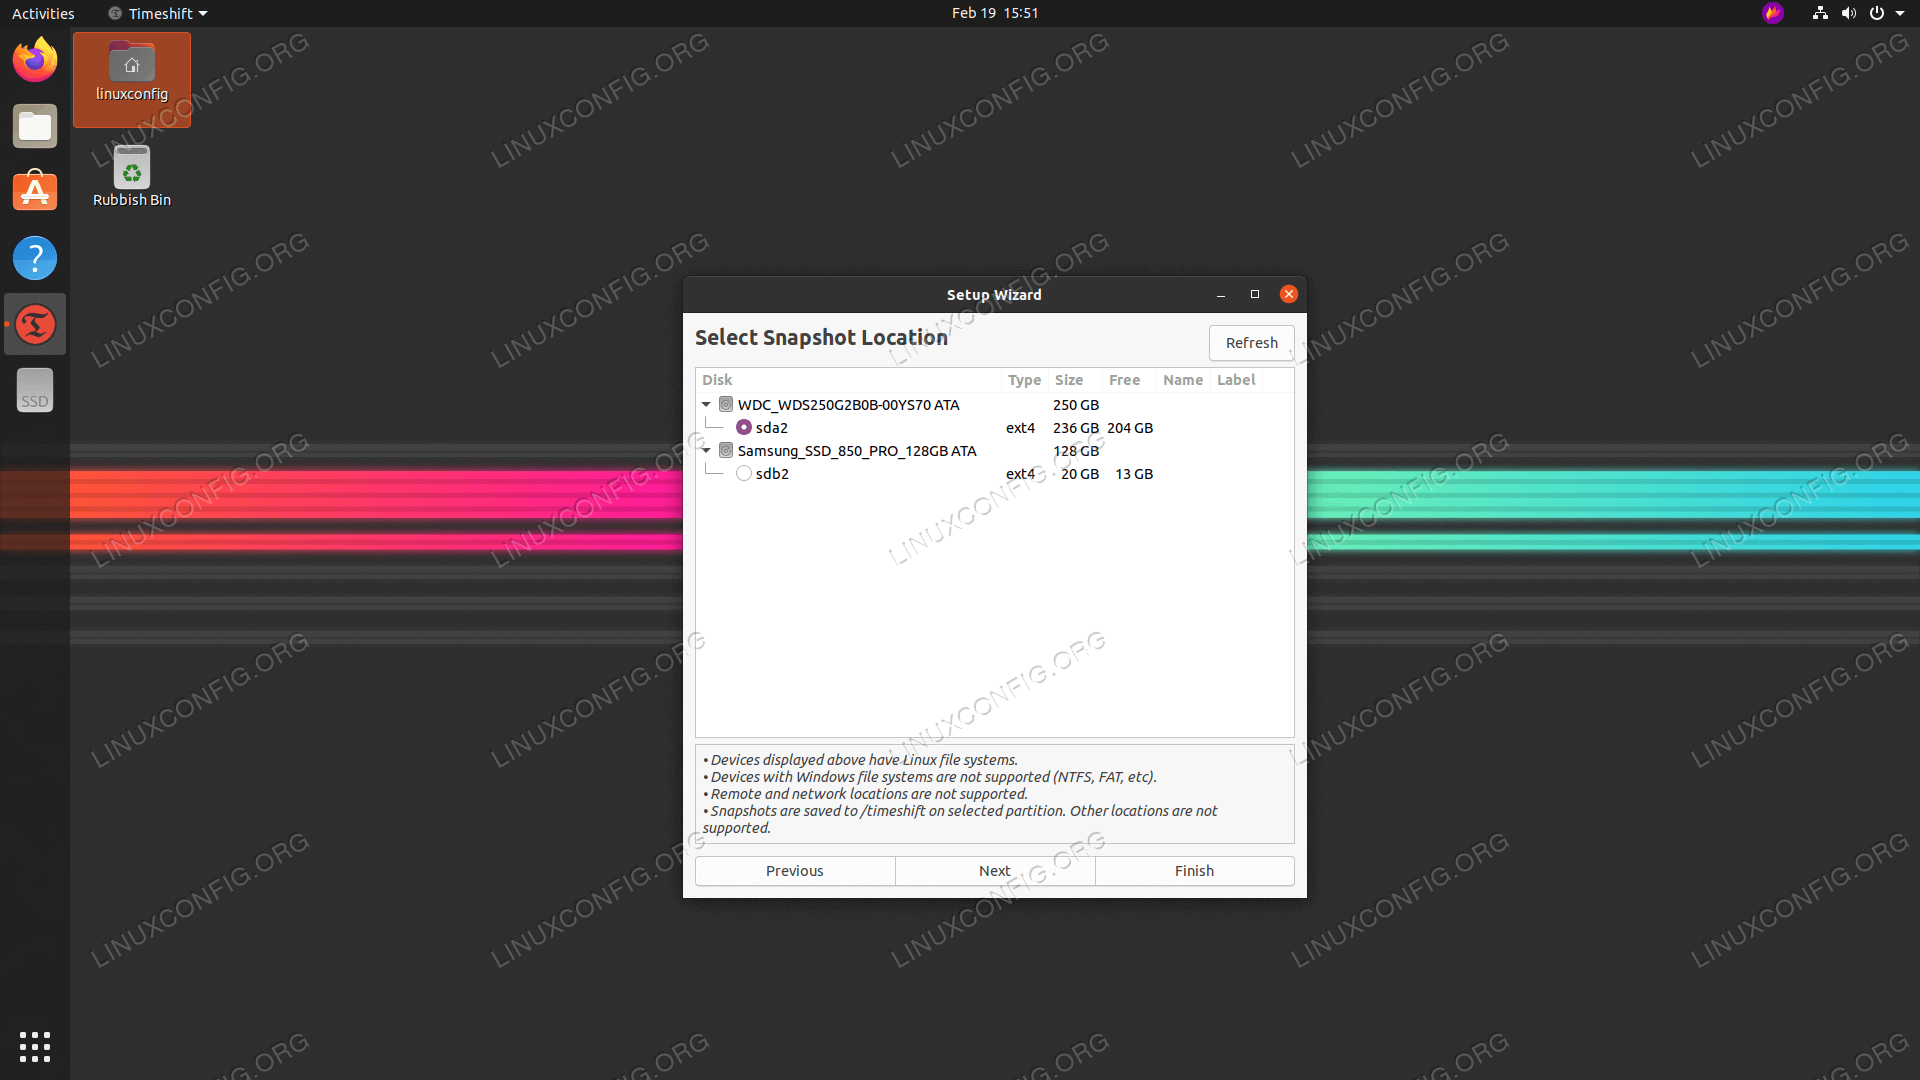
点击 “Next”。选择快照的目标驱动器。在这里,我的位置是标记为 /dev/sdb 的外部 USB 驱动器。
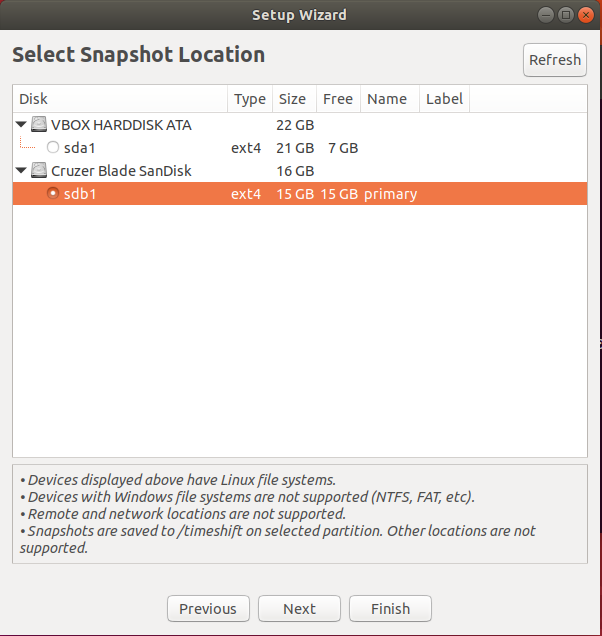
Select snapshot location
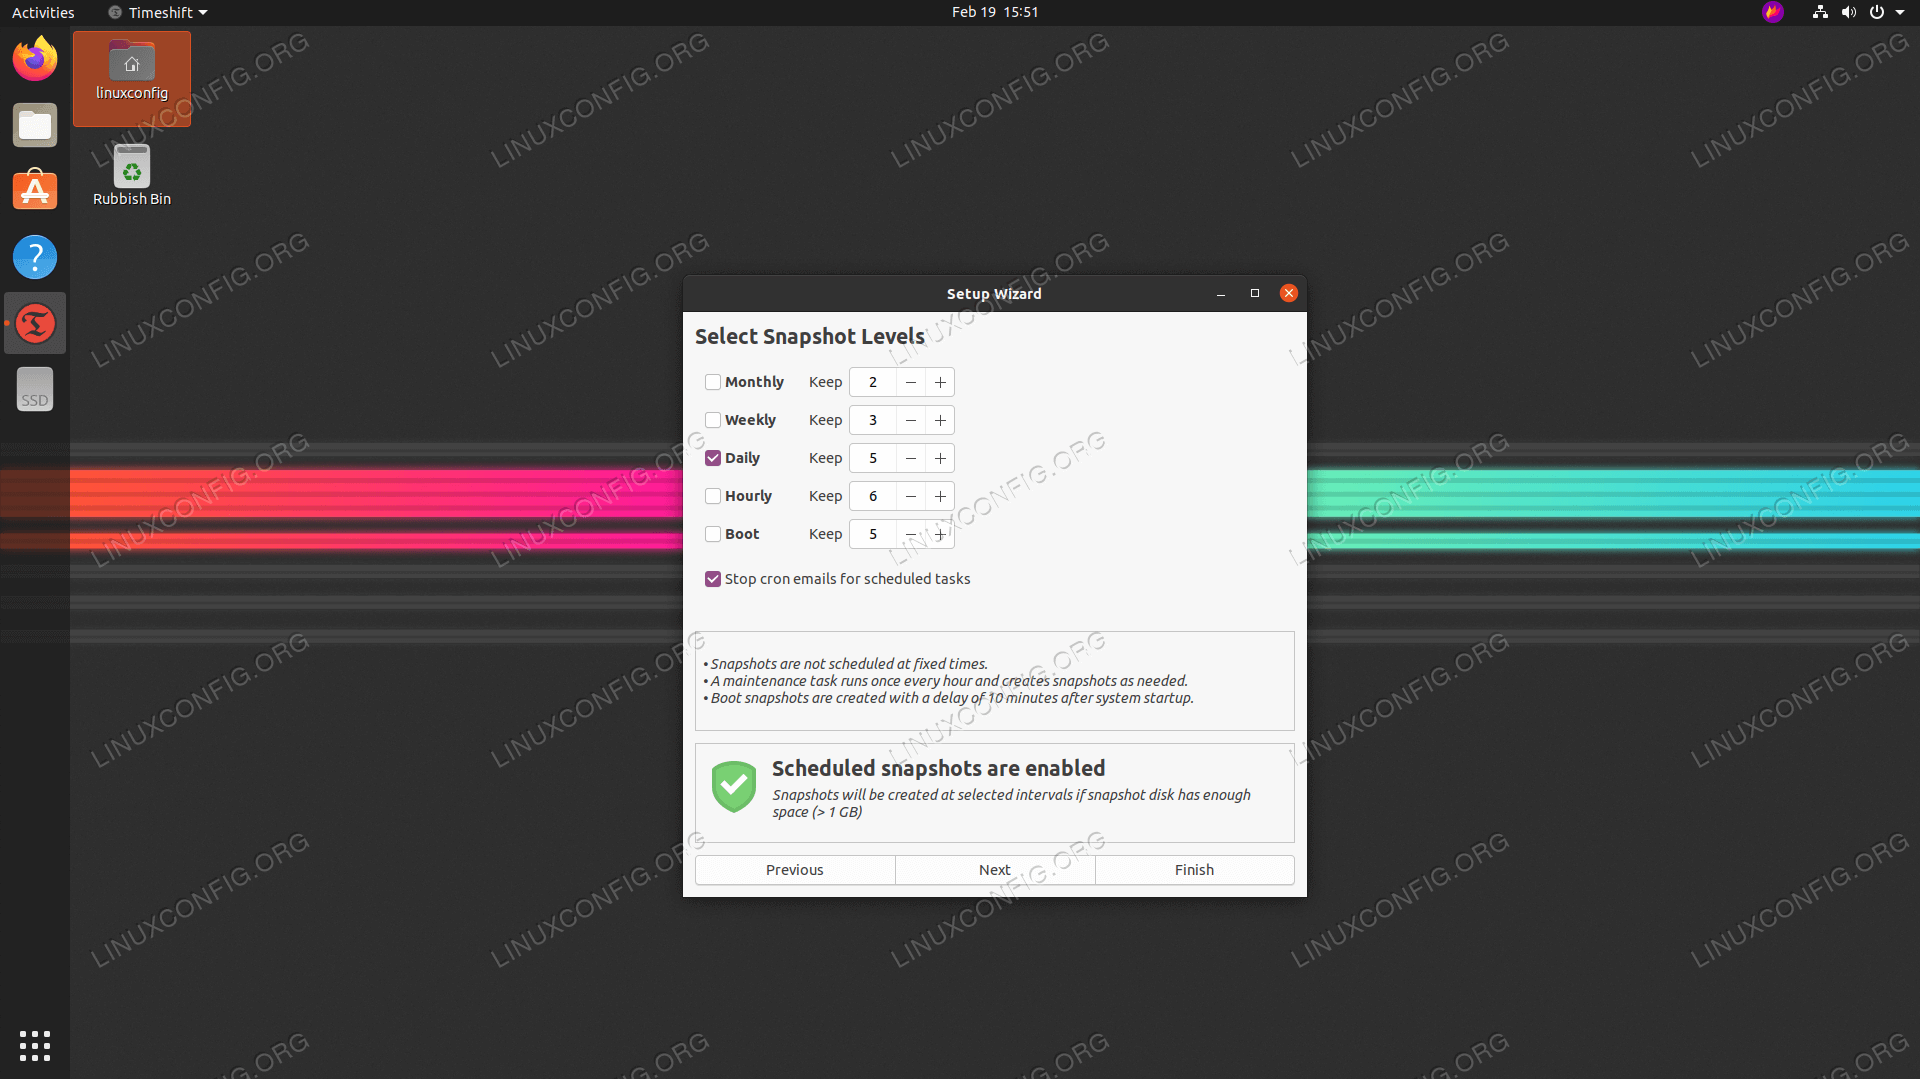
接下来,定义快照级别。级别是指创建快照的时间间隔。你可以选择每月、每周、每天或每小时的快照级别。
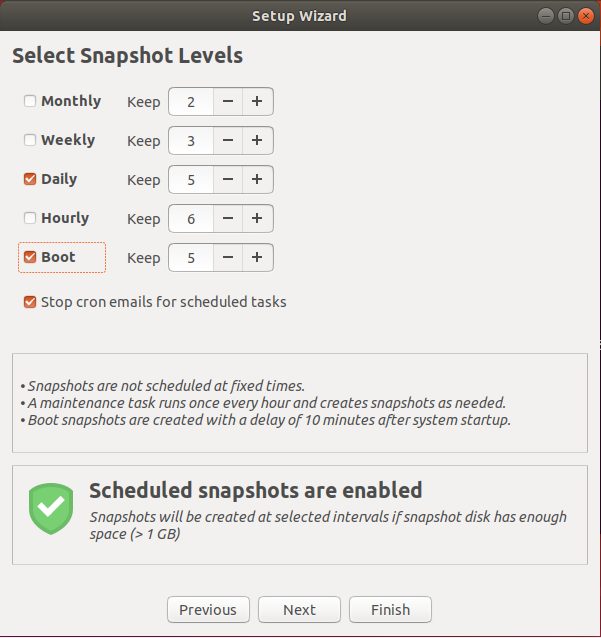
Select snapshot levels
点击 “Finish”。
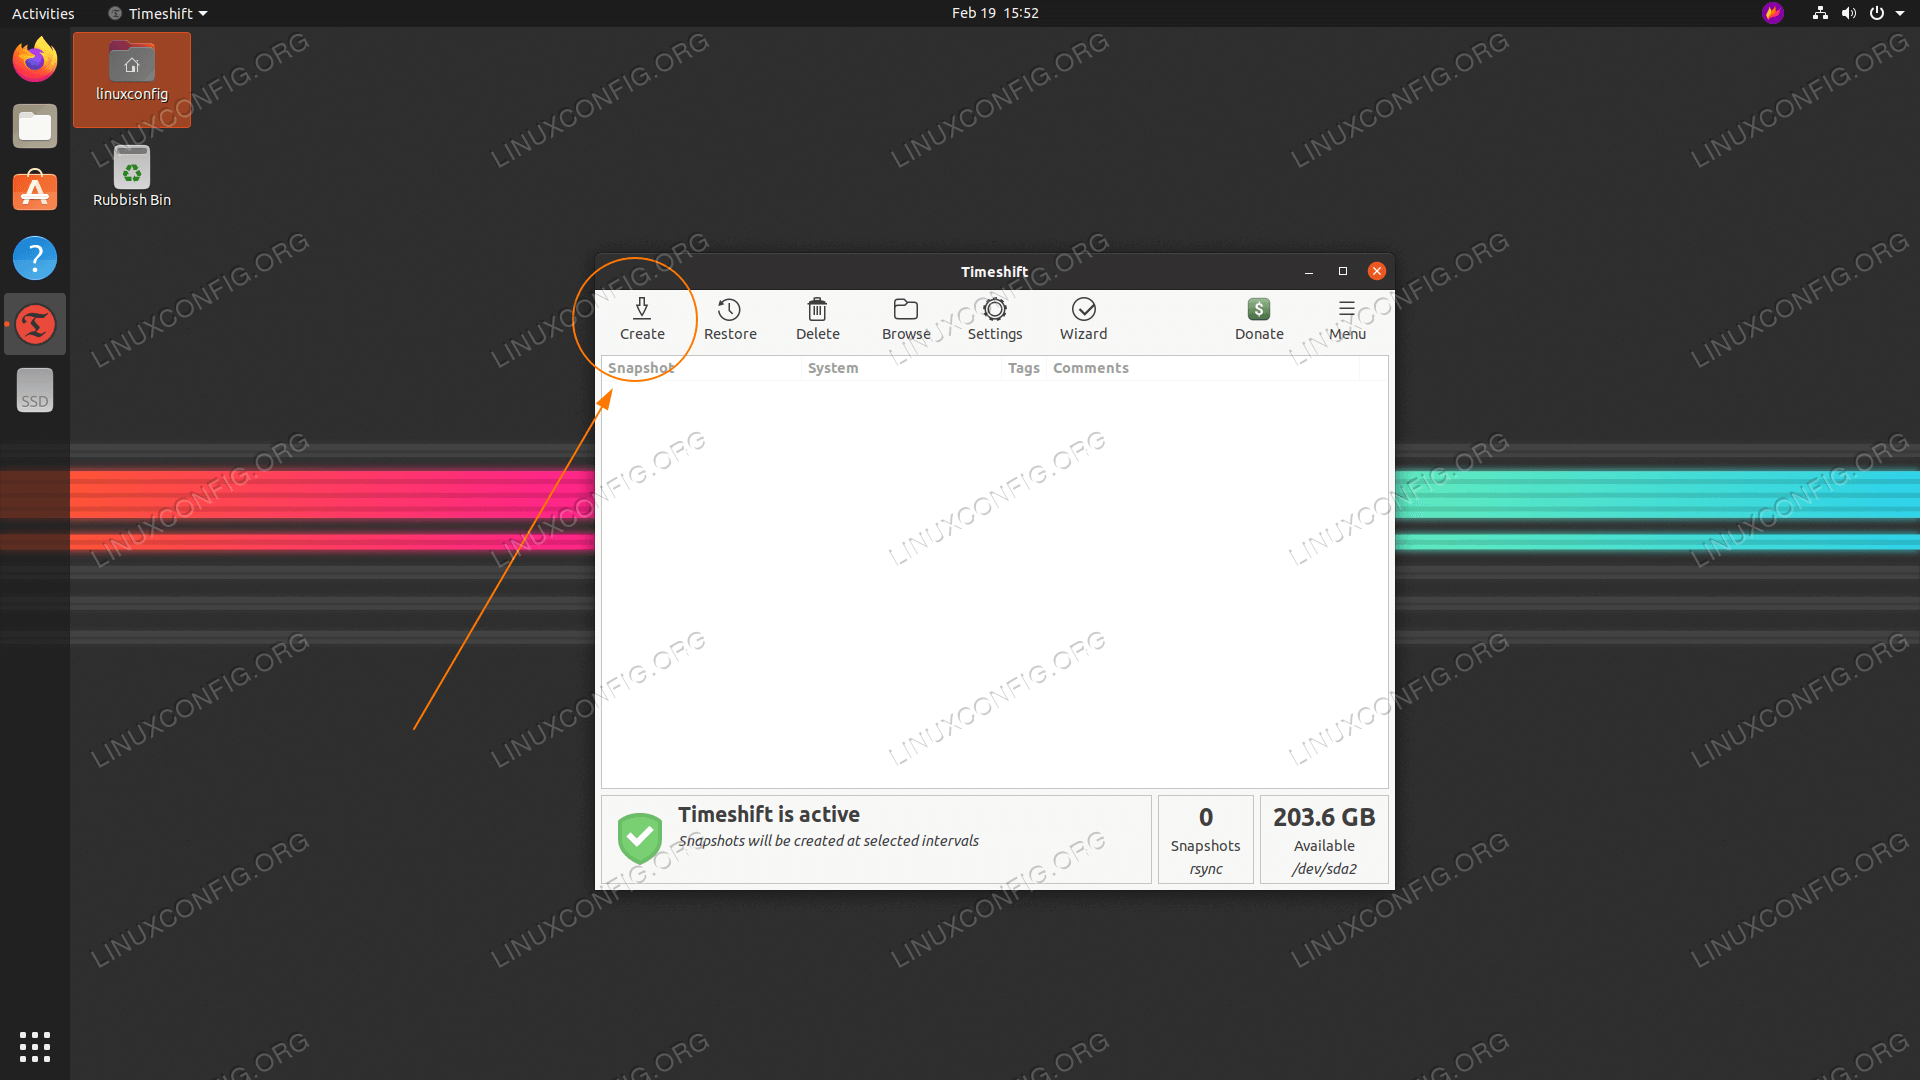
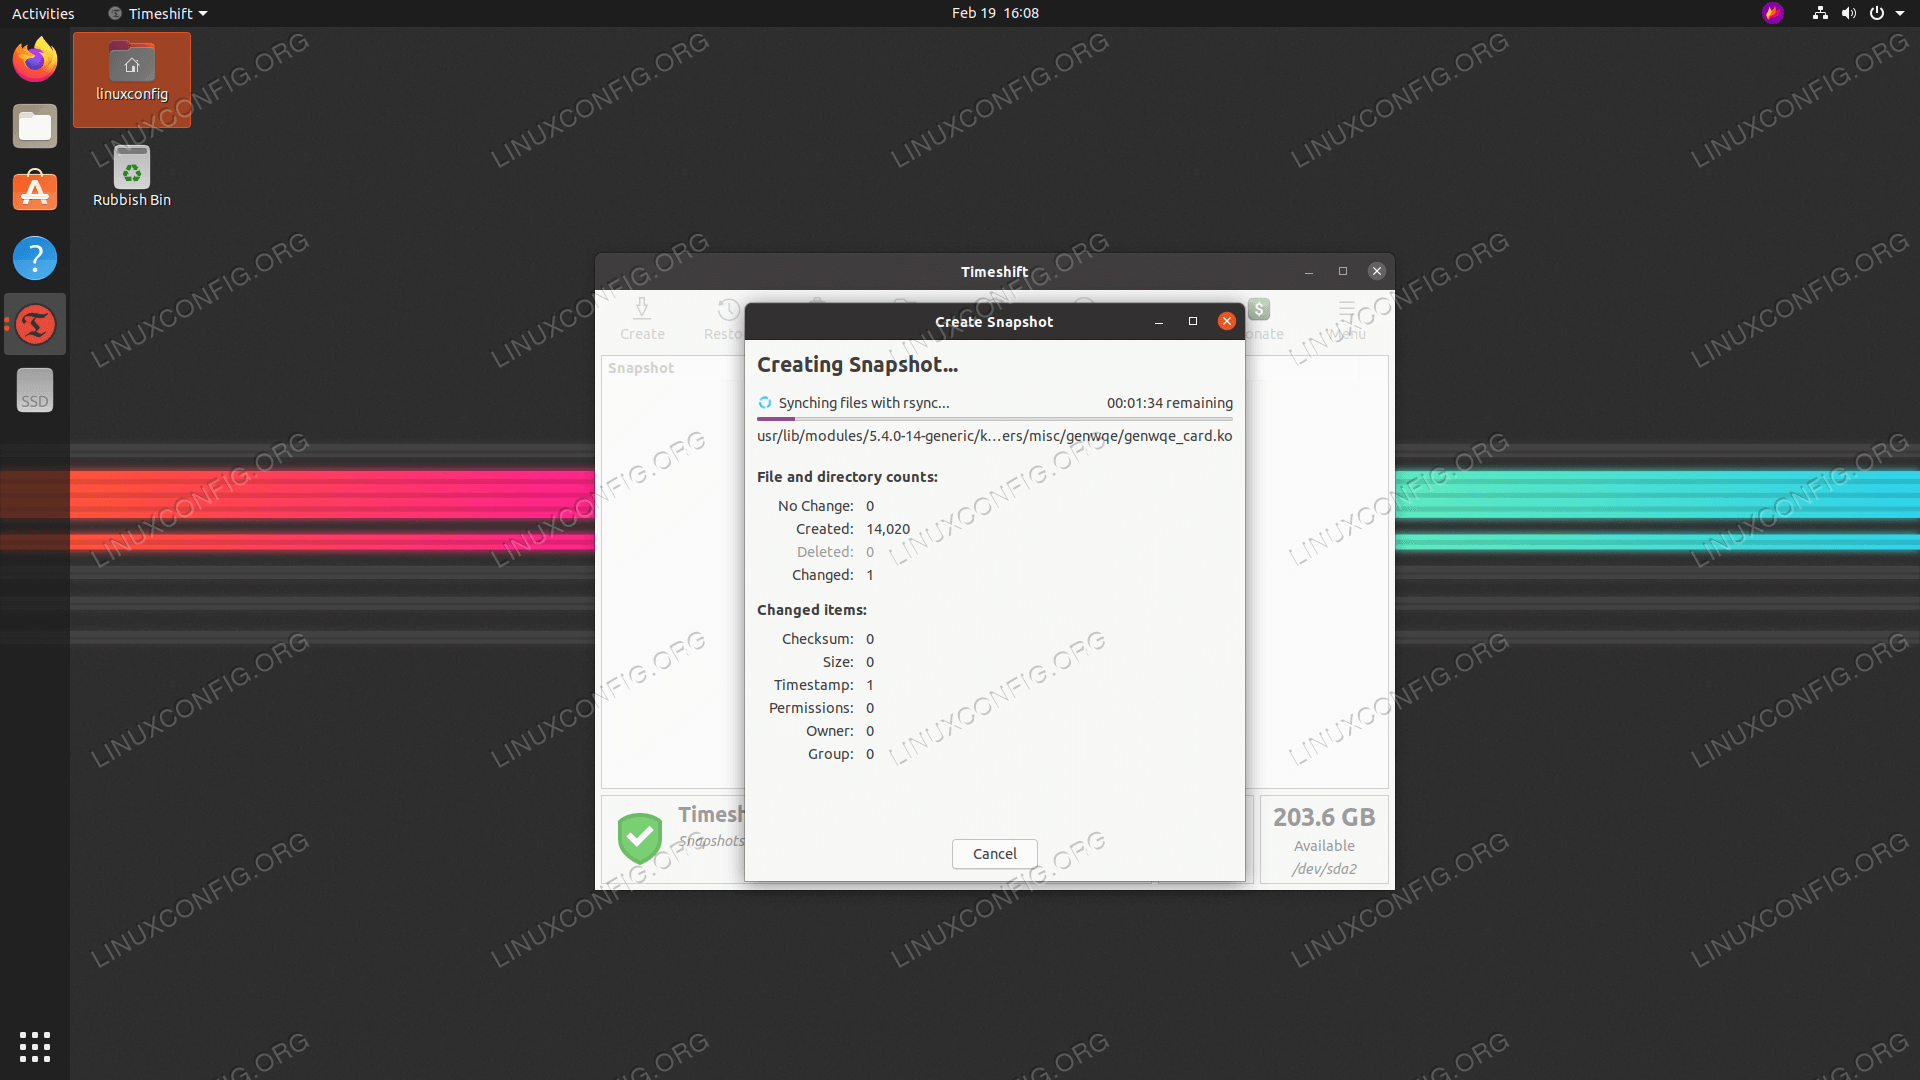
在下一个窗口中,单击 “Create” 按钮开始创建快照。此后,系统将开始创建快照。
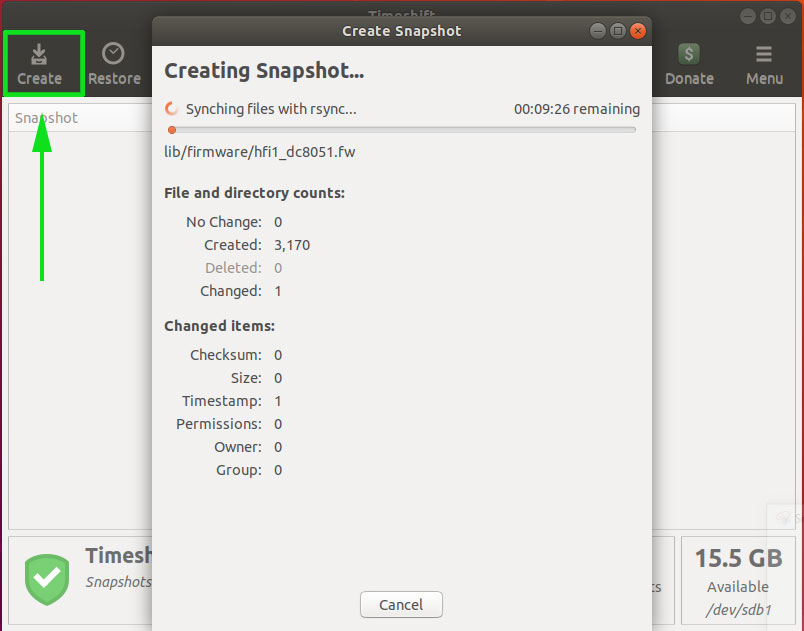
Create snapshot
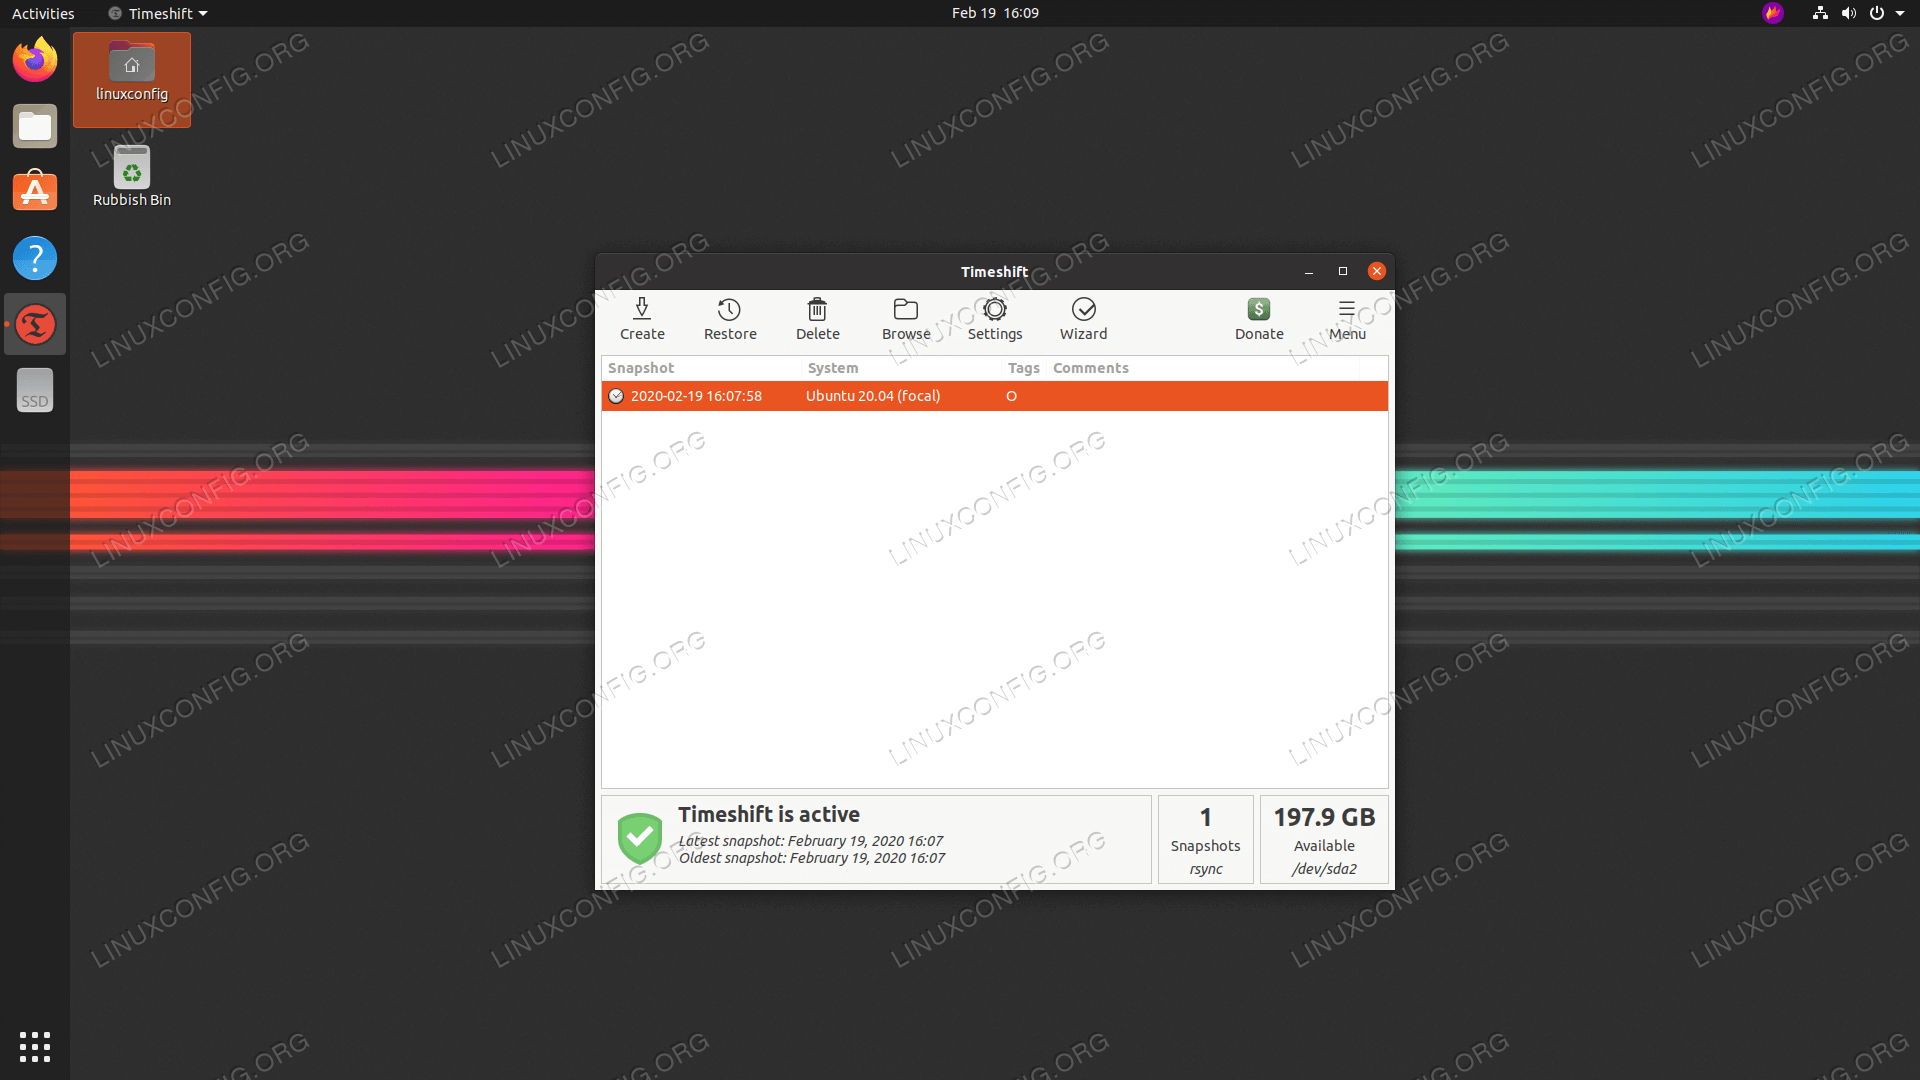
最后,你的快照将显示如下:
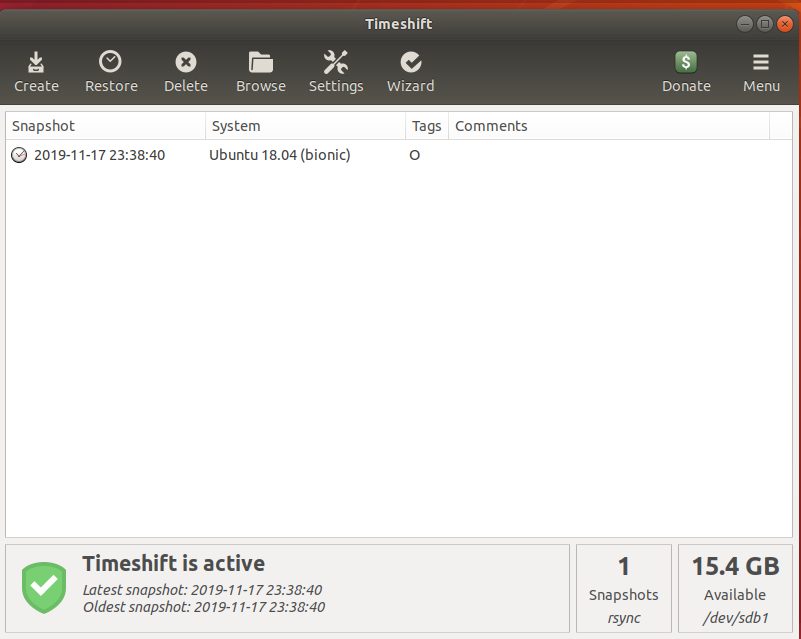
Snapshot created
从快照还原 Ubuntu / Debian
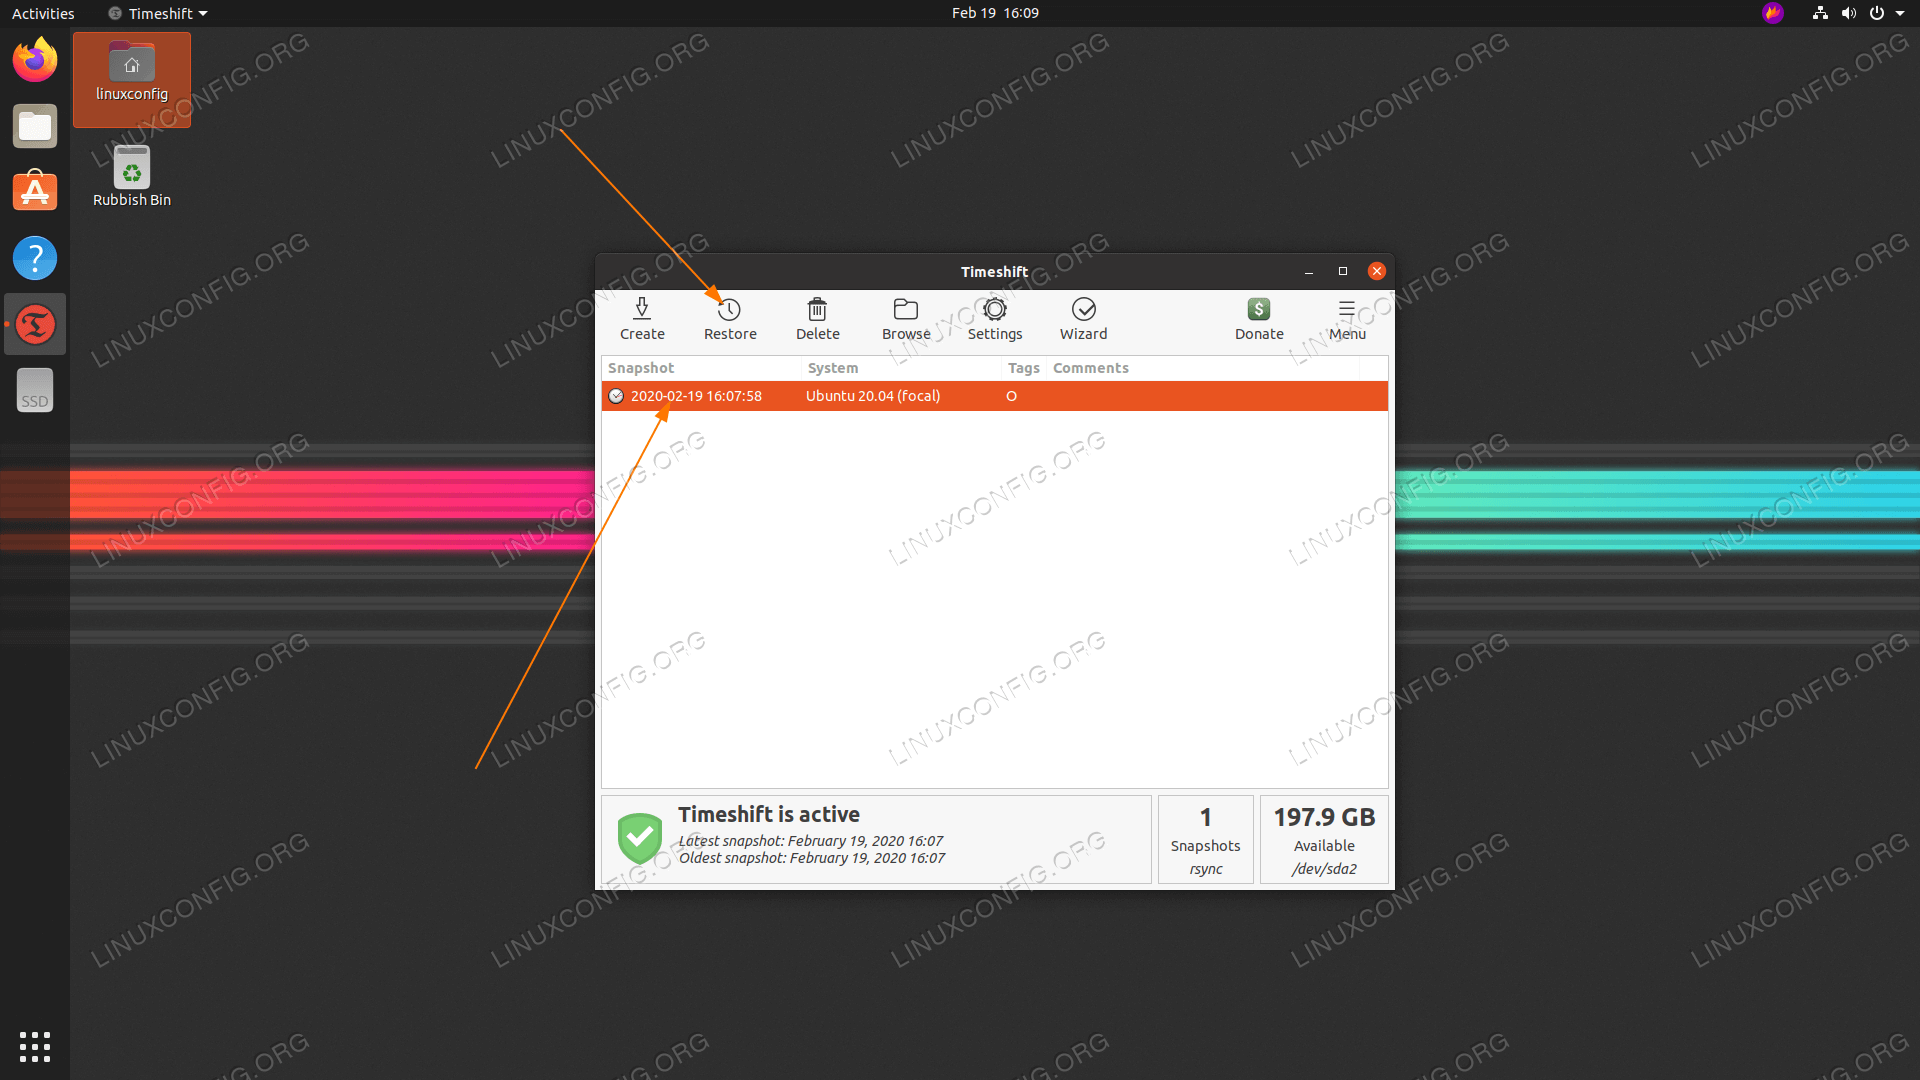
创建系统快照后,现在让我们看看如何从同一快照还原系统。在同一个 Timeshift 中,单击快照,然后单击 “Restore” 按钮,如图所示。

Restore snapshot
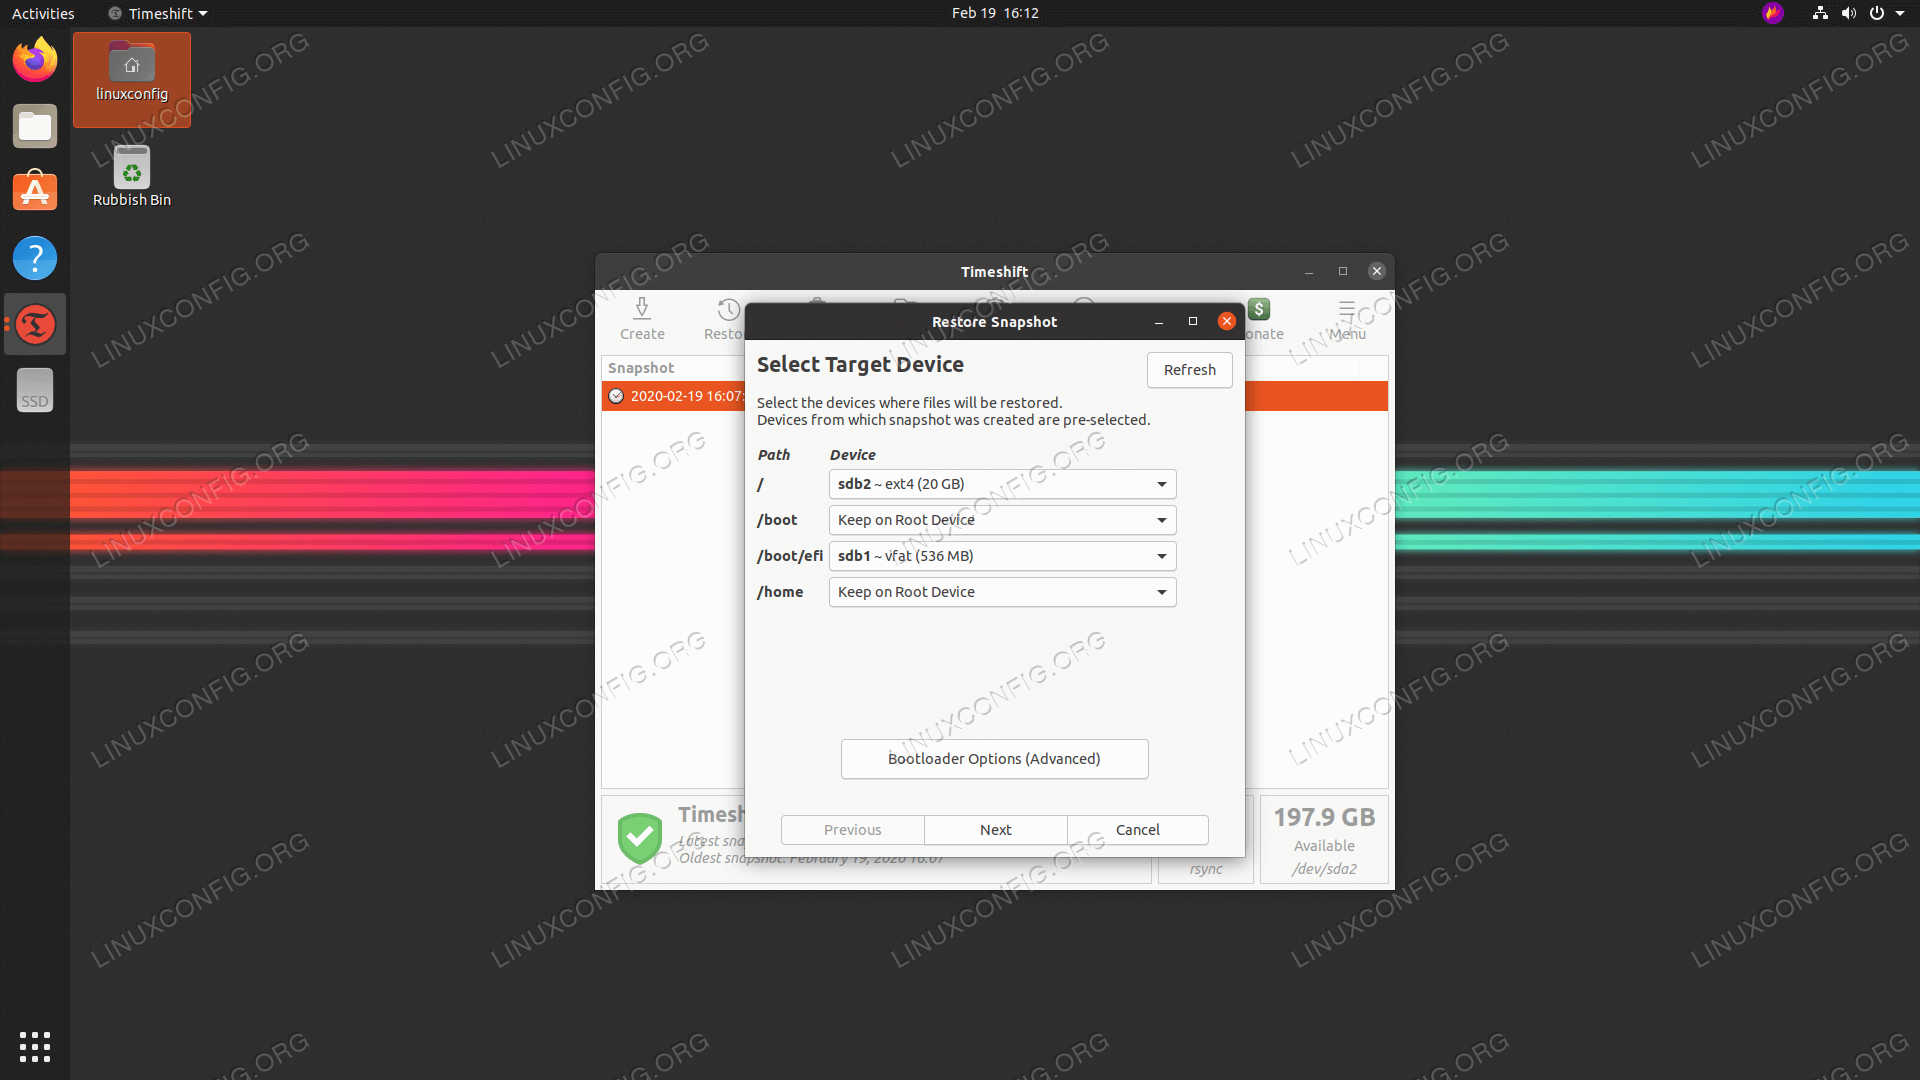
接下来,将提示你选择目标设备。保留默认选择,然后点击 “Next”。
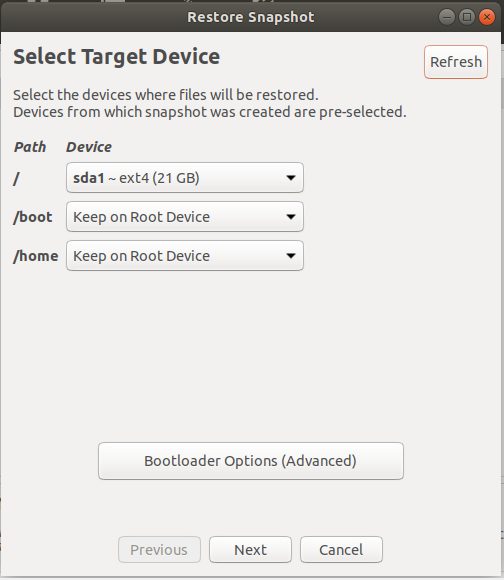
Select target device
恢复过程开始之前,Timeshift 将会试运行。
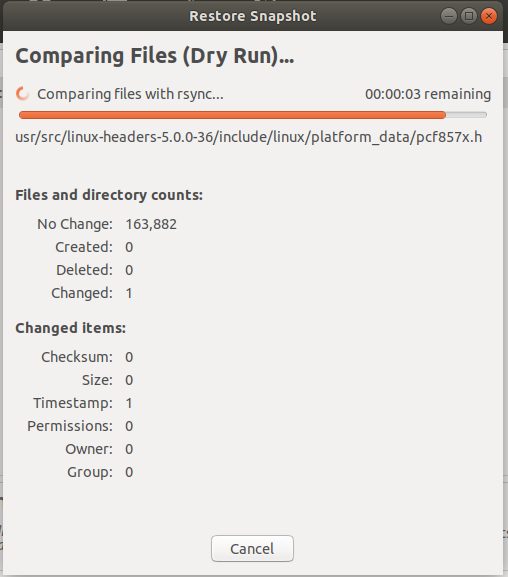
Comparing files dry run
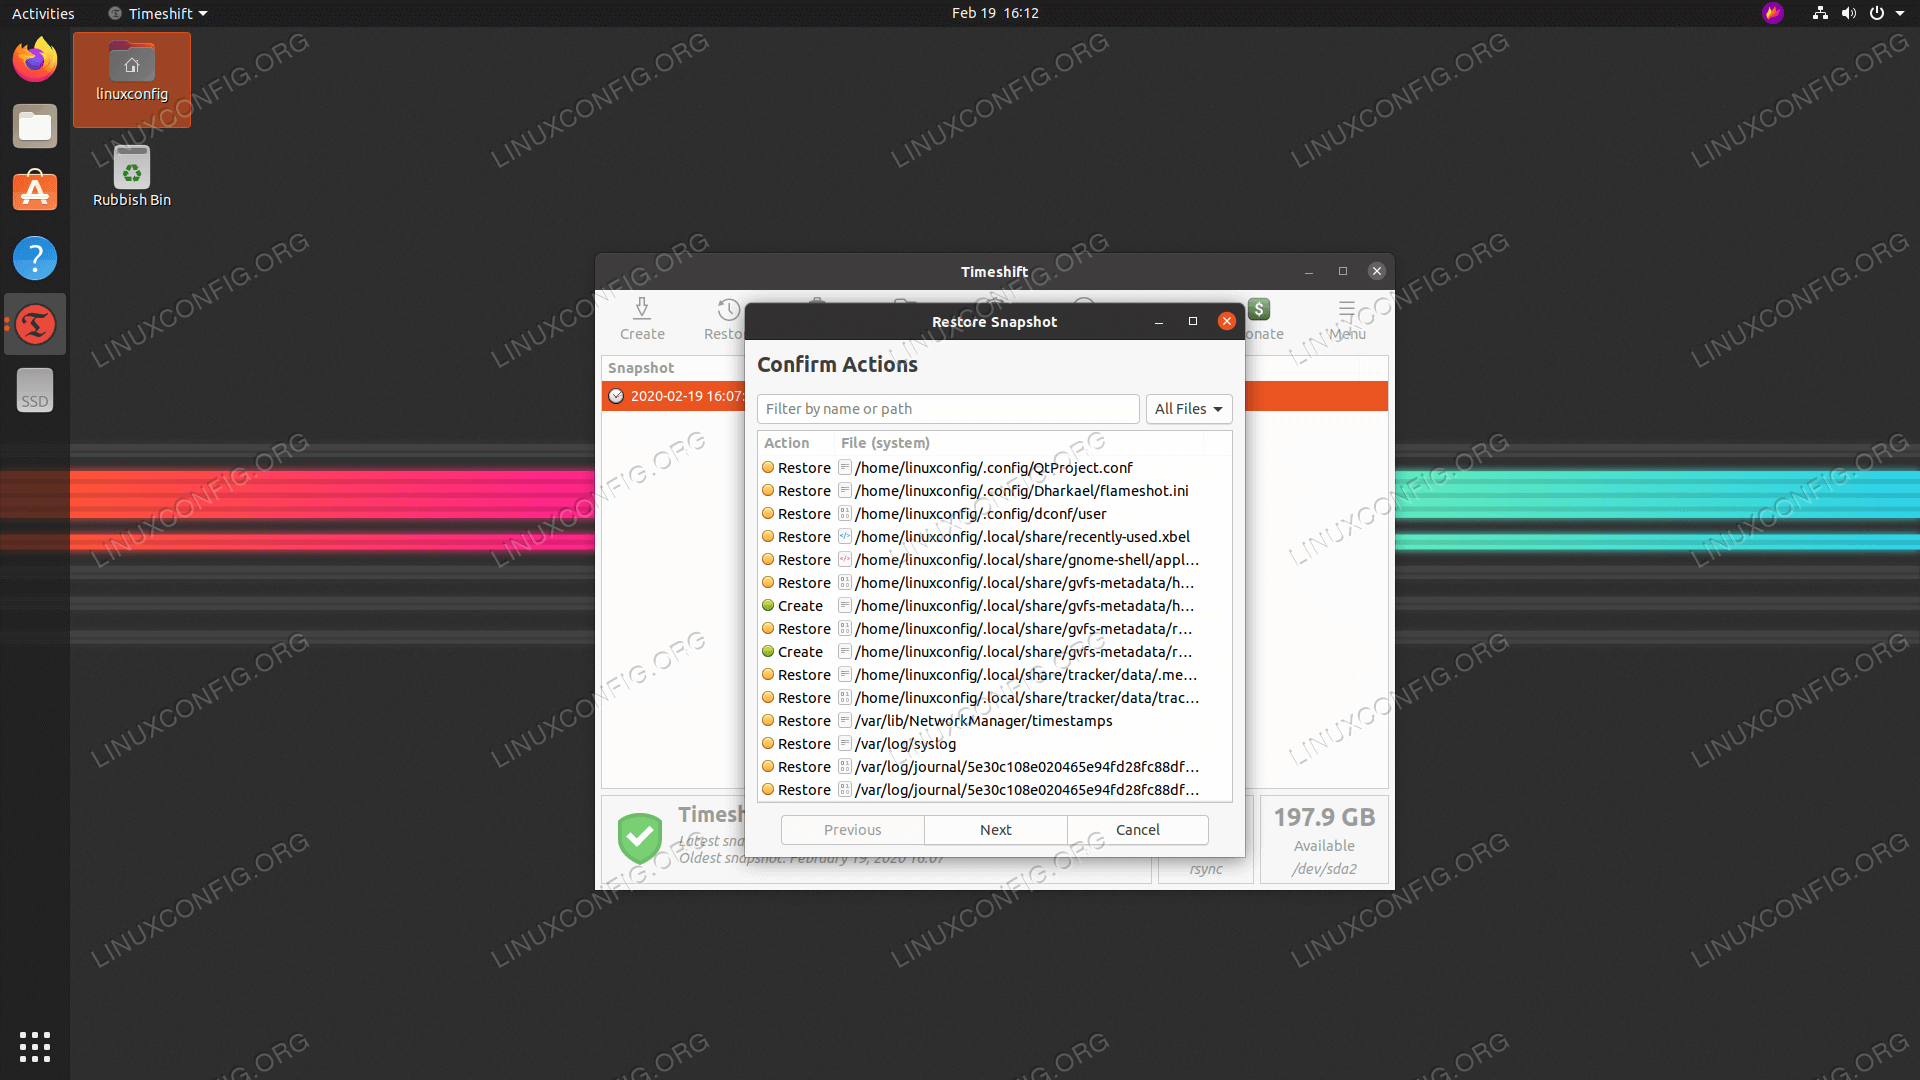
在下一个窗口中,点击 “Next” 按钮确认显示的操作。
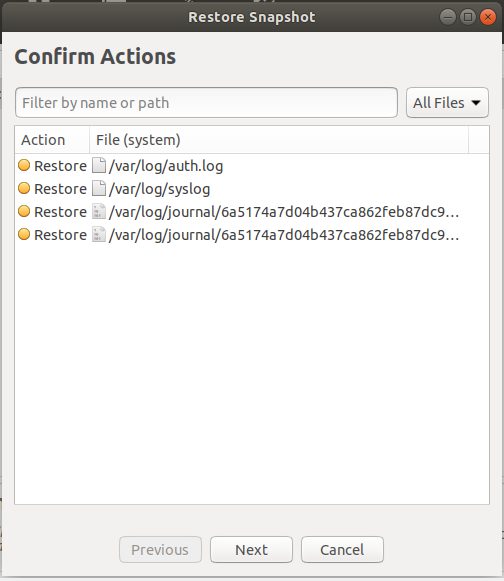
Confirm actions
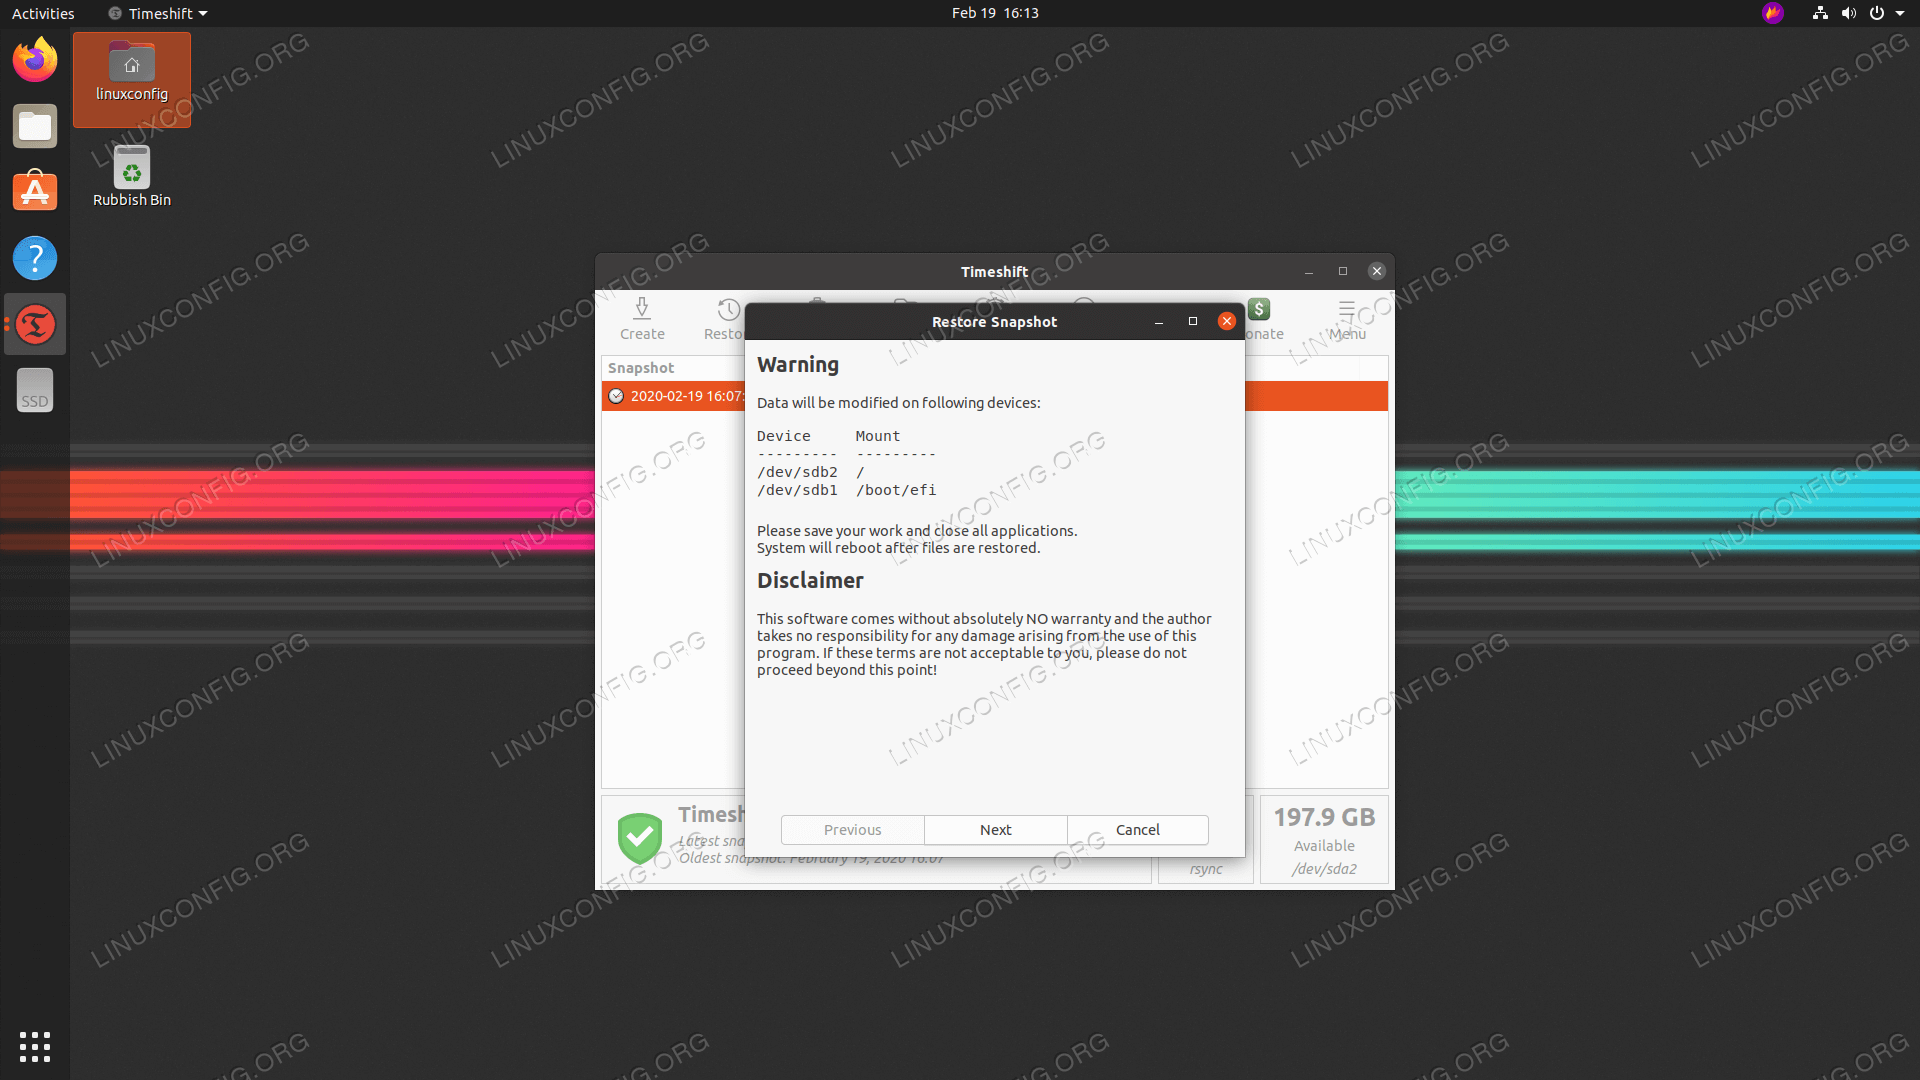
如图所示,你会看到警告和免责声明。点击 “Next” 初始化恢复过程。
此后,将开始还原过程,最后,系统之后将重新启动到快照定义的早期版本。
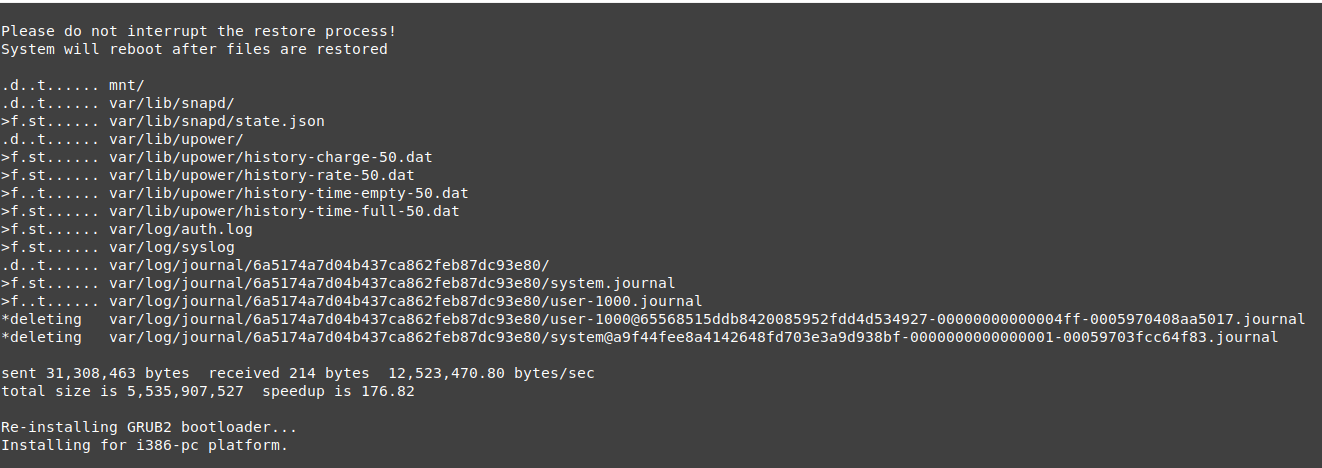
Restoring snapshot
总结
如你所见,使用 TimeShift 从快照还原系统非常容易。在备份系统文件时,它非常方便,并允许你在系统故障时进行恢复。因此,不要害怕修改系统或弄乱系统。TimeShift 使你能够返回到一切运行平稳的时间点。
https://www.linuxtechi.com/timeshift-backup-restore-ubuntu-linux/
https://linuxconfig.org/ubuntu-20-04-system-backup-and-restore
In this tutorial we will use Timeshift to create the full system backup snapshot of Ubuntu 20.04 system. Furthermore, you will learn how to restore from your previously created backup snapshot.
In this tutorial you will learn:
- How to create full system backup snapshot
- How to restore from backup snapshot
- How to create and restore backup from the command line
Software Requirements and Conventions Used
| Category | Requirements, Conventions or Software Version Used |
|---|---|
| System | Installed Ubuntu 20.04 or upgraded Ubuntu 20.04 Focal Fossa |
| Software | timeshift |
| Other | Privileged access to your Linux system as root or via the sudo command. |
| Conventions | # - requires given linux commands to be executed with root privileges either directly as a root user or by use of sudo command$ - requires given linux commands to be executed as a regular non-privileged user |
Ubuntu 20.04 System Backup and Restore step by step instructions
Using the following steps we will first create system backup of the Ubuntu 20.04 system using the Timeshift graphical user interface. Later we will restore from the previously created system backup snapshot.
First step is to install the Timeshift backup utility on your Ubuntu 20.04 System. To do this execute the following command:
$ sudo apt install timeshift
Create Backup by using the Timeshift GUI
Create system backup
- Open the
timeshiftapplication via top leftActivitiesmenu.
SUBSCRIBE NEWSLETTER & RSS
Subscribe to RSS and NEWSLETTER and receive latest Linux news, jobs, career advice and tutorials.
Restore from backup
Subscribe to RSS and NEWSLETTER and receive latest Linux news, jobs, career advice and tutorials.
Create and restore backup by using the Timeshift's command line
- Create a first backup simply by executing the below command:
$ sudo timeshift --create
First run mode (config file not found)
Selected default snapshot type: RSYNC
Mounted /dev/sda2 at /media/root/359151f5-efb9-483d-a738-894d57e2d8c8.
Selected default snapshot device: /dev/sda2
------------------------------------------------------------------------------
Estimating system size...
Creating new snapshot...(RSYNC)
Saving to device: /dev/sda2, mounted at path: /media/root/359151f5-efb9-483d-a738-894d57e2d8c8
Synching files with rsync...
Created control file: /media/root/359151f5-efb9-483d-a738-894d57e2d8c8/timeshift/snapshots/2020-02-19_18-32-36/info.json
RSYNC Snapshot saved successfully (39s)
Tagged snapshot '2020-02-19_18-32-36': ondemand
The above command will also create a new configuration file located at the following location:/etc/timeshift.json.
- List all your currently created system backup screenshots:
$ sudo timeshift --list
Device : /dev/sda2
UUID   : 359151f5-efb9-483d-a738-894d57e2d8c8
Path   : /media/root/359151f5-efb9-483d-a738-894d57e2d8c8
Mode   : RSYNC
Device is OK
1 snapshots, 197.7 GB free

Num     Name                 Tags  Description
------------------------------------------------------------------------------
0    >  2020-02-19_18-32-36  O
- Restore from the backup snapshot:
$ sudo timeshift --restore --snapshot "2020-02-19_18-32-36"
- Delete selected backup snapshot:
$ sudo timeshift --delete --snapshot '2014-10-12_16-29-08'




【推荐】国内首个AI IDE,深度理解中文开发场景,立即下载体验Trae
【推荐】编程新体验,更懂你的AI,立即体验豆包MarsCode编程助手
【推荐】抖音旗下AI助手豆包,你的智能百科全书,全免费不限次数
【推荐】轻量又高性能的 SSH 工具 IShell:AI 加持,快人一步
· AI与.NET技术实操系列(二):开始使用ML.NET
· 记一次.NET内存居高不下排查解决与启示
· 探究高空视频全景AR技术的实现原理
· 理解Rust引用及其生命周期标识(上)
· 浏览器原生「磁吸」效果!Anchor Positioning 锚点定位神器解析
· 全程不用写代码,我用AI程序员写了一个飞机大战
· DeepSeek 开源周回顾「GitHub 热点速览」
· 记一次.NET内存居高不下排查解决与启示
· MongoDB 8.0这个新功能碉堡了,比商业数据库还牛
· .NET10 - 预览版1新功能体验(一)
2019-04-08 一个删除自身的程序源代码