Liunxa安装Nignx,Git
Linux安装Nignx
1、安装依赖
-
执行语句
-
yum install gcc patch libffi-devel python-devel zlib-devel bzip2-devel openssl-devel ncurses-devel sqlite-devel readline-devel tk-devel gdbm-devel db4-devel libpcap-devel xz-devel openssl openssl-devel -y -
依赖介绍
#依赖简单介绍
一. gcc 安装
安装 nginx 需要先将官网下载的源码进行编译,编译依赖 gcc 环境,如果没有 gcc 环境,则需要安装:
yum install gcc-c++

二. PCRE pcre-devel 安装
PCRE(Perl Compatible Regular Expressions) 是一个Perl库,包括 perl 兼容的正则表达式库。nginx 的 http 模块使用 pcre 来解析正则表达式,所以需要在 linux 上安装 pcre 库,pcre-devel 是使用 pcre 开发的一个二次开发库。nginx也需要此库。命令:
yum install -y pcre pcre-devel

三. zlib 安装
zlib 库提供了很多种压缩和解压缩的方式, nginx 使用 zlib 对 http 包的内容进行 gzip ,所以需要在 Centos 上安装 zlib 库。
yum install -y zlib zlib-devel

四. OpenSSL 安装
OpenSSL 是一个强大的安全套接字层密码库,囊括主要的密码算法、常用的密钥和证书封装管理功能及 SSL 协议,并提供丰富的应用程序供测试或其它目的使用。

nginx 不仅支持 http 协议,还支持 https(即在ssl协议上传输http),所以需要在 Centos 安装 OpenSSL 库。
2、编译安装nginx
-
下载安装包
wget http://nginx.org/download/nginx-1.20.1.tar.gz -
解压
tar -xzvf nginx-1.20.1.tar.gz -
配置,编译安装 开启nginx状态监测功能
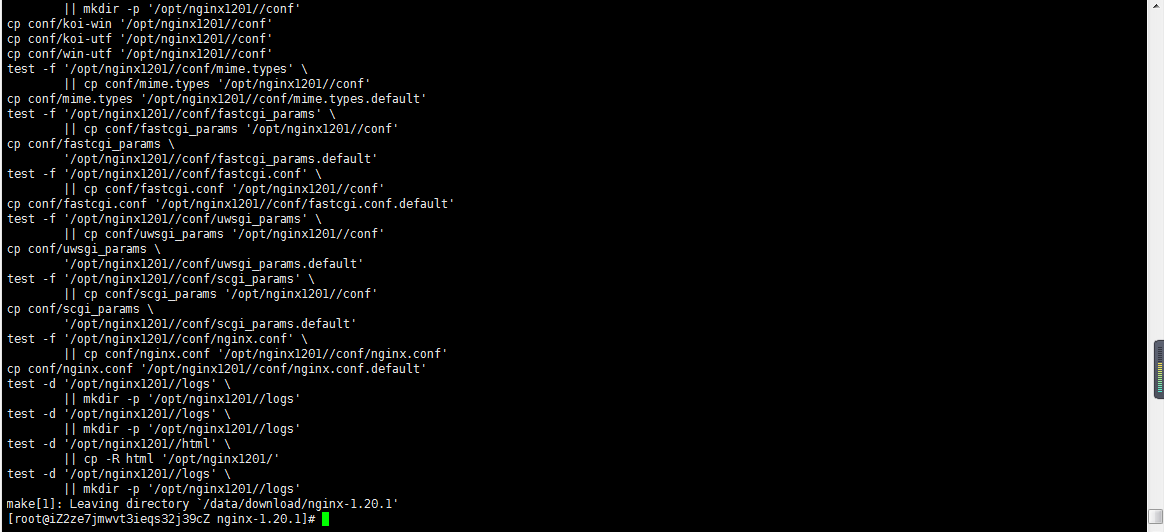
cd nginx-1.20.1
./configure --prefix=/opt/nginx1201/
make && make install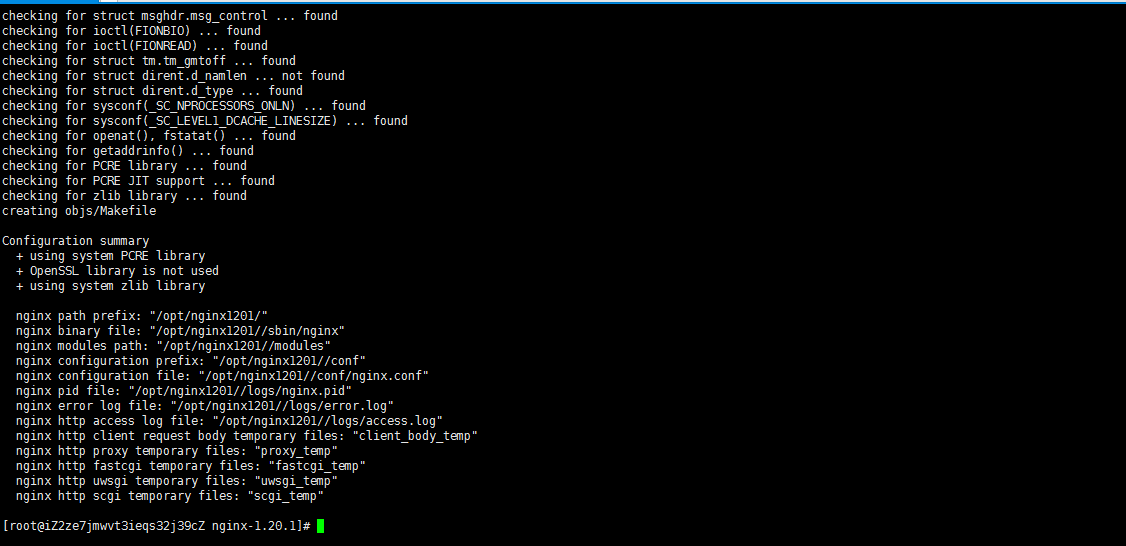
3、启动nginx
-
进入sbin目录,找到nginx启动命令
[root@iZ2ze7jmwvt3ieqs32j39cZ nginx-1.20.1]# cd ~
[root@iZ2ze7jmwvt3ieqs32j39cZ ~]# cd /opt/nginx1201/
[root@iZ2ze7jmwvt3ieqs32j39cZ nginx1201]# ls
conf  html  logs  sbin
[root@iZ2ze7jmwvt3ieqs32j39cZ nginx1201]# cd sbin
[root@iZ2ze7jmwvt3ieqs32j39cZ sbin]# ls
nginx

-
启动
./nginx #启动
./nginx -s stop #关闭
./nginx -s reload #重新加载
-
修改path
PATH=$PATH:/opt/nginx1201/
4、nginx软件目录
- conf 存放nginx所有配置文件的目录,主要nginx.conf
- html 存放nginx默认站点的目录,如index.html、error.html等
- logs 存放nginx默认日志的目录,如error.log access.log
- sbin 存放nginx主命令的目录,sbin/nginx
Nginx主配置文件/etc/nginx/nginx.conf是一个纯文本类型的文件,整个配置文件是以区块的形式组织的。一般,每个区块以一对大括号{}来表示开始与结束。
CoreModule核心模块
user www;                       #Nginx进程所使用的用户
worker_processes 1;             #Nginx运行的work进程数量(建议与CPU数量一致或auto)
error_log /log/nginx/error.log  #Nginx错误日志存放路径
pid /var/run/nginx.pid          #Nginx服务运行后产生的pid进程号
events事件模块
events {
    worker_connections  //每个worker进程支持的最大连接数
    use epool;          //事件驱动模型, epoll默认
}
http内核模块
//公共的配置定义在http{}
http {  //http层开始
...
    //使用Server配置网站, 每个Server{}代表一个网站(简称虚拟主机)
    'server' {
        listen       80;        //监听端口, 默认80
        server_name  localhost; //提供服务的域名或主机名
        access_log host.access.log  //访问日志
        //控制网站访问路径
        'location' / {
            root   /usr/share/nginx/html;   //存放网站代码路径
            index  index.html index.htm;    //服务器返回的默认页面文件
        }
        //指定错误代码, 统一定义错误页面, 错误代码重定向到新的Locaiton
        error_page   500 502 503 504  /50x.html;
    }
    ...
    //第二个虚拟主机配置
    'server' {
    ...
    }
    include /etc/nginx/conf.d/*.conf;  //包含/etc/nginx/conf.d/目录下所有以.conf结尾的文件
}   //http层结束
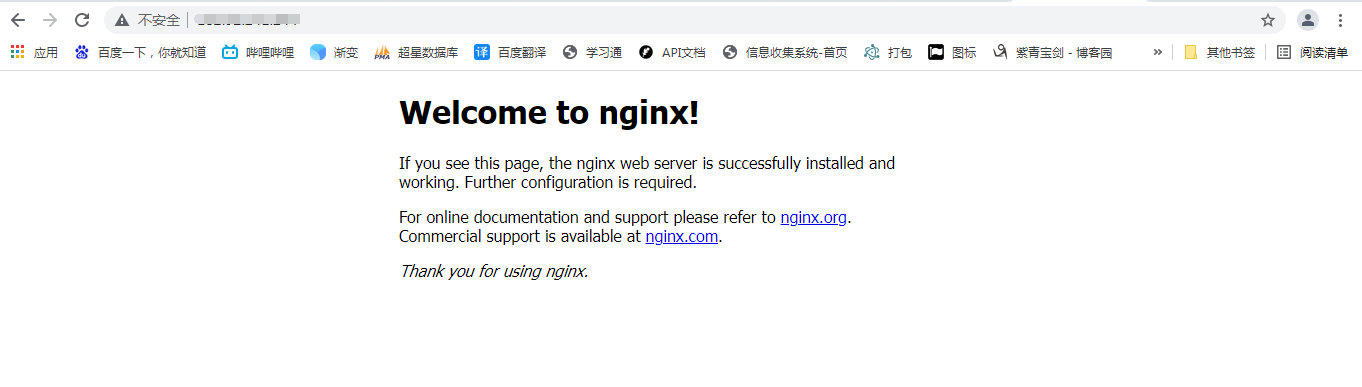
5、部署nginx站点
-
nginx默认站点是Nginx目录下的html文件夹,这里可以从nginx.conf中查到
 location /{
            root   html;  #这里是默认的站点html文件夹,也就是              								/opt/nginx1-12/html/文件夹下的内容
            index  index.html index.htm; #站点首页文件名是index.html
        }
6.反向代理
-
反向代理配置文件nginx.conf
worker_processes  1;
error_log  logs/error.log;
pid        logs/nginx.pid;
events {
    worker_connections  1024;
}
http {
    include       mime.types;
    default_type  application/octet-stream;
    log_format  main  '$remote_addr - $remote_user [$time_local] "$request" '
                      '$status $body_bytes_sent "$http_referer" '
                      '"$http_user_agent" "$http_x_forwarded_for"';
    access_log  logs/access.log  main;
    sendfile        on;
    keepalive_timeout  65;
    server {
        listen       80;
        server_name  192.168.11.63;
        location / {
        proxy_pass  http://192.168.11.64;
            root   html;
            index  index.html index.htm;
        }
        error_page   500 502 503 504  /50x.html;
        location = /50x.html {
            root   html;
        }
    }
}
7、补充:安装git
-
yum安装
yum -y install git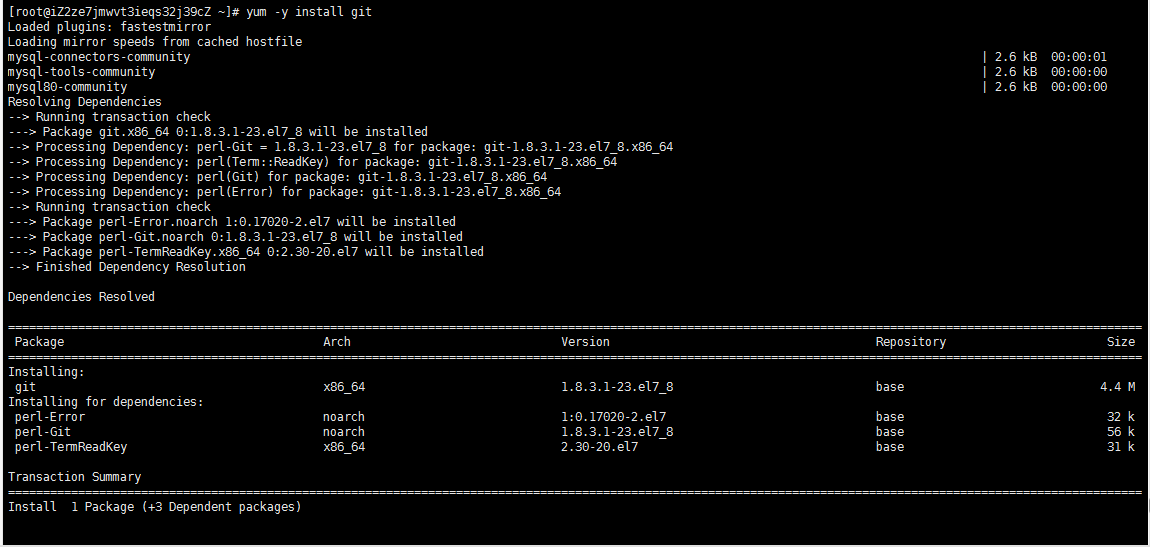
-
查看安装的版本
git --version

 浙公网安备 33010602011771号