Bochs编程环境安装
Bochs编程环境安装
写在前面
为了更好的记录自己学习过程以及踩过的坑,记录一下《操作系统真相还原》的编程环境安装。
安装过程参考了CSDN的这篇博客:安装Vmware Station 安装Ubuntu 装载配置Bochs
1. 本地安装环境
-
本机系统:win10 64位专业版,基于x64的处理器,机身内存8G。
-
安装的虚拟机VMware版本:VMware® Workstation 14 Pro。
VMware的安装过程可以参考:VMware Ubuntu安装详细过程(详细图解)_cdtaogang的博客-CSDN博客。
VMware tools安装可以参考:Ubuntu VMware Tools安装详细过程(非常靠谱)_cdtaogang的博客-CSDN博客,写得非常好。
-
虚拟机中安装Ubuntu操作系统版本:ubuntu-18.04.5-desktop-amd64。
ubuntu镜像源:Index of /ubuntu-releases/18.04.6/ | 清华大学开源软件镜像站 | Tsinghua Open Source Mirror,这里18.04.5版本找不到了,18.04.6版也能用。需要提醒的是,在VMware中安装ubuntu的时候,尽量不要选择“安装Ubuntu时下载更新”,若安装过程中出现网络问题,直接杯具。
以上安装过程一切顺利,世界仍旧很美好。
- 在ubuntu中安装的bochs版本为:[2.6.8 Bochs.tar.gz](Download Bochs x86 PC emulator from SourceForge.net),选择这个版本的原因是所参考的这篇博客显示其它版本有坑,听人劝,吃饱饭。
2. bochs安装
这里重点介绍一下bochs的安装过程以及遇到的问题。
-
首先再window中下载bochs,然后通过VMwsare直接将bochs压缩包拖到Ubuntu中,解压。
tar -zxvf bochs-2.6.8.tar.gz -
编译,开始configure、make、make install三部曲。
- 根据《操作系统真相还原》,直接configure脚本,它会测试我们的机器,C/C++编译器以及一些库,用来判断何种配置适合于我们的机器。
./configure \
--prefix=/home/xiezhao/bochs \
--enable-debugger \
--enable-disasm \
--enable-iodebug \
--enable-x86-debugger \
--with-x \
--with-x11
# 注意各行'\'字符之前都有个空格
不出意料,开始报错。
-
报错一:
no acceptable C compiler found in $PATH![]()
解决方法:
apt-get -y install gcc,安装一个c编译器。
继续执行configure,报错,但错误原因发生了变化:
-
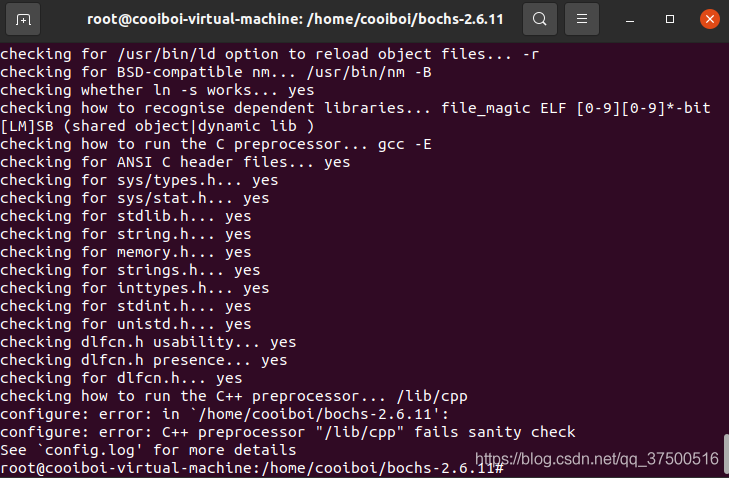
报错二:
C++ preprocessor "/lib/cpp" fails sanity check![]()
解决方法:
apt-get install build-essentialapt-get install g++
继续执行configure,还是报错,但错误原因再次发生了变化:
-
报错三:
ERROR: X windows gui was selected, but X windows libraries were not found解决方法:
sudo apt-get install xorg-dev
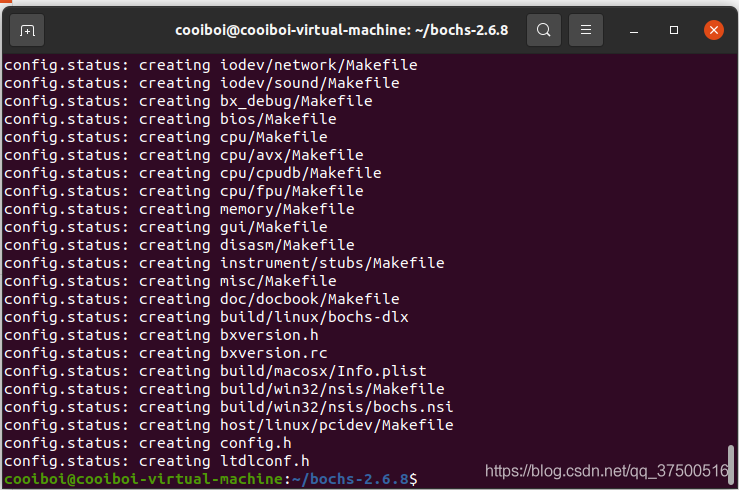
终于configure成功!
![]()

接下直接
-
make
-
make install
![]()
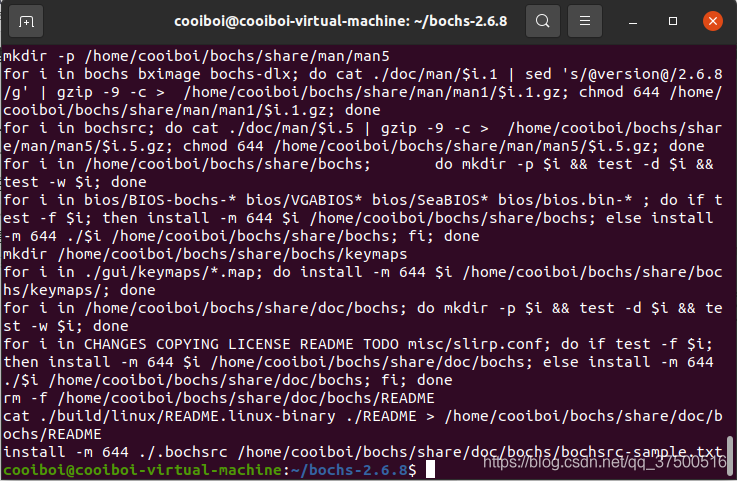
一切顺利,到此bochs的安装结束。
3. bochs配置
有时间再更

 浙公网安备 33010602011771号