flume + kafka 读取 nginx日志 并同步到clickhouse
1.kafka安装运行
kafka中包含了 zookeeper,无需单独安装zookeeper
先启动zookeeper
bin/zookeeper-server-start.sh -daemon config/zookeeper.properties
然后启动kafka
bin/kafka-server-start.sh -daemon config/server.properties
启动一个消费端,topic是 flume_topic
bin/kafka-topics.sh --create --topic flume_topic --partitions 1 --replication-factor 1 --bootstrap-server localhost:9092
--create 是创建主题的动作指令,
--bootstrap-server 指定了连接的 Kafka 集群地址,
--topic 指定了所要创建主题的名称,
--replication-factor 指定了副本因子,
--partitions 指定了分区个数。
即创建了一个分区为 1、副本因子为 1 的主题 flume_topic
或者使用kafkacat:
kafkacat -b localhost:9092 -C -o -10 -t flume_topic
2.flume安装运行
在conf目录新建一个flume-kafka.conf配置
# flume-kafka.conf: A Flume configuration file with a Kafka sink

# Name the components on this agent
agent1.sources = source1
agent1.sinks = sink1
agent1.channels = channel1

# Describe/configure the source
agent1.sources.source1.type = exec
agent1.sources.source1.command = tail -F /var/log/nginx/access.log
agent1.sources.source1.batchSize = 100
agent1.sources.source1.interceptors = timestamp_interceptor
agent1.sources.source1.interceptors.timestamp_interceptor.type = timestamp

# Describe/configure the sink
agent1.sinks.sink1.type = org.apache.flume.sink.kafka.KafkaSink
agent1.sinks.sink1.topic = flume_topic
agent1.sinks.sink1.brokerList = localhost:9092

# Use a channel which buffers events in memory
agent1.channels.channel1.type = memory
agent1.channels.channel1.capacity = 1000
agent1.channels.channel1.transactionCapacity = 100

# Bind the source and sink to the channel
agent1.sources.source1.channels = channel1
agent1.sinks.sink1.channel = channel1
启动flume
./bin/flume-ng agent --conf /data/software/apache-flume-1.11.0-bin/conf --conf-file conf/flume-kafka.conf --name agent1
--name agent1 对应上面flume-kafka.conf中的agent1
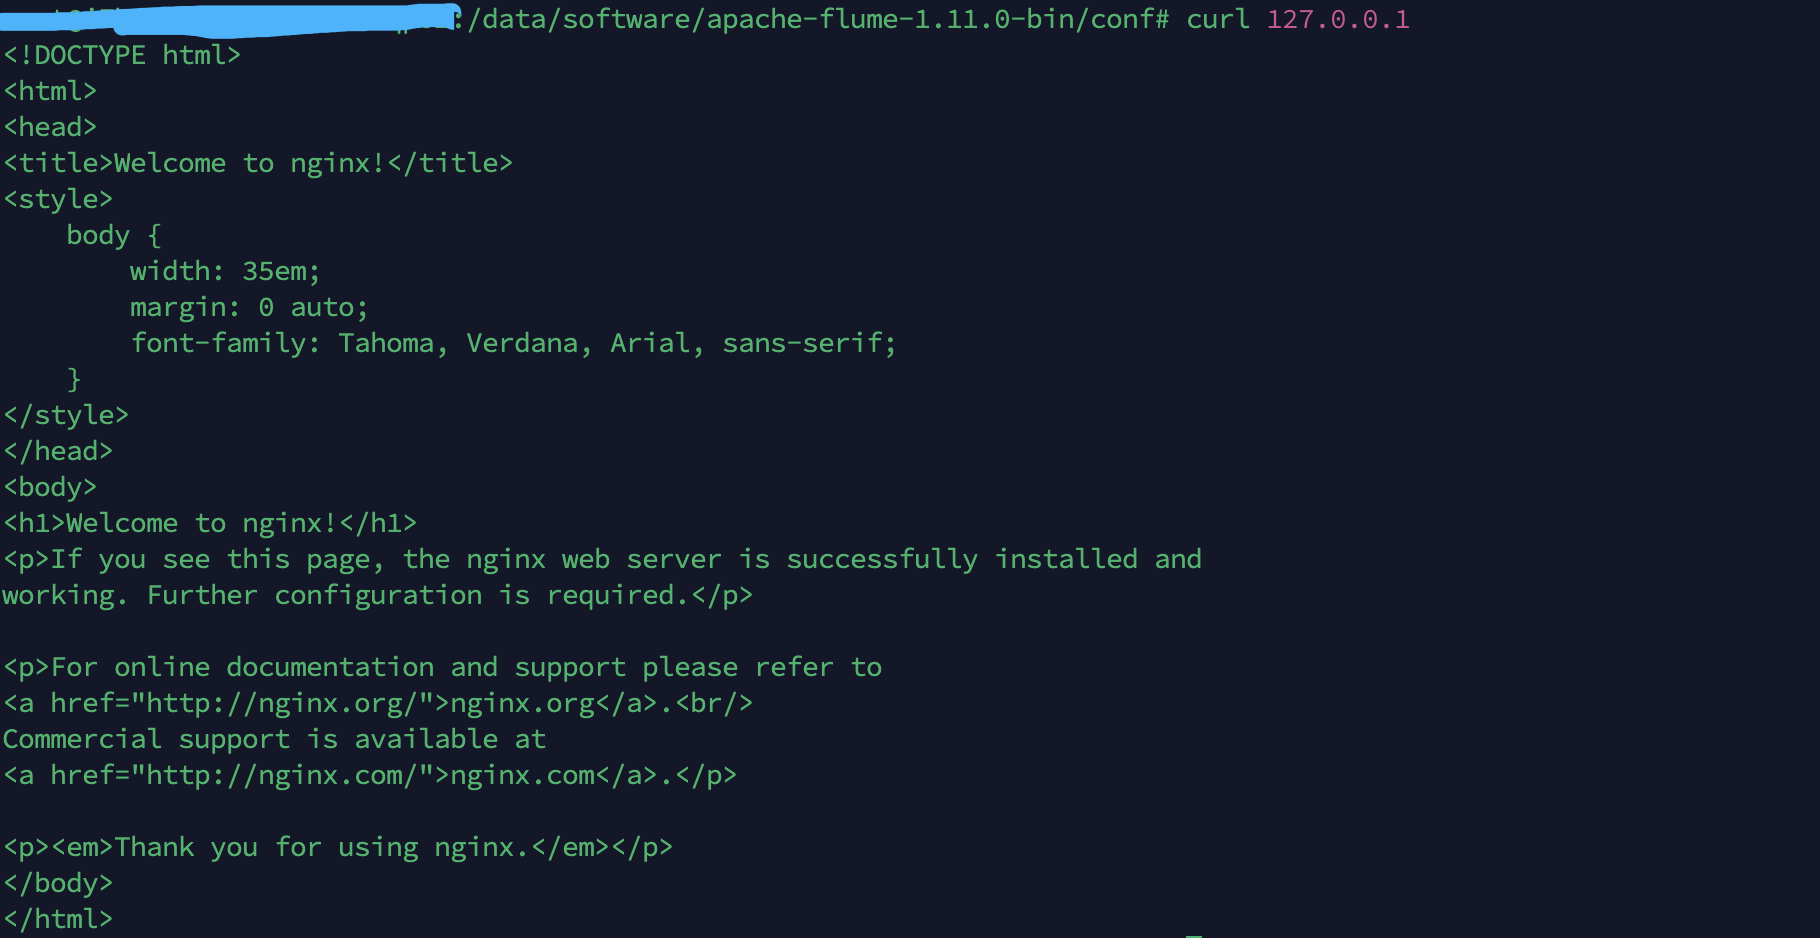
3.测试
访问nginx
kafka消费端收到消息
![]()
4.修改nginx配置
将指定请求的参数输出到 postdata.log 中,调试没问题后就去修改flume中的监控路径变成现在这个postdata.log
/etc/nginx/sites-available/default 做了如下修改,输出的日志格式为json
log_format postdata escape=json '{"timestamp": "$time_iso8601", '
                        '"remote_addr": "$remote_addr", '
                        '"request_body": "$request_body", '
                        '"agent": "$http_user_agent"'
                        ' }';


server {
        listen 80 default_server;
        listen [::]:80 default_server;

        location = /post {
                access_log  /var/log/nginx/postdata.log  postdata;
                proxy_pass http://127.0.0.1/post_ok;
        }
        location = /post_ok {
                # turn off logging here to avoid double logging
                access_log off;
                return 200;
        }
}
测试修改:
nginx -t
修改生效:
nginx -s reload
5.修改flume配置

修改好后再次运行flume,测试接口就可以看到flume_top消费监听打印了

6.配置clickhouse
CREATE TABLE queue1 (
message String
) ENGINE = Kafka('localhost:9092', 'flume_topic', 'group1', 'JSONAsString');
CREATE MATERIALIZED VIEW queue_msg TO msg AS
SELECT
    generateUUIDv4() AS id,
    JSONExtractString(message, 'timestamp') AS timestamp,
    JSONExtractString(message, 'remote_addr') AS remote_addr,
    JSONExtract(JSONExtract(message, 'request_body', 'String'), 'name', 'String') AS name,
    JSONExtractString(message, 'agent') AS agent
FROM queue1
CREATE TABLE msg ( id UUID,
timestamp String,
remote_addr String,
name String,
agent String
) ENGINE = ReplacingMergeTree() order by id ;
7.通过postman测试
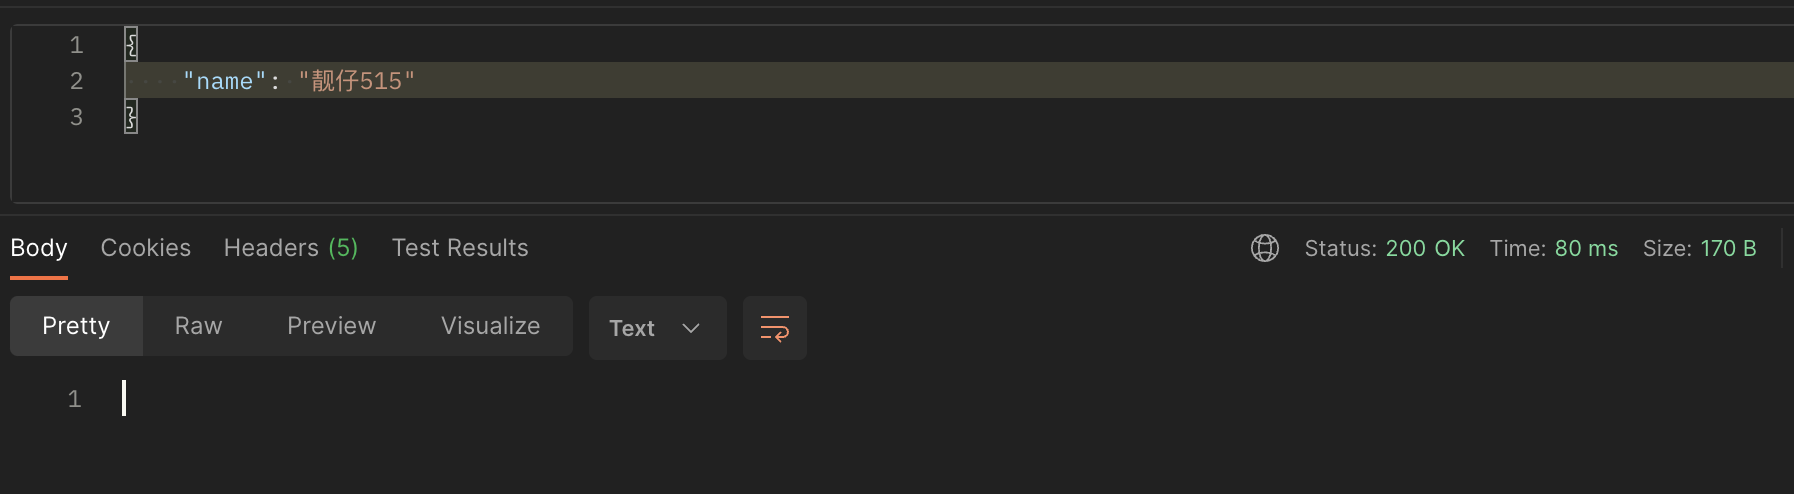

收到数据,完成了配置。

 浙公网安备 33010602011771号