使用ansible实现haproxy轮询
ansible实现haproxy轮询
项目环境:
| 主机名 | IP地址 | 用户 |
|---|---|---|
| ansible | 192.168.100.141 | greg |
| node1 | 192.168.100.142 | root |
| node2 | 192.168.100.143 | root |
| node3 | 192.168.100.140 | root |
实验步骤:
部署httpd
-
配置主机清单
[root@ansible /etc/ansible]#vim hosts [webservice] node1 node2 [haproxy] node3 -
编写角色模板
[root@ansible /etc/ansible/roles/httpd]#cat tasks/main.yml --- # tasks file for httpd - name: stop firewalld service: name: firewalld state: stopped enabled: no - name: stop selinux lineinfile: path: /etc/selinux/config regexp: '^SELINUX=' line: SELINUX=disabled - name: stop selinux1 shell: cmd: setenforce 0 - name: set yum script: yum.sh - name: install httpd yum: name: httpd state: present - name: index.html template: src: index.html.j2 dest: /var/www/html/index.html - name: restart httpd service: name: httpd state: restarted enabled: yes -
编写仓库替换脚本
[root@ansible /etc/ansible/roles/httpd]#cat files/yum.sh #!/bin/bash rm -rf /etc/yum.repos.d/* /usr/bin/curl -o /etc/yum.repos.d/CentOS-Base.repo https://mirrors.aliyun.com/repo/Centos-vault-8.5.2111.repo yum reinstall -y https://mirrors.aliyun.com/epel/epel-release-latest-8.noarch.rpm /usr/bin/sed -i 's|^#baseurl=https://download.example/pub|baseurl=https://mirrors.aliyun.com|' /etc/yum.repos.d/epel* /usr/bin/sed -i 's|^metalink|#metalink|' /etc/yum.repos.d/epel* -
编写模板
[root@ansible /etc/ansible/roles/httpd]#cat templates/index.html.j2 welcome to {{ ansible_fqdn }} of {{ ansible_default_ipv4.address }} -
编写主要
playbook[root@ansible /etc/ansible]#cat httpd.yml --- - name: use httpd role hosts: node2 roles: - httpd
部署harpoxy
-
编写角色模板
[root@ansible /etc/ansible/roles/haproxy]#cat tasks/main.yml --- # tasks file for haproxy - name: stop firewalld service: name: firewalld state: stopped enabled: no - name: stop selinux lineinfile: path: /etc/selinux/config regexp: '^SELINUX=' line: SELINUX=disabled - name: stop selinux1 shell: cmd: setenforce 0 - name: set yum script: yum.sh - name: install haproxy yum: name: haproxy state: present - name: cp config template: src: haproxy.cfg.j2 dest: /etc/haproxy/haproxy.cfg - name: restart haproxy service: name: haproxy state: restarted enabled: yes -
yum仓库替换脚本
[root@ansible /etc/ansible/roles/haproxy]#cat files/yum.sh #!/bin/bash rm -rf /etc/yum.repos.d/* /usr/bin/curl -o /etc/yum.repos.d/CentOS-Base.repo https://mirrors.aliyun.com/repo/Centos-vault-8.5.2111.repo yum install -y https://mirrors.aliyun.com/epel/epel-release-latest-8.noarch.rpm /usr/bin/sed -i 's|^#baseurl=https://download.example/pub|baseurl=https://mirrors.aliyun.com|' /etc/yum.repos.d/epel* /usr/bin/sed -i 's|^metalink|#metalink|' /etc/yum.repos.d/epel* -
编写模板
[root@ansible /etc/ansible/roles/haproxy]#cat templates/haproxy.cfg.j2 {% for lx in groups.webservers %} server {{ hostvars[lx].ansible_fqdn }} {{ hostvars[lx].ansible_default_ipv4.address }}:80 check {% endfor %} -
编写
playbook[root@ansible /etc/ansible]#cat haproxy.yml --- - name: get webservers facts hosts: webservers - name: user haproxy hosts: node3 roles: - haproxy -
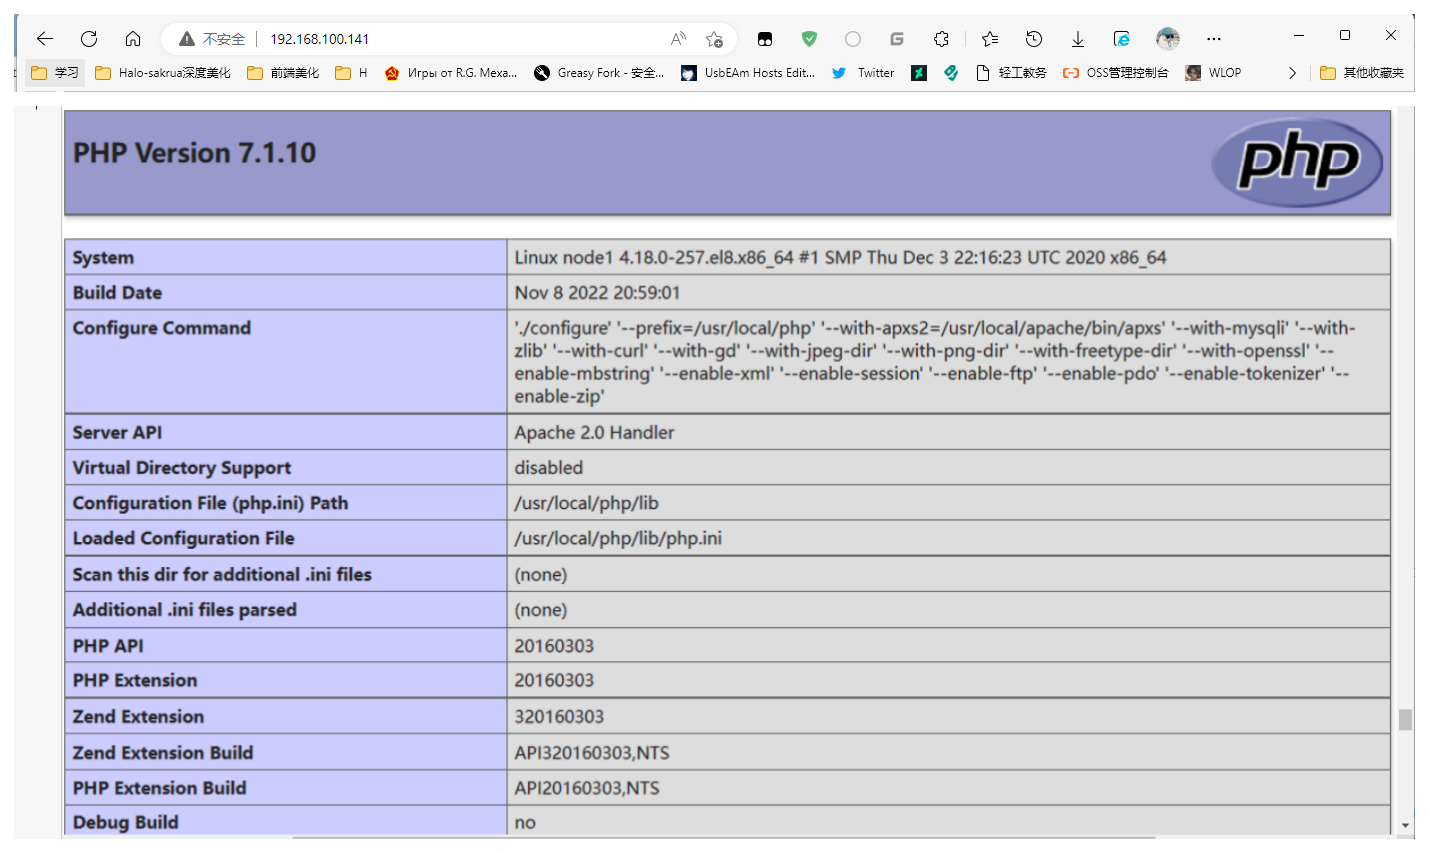
验证


【推荐】国内首个AI IDE,深度理解中文开发场景,立即下载体验Trae
【推荐】编程新体验,更懂你的AI,立即体验豆包MarsCode编程助手
【推荐】抖音旗下AI助手豆包,你的智能百科全书,全免费不限次数
【推荐】轻量又高性能的 SSH 工具 IShell:AI 加持,快人一步
· 分享4款.NET开源、免费、实用的商城系统
· 全程不用写代码,我用AI程序员写了一个飞机大战
· MongoDB 8.0这个新功能碉堡了,比商业数据库还牛
· 白话解读 Dapr 1.15:你的「微服务管家」又秀新绝活了
· 记一次.NET内存居高不下排查解决与启示