[AWS] Create MySQL database in RDS and connect from local / EC2
In this hands-on exercise, you will create a MySQL database instance using RDS.
- Prerequisites: AWS Account
- By the end of this lab, you will be able to launch a MySQL database
Follow the exercise instructions described below:
Step 1. Launch MySQL Database
- From the AWS Management Console page, select the RDS service.
- From the left-hand navigation pane of the RDS dashboard, select Databases service, and start the Create database wizard.
- Choose the Standard create option, and use the following configuration details:
Section Field Value Engine options Engine type MySQLEngine edition MySQL CommunityVersion Default Templates Free tier Settings DB instance identifier Your choice Master Username/Password Your choice DB instance size DB instance class Burstable classes db.t2.microStorage Storage type General purpose SSD Allocated storage 20GiB Storage autoscaling No Connectivity Virtual private cloud Prefer the default. Else, create a new VPC Subnet group Use default Public access Yes VPC security group Default Availability zone Default
Step 2. View Instance Details
-
You will be automatically navigated back to the Databases dashboard, where you can see your recently created database. Make sure the Status shows Available.
-
Click on the DB identifier to review the configuration details. Scroll through, and observe how the instance is configured.
Step 3. Connect to the Database Instance from a MySQL Client
Once you create a database instance, you can use any MySQL client application or utility to connect to the database instance. Let's try connecting to using the MySQL Workbench client. Please make sure the database you have created is public so that you can connect to it from your local computer.
- Download and install the MySQL Workbench on your local computer.
- Copy the RDS database instance's endpoint URL and port number.
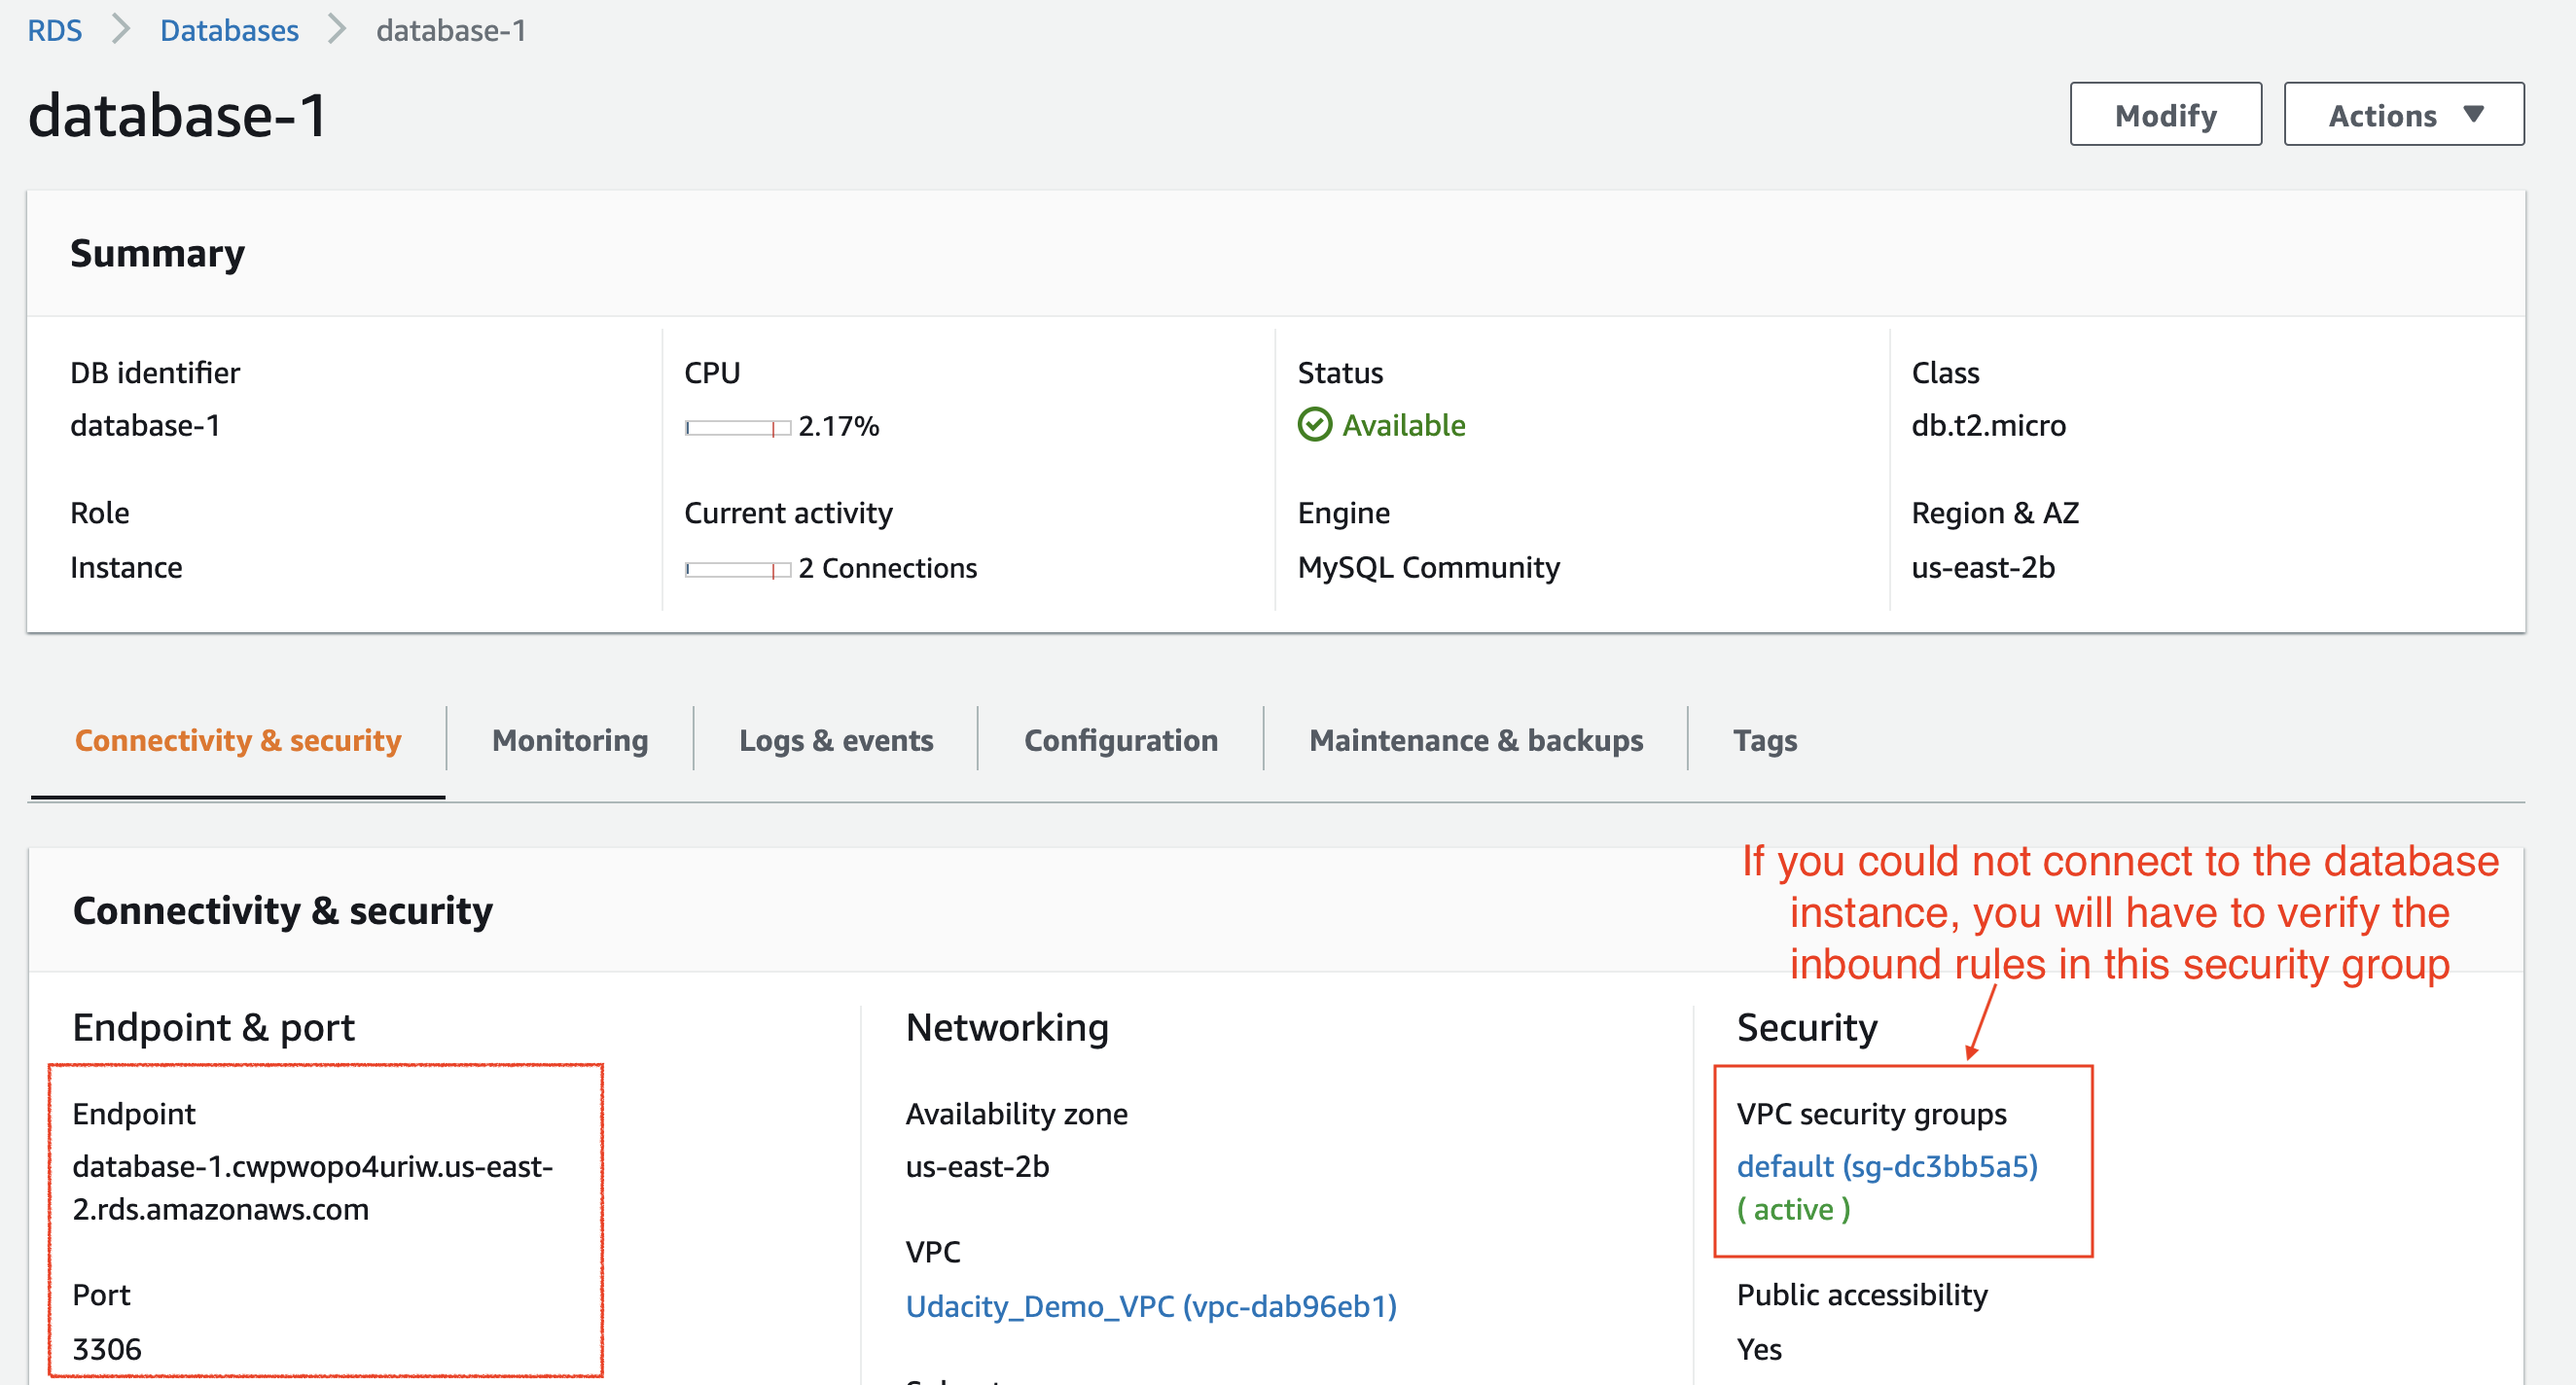
Copy the database instance's endpoint and port number
- Right-click and open the installed MySQL Workbench application.
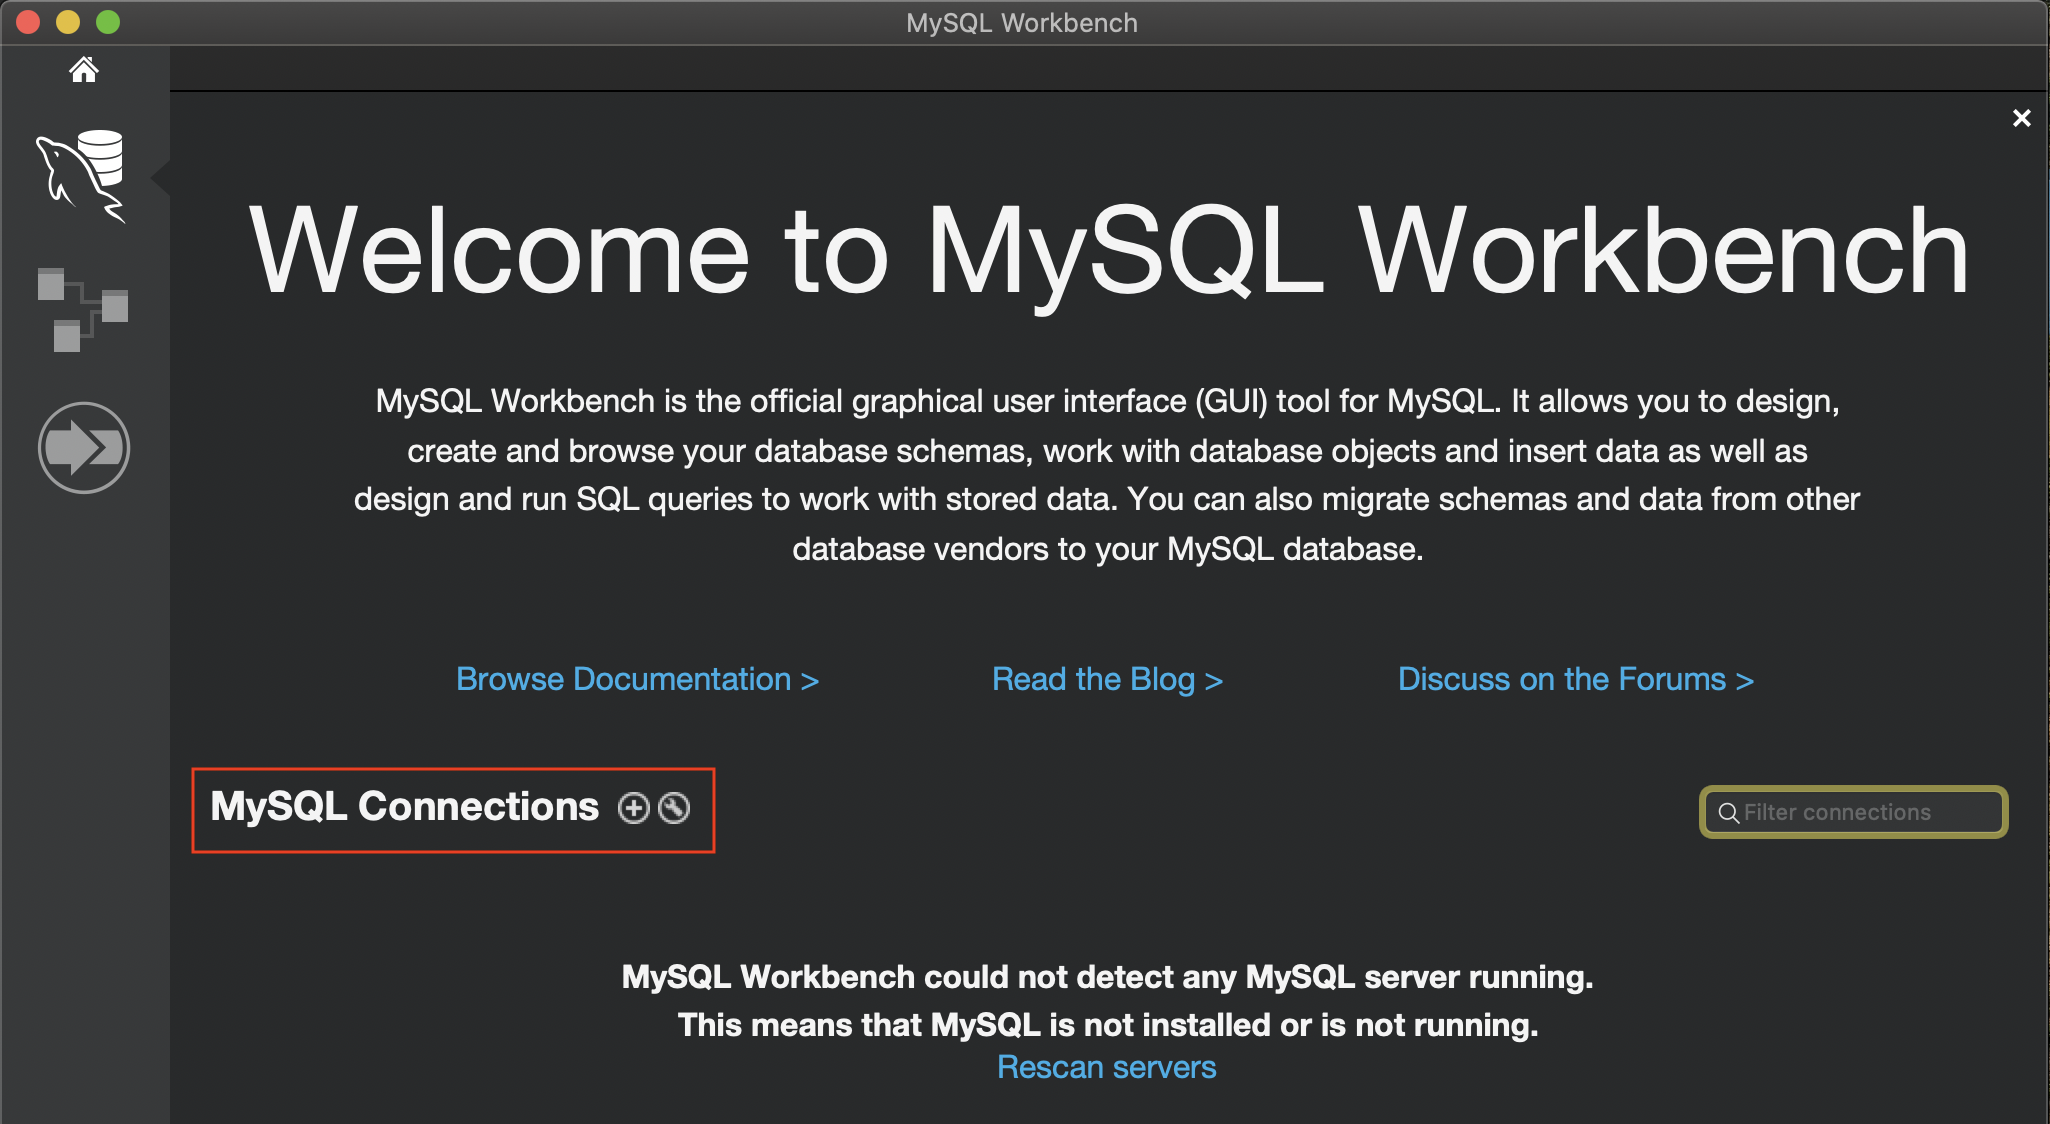
Welcome page of MySQL Workbench. Open MySQL Connections.
- Paste the database instance's endpoint URL, port number, and the master username/password.
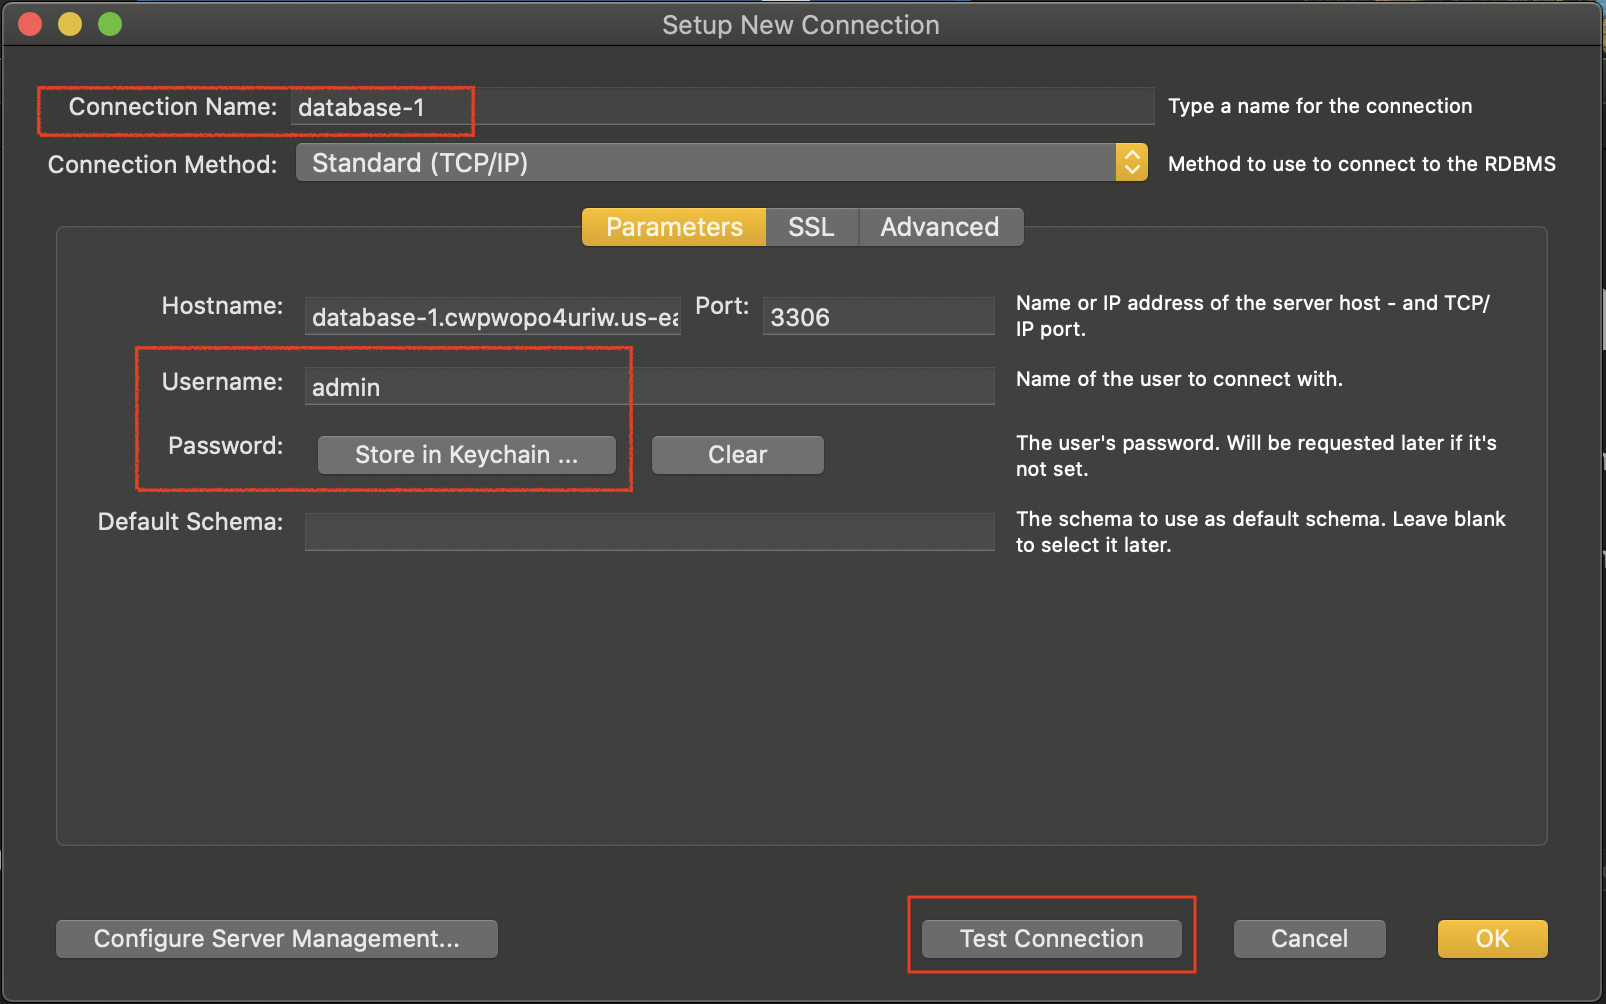
Paste the database instance's endpoint URL and port number in the MySQL Workbench
- Test your connection. In case of an unsuccessful connection, verify the inbound rules in the security group attached to the database instance should allow incoming traffic from your local computer or anywhere on the internet.
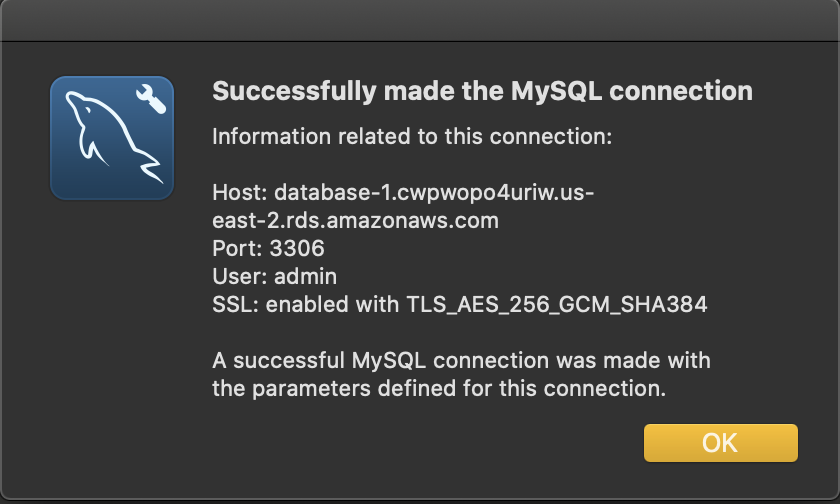
A successful connection prompt
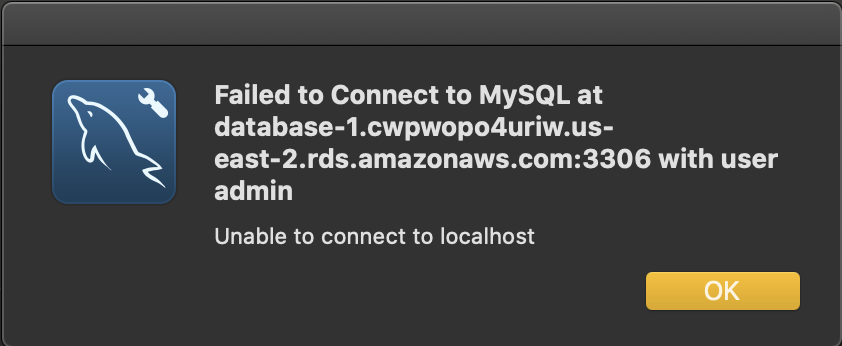
An unsuccessful connection. Check the security group for inbound rules.
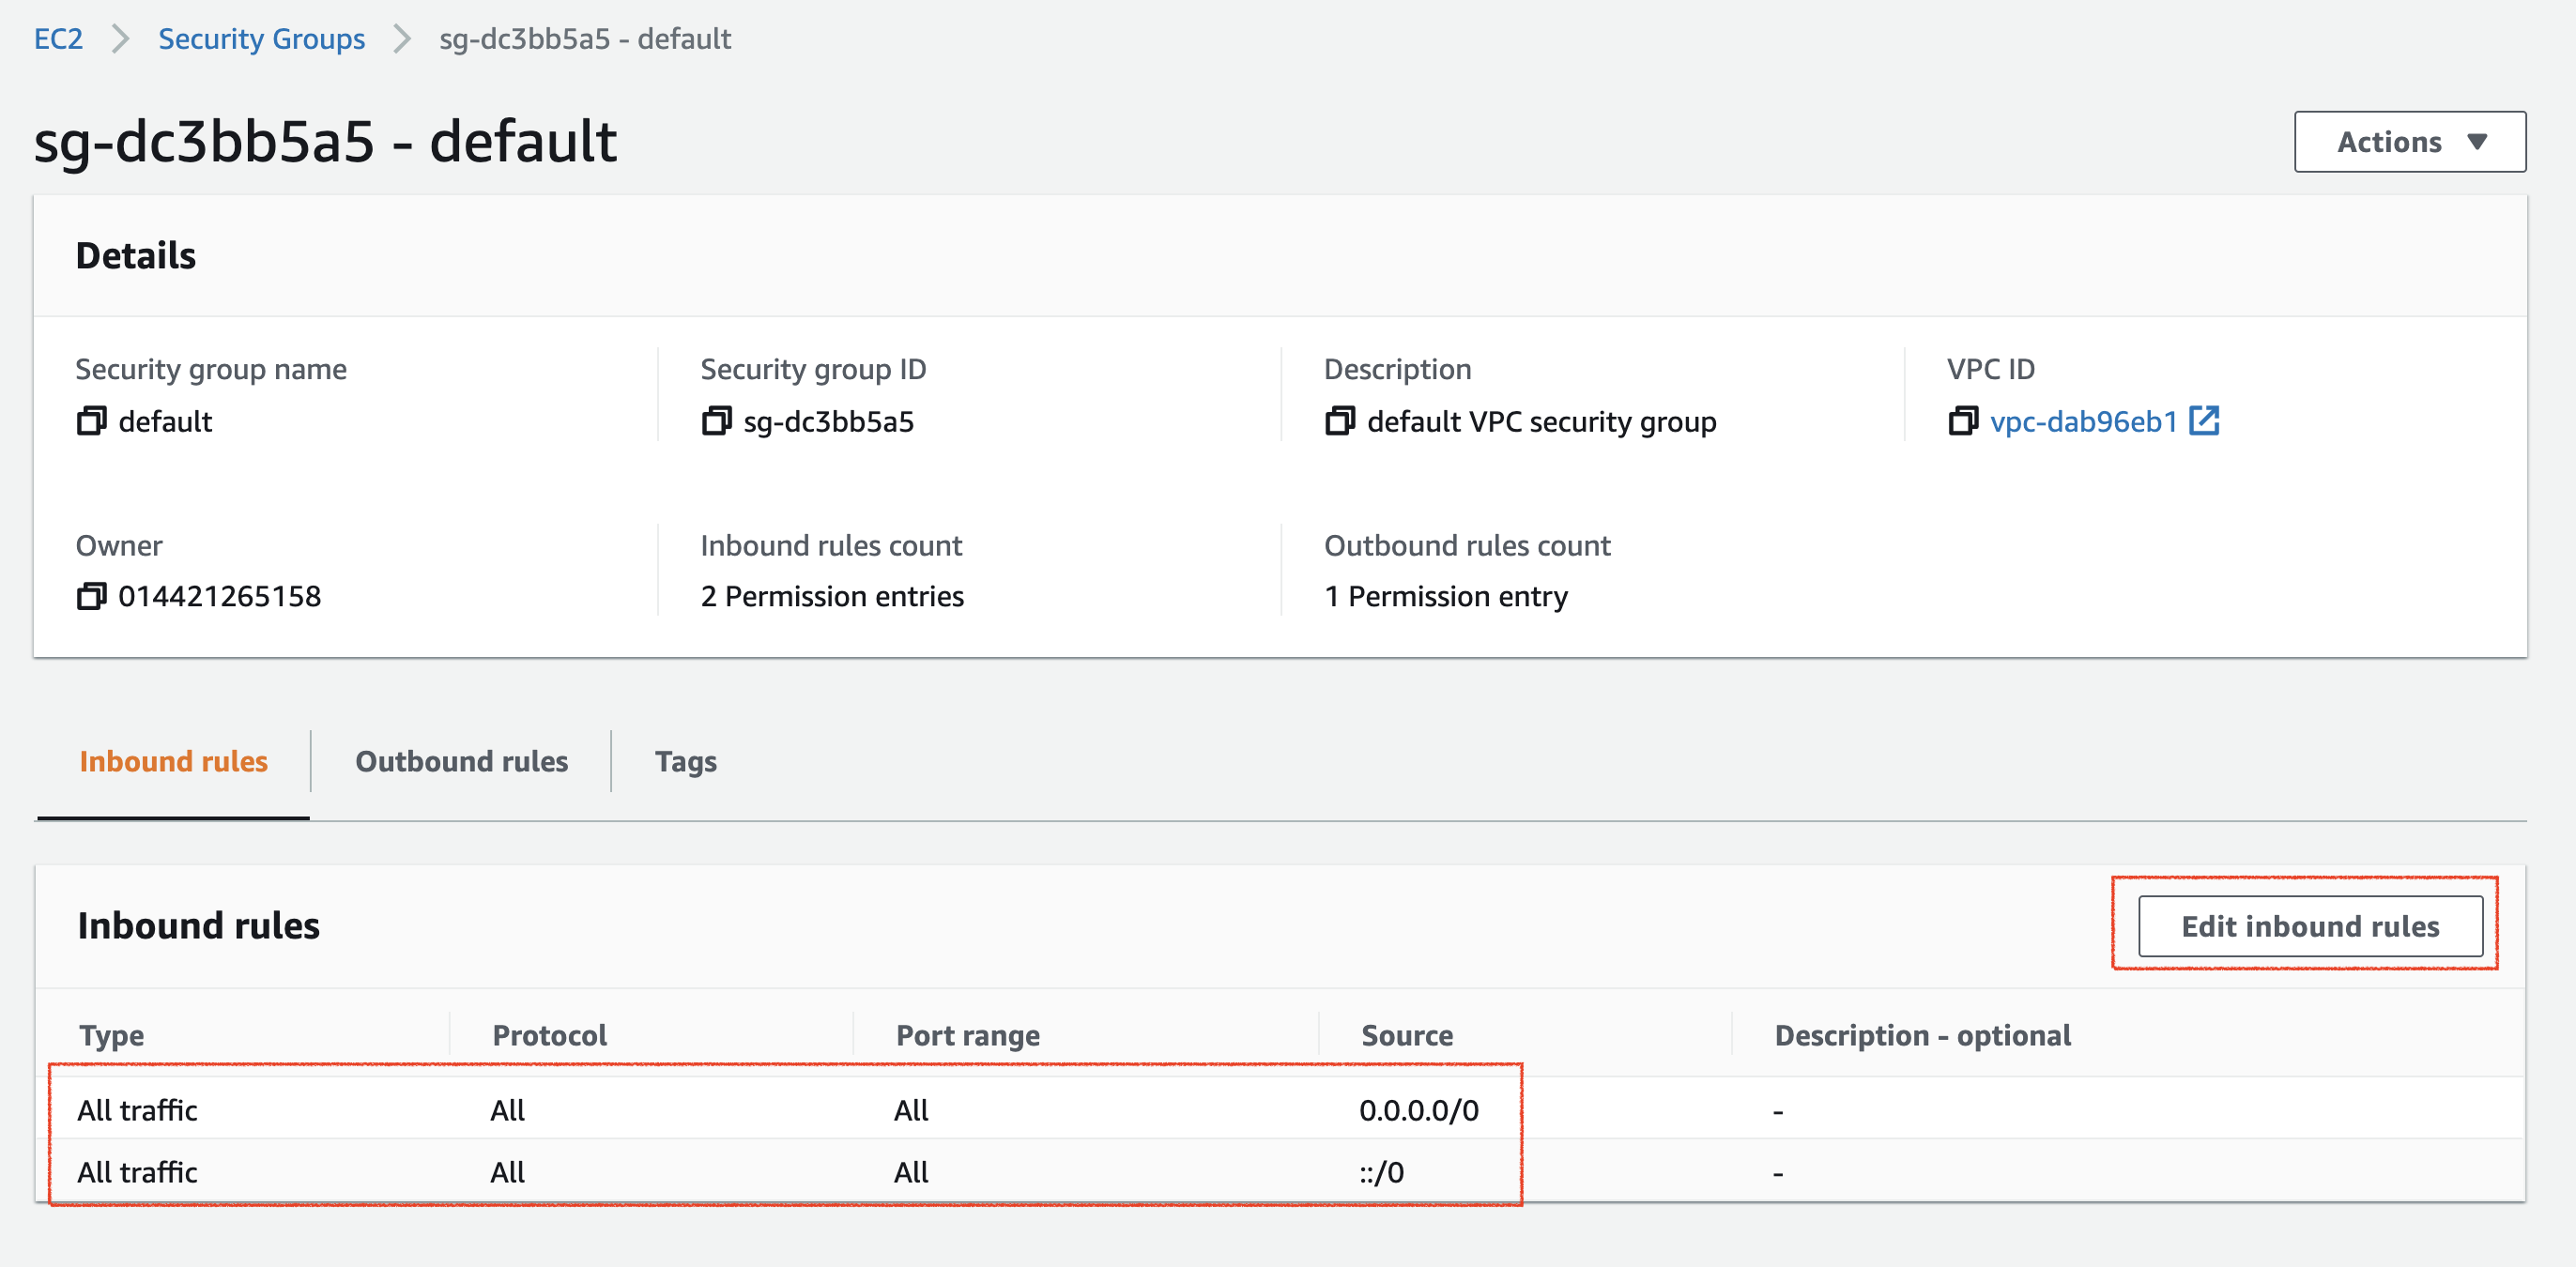
Details of the security group attached to the database instance, showing inbound traffic is allowed from anywhere on the internet.
- Reference - Refer to the Connecting from MySQL Workbench section here - Connecting to a DB instance running the MySQL database engine
Step 4. Delete Database Instance
Clean up the resources to avoid recurring charges.
- Select your newly created database from the Databases dashboard
- From the Actions button on the top-right corner, first Stop, and then Delete your database instance. You need not create a final snapshot or retain automated backups.
- Verify that you do not have a snapshot or retained automated backup.
Would be deleting the database also delete the newly created VPC? Check it out in the VPC service.
Connect from EC2
When creating EC2, you can create a security group, which later will be used for RDS connection.

For Advanced setting, add script to install mysql:
#!/bin/bash
yum update -y
yum install mysql -y
Then in RDS, edit inbound rules:

Because we don't allow public access, only allow EC2 connection, we add EC2 secruity group in rule 2.
Then login to EC2 instance, run:
mysql -u <mysql_username> -p -h <rds_endpoint> <database_name>
To Check whether mysql is installed correctly, run:
status ## see mysql status
show databases
Type `exit` to exit console.


 浙公网安备 33010602011771号