【cowrie蜜罐系列2】cowrie蜜罐配置代理成为高交互蜜罐(避免踩坑)
默认情况下,cowrie使用的是python模拟的中交互环境
但是cowrie还支持代理,使cowrie连接到真实的环境,成为高交互蜜罐
原理就是,使用linux机器上以及存在qcow2格式的虚拟机来创建临时的环境
我是使用Ubuntu 20.04桌面版配置的
官方文档是最权威的配置方法:https://cowrie.readthedocs.io/en/latest/BACKEND_POOL.html
0x00 创建虚拟机(也可以直接下载官方给出的qcow2虚拟机,但是需要FQ:https://drive.google.com/open?id=1ZNE57lzaGWR427XxynqUVJ_2anTKmFmh)
安装virtinst软件包:
sudo apt install virtinst
创建磁盘映像:
sudo qemu-img create -f qcow2 自己定义的镜像名.qcow2 8G
安装操作系统(由于网速问题,iso镜像文件建议从国内网站下载:http://mirrors.163.com/ubuntu-releases/18.04/):
virt-install --name temp-domain --memory 1024 --disk 自己定义的镜像名.qcow2 --cdrom 下载的镜像文件.iso
完成以上步骤后,会自动打开virt-manager进入安装操作系统的界面
如果没有打开或者报错,那你需要安装virt-manager
sudo apt install virt-manager
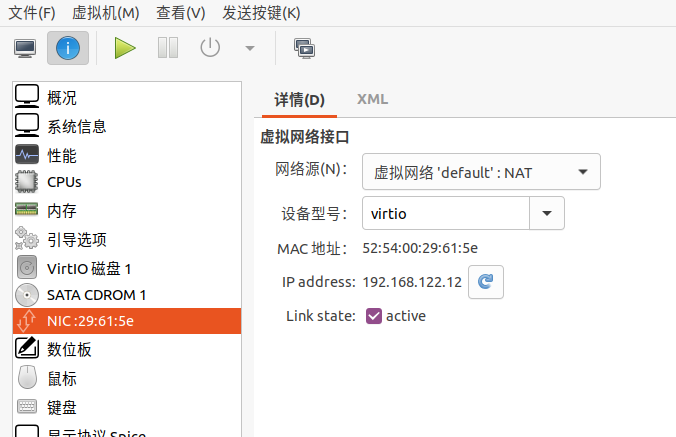
为了让虚拟机能够连接互联网,你需要激活(activate)网卡
然后你需要在etc/cowrie.cfg.dist的guest_image_path中指定镜像位置:
guest_image_path = /home/xxxx/xxxx.qcow2
强烈建议在完成后,重启机器,我因为没重启,在后续过程中疯狂报错!!!
0x01 配置后端池
vi etc/cowrie.cfg.dist
首先开启代理:
在[honeypot]部分中将backend选项由shell更改为proxy
# EXPERIMENTAL: back-end to user for Cowrie, options: proxy or shell
# (default: shell)
backend = proxy
由于虚拟机和cowrie在同一机器
[backend_pool]
pool_only = false

[proxy]
backend = pool
pool = local
0x02 配置连接信息
需要注意的是,恶意用户连接cowrie和cowrie连接后端池的虚拟机是两个过程!
所以我们需要把etc/userdb.example复制一份,在同目录下命名为userdb.txt,这里面存储的是恶意用户连接cowrie的用户名和密码:
# Example userdb.txt
# This file may be copied to etc/userdb.txt.
# If etc/userdb.txt is not present, built-in defaults will be used.
#
# ':' separated fields, file is processed line for line
# processing will stop on first match
#
# Field #1 contains the username
# Field #2 is currently unused
# Field #3 contains the password
# '*' for password allows any password
# '!' at the start of a password will not grant this password access
# '/' can be used to write a regular expression
#
root:x:!root
root:x:!123456
root:x:!/honeypot/i
root:x:*
tomcat:x:*
oracle:x:*
接下来配置etc/cowrie.cfg.dist
# real credentials to log into backend
backend_user = 你的虚拟机的用户名
backend_pass = 你的虚拟机的密码
这里有个坑,当配置的虚拟机的用户名为非root用户时,一切正常,但是如果配置的是root用户,则无法登陆成功
原因是ssh默认禁止root用户远程登陆,你需要进入虚拟机中,允许root用户远程登录:
具体步骤是:
vi /etc/ssh/sshd_config
把PermitootLogin的值改为yes
PermitRootLogin yes
然后重启ssh服务
service sshd restart
0x03 启动cowrie机器
./cowrie/bin/cowrie start

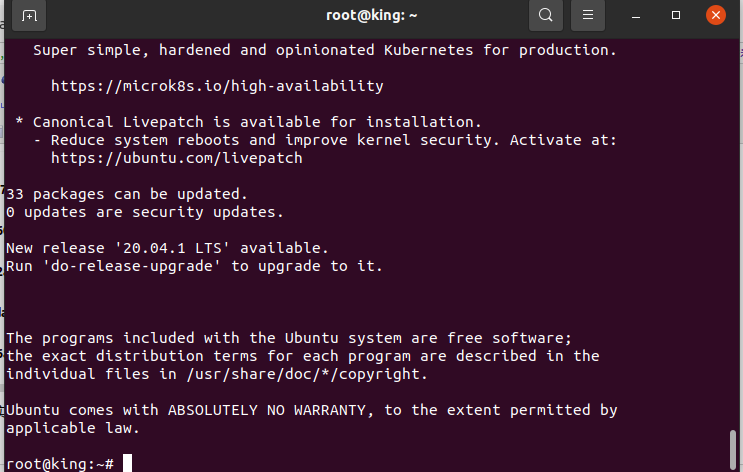
在virt-manager中出现如上所示的虚拟机实例时,等待17s(引导时间)
此时连接本地2222端口(默认端口)
ssh -p 2222 root@localhost
输入之前在userdb.txt中指定好的密码后,cowrie就会使用cowrie.cfg.dist中的账号密码登陆
如果你想反弹shell等操作,需要在share/cowrie/pool_configs/default_filter.xml中注释drop all other traffic这一段
因为这个配置文件负责如何限制联网
全文如下:
 1 <filter name='cowrie-default-filter'>
 2     <!-- reference the clean traffic filter to prevent
 3     MAC, IP and ARP spoofing. By not providing
 4     and IP address parameter, libvirt will detect the
 5     IP address the VM is using. -->
 6     <filterref filter='clean-traffic'/>
 7
 8     <!-- enable TCP port 22 (ssh) -->
 9     <rule action='accept' direction='in'>
10         <tcp dstportstart='22'/>
11     </rule>
12
13     <!-- enable TCP port 23 (telnet) -->
14     <rule action='accept' direction='in'>
15         <tcp dstportstart='23'/>
16     </rule>
17
18     <!-- enable general ICMP traffic to be initiated by the VM;
19     this includes ping traffic -->
20     <rule action='accept' direction='inout'>
21         <icmp/>
22     </rule>
23
24     <!-- enable outgoing DNS lookups using UDP -->
25     <rule action='accept' direction='out'>
26         <udp dstportstart='53'/>
27     </rule>
28
29     <!-- drop all other traffic -->
30 <!--    <rule action='drop' direction='inout'>-->
31 <!--        <all/>-->
32 <!--    </rule>-->
33 </filter>
需要注意的是,在配置过程中,多看日志!(var/log/cowrie/cowrie.log)
遇到权限问题,重启大法基本能解决!

 浙公网安备 33010602011771号