[MyArch]我的Archlinux与bspwm的重生之途
0x00 前言碎语
2023.8.19
好久不见。这些日子一直在和bspwm和archlinux打交道。自从上次NepCTF的前几天和CuB3y0nd小师傅的bspwm配置打交道之后我一发不可收拾。中间为了恢复数据重装系统进kde,结果空手而归。收获是连续两次重装archlinux,我对这个系统的认识更加深刻了。


2025.6.27 凌晨两点
直接搞了个可以直接安装的配置以后买新电脑也直接用了:https://github.com/N1nEmAn/N1nEArch
0x01 参考
开始就是用refus烧一个u盘,使用最新的archlinux镜像即可。也可以使用ventoy。
然后就是分区挂载,装基础包,配置引导,开机就行。整体来说也没有什么。主要是后续的配置。
辅助参考主要是格式化swap分区的时候使用mkswap /dev/xxx命令。
并且注意最好使用linux-zen内核。
cubey小师傅的后续参考博客
这里没有梯子只能这样先获取bspwm配置。
git clone https://gitclone.com/github.com/CuB3y0nd/1llusion.git
#这是git clone https://gitclone.com/(后面是你原本要clone的地址去掉 https://)
#这是使用了国内镜像加速
双系统引导
双系统引导的部分发现上面几个博客讲的都不是很详细。
其实主要就是在已经有grub之后,使用fdisk -l /dev/xxx命令查看分区,找到Windows的efi分区,然后挂载到/mnt上,使用os-prober,探测到windows的boot文件之后,再次使用grub-mkconfig -o /boot/grub/grub.cfg命令创建grub文件即可。
后续bspwm配置就很杂乱了,可以参考后续参考的那个文章和其他文章吧。
0x02 特殊软件包和脚本
nemo文件管理器
flameshot截图
oh-my-zsh我的主题是af-magic
gpaste作为剪贴板
ps 后来发现fcitx5自带剪贴板!!!!
一些熟悉的配方
# 在 ~/.zshrc 文件中添加以下行
bindkey '^G' beginning-of-line
bindkey '^[[1;5D' backward-word  # Ctrl + ← 向左移动一个单词
bindkey '^[[1;5C' forward-word   # Ctrl + → 向右移动一个单词
移动窗口到空闲桌面
#!/bin/bash
# 上面这行指定了解释器为 bash

# 获取桌面列表
desktops=$(bspc query -D --names)
# 这一行运行了 bspc 命令,获取当前所有桌面的名称,并将结果赋值给变量 desktops

# 函数:检查桌面是否为空
is_desktop_empty() {
    local desktop=$1
    window_count=$(bspc query -N -d "$desktop" -n '.leaf.!hidden')
    [ -z "$window_count" ]
}
# 这里定义了一个函数 is_desktop_empty,它会检查给定桌面是否为空(没有窗口)

# 遍历所有桌面,寻找空闲桌面
for desktop in $desktops; do
    if is_desktop_empty "$desktop"; then
        # 获取焦点窗口的ID
        focused_window=$(bspc query -N -n focused)
        # 获取当前焦点窗口的 ID

        if [ -n "$focused_window" ]; then
            # 将焦点窗口移动到空闲桌面
            bspc node "$focused_window" -d "$desktop"
            # 使用 bspc 命令将焦点窗口移动到空闲桌面
            exit 0
        else
            echo "未找到焦点窗口"
            exit 1
        fi
    fi
done

echo "未找到空闲桌面"
exit 1
# 如果没有找到空闲桌面或焦点窗口,会显示相应的消息并退出脚本
连接显示屏自动更改脚本
自启动或者super+r执行
#!/bin/bash

# Check if HDMI-1 is connected
if xrandr | grep "HDMI-1 connected"; then
    # Check if HDMI-1 is already the primary display
    if ! xrandr --current | grep "HDMI-1 connected primary"; then
        # Set HDMI-1 as primary display
        xrandr --output HDMI-1 --primary
        # Rotate eDP-1 to left
        xrandr --output eDP-1 --rotate left
	~/.config/bspwm/bspwmrc
    fi
fi

if ! xrandr | grep "HDMI-1 connected"; then
    # Check if HDMI-1 is already the primary display
    if ! xrandr --current | grep "eDP-1 connected 2560x1600+0+0 (normal"; then
        # Set HDMI-1 as primary display
        xrandr --output eDp-1 --primary
        # Rotate eDP-1 to left
        xrandr --output eDP-1 --rotate normal
	~/.config/bspwm/bspwmrc
    fi
fi
现在新增了如果没那么大的屏幕的话就用下面这个新脚本:
#!/bin/bash

# Define the new resolution and modeline for 120Hz
NEW_MODE="3840x2160_120.00"
MODELINE="592.00 3840 4096 4544 5256 2160 2161 2166 2250 -hsync +vsync"

# Function to check if a mode exists
mode_exists() {
  xrandr --verbose | grep -q "$NEW_MODE"
}

# Check if HDMI-A-0 is connected
if xrandr | grep "HDMI-A-0 connected"; then
  # Check if the mode already exists
  if mode_exists; then
    echo "Mode $NEW_MODE already exists."
  else
    # Create and add the new mode
    echo "Creating new mode $NEW_MODE."
    xrandr --newmode "$NEW_MODE" $MODELINE
    xrandr --addmode HDMI-A-0 "$NEW_MODE"
  fi

  # Apply the new mode
  if xrandr --output HDMI-A-0 --mode "$NEW_MODE" --right-of eDP; then
    echo "Resolution 3840x2160 at 120Hz applied successfully."
  else
    echo "Resolution 3840x2160 at 120Hz not supported. Falling back to 2560x1440."
    xrandr --output HDMI-A-0 --mode 2560x1440 --right-of eDP
  fi
fi

if ! xrandr | grep "HDMI-A-0 connected"; then
  # If HDMI-A-0 is not connected, make eDP the primary display and set rotation
  if xrandr --current | grep "eDP connected 1600x2560+0+0 left "; then
    xrandr --output eDP --primary
    xrandr --output eDP --rotate normal
  fi
fi
多屏幕快捷配置
# 使用 alt 键加数字键 (1-9) 来切换桌面,以及 minus 和 equal 键来切换到第 11 和 12 个桌面
alt + {_,shift + }{1-9,0,minus,equal}
bspc {desktop -f,node -d} '^{1-9,10,11,12}'
网络时断时续问题解决
参考文章
同时关闭networkmanger服务,只用dhcpcd即可。
sudo systemctl stop NetworkManager
sudo systemctl disable NetworkManager
sdunetd
https://github.com/SadPencil/sdunetd
防止sdunet掉认证,进去登录,写入配置文件到/etc/sdunetd/config.json和/etc/sdunetd/configv6.json(分别是ipv4和ipv6的配置文件,保存即可)
使用:执行 sdunetd -c /etc/sdunetd/config.json和 sdunetd -c /etc/sdunetd/configv6.json,在连接实验室网络或其他配置好认证的网络时需要关闭。
如果不成功,尝试在深澜软件里的自主服务下线所有设备
安装fscan时候需要设置代理
export GOPROXY=https://goproxy.io
解决耳机不能自动使用
yay -S pavucontrol
更改默认浏览器
xdg-settings set default-web-browser firefox.desktop
修复wps粗体过粗
yay -S downgrade
sudo downgrade 'freetype2=2.13.0'
然后重启wps即可解决。属于兼容问题,详见wiki。
wine字体问题
cd ~/.wine/drive_c/windows/Fonts
wget https://down.gloriousdays.pw/Fonts/wine_fonts.tar.xz
tar xJvf wine_fonts.tar.xz
rm wine_fonts.tar.xz
yay -S install winetricks
winetricks settings fontsmooth=rgb
修改天气
主题的modules.ini是对应主题的天气ui配置,scripts/weather里面可以配置天气api
使用clamAV扫描病毒
2023.10.7 最近有点郁郁不得志,好好努力,不论高潮低谷做好自己的事情还有保证睡眠吧!
sudo freshclam & clamscan –ri / -l clamscan.log --remove
typora配合piclist
2023.10.8 一切都在好起来,投稿又进了一个合天!
/usr/bin/piclist upload 设置上传服务自定义命令,用sm.ms的token在piclist里设置,太好用啦!
mc
yay -S hmcl-stable-bin
yay jdk21
aur包下载慢
~ » cd .cache/yay/texlive-full                                                N1nE@N1nEmAn
-------------------------------------------------------------------------------------------
~/.cache/yay/texlive-full (master*) » vim PKGBUILD
然后修改mirror如下
_mirror='mirrors4.bfsu.edu.cn/CTAN/systems/texlive/tlnet/'
_syncdir="CTAN/tlnet"
字体重叠
~/.config/alacritty » cat fonts.yml                                                                                                                                         127 ↵ N1nE@N1nEmAn
font:
  normal:
    family: "JetBrains Mono"
    # style: Regular
  bold:
    family: "JetBrains Mono"
    # style: Bold
  italic:
    family: "JetBrains Mono"
    # style: Italic
  bold_italic:
    family: "JetBrains Mono"
    # style: Bold Italic
  size: 10
  monospace: true
neovim!
git clone https://github.com/LazyVim/starter ~/.config/nvim
然后在配置文件里加上Copilot!!!!
命令Lazy load/install xxx
vim和vimtex
2024.3.24-25
安装yay -S texlive-full,应该是叫这个。然后可以用xelatex编译。
在lazyvim安装vimtex:具体方法,进入vi,然后点e然后找到vimtex点x就行。
最后文件开头加上%! TEX program = xelatex就可以用\ll编译。
在~/.local/share/nvim/lazy/vimtex/autoload/vimtex/view/general.vim中,
预览pdf可以用let g:vimtex_view_general_viewer = 'zathura -x "a,s"'
安装方法:sudo pacman -S zathura zathura-pdf-poppler
!!
设置正向反向搜索文档里都有写!但是要改的配置文件是~/.local/share/nvim/lazy/vimtex/autoload/vimtex.vim
我是xelatex就加上这些就可以了。配了我一晚上。
let g:vimtex_compiler_latexmk_engines = {'_':'-xelatex'}
let g:vimtex_view_forward_search_on_start = 1
" let g:vimtex_view_general_options_latexmk = '-reuse-instance'
let g:vimtex_view_general_viewer = 'zathura -x "a,s"'
let g:vimtex_view_method = 'zathura'
let g:vimtex_inverse_search_command = "nvr --remote-silent +%l %i"
" let g:vimtex_view_zathura_check_libsynctex = 1
let g:vimtex_quickfix_mode = 0
set conceallevel=1
修改latex snippets
在~/.local/share/nvim/lazy/friendly-snippets/snippets/latex
neovim添加快捷键
/home/N1nE/.config/nvim/lua/config/keymaps.lua里修改,添加如下
-- -- 将 22 映射到执行命令:%!xxd
vim.api.nvim_set_keymap("n", "22", ":%%!xxd\n", { noremap = true })

-- 将 11 映射到执行命令:%!xxd -r
vim.api.nvim_set_keymap("n", "11", ":%%!xxd -r\n", { noremap = true })
给typora配置copilot
curl -fsSL https://raw.githubusercontent.com/Snowflyt/typora-copilot/main/install.sh | sudo bash
typora破解

不过没弹窗还是很舒服的。
https://github.com/N1nEmAn/linux-typora
桌面再次配置
壁纸:https://zhuanlan.zhihu.com/p/370672866
真的太帅了。
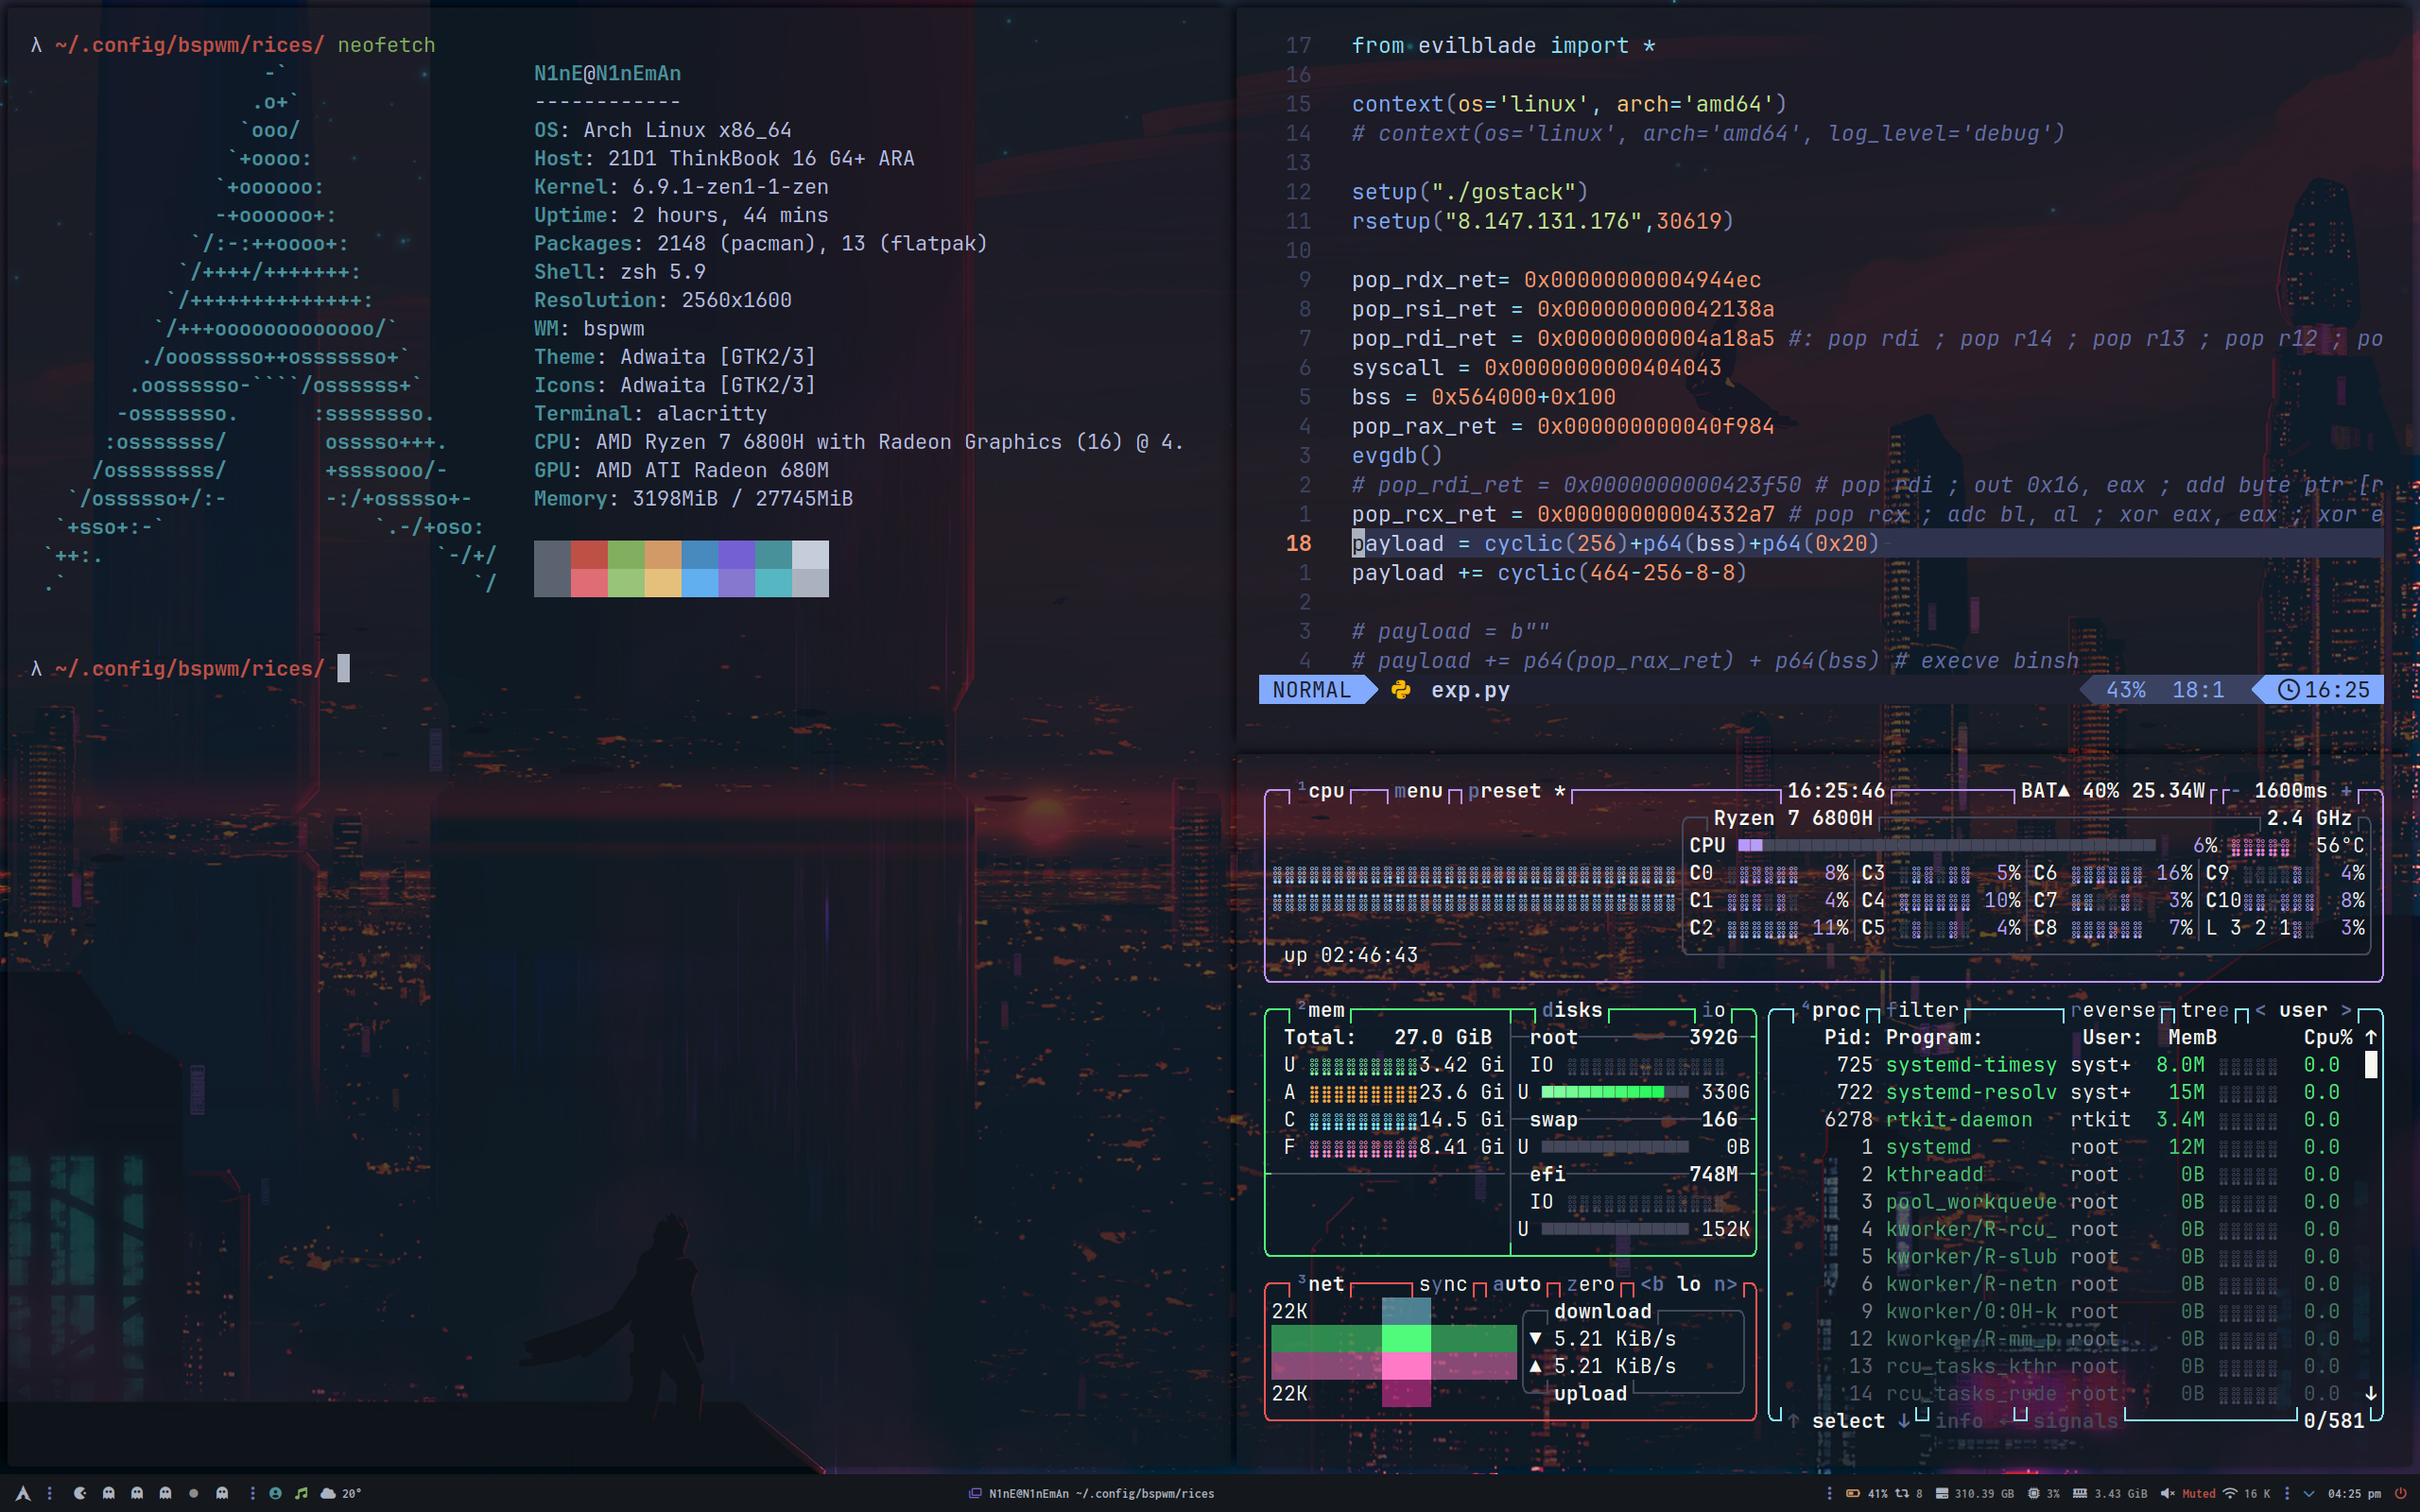
首先是换了壁纸。然后调整了alrcity的透明度为0.7(opacity)。
λ ~/.config/alacritty/ /bin/cat alacritty.toml
import = ["~/.config/alacritty/rice-colors.toml", "~/.config/alacritty/fonts.toml"]

live_config_reload = true

[cursor]
blink_interval = 550
unfocused_hollow = false

[cursor.style]
blinking = "On"
shape = "Block"

[selection]
save_to_clipboard = false

[window]
decorations = "none"
dynamic_title = true
opacity = 0.7

[window.padding]
x = 15
y = 15
然后btop关闭背景,nvim也开透明。
λ ~/.config/nvim/lua/config/ /bin/cat options.lua
-- Options are automatically loaded before lazy.nvim startup
-- Default options that are always set: https://github.com/LazyVim/LazyVim/blob/main/lua/lazyvim/config/options.lua
-- Add any additional options here
vim.cmd("au VimEnter * hi Normal guibg=none ctermbg=none")
然后配置了锁屏。
这是存在/usr/share/i3lock-fancy/icons的lock.png,赛博朋克2077的智力图标。
前置记得安装i3lock-color等依赖。

/usr/local/bin/blurlock.sh如下:
#!/bin/bash

# Take a screenshot
# scrot /tmp/screen_locked.png
#
# # Pixellate it 10x
# convert /tmp/screen_locked.png -scale 10% -scale 1000% /tmp/screen_locked.png
#
# # Lock screen displaying this image
# i3lock -e -i /tmp/screen_locked.png
i3lock-fancy --font "Cartograph-CF" -t "\n\nPwn me!"
# # Remove the image after locking
# rm /tmp/screen_locked.png
/usr/bin/i3lock-fancy如下:
#!/usr/bin/env bash
# Author: Dolores Portalatin <hello@doloresportalatin.info>
# Dependencies: imagemagick, i3lock-color-git, scrot, wmctrl (optional)
set -o errexit -o noclobber -o nounset

hue=(-level "0%,100%,0.6")
effect=(-filter Gaussian -resize 20% -define "filter:sigma=1.5" -resize 500.5%)
# default system sans-serif font
font=$(convert -list font | awk "{ a[NR] = \$2 } /family: $(fc-match sans -f "%{family}\n")/ { print a[NR-1]; exit }")
image=$(mktemp --suffix=.png)
shot=(import -silent -window root)
desktop=""
i3lock_cmd=(i3lock -i "$image")
shot_custom=false

options="Options:
    -h, --help       This help menu.

    -d, --desktop    Attempt to minimize all windows before locking.

    -g, --greyscale  Set background to greyscale instead of color.

    -p, --pixelate   Pixelate the background instead of blur, runs faster.

    -f <fontname>, --font <fontname>  Set a custom font.

    -t <text>, --text <text> Set a custom text prompt.

    -l, --listfonts  Display a list of possible fonts for use with -f/--font.
                     Note: this option will not lock the screen, it displays
                     the list and exits immediately.

    -n, --nofork     Do not fork i3lock after starting.

    --               Must be last option. Set command to use for taking a
                     screenshot. Default is 'import -window root'. Using 'scrot'
                     or 'maim' will increase script speed and allow setting
                     custom flags like having a delay."

# move pipefail down as for some reason "convert -list font" returns 1
set -o pipefail
trap 'rm -f "$image"' EXIT
temp="$(getopt -o :hdnpglt:f: -l desktop,help,listfonts,nofork,pixelate,greyscale,text:,font: --name "$0" -- "$@")"
eval set -- "$temp"

# l10n support
case "${LANG:-}" in
af_*) text="Tik wagwoord om te ontsluit" ;;         # Afrikaans
cs_*) text="Pro odemčení zadajte heslo" ;;          # Czech
de_*) text="Bitte Passwort eingeben" ;;             # Deutsch
da_*) text="Indtast adgangskode" ;;                 # Danish
en_*) text="Type password to unlock" ;;             # English
es_*) text="Ingrese su contraseña" ;;               # Española
fr_*) text="Entrez votre mot de passe" ;;           # Français
he_*) text="הקלד סיסמה לביטול הנעילה" ;;            # Hebrew עברית
hi_*) text="अनलॉक करने के लिए पासवर्ड टाईप करें" ;; #Hindi
id_*) text="Masukkan kata sandi Anda" ;;            # Bahasa Indonesia
it_*) text="Inserisci la password" ;;               # Italian
ja_*) text="パスワードを入力してください" ;;                      # Japanese
lv_*) text="Ievadi paroli" ;;                       # Latvian
nb_*) text="Skriv inn passord" ;;                   # Norwegian
pl_*) text="Podaj hasło" ;;                         # Polish
pt_*) text="Digite a senha para desbloquear" ;;     # Português
sk_*) text="Pre odomknutie zadajte heslo" ;;        # Slovak
tr_*) text="Giriş yapmak için şifrenizi girin" ;;   # Turkish
ru_*) text="Введите пароль" ;;                      # Russian
zh_*) text="请输入密码以解锁" ;;                            # Chinese
*) text="Type password to unlock" ;;                # Default to English
esac

while true; do
	case "$1" in
	-h | --help)
		printf "Usage: %s [options]\n\n%s\n\n" "${0##*/}" "$options"
		exit 1
		;;
	-d | --desktop)
		desktop=$(command -V wmctrl)
		shift
		;;
	-g | --greyscale)
		hue=(-level "0%,100%,0.6" -set colorspace Gray -average)
		shift
		;;
	-p | --pixelate)
		effect=(-scale 10% -scale 1000%)
		shift
		;;
	-f | --font)
		case "$2" in
		"") shift 2 ;;
		*)
			font=$2
			shift 2
			;;
		esac
		;;
	-t | --text)
		text=$2
		shift 2
		;;
	-l | --listfonts)
		convert -list font | awk -F: '/Font: / { print $2 }' | sort -du | command -- ${PAGER:-less}
		exit 0
		;;
	-n | --nofork)
		i3lock_cmd+=(--nofork)
		shift
		;;
	--)
		shift
		shot_custom=true
		break
		;;
	*)
		echo "error"
		exit 1
		;;
	esac
done

if "$shot_custom" && [[ $# -gt 0 ]]; then
	shot=("$@")
fi

command -- "${shot[@]}" "$image"

value="60" #brightness value to compare to

color=$(convert "$image" -gravity center -crop 100x100+0+0 +repage -colorspace hsb \
	-resize 1x1 txt:- | awk -F '[%$]' 'NR==2{gsub(",",""); printf "%.0f\n", $(NF-1)}')

bw="white"
icon="/usr/share/i3lock-fancy/icons/lock.png"

param=(
	"--inside-color=00000090"      # 完全透明的背景
	"--ring-color=8A2BE2ff"        # 霓虹紫色
	"--line-color=00ff00ff"        # 霓虹绿色
	"--keyhl-color=FF1493ff"       # 深粉色
	"--ringver-color=00BFFFff"     # 深天蓝色
	"--separator-color=8A2BE280"   # 霓虹紫色,带有一些透明度
	"--insidever-color=00000040"   # 半透明的内部圆环(RGBA 格式中的 40 对应约 25% 的不透明度)
	"--ringwrong-color=FF0000ff"   # 红色
	"--insidewrong-color=00000040" # 半透明的错误内部圆环(RGBA 格式中的 40 对应约 25% 的不透明度)
	"--verif-color=00000000"       # 霓虹绿色
	"--wrong-color=00000000"       # 红色
	"--time-color=00ff00ff"        # 霓虹绿色
	"--date-color=FF1493ff"        # 深粉色
	"--layout-color=00BFFFff"      # 深天蓝色
)
convert "$image" "${hue[@]}" "${effect[@]}" -font "$font" -pointsize 26 -fill "$bw" -gravity center \
	-annotate +0+160 "$text" "$icon" -gravity center -composite "$image"

# If invoked with -d/--desktop, we'll attempt to minimize all windows (ie. show
# the desktop) before locking.
${desktop} ${desktop:+-k on}

# try to use i3lock with prepared parameters
if ! "${i3lock_cmd[@]}" "${param[@]}"; then
	# We have failed, lets get back to stock one
	# "${i3lock_cmd[@]}"
	echo ohno
fi

# As above, if we were passed -d/--desktop, we'll attempt to restore all windows
# after unlocking.
${desktop} ${desktop:+-k off}
fancy脚本升级
升级为直接使用壁纸,动态处理,模糊化后不删除临时文件提升了锁屏速度,注意锁屏壁纸放在$HOME/.config/baspwm/walls即可:
#!/usr/bin/env bash
# Author: Dolores Portalatin <hello@doloresportalatin.info>
# Dependencies: imagemagick, i3lock-color-git, wmctrl (optional)
set -o errexit -o noclobber -o nounset -o pipefail

# Directory containing the wallpapers
wallpaper_dir="$HOME/.config/bspwm/walls/"
# Get a random wallpaper from the directory
image=$(find "$wallpaper_dir" -type f | shuf -n 1)
lock_image="${image}.lock"

# Default hue and effect settings
hue=(-level "0%,100%,0.6")
# Ordinary blur effect
effect=(-filter Gaussian -blur 0x8)

# Get the default system sans-serif font
font=$(convert -list font | awk "{ a[NR] = \$2 } /family: $(fc-match sans -f "%{family}\n")/ { print a[NR-1]; exit }")

desktop=""
i3lock_cmd=(i3lock -i "$image")
shot_custom=false

# Script options
options="Options:
    -h, --help       This help menu.
    -d, --desktop    Attempt to minimize all windows before locking.
    -g, --greyscale  Set background to greyscale instead of color.
    -p, --pixelate   Pixelate the background instead of blur, runs faster.
    -f <fontname>, --font <fontname>  Set a custom font.
    -t <text>, --text <text> Set a custom text prompt.
    -l, --listfonts  Display a list of possible fonts for use with -f/--font.
    -n, --nofork     Do not fork i3lock after starting.
    --               Must be last option. Set command to use for taking a screenshot."

# Parse command line arguments
temp="$(getopt -o :hdnpglt:f: -l desktop,help,listfonts,nofork,pixelate,greyscale,text:,font: --name "$0" -- "$@")"
eval set -- "$temp"

# Localization support
case "${LANG:-}" in
af_*) text="Tik wagwoord om te ontsluit" ;;
cs_*) text="Pro odemčení zadajte heslo" ;;
de_*) text="Bitte Passwort eingeben" ;;
da_*) text="Indtast adgangskode" ;;
en_*) text="Type password to unlock" ;;
es_*) text="Ingrese su contraseña" ;;
fr_*) text="Entrez votre mot de passe" ;;
he_*) text="הקלד סיסמה לביטול הנעילה" ;;
hi_*) text="अनलॉक करने के लिए पासवर्ड टाईप करें" ;;
id_*) text="Masukkan kata sandi Anda" ;;
it_*) text="Inserisci la password" ;;
ja_*) text="パスワードを入力してください" ;;
lv_*) text="Ievadi paroli" ;;
nb_*) text="Skriv inn passord" ;;
pl_*) text="Podaj hasło" ;;
pt_*) text="Digite a senha para desbloquear" ;;
sk_*) text="Pre odomknutie zadajte heslo" ;;
tr_*) text="Giriş yapmak için şifrenizi girin" ;;
ru_*) text="Введите пароль" ;;
zh_*) text="请输入密码以解锁" ;;
*) text="Type password to unlock" ;;
esac

while true; do
	case "$1" in
	-h | --help)
		printf "Usage: %s [options]\n\n%s\n\n" "${0##*/}" "$options"
		exit 1
		;;
	-d | --desktop)
		desktop=$(command -V wmctrl)
		shift
		;;
	-g | --greyscale)
		hue=(-level "0%,100%,0.6" -set colorspace Gray -average)
		shift
		;;
	-p | --pixelate)
		effect=(-scale 10% -scale 1000%)
		shift
		;;
	-f | --font)
		font=$2
		shift 2
		;;
	-t | --text)
		text=$2
		shift 2
		;;
	-l | --listfonts)
		convert -list font | awk -F: '/Font: / { print $2 }' | sort -du | command -- ${PAGER:-less}
		exit 0
		;;
	-n | --nofork)
		i3lock_cmd+=(--nofork)
		shift
		;;
	--)
		shift
		shot_custom=true
		break
		;;
	*)
		echo "error"
		exit 1
		;;
	esac
done

# Get screen resolution
screen_resolution=$(xdpyinfo | awk '/dimensions/{print $2}')
screen_width=$(echo $screen_resolution | cut -d 'x' -f 1)
screen_height=$(echo $screen_resolution | cut -d 'x' -f 2)

# Path to lock icon
icon="/usr/share/i3lock-fancy/icons/lock.png"

# Check if the processed image already exists
if [[ ! -f "$lock_image" ]]; then
	# Process the image to fit screen resolution
	convert "$image" -resize "${screen_width}x${screen_height}^" -gravity center -extent "${screen_width}x${screen_height}" \
		"${hue[@]}" "${effect[@]}" -font "$font" -pointsize 26 -fill white -gravity center \
		-annotate +0+160 "$text" "$icon" -gravity center -composite "$lock_image"
fi

# Parameters for i3lock
param=(
	"--inside-color=00000080"
	"--ring-color=8A2BE2ff"
	"--line-color=00ff00ff"
	"--keyhl-color=FF1493ff"
	"--ringver-color=00BFFFff"
	"--separator-color=8A2BE280"
	"--insidever-color=00000040"
	"--ringwrong-color=FF0000ff"
	"--insidewrong-color=00000040"
	"--verif-color=00000000"
	"--wrong-color=00000000"
	"--time-color=00ff00ff"
	"--date-color=FF1493ff"
	"--layout-color=00BFFFff"
)

# Minimize all windows if -d/--desktop option is set
${desktop} ${desktop:+-k on}

# Lock the screen
if ! "${i3lock_cmd[@]}" "${param[@]}" -i "$lock_image"; then
	echo "i3lock failed to start"
	exit 1
fi

# Restore all windows if -d/--desktop option was set
${desktop} ${desktop:+-k off}
0x03 小尾巴
后续会不断更新。因为我是使用bspwm而不再是kde,所以很多东西又需要自己从新配置,在此记录也是方便大家或者自己参考了。

 浙公网安备 33010602011771号