spring boot (入门简介 demo)
Spring Boot是由Pivotal团队提供的全新框架,其设计目的是用来简化新Spring应用的初始搭建以及开发过程。该框架使用了特定的方式来进行配置,从而使开发人员不再需要定义样板化的配置。通过这种方式,Spring Boot致力于在蓬勃发展的快速应用开发领域(rapid application development)成为领导者(百度解释)。个人理解 的springboot:
- 敏捷开发 springboot 带了很多第三方插件 可以直接整合
- 无需Tomcat 内置tomcat
- 减少xml配置,现在只需要配置 properties文件
学习 springboot 的时候,最好还是先回顾一下springmvc 有的说,不需要springmvc 也可以。其实springboot web组件是对springmvc 的封装,熟悉springmvc 可以更好的上手springboot,springboot用处很广,可以结合springcloud 也可以单独作为一种框架 来开发。
了解了springboot 是什么 ,可以通过 一个简单的入门demo 来对比一下 以前同样springmvc 开发 的效率
我这边用的是:spring tool suite 一个 可以直接创建springboot 项目的插件,这边的demo 搞一个 如何使用maven创建一个 springboot 项目
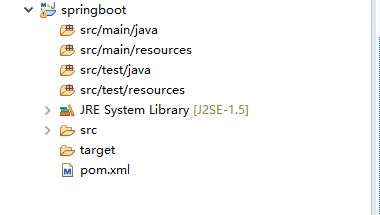
创建一个maven项目


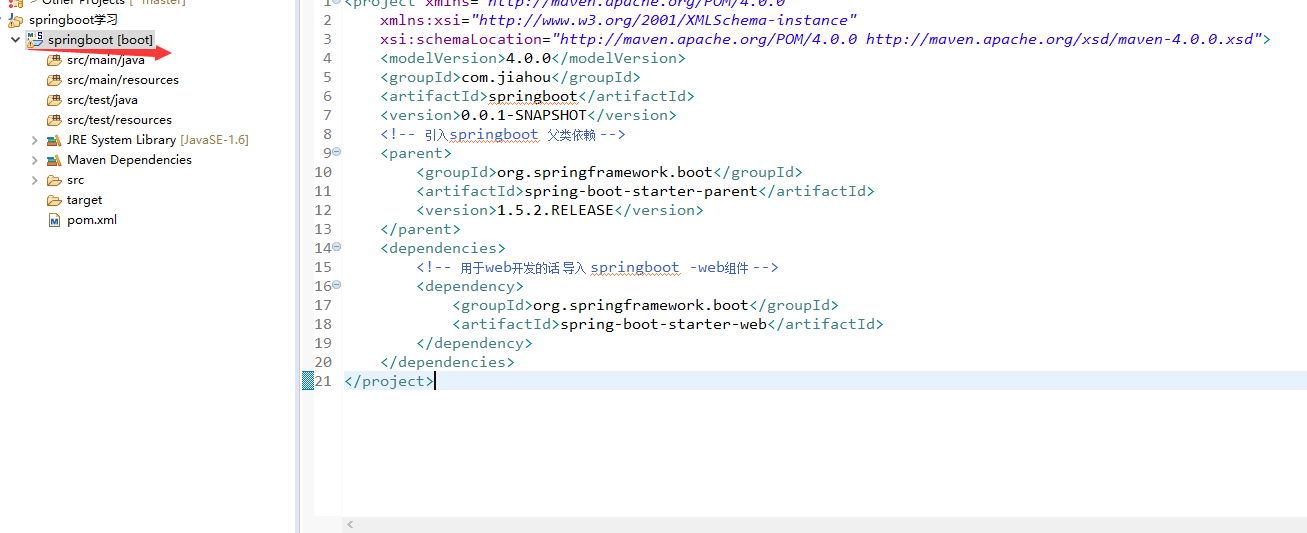
当前创建好的只是一个maven工程,springboot项目 必须依赖于
<parent>
        <groupId>org.springframework.boot</groupId>
        <artifactId>spring-boot-starter-parent</artifactId>
        <version>1.5.2.RELEASE</version>
    </parent>
<project xmlns="http://maven.apache.org/POM/4.0.0"
    xmlns:xsi="http://www.w3.org/2001/XMLSchema-instance"
    xsi:schemaLocation="http://maven.apache.org/POM/4.0.0 http://maven.apache.org/xsd/maven-4.0.0.xsd">
    <modelVersion>4.0.0</modelVersion>
    <groupId>com.jiahou</groupId>
    <artifactId>springboot</artifactId>
    <version>0.0.1-SNAPSHOT</version>
    <!-- 引入springboot 父类依赖 -->
    <parent>
        <groupId>org.springframework.boot</groupId>
        <artifactId>spring-boot-starter-parent</artifactId>
        <version>1.5.2.RELEASE</version>
    </parent>
    <dependencies>
        <!-- 用于web开发的话 导入 springboot -web组件 -->
        <dependency>
            <groupId>org.springframework.boot</groupId>
            <artifactId>spring-boot-starter-web</artifactId>
        </dependency>
    </dependencies>
</project>

成功创建了一个springboot的项目 一个springboot项目 会有一个boot的标志。
- 创建好了一个springboot 项目 我可以写一个服务来测试一下 springboot 的入门demo
package com.springboot.hello;

import java.util.HashMap;
import java.util.Map;

import org.springframework.boot.SpringApplication;
import org.springframework.boot.autoconfigure.EnableAutoConfiguration;
import org.springframework.web.bind.annotation.RequestMapping;
import org.springframework.web.bind.annotation.RestController;

@EnableAutoConfiguration
// 该注解的作用 是表示 在HelloSpringboot类的所有方法 返回的都是json格式
@RestController
public class HelloSpringboot {
    @RequestMapping(value = "/index")
    public String reqIndex() {
        System.out.println("接受请求index");
        return "success";
    }

    @RequestMapping(value = "/getMap")
    public Map<String, String> getMap() {
        Map<String, String> map = new HashMap<String, String>();
        map.put("获取map数据", "成功");
        System.out.println("接受请求getMap");
        return map;
    }

    public static void main(String[] args) {
        SpringApplication.run(HelloSpringboot.class, args);
    }
}
输入请求地址:
这里必须要有 @EnableAutoConfiguration注解 该注解的作用:启用spring 的上下文配置 创建需要生成的bean以及自动装载 tomcat 如果没有这个注解 就无法启动成功
@SuppressWarnings("deprecation")
@Target(ElementType.TYPE)
@Retention(RetentionPolicy.RUNTIME)
@Documented
@Inherited
@AutoConfigurationPackage
@Import(EnableAutoConfigurationImportSelector.class)
public @interface EnableAutoConfiguration {
@RestController注解 其实是:@Controller+@ResponseBody 的组合,用在 类上面 表示 该类所有方法 都返回json格式,也可以分开写
@Target(ElementType.TYPE)
@Retention(RetentionPolicy.RUNTIME)
@Documented
@Controller
@ResponseBody
public @interface RestController {
springboot 内置tomact 可以直接启动主函数的方式 来直接运行springboot 项目(未完)


