Git
1.安装
去官网下载,双击安装,只需下一步就安装完成了!
2.命令
#命令集合
git init  #--------------------------------------初始化
git status #*************************************查看状态
git add a.text #---------------------------------添加到本地临时库
git commit -m "first commit" a.text #************提交到本地库形成版本信息
git reflog #-------------------------------------查看日志
git lof #****************************************查看详细日志
#=======================================================================
#=======================================================================
git branch -v #----------------------------------查看分支
git branch banben1 #*****************************创建分支 版本1
git checkout banben1 #---------------------------切换分支
git merge banben1  #………………………………………………………………………………合并分支
3.使用
1.设置签名
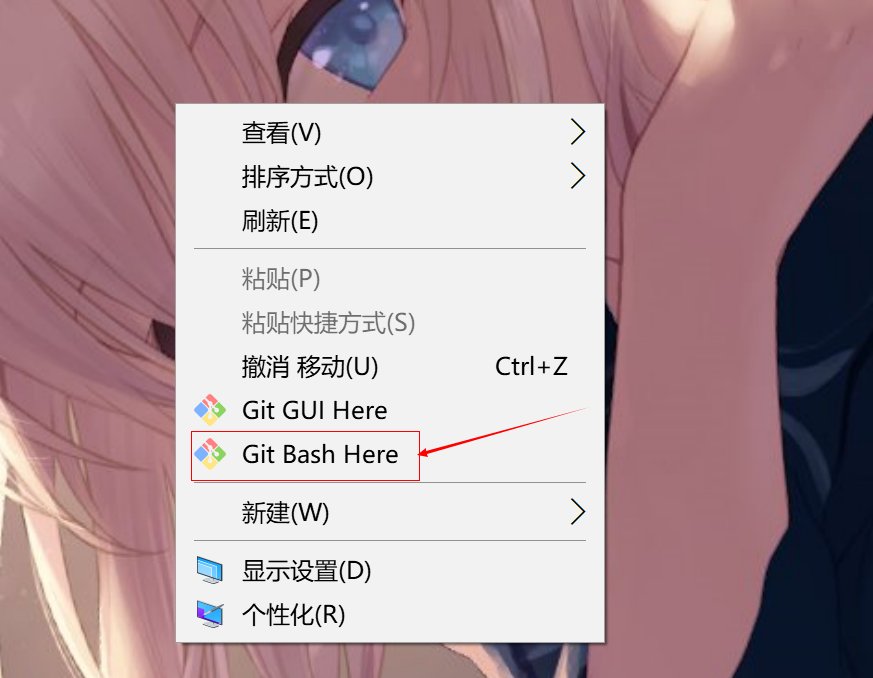
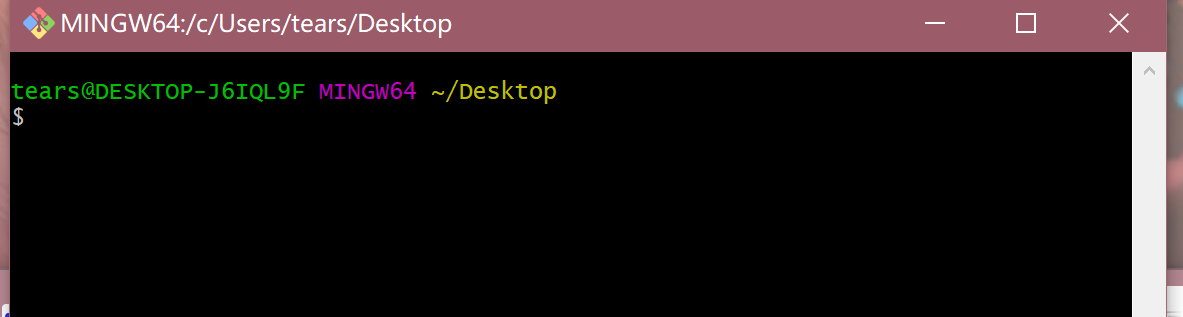
安装完毕后桌面右键,也可以在任何目录下打开
初次使用需要为本机设置账户名和邮箱---注意!这个和GitHub账号没有任何关系!!!这个只是用来标识谁的主机
#设置用户签名
tears@DESKTOP-J6IQL9F MINGW64 /c/Code
$ git config  --global user.name daluobo  #账户

tears@DESKTOP-J6IQL9F MINGW64 /c/Code
$ git config --global user.email daluobo@dlb  # 邮箱虚假邮箱,这个邮箱随意写
是否安装好?C:\Users\tears\.gitconfig
到这个目录下查看这个文件中是否有配置好的账户和邮箱
2.初始化目录
打开准备工作的目录 右键打开git窗口
#git的本地库初始化,生成文件是隐藏的
git init
3.查看状态
git status
$ git status  #查看状态命令
On branch master   #当前主分支 安装时候git默认分支名就是master

No commits yet    #没有提交过,空库
#无需提交(创建/复制文件并使用“git add”来跟踪)
nothing to commit (create/copy files and use "git add" to track)
vim a.text  #创建新文件  yy是复制  p是粘贴   Linux命令基本通用

$ git status
On branch master
No commits yet
Untracked files: #git没有追踪过这个文件
  (use "git add <file>..." to include in what will be committed)
        a.text                                      #提示需要追加得到暂存区
nothing added to commit but untracked files present (use "git add" to track)
4.添加到本地库
#执行 git add a.text
$ git add a.text
warning: LF will be replaced by CRLF in a.text.  #出现警告不用管,来自FBI的警告
The file will have its original line endings in your working directoryxxxxxxxxxx4 1$ git add a.text2warning: LF will be replaced by CRLF in a.text.3The file will have its original line endings in your working directory4git add a.text
#再次查看状态,发现
$ git status
On branch master
No commits yet
Changes to be committed:
#提示用这个命令可以删掉文件,只是删掉了暂存区,工作区还有的  git rm --cached a.text
  (use "git rm --cached <file>..." to unstage)
        new file:   a.text    #这个地方绿了! 提交到了暂存库
5.提交本地库
提交后形成 版本信息
#-m后面是本次提交的信息,比如:更新了登录验证
$ git commit -m "first commit" a.text
warning: LF will be replaced by CRLF in a.text.
The file will have its original line endings in your working directory
[master (root-commit) e513bd0] first commit
 1 file changed, 2 insertions(+)
 create mode 100644 a.text
 #查看状态
 $ git status
On branch master
nothing to commit, working tree clean  #没有东西需要提交
6.查看日志信息
$ git reflog  #--查看日志
#版本号   指针 指向 master                            提交信息
e513bd0 (HEAD -> master) HEAD@{0}: commit (initial): first commit
#-----查看详细日志命令
$ git log
#完整版的 版本号
commit e513bd01920c011289260813ba30e01a8c598622 (HEAD -> master)
Author: daluobo <daluobo@dlb>        #谁提交了命令
Date:   Sat Dec 11 14:57:11 2021 +0800 #时间

    first commit
7.修改文件
当修改过a.text文件后,查看状态 又开始提示 提交了
$ git status
On branch master
Changes not staged for commit:
  (use "git add <file>..." to update what will be committed)
  (use "git restore <file>..." to discard changes in working directory)
        modified:   a.text

no changes added to commit (use "git add" and/or "git commit -a")
再次提交暂存区 git add a.txt 然后再次提交
$ git commit -m "second commit" a.text
warning: LF will be replaced by CRLF in a.text.
The file will have its original line endings in your working directory
[master 37290df] second commit
 1 file changed, 7 insertions(+)
查看
$ git reflog
#发现指针是只在第二个版本的
37290df (HEAD -> master) HEAD@{0}: commit: second commit
e513bd0 HEAD@{1}: commit (initial): first commit
8.版本穿梭
#穿越------------指定的版本号
git reset --hard e513bd0
HEAD is now at e513bd0 first commit
$ git reflog
e513bd0 (HEAD -> master) HEAD@{0}: reset: moving to e513bd0
37290df HEAD@{1}: commit: second commit
e513bd0 (HEAD -> master) HEAD@{2}: commit (initial): first commit
#查看文件,已经退回到这个指针指向的地方
4.分支操作
主线,和副本 主线客户用, 副本随便造,造坏了复制主线的
1.查看分支
#查看分支
$ git branch -v
* master e513bd0 first commit  #当前只有一个分支
2.创建分支
#创建分支 版本1
git branch banben1
$ git branch -v
  banben1 e513bd0 first commit
* master  e513bd0 first commit   #此时有两个分支了
3.切换分支
git checkout banben1
#---------------------------------
tears@DESKTOP-J6IQL9F MINGW64 ~/Desktop/gitTest (master) #切换前是主
$ git checkout banben1
Switched to branch 'banben1'

tears@DESKTOP-J6IQL9F MINGW64 ~/Desktop/gitTest (banben1) #切换后
4.分支合并
把指定的分支合并到当前分支上
站在当前树枝,去把别的分支给砍掉
#例如:需要站在master分支上去执行这个命令
git merge banben1
5.冲突合并
查看修改这个文件,git会给提示好,两个不同地方。保存这个文件重新提交库就OK
5.远程库的使用
1.给远程库起别名
#查看远程仓库
git remote -v
#git remote add [别名/最好和库的名字一样] https://github.com/TearsSZ/test-demo.git
git remote add test-demo https://github.com/TearsSZ/test-demo.git
$ git remote -v  #一个远程仓库有两个,拉取和上传
test-demo       https://github.com/TearsSZ/test-demo.git (fetch) #获取
test-demo       https://github.com/TearsSZ/test-demo.git (push)  #推送
2.推送本地到远程
#因为外网原因可能会提示失败 成功就会出一个小登录框
git push test-demo banben1
#授权失败
fatal: unable to access 'https://github.com/TearsSZ/test-demo.git/': Failed to connect to github.com port 443: Timed out
#登录框,选择浏览器 登录远程库账号授权
$ git push test-demo banben1
Enumerating objects: 3, done.
Counting objects: 100% (3/3), done.
Delta compression using up to 4 threads
Compressing objects: 100% (2/2), done.
Writing objects: 100% (3/3), 257 bytes | 128.00 KiB/s, done.
Total 3 (delta 0), reused 0 (delta 0), pack-reused 0
To https://github.com/TearsSZ/test-demo.git
* [new branch] banben1 -> banben1 #授权成功
#远程仓库中就可以查看了
3.克隆远程库
git pull test-demo master
#克隆不需要登录,相当于复制一份
git clone https://github.com......
4.邀请
git push https://github.com...... master
#第三方进来上传代码需要登录权限,认证好这个是谁上传的
#此时发现,还是推送失败,因为不是一个团队的
#1.登录创建库账号,打开库--点设置(settings)--点左边第二个(Manage access)---邀请小伙伴--输入用户名!
#2.发送邀请函,~~输入用户名确定后,在小框里面,特别小的按钮(复制链接)
#第三个人收到邀请函(链接)打开,同意加入 就可以推送了

 浙公网安备 33010602011771号