用jQuery写的轮播图
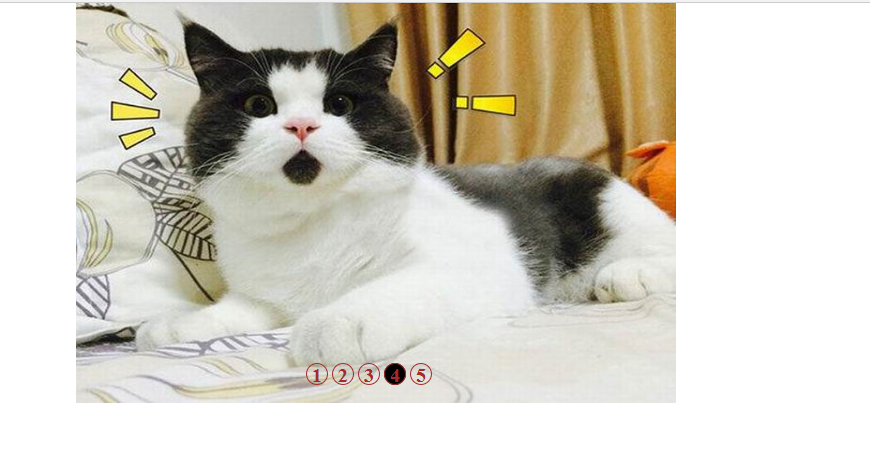
效果图:

GitHub地址:https://github.com/123456abcdefg/Javascript
大家可以下载源码查看。
与前一篇写的轮播图实现的效果一致,这个是用jQuery写的,相对简单一点的吧。
js代码:
    <script src="../jquery-3.3.1.min.js"></script>
    <script>
        var index = 1;
        var newLeft = 0;
        var interval;
        var buttSpan = $(".butt").children();
        function nextPage(next){
            $(buttSpan[index-1]).removeClass("on");
            if(next){
                if(index == 5){
                    index = 1;
                    newLeft = 0;
                }
                else{
                    index ++;
                    newLeft = -600*(index-1);
                }
            }
            else{
                if(index == 1){
                    index = 5;
                    newLeft = -2400;
                }
                else{
                    index --;
                    newLeft = -600*(index-1);
                }
            }
            $(".list").css("left",newLeft + 'px');
            $(buttSpan[index-1]).addClass("on");
        }
        function autoNextPage(){
            interval = setInterval(function(){
                nextPage(true);
            },"3000");
        }
        autoNextPage();

        $(".container").mouseover(function(){
            clearInterval(interval);
            $(".arrow").css("display","block");
        });
        $(".container").mouseout(function(){
            autoNextPage();
            $(".arrow").css("display","none");
        });

        $(".left").click(function(){
            nextPage(false);
        });
        $(".right").click(function(){
            nextPage(true);
        });

        function clickButt(){
            for(var i = 0;i<5;i++){
                $(buttSpan[i]).click(function(){
                    $(buttSpan[index-1]).removeClass("on");
                    index = $(this).attr("index")-1;
                    nextPage(true);
                });
            }
        }
        clickButt();

    </script>
主要包括一下几个部分:
1.一个轮播的方法(left):nextPage(next);
index , newLeft , left
2.自动轮播:autoNextPage();
3.鼠标放到container上图片及按钮不再播放
4.鼠标点击左右方向,可以向左/向右轮播。(调用nextPage()方法)
5.点击下面几个按钮,可以切换到相应的图片(index),并且按钮样式也相应改变。

这个是相对于上面较简单的另一种写法:
点击相应的按钮,按钮样式改变,其同胞元素恢复之前。
获取到当前index值,调用play(true)方法,按钮对应的图片改变。
完整代码:

<html> <head> <meta charset="utf-8" /> <title>1</title> <style> *{ padding:0; margin:0; } .container{ width:600px; height:400px; overflow:hidden; position:relative; margin:0 auto; } .list{ width:3000px; height:400px; position:absolute; } .list img{ width:600px; height:400px; float:left; } .butt{ width:300px; height:20px; position:absolute; left:230px; bottom:20px; cursor:pointer; } .butt span{ width:20px; height:20px; display:inline-block; border:1px solid brown; border-radius:50%; color:brown; z-index:1; font-size:20px; font-weight:bold; text-align:center; } .arrow{ width:30px; height:30px; position:absolute; top:200px; color:black; background-color:white; z-index:1; font-size:30px; font-weight:bold; text-align:center; text-decoration:none; display:none; } .left{ left:10px; } .right{ right:10px; } .on{ background-color:black; } </style> </head> <body> <div class="container"> <div class="list" style="left:0px;"> <img src="../img/1.jpg"></img> <img src="../img/2.jpg"></img> <img src="../img/3.jpg"></img> <img src="../img/4.jpg"></img> <img src="../img/5.jpg"></img> </div> <div class="butt"> <span index="1" class="on">1</span> <span index="2">2</span> <span index="3">3</span> <span index="4">4</span> <span index="5">5</span> </div> <a href="#" class="arrow left"><</a> <a href="#" class="arrow right">></a> </div> <script src="../jquery-3.3.1.min.js"></script> <script> var index = 1; var newLeft = 0; var interval; var buttSpan = $(".butt").children(); function nextPage(next){ $(buttSpan[index-1]).removeClass("on"); if(next){ if(index == 5){ index = 1; newLeft = 0; } else{ index ++; newLeft = -600*(index-1); } } else{ if(index == 1){ index = 5; newLeft = -2400; } else{ index --; newLeft = -600*(index-1); } } $(".list").css("left",newLeft + 'px'); $(buttSpan[index-1]).addClass("on"); } function autoNextPage(){ interval = setInterval(function(){ nextPage(true); },"3000"); } autoNextPage(); $(".container").mouseover(function(){ clearInterval(interval); $(".arrow").css("display","block"); }); $(".container").mouseout(function(){ autoNextPage(); $(".arrow").css("display","none"); }); $(".left").click(function(){ nextPage(false); }); $(".right").click(function(){ nextPage(true); }); function clickButt(){ for(var i = 0;i<5;i++){ $(buttSpan[i]).click(function(){ $(buttSpan[index-1]).removeClass("on"); index = $(this).attr("index")-1; nextPage(true); }); } } clickButt(); </script> </body> </html>


