让jupyter运行于指定的conda虚拟环境中
1. 安装操作
短短几句,但是非常重要
conda create -n py36spark python=3.6
source activate py36spark
conda install ipykernel
deactivate
conda install nb_conda_kernels   #这里安装过程可能非常慢,耐心等待,可能等个半小时多
2. 启动pyspark
source activate py36spark
pyspark
启动后,由于我们增加了一个py36spark虚拟环境,所以这里显示2kernels found.

3. 在浏览器输入hadoop200:8888 查看jupyter notebook

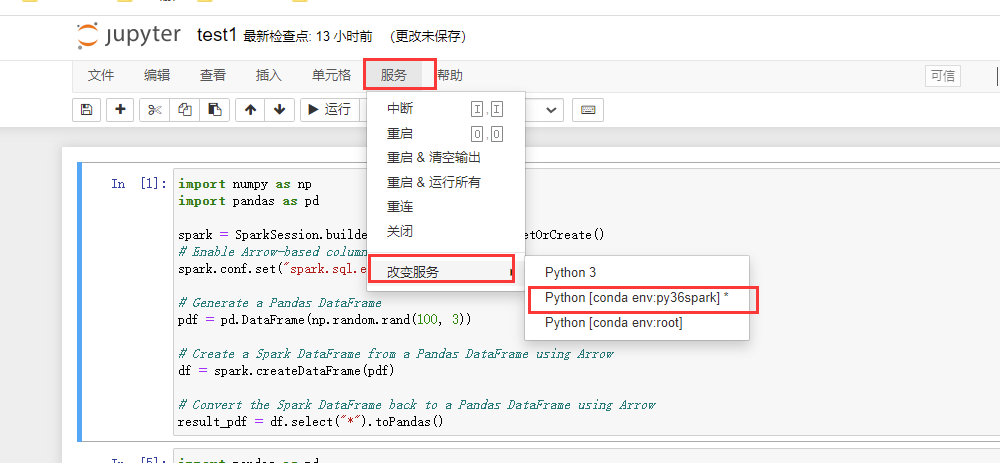
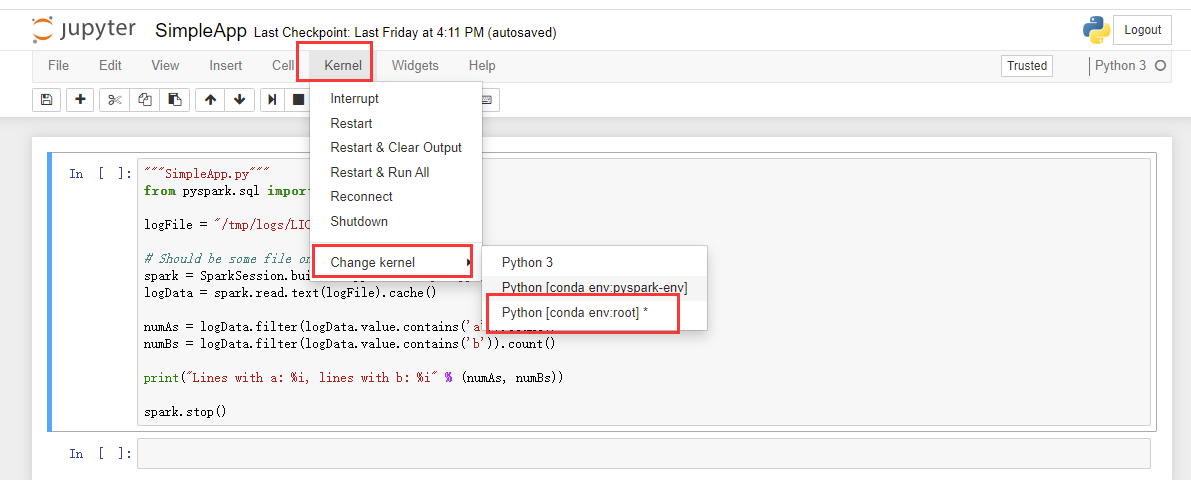
进入test1.ipynb,可以在服务,改变服务选择对应的虚拟环境。

英文版

这样就可以非常方便切换了。
查看当前的环境,也可以使用python脚本查询。
import sys
print(sys.executable)

附录: 安装的源
conda config --add channels https://mirrors.tuna.tsinghua.edu.cn/anaconda/pkgs/free/
conda config --add channels https://mirrors.tuna.tsinghua.edu.cn/anaconda/pkgs/main/
conda config --set show_channel_urls yes
Conda Forge
conda config --add channels https://mirrors.tuna.tsinghua.edu.cn/anaconda/cloud/conda-forge/

msys2
conda config --add channels https://mirrors.tuna.tsinghua.edu.cn/anaconda/cloud/msys2/

bioconda
conda config --add channels https://mirrors.tuna.tsinghua.edu.cn/anaconda/cloud/bioconda/

menpo
conda config --add channels https://mirrors.tuna.tsinghua.edu.cn/anaconda/cloud/menpo/

pytorch
conda config --add channels https://mirrors.tuna.tsinghua.edu.cn/anaconda/cloud/pytorch/
本文来自博客园,作者:硅谷工具人,转载请注明原文链接:https://www.cnblogs.com/30go/p/16028840.html


 浙公网安备 33010602011771号