整合
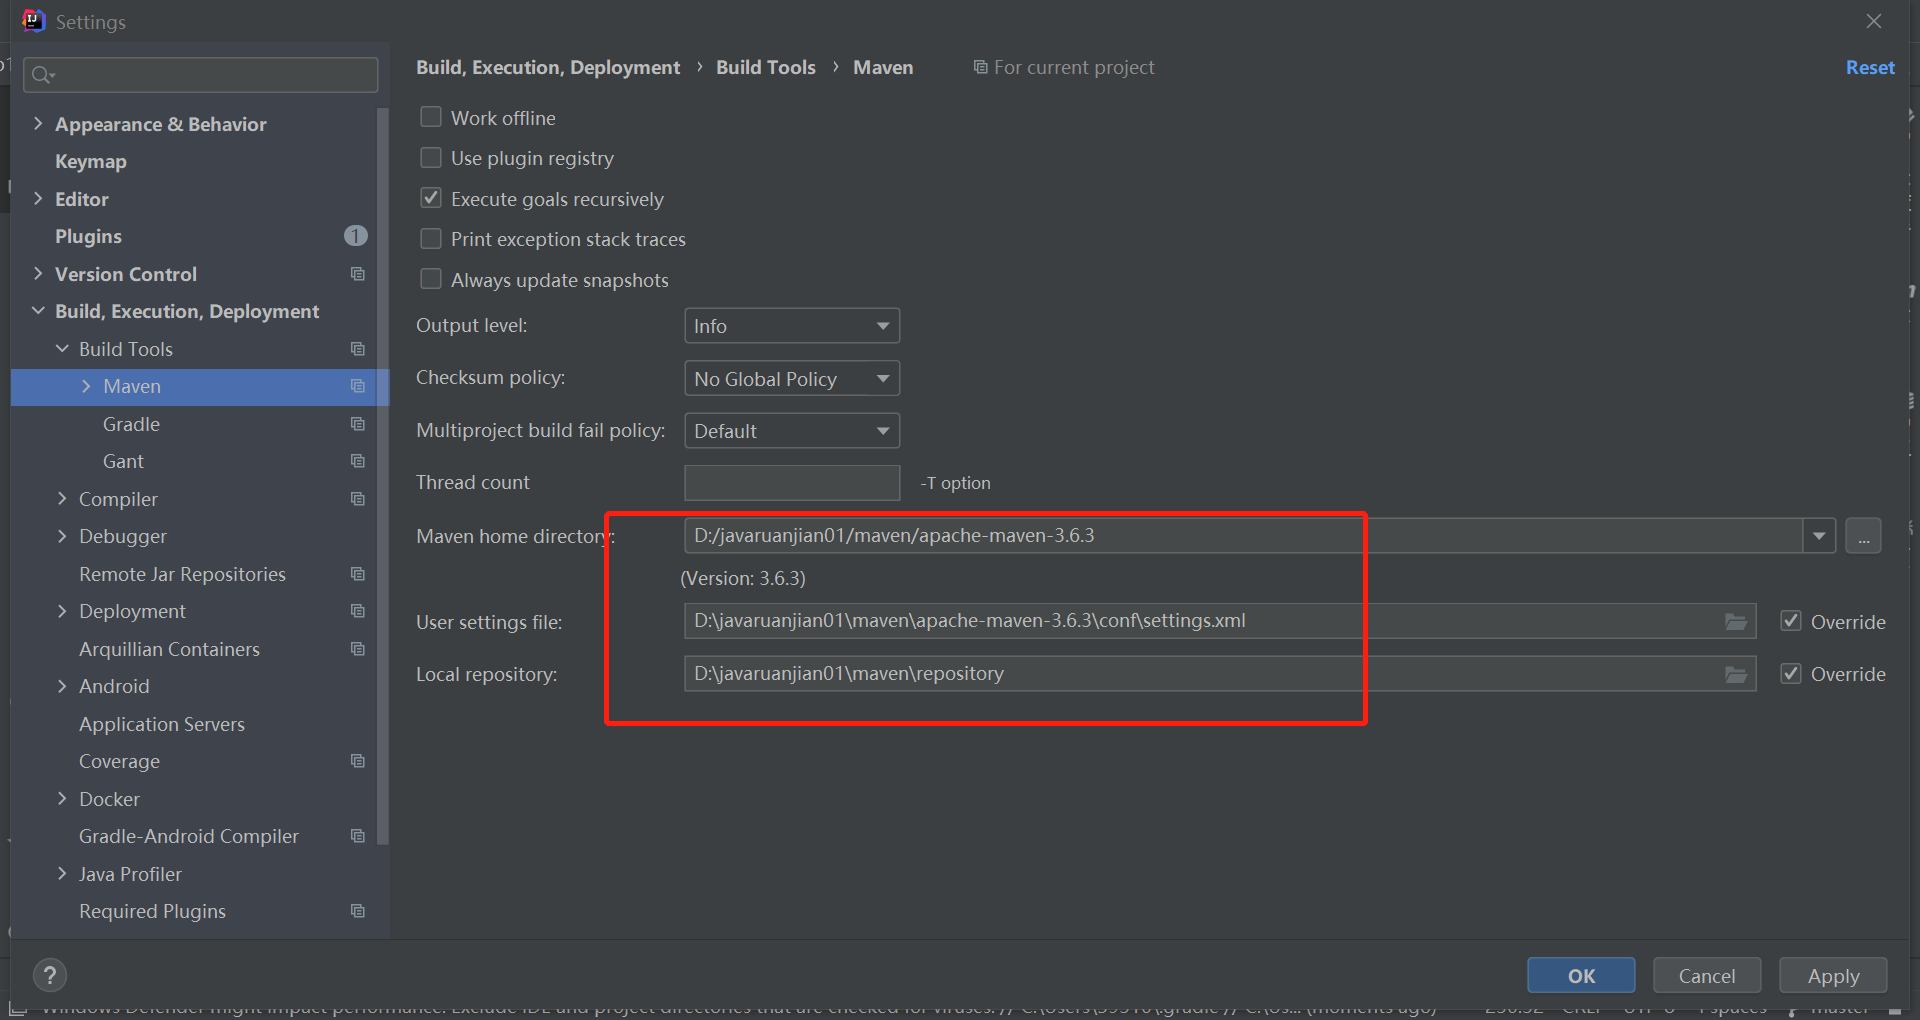
一、maven 的 setiing文件
- 修改 apache-maven-3.6.3\conf\settings.xml
<?xml version="1.0" encoding="UTF-8"?>

<settings xmlns="http://maven.apache.org/SETTINGS/1.0.0"
    xmlns:xsi="http://www.w3.org/2001/XMLSchema-instance"
    xsi:schemaLocation="http://maven.apache.org/SETTINGS/1.0.0 http://maven.apache.org/xsd/settings-1.0.0.xsd">

    <pluginGroups>
    </pluginGroups>

    <proxies>
    </proxies>

    <servers>
    </servers>

    <mirrors>

        <!-- 阿里云 Maven 镜像服务器配置 -->
        <mirror>
            <id>aliyun</id>
            <name>aliyun Maven</name>
            <mirrorOf>*</mirrorOf>
            <url>http://maven.aliyun.com/nexus/content/groups/public/</url>
        </mirror>

    </mirrors>
    <profiles>

    </profiles>
    <activeProfiles>
    </activeProfiles>

</settings>
- idea 插件 lombok、mybatisx
- git
- 打开git.bash
#配置用户名
git config --global user.name "gys0"
#配置邮箱
git config --global user.email "593107758@qq.com"
- ssh 本地连接
进入 git bash:使用:ssh-keygen -t rsa -C "593107758@qq.com"命令连续三次回车。
查看密钥:cat ~/.ssh/id_rsa.pub
登录进入 gitee,在设置里面找到 SSH KEY 将.pub文件的内容粘(密钥)贴进去
使用:ssh -T git@gitee.com 测试是否成功
- 打开git.bash
Java,Maven ,添加开源许可证 Apache-2.0 ,设置模板:readme文件 ,选择模型:生产/开发模型 (支持 master/develop 类型分支)
创建
4.在克隆 / 下载 那里复制 https
5.创建IDEA微服务项目
打开idea ,file - new - project from version contro.. - 选git ,粘贴https 并选择文件夹
在创建的项目里 new - Module
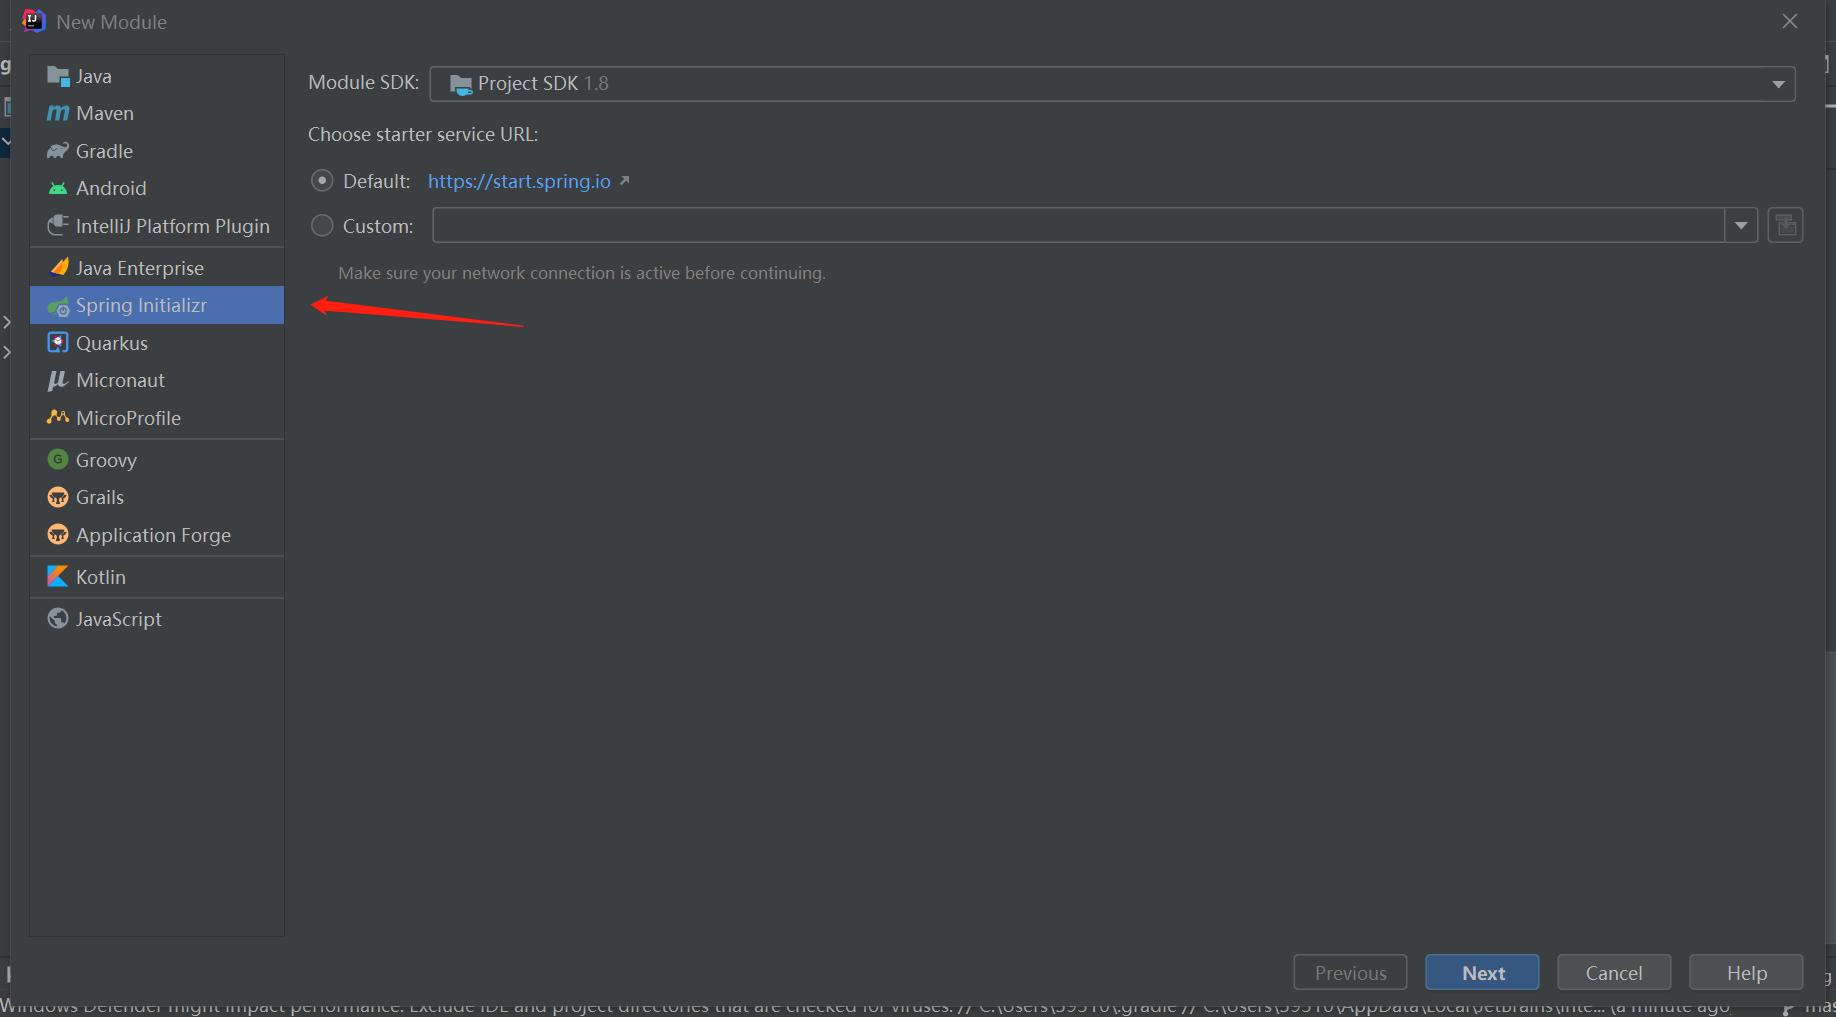
输入项目名,进入下面页面 , 选 web 选 Spring Web ,Spring cloud Routing 选 OpenFeign
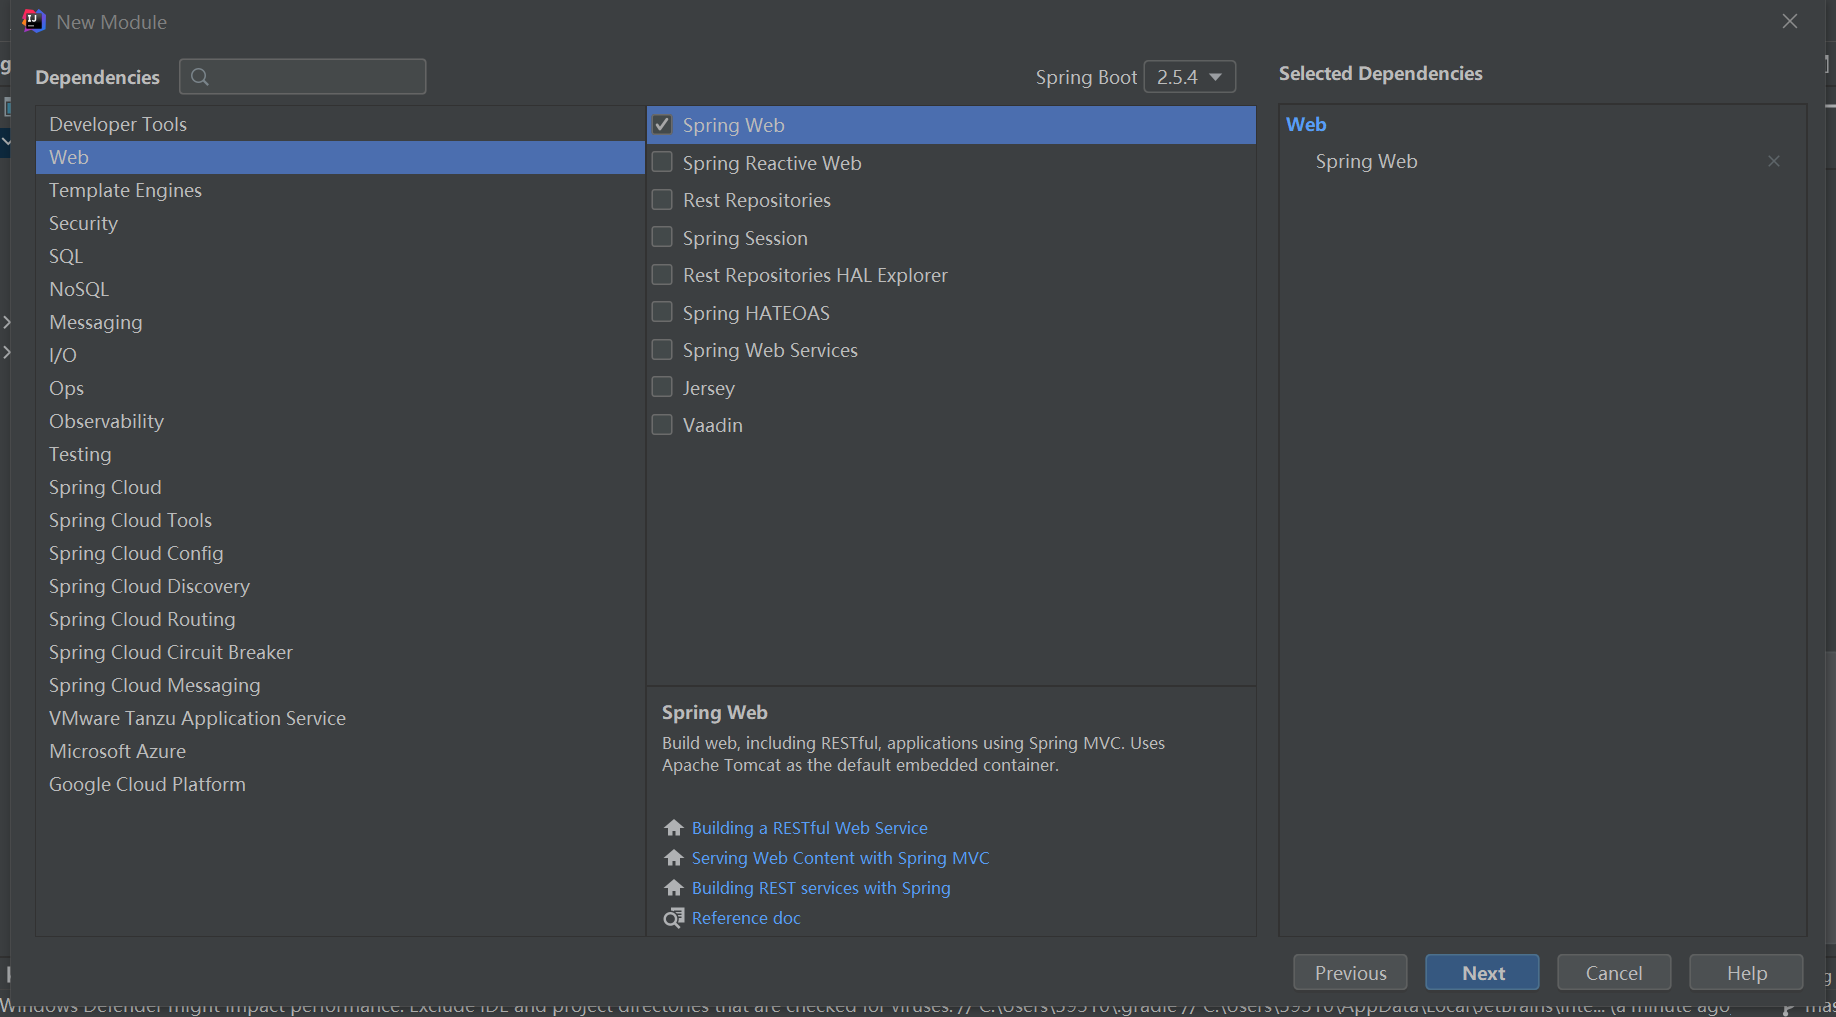
商品服务、仓储服务、订单服务、优惠券服务、用户服务
共同:
1)、web 、openfeign
2)、每一个服务,包名 com.atguigu.gulimall.xxx(product/order/ware/coupon/member)
3)、模块名:gulimall-coupon
- 从子模块复制一个pom.xml到gulimall下(项目的根目录),,里面的内容如下
<?xml version="1.0" encoding="UTF-8"?>
<project xmlns="http://maven.apache.org/POM/4.0.0" xmlns:xsi="http://www.w3.org/2001/XMLSchema-instance"
         xsi:schemaLocation="http://maven.apache.org/POM/4.0.0 https://maven.apache.org/xsd/maven-4.0.0.xsd">
    <modelVersion>4.0.0</modelVersion>
    <groupId>gulimall</groupId>
    <artifactId>gulimall-product</artifactId>
    <version>0.0.1-SNAPSHOT</version>
    <name>gulimall</name>
    <description>聚合服务</description>
    <packaging>pom</packaging>

    <modules>
        <module>gulimall-coupon</module>
        <module>gulimall-member</module>
        <module>gulimall-order</module>
        <module>gulimall-product</module>
        <module>gulimall-ware</module>
    </modules>

</project>
- 控制提交到码云的文件。项目的根目录 .gitignore的内容如下:
target/ pom.xml.tag pom.xml.releaseBackup pom.xml.versionsBackup pom.xml.next release.properties dependency-reduced-pom.xml buildNumber.properties .mvn/timing.properties .mvn/wrapper/maven-wrapper.jar **/mvnw **/mvnw.cmd **/.mvn **/target/ .idea **/.gitignore -
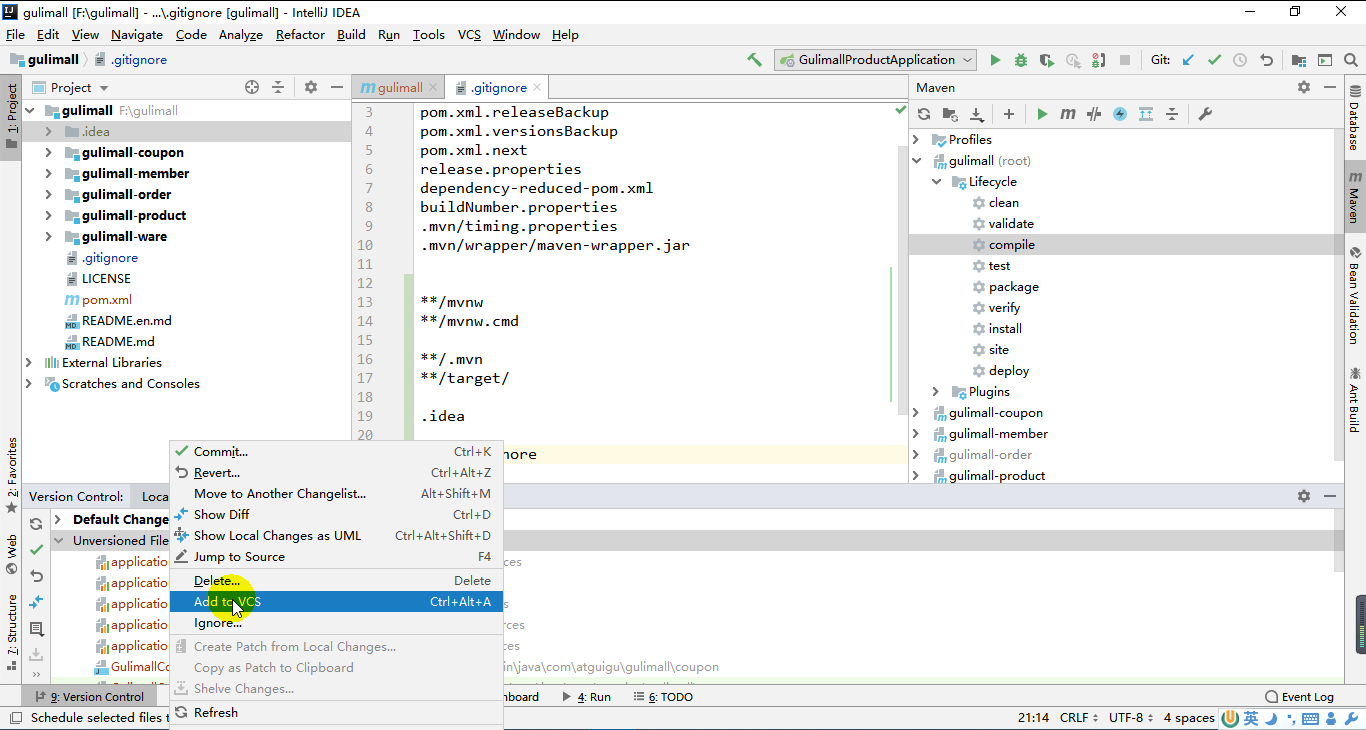
上图操作是把文件纳入版本控制,有新文件时会有提示
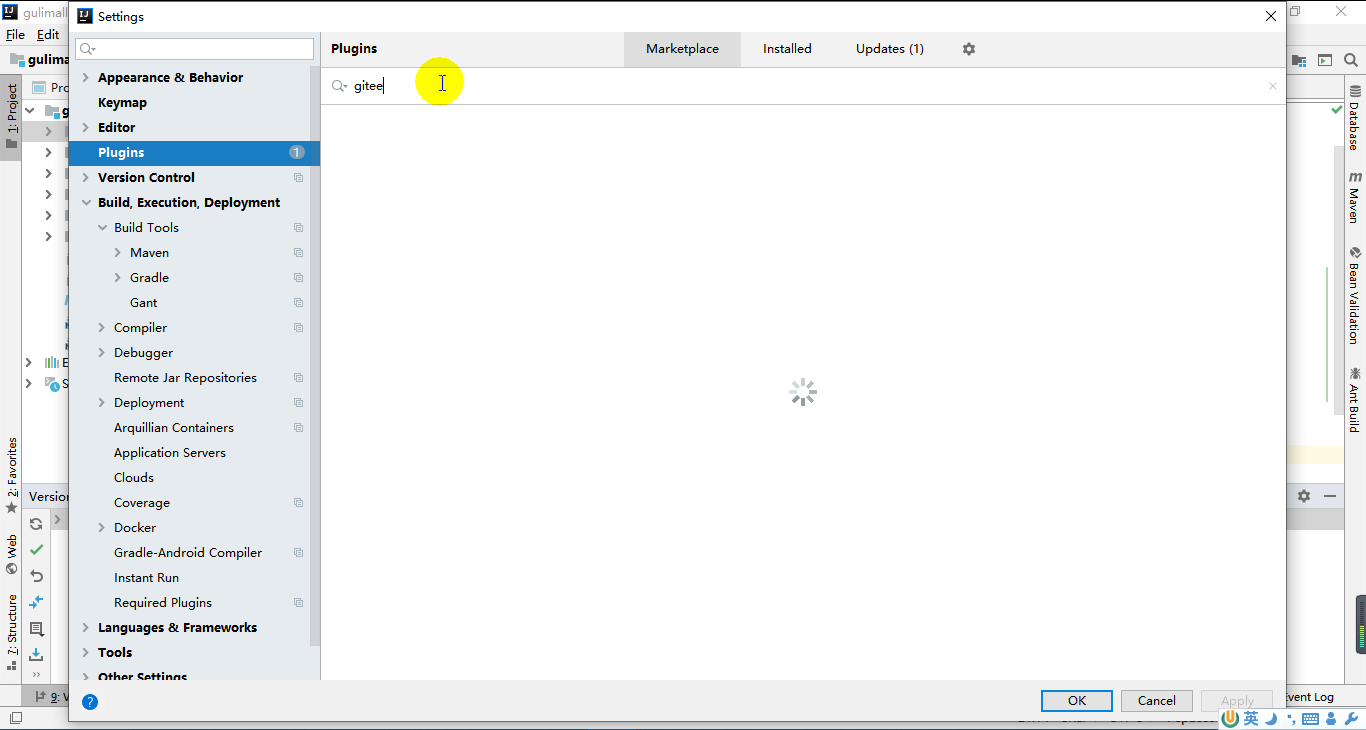
- 安装码云的插件 ,file - settings - Plugins - gitee 安装
- 步骤
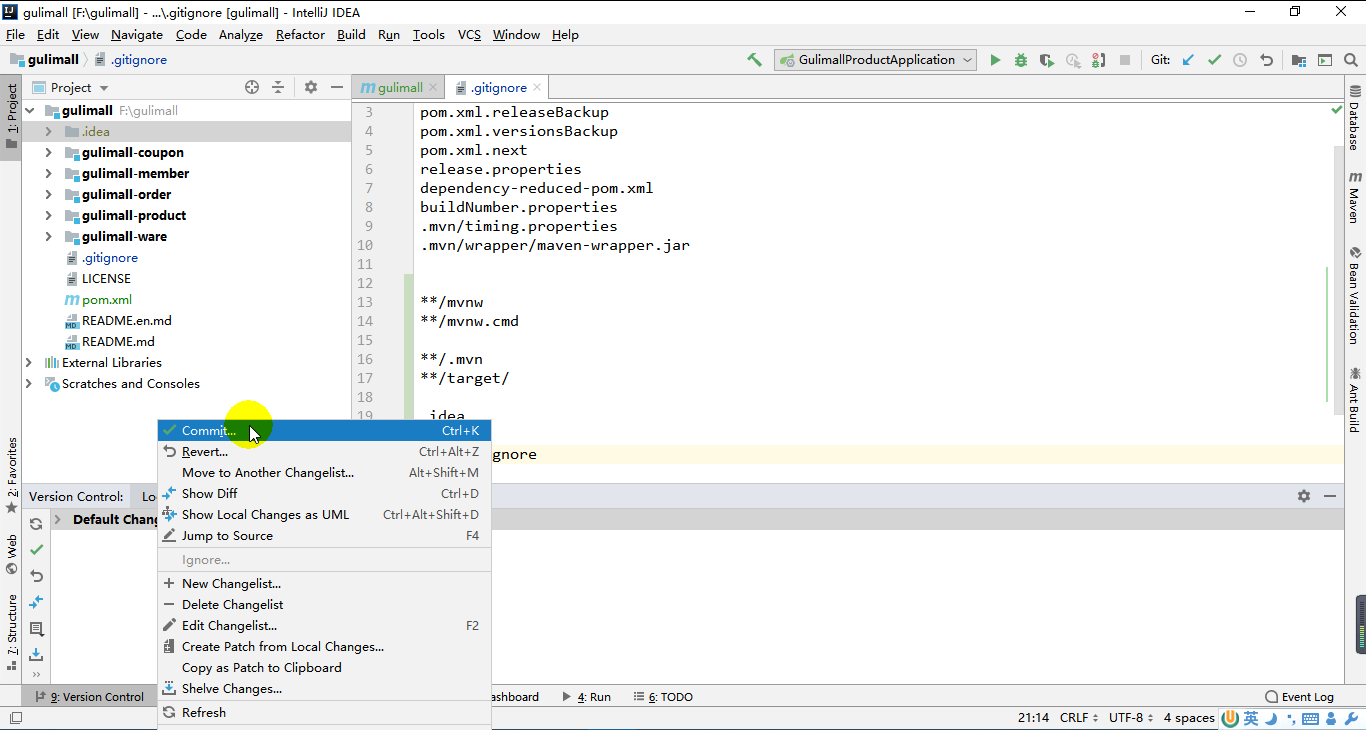
- 右键下方 Deafult... 选择 commit
2.提交并且推送 ,注意去掉右侧的勾 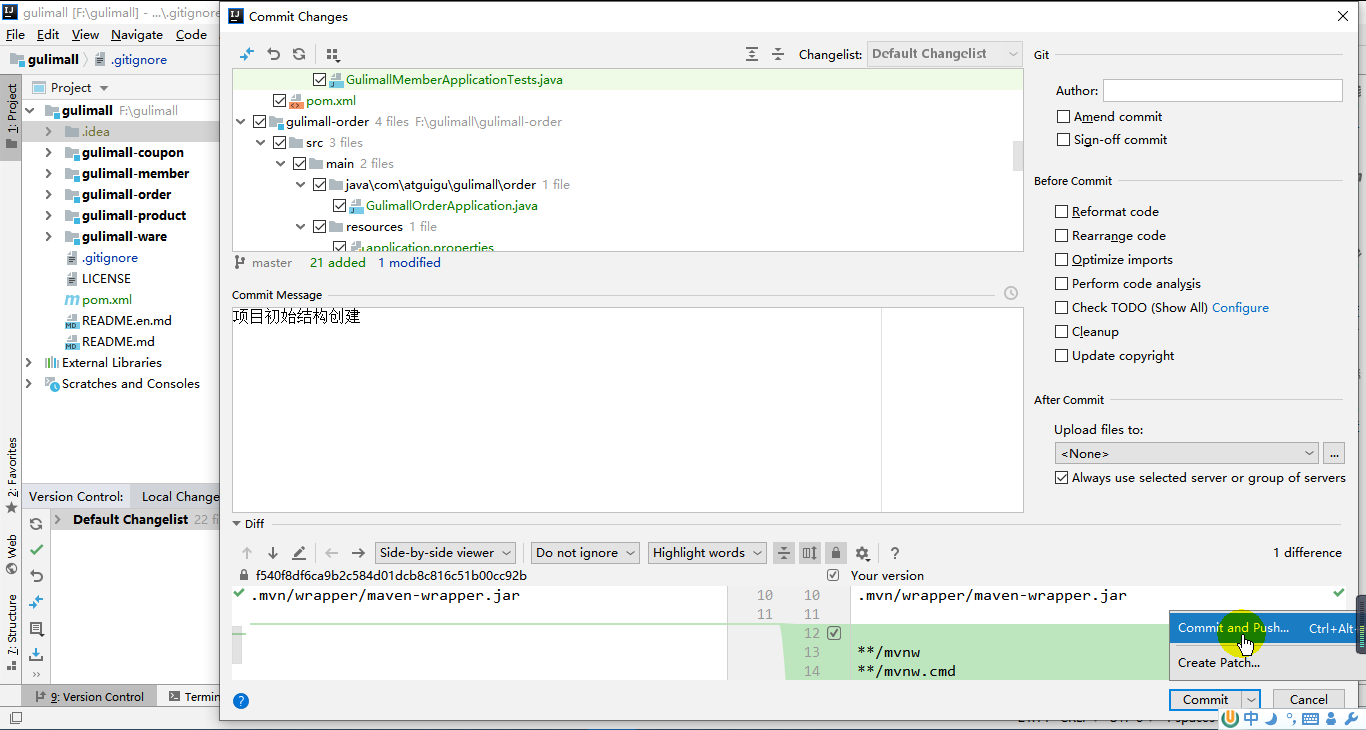
-
连接mysql
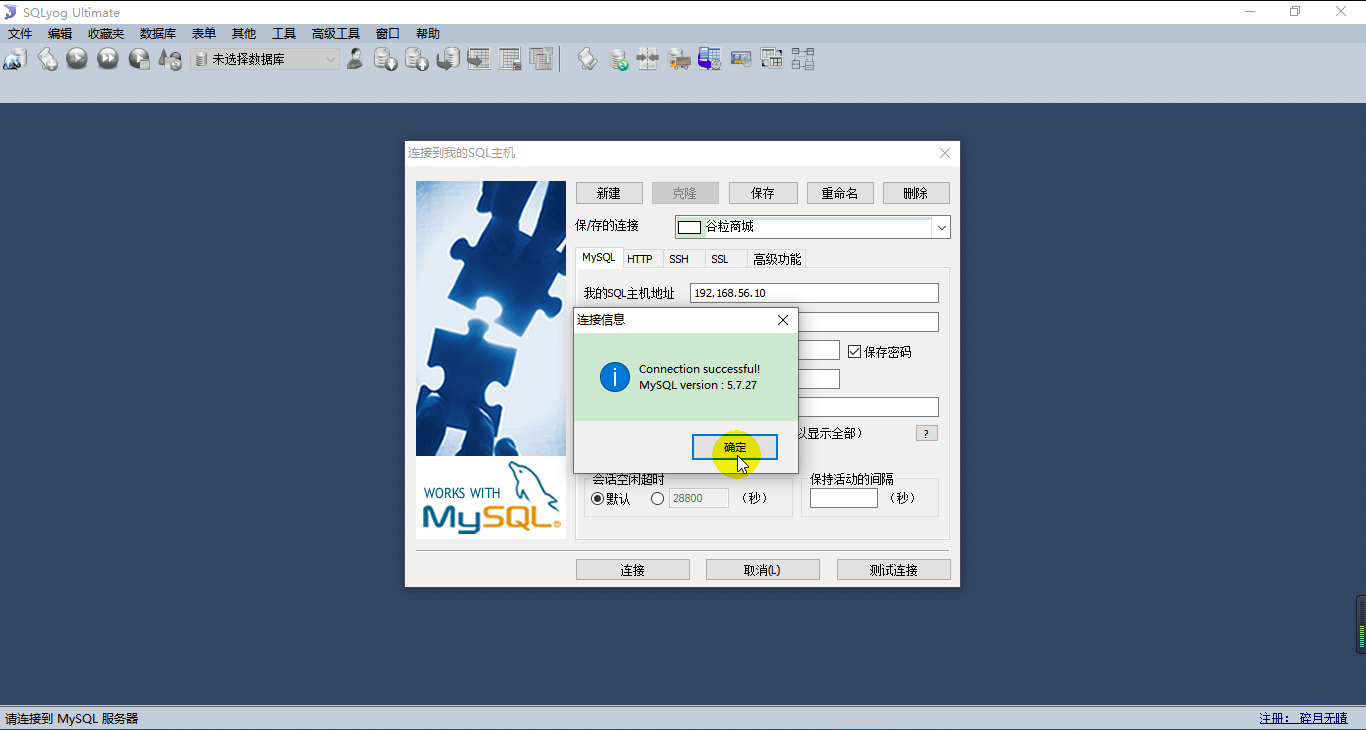
创建各个微服务对应的数据库,字符集选择utf8mb4,复制sql文件里的内容粘贴到sqlyog对应的数据库,全选以后执行导入。
- gitee搜索人人开源,找到renren-fast,在克隆 / 下载那里 复制https
- 打开git 的 git bash here ,使用命令 git clone https://gitee.com/renrenio/renren-fast.git ,在找到 renren-fast-vue ,复制https
- 使用命令git clone https://gitee.com/renrenio/renren-fast-vue.git
- 删掉下载的文件里面的git
- 将renren-fast 放到项目的根目录,并在在pom.xml里加入<module>
- 打开sqlyog,创建数据库gulimall_admin,将renren-fast文件下的db的sql文件复制到sqlyog,全选以后执行导入
- 修改renren-fast的application-dev.yml文件:修改连接地址以及账号密码 ,运行程序
    url: jdbc:mysql://192.168.56.10:3306/gulimall_admin?useUnicode=true&characterEncoding=UTF-8&serverTimezone=Asia/Shanghai
            username: root
            password: root
- 用webStorm打开renren-fast-vue,先安装node.js ,官网下载http://nodejs.cn/api/ ,进行安装 ,使用命令 node -v 检查,npm config set registry http://registry.npm.taobao.org/ ,在前端项目让maven下载依赖的组件 npm install ,如果失败,去git下载人人开源的vue的zip文件 ,再npm install 成功后,npm run dev
- 代码生成器,去git下载人人开源renren-generator,将文件放到根目录,在根项目的pom.xml加入<module>renren-generator-master</module>
- 改application.yml文件:
    url: jdbc:mysql://192.168.56.10:3306/gulimall_pms?useUnicode=true&characterEncoding=UTF-8&useSSL=false&serverTimezone=Asia/Shanghai
    username: root
    password: root
- generator.properties 修改:
#\u4EE3\u7801\u751F\u6210\u5668\uFF0C\u914D\u7F6E\u4FE1\u606F  主目录
mainPath=com.atguigu
#\u5305\u540D package 包名,moduleName模块名
package=com.atguigu.gulimall
moduleName=product
#\u4F5C\u8005 作者
author=gys
#Email
email=
#\u8868\u524D\u7F00(\u7C7B\u540D\u4E0D\u4F1A\u5305\u542B\u8868\u524D\u7F00) 表前缀(类名不会包含表前缀)
tablePrefix=pms_
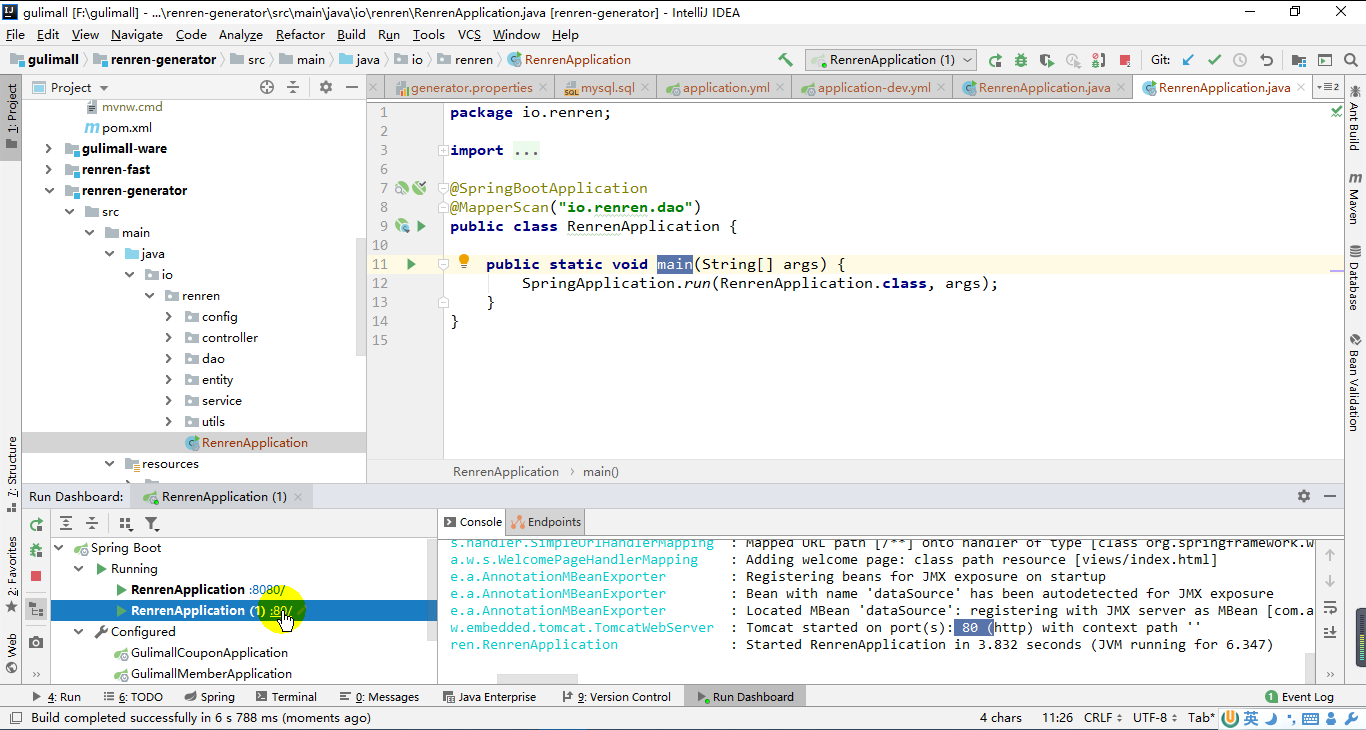
- 启动代码生成器的main方法
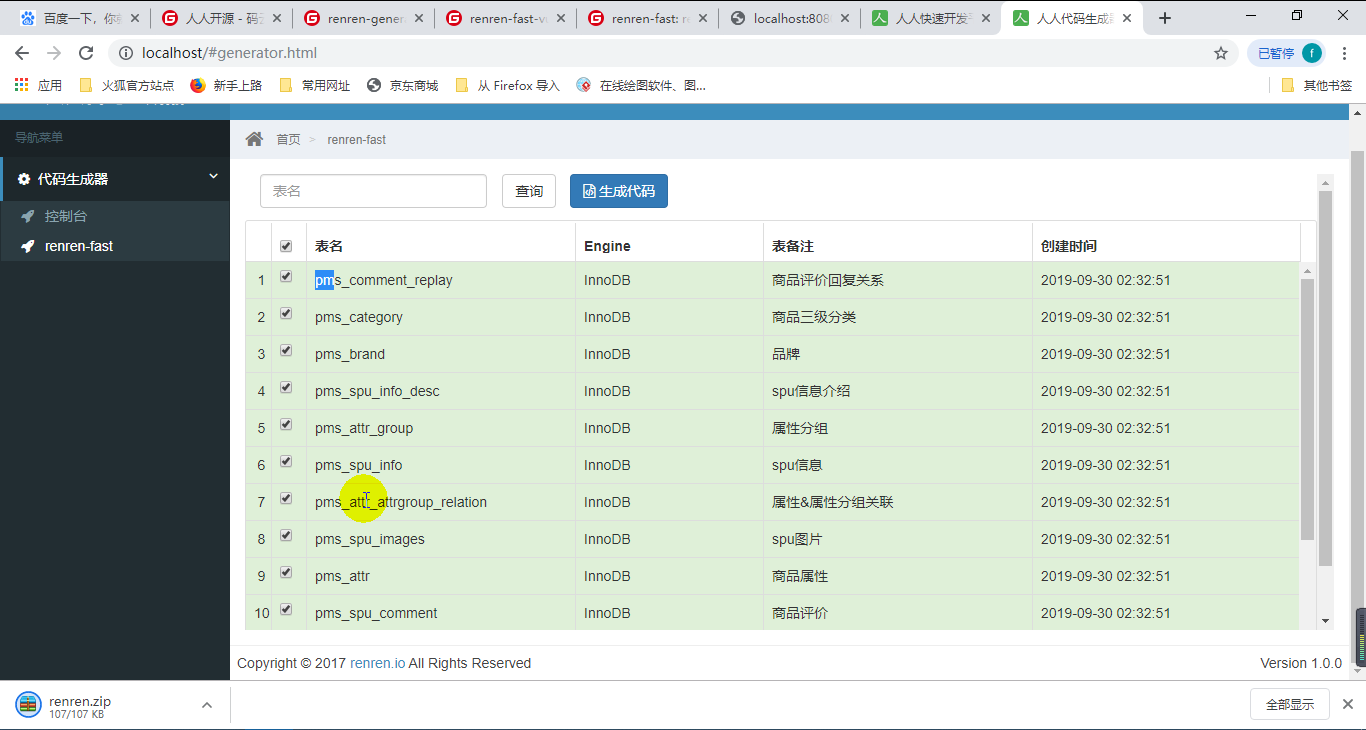
- 在页面的renren-fast全部勾选
- 打开解压的文件,将main文件粘贴到对应的微服务里,不要删掉之前的main文件,把resource下的src删掉。
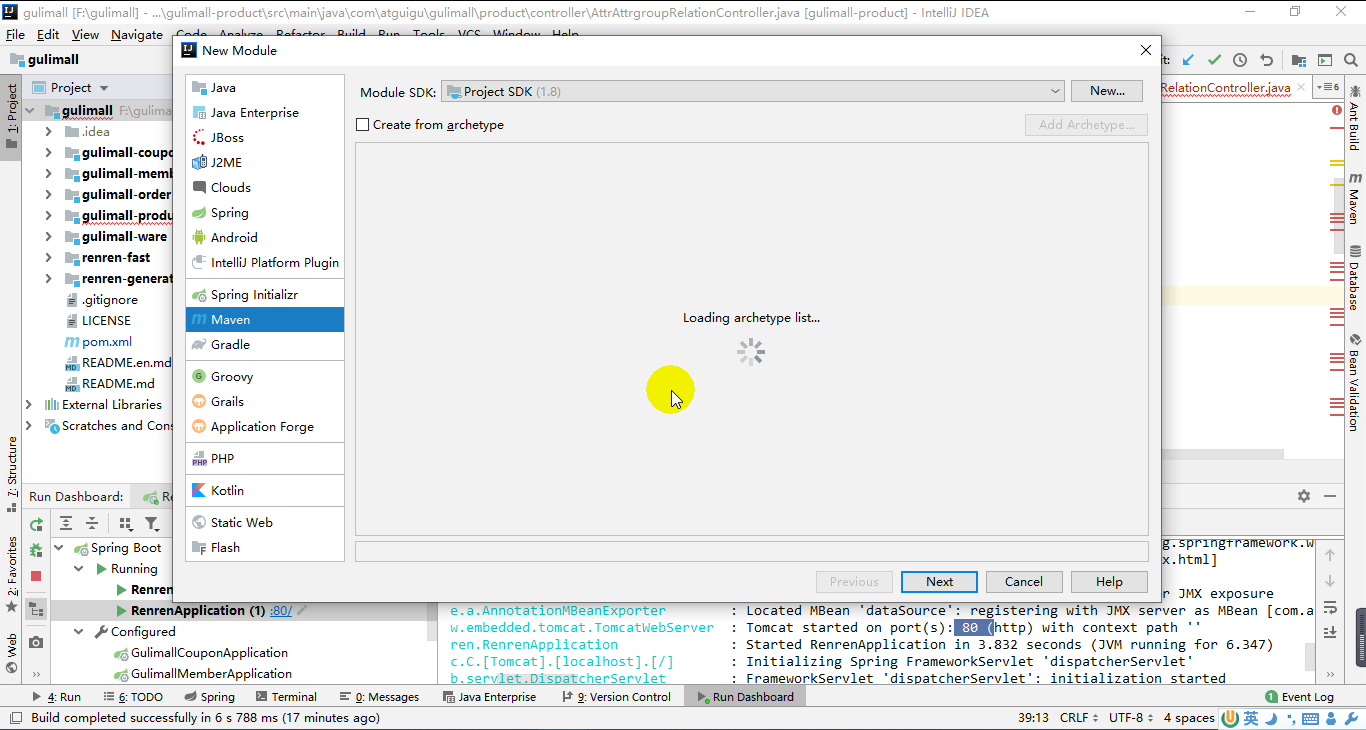
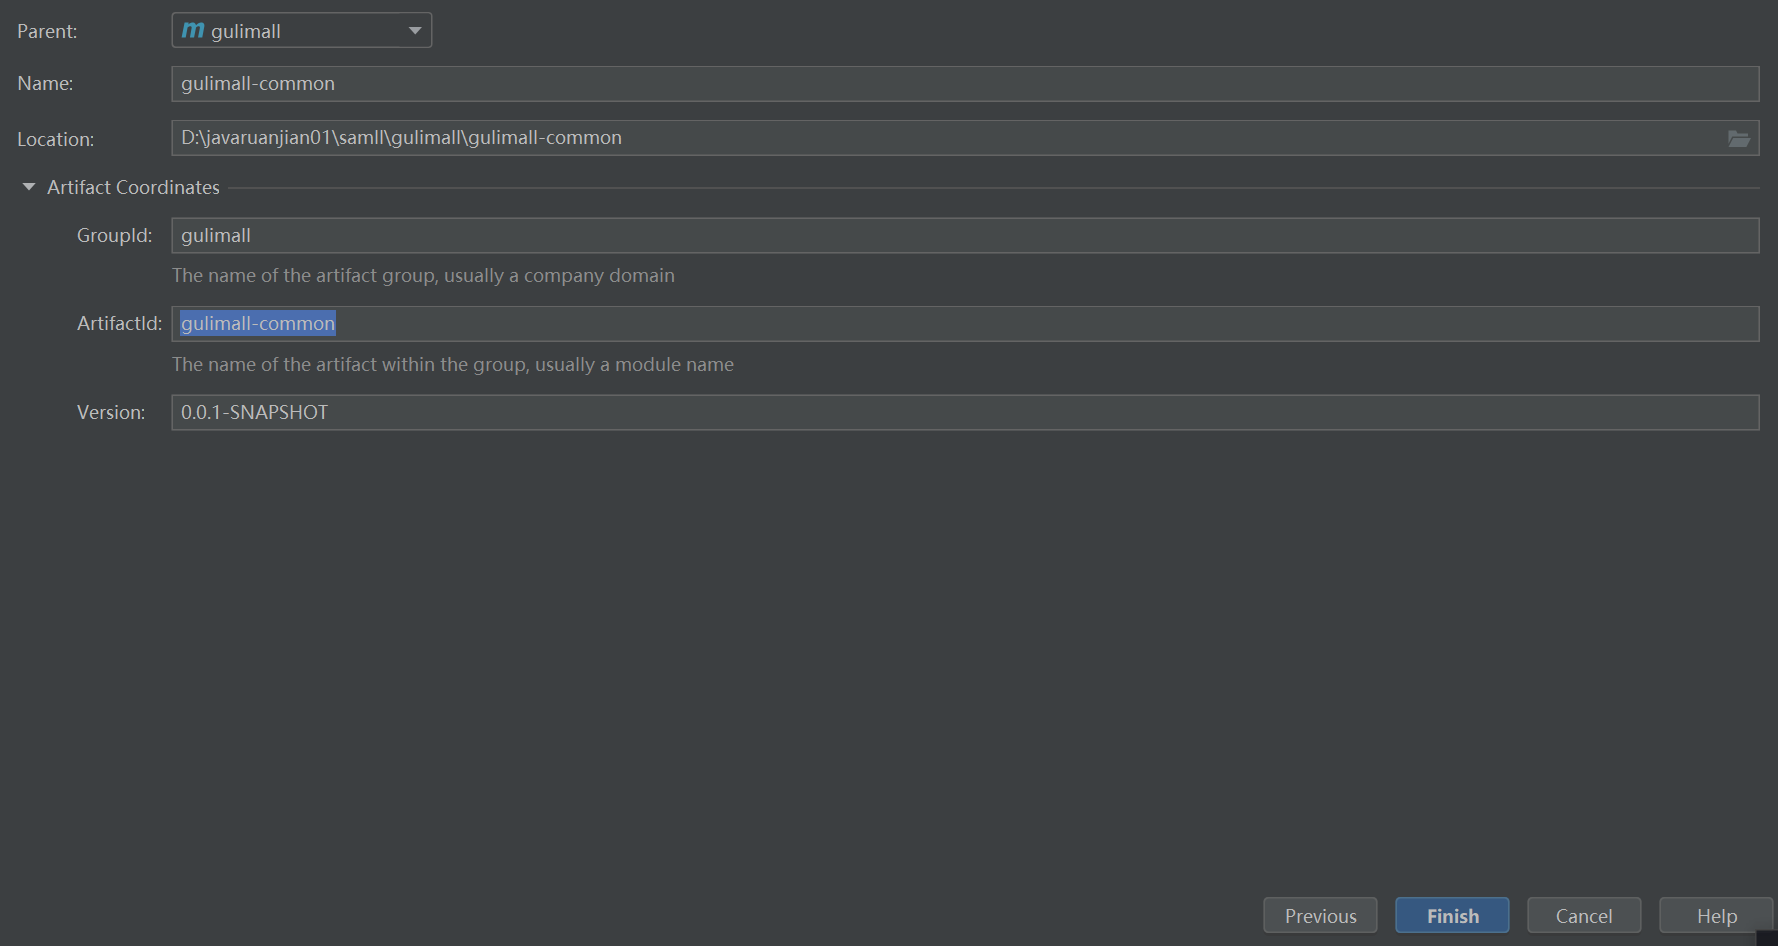
- 建一个公共模块
 shift+F6 修改模块名 rename module
- 在product项目的pom.xml加入,增加application.yml文件,改端口号
<dependency>
            <groupId>gulimall</groupId>
            <artifactId>gulimall-common</artifactId>
            <version>0.0.1-SNAPSHOT</version>
</dependency>
- 改application.yml文件:
-


