- 新页面userbase.html,用<ul ><li role="presentation"> 实现标签页导航。
<ul class="nav nav-tabs">
<li role="presentation"><a href="#">Home</a></li>
<li role="presentation"><a href="#">Profile</a></li>
<li role="presentation"><a href="#">Messages</a></li>
</ul>
<link rel="stylesheet" type="text/css" href="../static/css/dd.css">

    <ul class="nav_url">
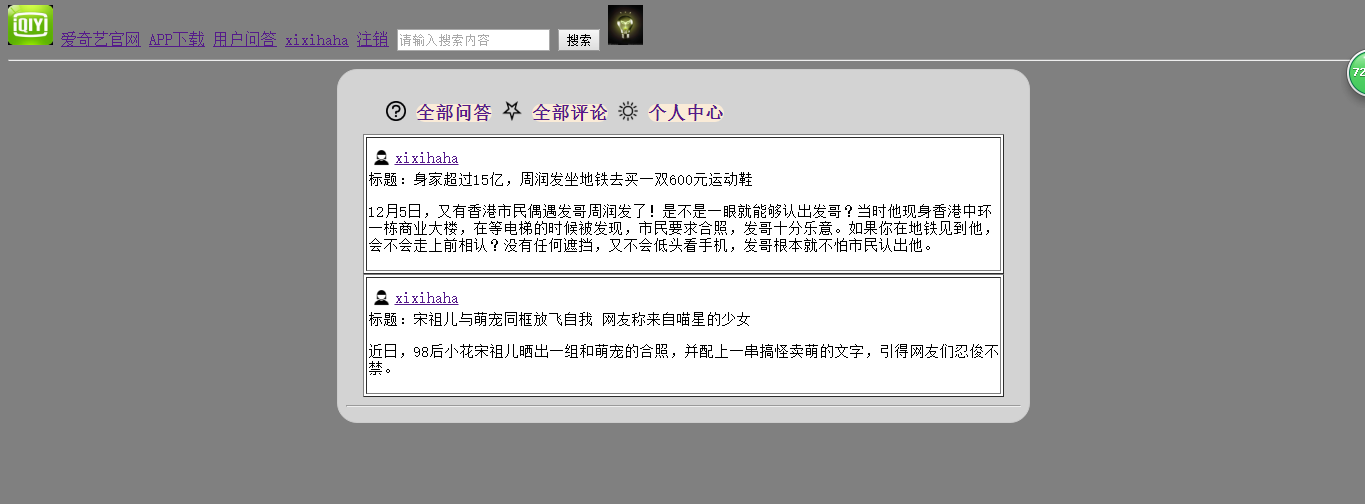
          <img src="{{ url_for('static',filename='image/wenhao.png') }}"><h4 role="presentation"><a href="#">全部问答</a></h4>
          <img src="{{ url_for('static',filename='image/wujiao.png') }}"><h4 role="presentation"><a href="#">全部评论</a></h4>
          <img src="{{ url_for('static',filename='image/taiyang.png') }}"><h4 role="presentation"><a href="#">个人中心</a></h4>
    </ul>
       {% block user1 %}{% endblock %}
{% endblock %} </div>
{% endblock %}
- 让userbase.html继承base.html。
重写title,head,main块.
将上述<ul>的样式放在head块,<ul>放在main块中.
定义新的块user。
{% extends'shouye.html' %}
{% block title %}
个人详情
{% endblock %}

{% block jiemian %}<body bgcolor="antiquewhite"><link rel="stylesheet" type="text/css" href="../static/css/dd.css">
    <div class="d1">
   {% block user %}
- 让上次作业完成的个人中心页面,继承userbase.html,原个人中心就自动有了标签页导航。
- 制作个人中心的三个子页面,重写userbase.html中定义的user块,分别用于显示问答、评论、个人信息。
- 思考 如何实现点标签页导航到达不同的个人中心子页面。
{% extends "userbase.html" %}

{% block user1 %}
    <link rel="stylesheet" type="text/css" href="../static/css/user.css">
    {% for foo in questions%}
        <table border="1" >
                <tr><td>
                    <img class="people" src="{{ url_for('static',filename='image/people.png') }}"><a href="{{ url_for('all',user_id=foo.author_id) }}" class="name">{{ foo.author.username }}</a><br>
                    <p>标题:{{ foo.title }}</p>
                    <p>{{ foo.detail }}</p></td></tr>
        </table>
     {% endfor %}<hr>
{% endblock %}


