


本文着重研究了自定义对话框,通过一下步骤即可清晰的理解原理,通过更改界面设置和style类型,可以应用在各种各样适合自己的App中。
首先来看一下效果图:
首先是activity的界面
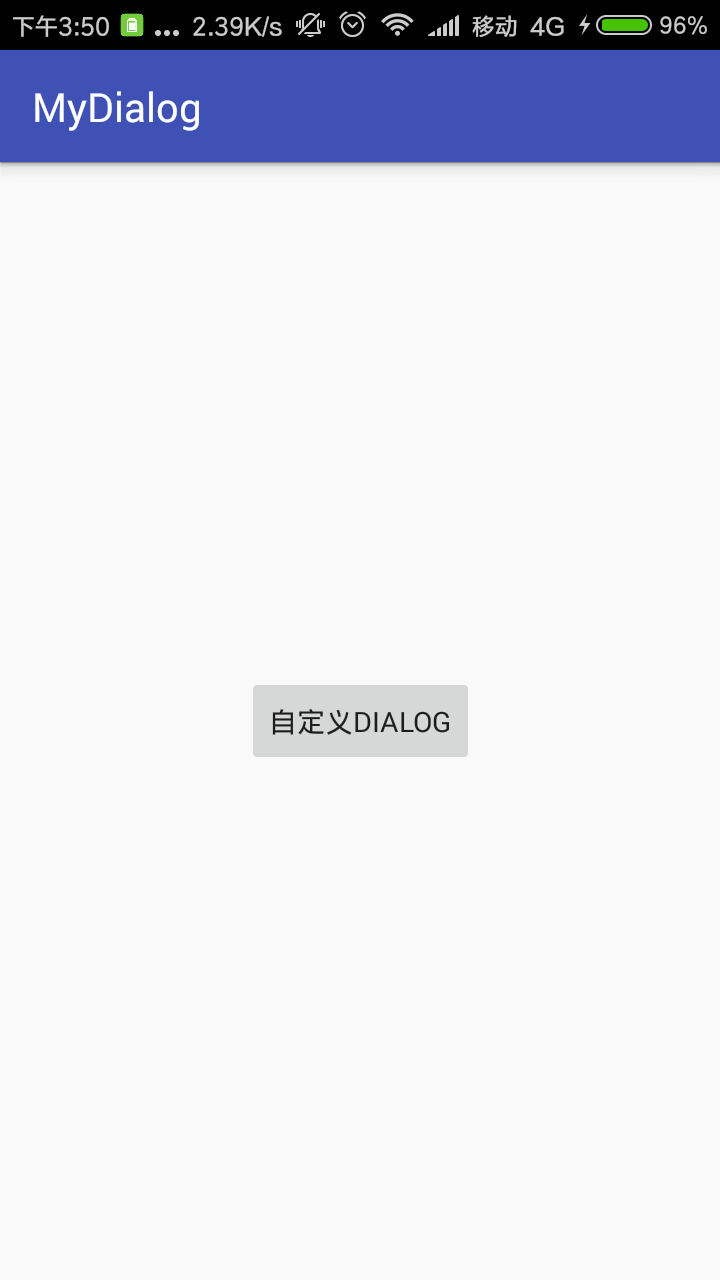
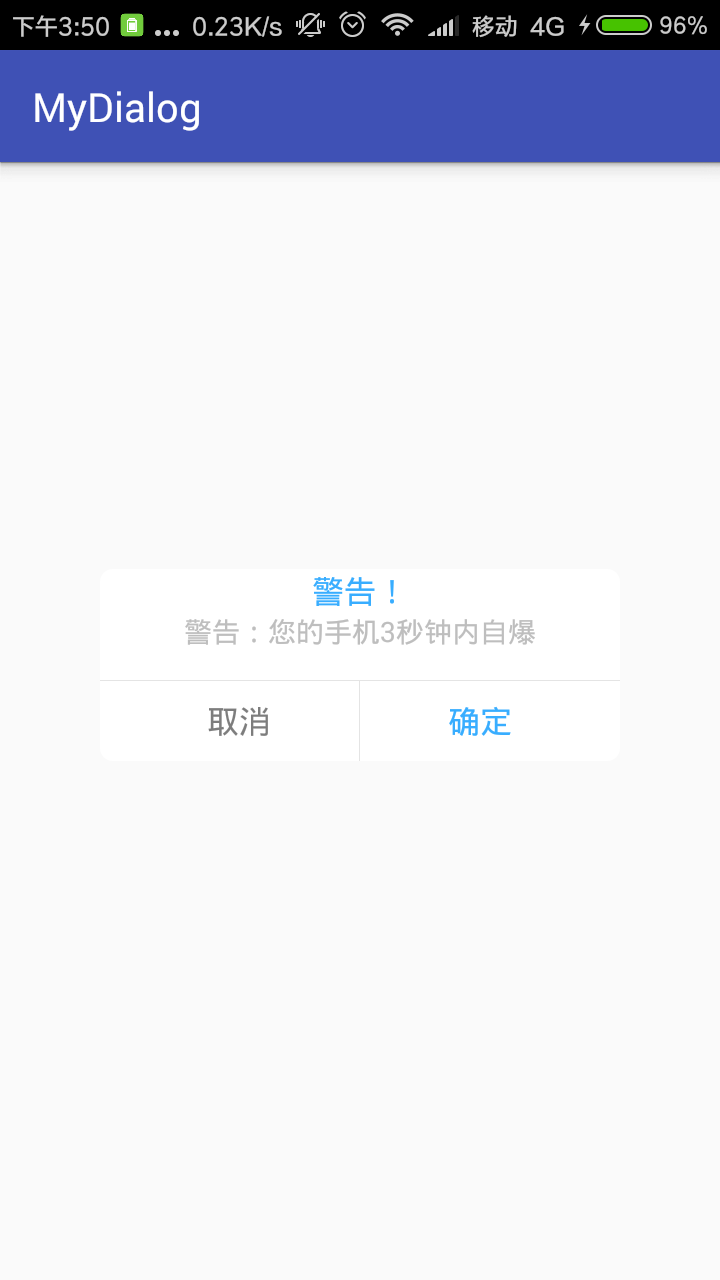
点击了上述图片的按钮后,弹出对话框:
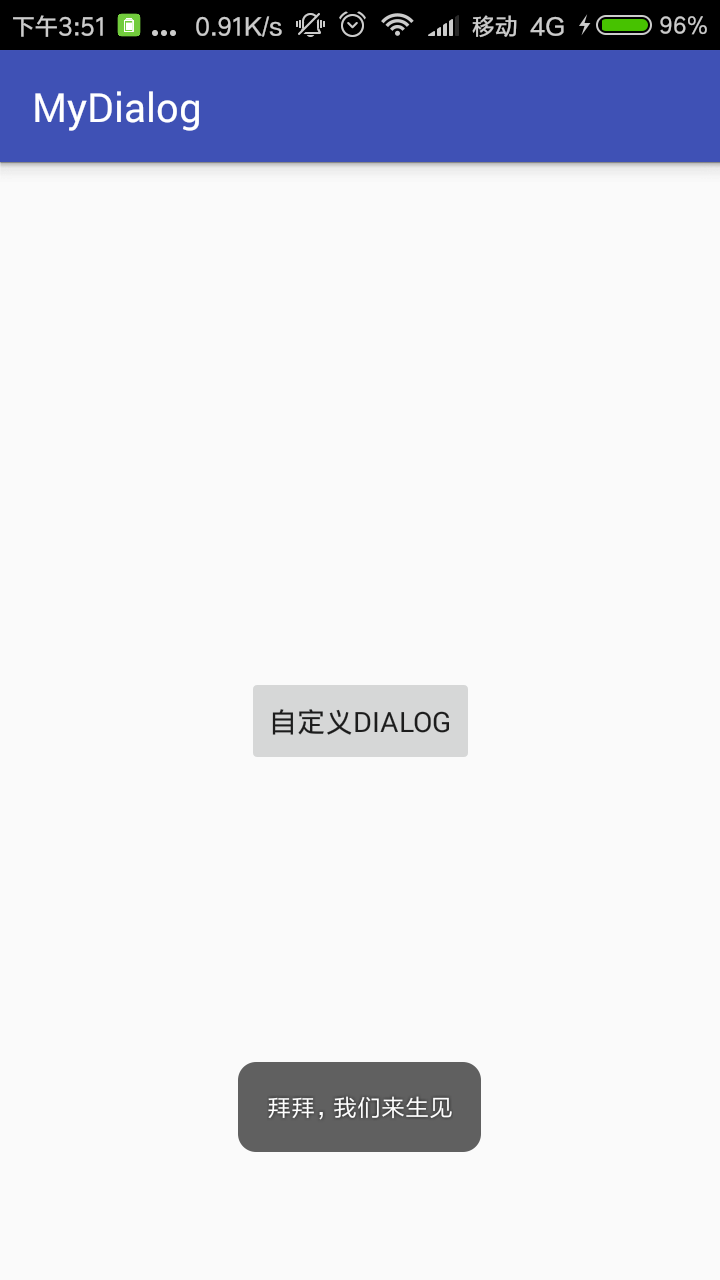
点击对话框的确定按钮:
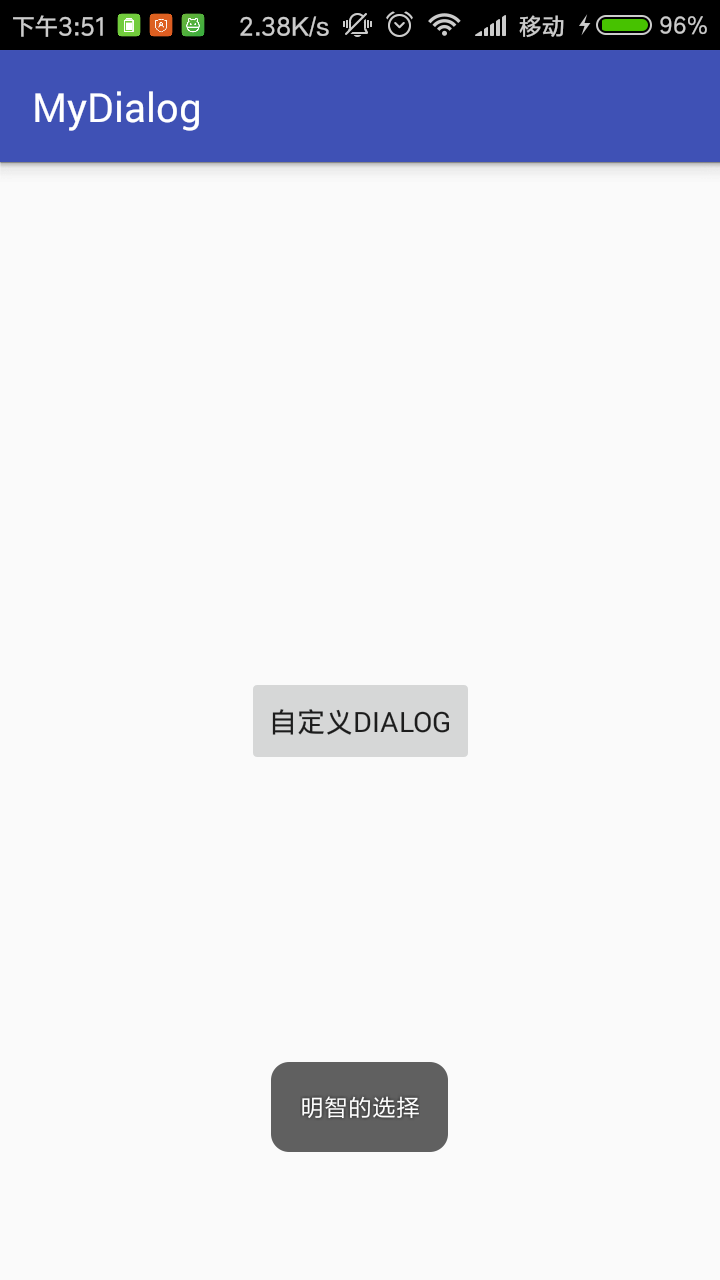
点击对话框的取消按钮:
下面来说一下具体实现步骤:
第一步:设置Dialog的样式(一般项目都可以直接拿来用):style.xml中
 1  <!--自定义Dialog背景全透明无边框theme-->
 2     <style name="MyDialog" parent="android:style/Theme.Dialog">
 3         <!--背景颜色和透明程度-->
 4         <item name="android:windowBackground">@android:color/transparent</item>
 5         <!--是否去除标题-->
 6         <item name="android:windowNoTitle">true</item>
 7         <!--是否去除边框-->
 8         <item name="android:windowFrame">@null</item>
 9         <!--是否浮现在activity之上-->
10         <item name="android:windowIsFloating">true</item>
11         <!--是否模糊-->
12         <item name="android:backgroundDimEnabled">false</item>
13     </style>
第二步:自定义Dialog:
(1)自定义的Dialog的布局:dialog.xml
 1 <?xml version="1.0" encoding="utf-8"?>
 2 <RelativeLayout xmlns:android="http://schemas.android.com/apk/res/android"
 3     android:layout_width="match_parent"
 4     android:layout_height="match_parent"
 5     android:background="#11ffffff">
 6 <LinearLayout
 7     android:layout_width="260dp"
 8     android:layout_height="wrap_content"
 9     android:layout_centerInParent="true"
10     android:background="@drawable/free_dialog_bg"
11     android:orientation="vertical">
12 <TextView
13     android:id="@+id/title"
14     android:layout_width="wrap_content"
15     android:layout_height="wrap_content"
16     android:layout_gravity="center"
17     android:text="警告!!!"
18     android:textColor="#38ADFF"
19     android:textSize="16sp"/>
20     <TextView
21         android:id="@+id/message"
22         android:layout_width="wrap_content"
23         android:layout_height="wrap_content"
24         android:layout_marginLeft="20dp"
25         android:layout_marginRight="20dp"
26         android:layout_gravity="center"
27         android:text="您的手机马上自爆"/>
28     <View
29         android:layout_width="match_parent"
30         android:layout_height="1px"
31         android:layout_marginTop="15dp"
32         android:background="#E4E4E4"/>
33     <LinearLayout
34         android:layout_width="match_parent"
35         android:layout_height="40dp"
36         android:orientation="horizontal">
37         <Button
38             android:id="@+id/no"
39             android:layout_width="0dp"
40             android:layout_height="match_parent"
41             android:layout_weight="1"
42             android:layout_marginLeft="10dp"
43             android:background="@null"
44             android:gravity="center"
45             android:lines="1"
46             android:text="取消"
47             android:textColor="#7D7D7D"
48             android:textSize="16sp"/>
49         <View
50             android:layout_width="1px"
51             android:layout_height="match_parent"
52             android:background="#E4E4E4"/>
53         <Button
54             android:id="@+id/yes"
55             android:layout_width="0dp"
56             android:layout_height="match_parent"
57             android:layout_weight="1"
58             android:layout_marginRight="10dp"
59             android:background="@null"
60             android:gravity="center"
61             android:lines="1"
62             android:text="确定"
63             android:textColor="#38ADFF"
64             android:textSize="16sp"/>
65     </LinearLayout>
66 </LinearLayout>
67 </RelativeLayout>
(2)自定义Dialog布局中的背景:free_dialog_bg.xml
 1 <?xml version="1.0" encoding="utf-8"?>
 2 <shape xmlns:android="http://schemas.android.com/apk/res/android"
 3     android:layout_width="match_parent"
 4     android:layout_height="match_parent">
 5     <solid android:color="#ffffff" />
 6     <stroke
 7         android:width="0.8dp"
 8         android:color="#ffffff" />
 9     <!-- 圆角 -->
10     <corners android:radius="6dp" />
11 </shape>
(3) 自定义的Dialog的java:MyDialog.class
  1 package com.syah.mydialog;
  2
  3 import android.app.Dialog;
  4 import android.content.Context;
  5 import android.os.Bundle;
  6 import android.support.annotation.NonNull;
  7 import android.support.annotation.StyleRes;
  8 import android.view.View;
  9 import android.widget.Button;
 10 import android.widget.TextView;
 11
 12 /**
 13  * 创建自定义的Dialog,主要学习实现原理
 14  * Created by admin on 2017/8/30.
 15  */
 16
 17 public class MyDialog extends Dialog {
 18     private Button yes;//确定按钮
 19     private Button no;//取消按钮
 20     private TextView titleTV;//消息标题文本
 21     private TextView message;//消息提示文本
 22     private String titleStr;//从外界设置的title文本
 23     private String messageStr;//从外界设置的消息文本
 24     //确定文本和取消文本的显示的内容
 25     private String yesStr, noStr;
 26     private onNoOnclickListener noOnclickListener;//取消按钮被点击了的监听器
 27     private onYesOnclickListener yesOnclickListener;//确定按钮被点击了的监听器
 28
 29     public MyDialog(@NonNull Context context, @StyleRes int themeResId) {
 30         super(context, themeResId);
 31     }
 32
 33     /**
 34      * 设置取消按钮的显示内容和监听
 35      *
 36      * @param str
 37      * @param onNoOnclickListener
 38      */
 39     public void setNoOnclickListener(String str, onNoOnclickListener onNoOnclickListener) {
 40         if (str != null) {
 41             noStr = str;
 42         }
 43         this.noOnclickListener = onNoOnclickListener;
 44     }
 45
 46     /**
 47      * 设置确定按钮的显示内容和监听
 48      *
 49      * @param str
 50      * @param yesOnclickListener
 51      */
 52     public void setYesOnclickListener(String str, onYesOnclickListener yesOnclickListener) {
 53         if (str != null) {
 54             yesStr = str;
 55         }
 56         this.yesOnclickListener = yesOnclickListener;
 57     }
 58
 59
 60
 61     @Override
 62     protected void onCreate(Bundle savedInstanceState) {
 63         super.onCreate(savedInstanceState);
 64         setContentView(R.layout.dialog);
 65         //空白处不能取消动画
 66         setCanceledOnTouchOutside(false);
 67
 68         //初始化界面控件
 69         initView();
 70
 71         //初始化界面数据
 72         initData();
 73         //初始化界面控件的事件
 74         initEvent();
 75     }
 76
 77     /**
 78      * 初始化界面控件
 79      */
 80     private void initView() {
 81         yes = findViewById(R.id.yes);
 82         no = findViewById(R.id.no);
 83         titleTV = (TextView) findViewById(R.id.title);
 84         message = (TextView) findViewById(R.id.message);
 85     }
 86
 87     /**
 88      * 初始化界面控件的显示数据
 89      */
 90     private void initData() {
 91         //如果用户自定了title和message
 92         if (titleStr != null) {
 93             titleTV.setText(titleStr);
 94         }
 95         if (messageStr != null) {
 96             message.setText(messageStr);
 97         }
 98         //如果设置按钮文字
 99         if (yesStr != null) {
100             yes.setText(yesStr);
101         }
102         if (noStr != null) {
103             no.setText(noStr);
104         }
105     }
106
107     /**
108      * 初始化界面的确定和取消监听
109      */
110     private void initEvent() {
111         //设置确定按钮被点击后,向外界提供监听
112         yes.setOnClickListener(new View.OnClickListener() {
113             @Override
114             public void onClick(View v) {
115                 if (yesOnclickListener != null) {
116                     yesOnclickListener.onYesOnclick();
117                 }
118             }
119         });
120         //设置取消按钮被点击后,向外界提供监听
121         no.setOnClickListener(new View.OnClickListener() {
122             @Override
123             public void onClick(View v) {
124                 if (noOnclickListener != null) {
125                     noOnclickListener.onNoClick();
126                 }
127             }
128         });
129     }
130
131     /**
132      * 从外界Activity为Dialog设置标题
133      *
134      * @param title
135      */
136     public void setTitle(String title) {
137         titleStr = title;
138     }
139
140     /**
141      * 从外界Activity为Dialog设置message
142      *
143      * @param message
144      */
145     public void setMessage(String message) {
146         messageStr = message;
147     }
148
149     public interface onNoOnclickListener {
150         public void onNoClick();
151     }
152
153     public interface onYesOnclickListener {
154         public void onYesOnclick();
155     }
156 }
第三步:activity中使用自定义对话框:
(1)activity的布局文件:activity_main.xml
 1 <?xml version="1.0" encoding="utf-8"?>
 2 <android.support.constraint.ConstraintLayout xmlns:android="http://schemas.android.com/apk/res/android"
 3     xmlns:app="http://schemas.android.com/apk/res-auto"
 4     xmlns:tools="http://schemas.android.com/tools"
 5     android:layout_width="match_parent"
 6     android:layout_height="match_parent"
 7     tools:context="com.syah.mydialog.MainActivity">
 8
 9     <Button
10         android:id="@+id/btn"
11         android:layout_width="wrap_content"
12         android:layout_height="wrap_content"
13         android:text="自定义dialog"
14         app:layout_constraintBottom_toBottomOf="parent"
15         app:layout_constraintLeft_toLeftOf="parent"
16         app:layout_constraintRight_toRightOf="parent"
17         app:layout_constraintTop_toTopOf="parent" />
18
19 </android.support.constraint.ConstraintLayout>
(2) MainActivity.class
 1 package com.syah.mydialog;
 2
 3 import android.support.v7.app.AppCompatActivity;
 4 import android.os.Bundle;
 5 import android.view.View;
 6 import android.view.Window;
 7 import android.widget.Button;
 8 import android.widget.Toast;
 9
10 public class MainActivity extends AppCompatActivity {
11     private MyDialog myDialog;
12     private Button button;
13
14     @Override
15     protected void onCreate(Bundle savedInstanceState) {
16         super.onCreate(savedInstanceState);
17         requestWindowFeature(Window.FEATURE_NO_TITLE);
18         setContentView(R.layout.activity_main);
19         button = (Button) findViewById(R.id.btn);
20         button.setOnClickListener(new View.OnClickListener() {
21             @Override
22             public void onClick(View view) {
23                 myDialog=new MyDialog(MainActivity.this,R.style.MyDialog);
24                 myDialog.setTitle("警告!");
25                 myDialog.setMessage("警告:您的手机3秒钟内自爆");
26                 myDialog.setYesOnclickListener("确定", new MyDialog.onYesOnclickListener() {
27                     @Override
28                     public void onYesOnclick() {
29                         Toast.makeText(getApplicationContext(),"拜拜,我们来生见",Toast.LENGTH_LONG).show();
30                         myDialog.dismiss();
31                     }
32                 });
33                 myDialog.setNoOnclickListener("取消", new MyDialog.onNoOnclickListener() {
34                     @Override
35                     public void onNoClick() {
36                         Toast.makeText(getApplicationContext(),"明智的选择",Toast.LENGTH_LONG).show();
37                         myDialog.dismiss();
38                     }
39                 });
40                 myDialog.show();
41             }
42         });
43     }
44 }
原理:
1、通过构造方法给dialog设置一个主题 R.style.MyDialog , 主要设置dialog的显示属性,一般都是 全透明无边框 ;
2、然后在dialog的onCreate()方法中,用setContentView( R.layout.SelfDialog) 为dialog设置XML文件,我们就可以在layout文件中创建自定义的Dialog风格。这里我就自定义了xml文件格式,实现了自定义的外观风格,不受系统的主题影响。
3、然后通过设置要为外界设置一些public 公开的方法,来向自定义的dialog传递值。这里的title 和 message,都是可以通过外界传值进来,进行设置的。如下面的public 方法就是供外界activity来设置title和message的:
 1 /**
 2      * 从外界Activity为Dialog设置标题
 3      *
 4      * @param title
 5      */
 6     public void setTitle(String title) {
 7         titleStr = title;
 8     }
 9
10     /**
11      * 从外界Activity为Dialog设置message
12      *
13      * @param message
14      */
15     public void setMessage(String message) {
16         messageStr = message;
17     }
在activity通过实例化Dialog后就可以设置titile和message了。
1                 myDialog=new MyDialog(MainActivity.this);
2                 myDialog.setTitle("警告!");
3                 myDialog.setMessage("警告:您的手机3秒钟内自爆");
另外在MyDialog.class中通过下面构造器可以更灵活的选择Dialog的类型
1  public MyDialog(@NonNull Context context, @StyleRes int themeResId) {
2         super(context, themeResId);
3     }
activity中使用自定义的dialog:
myDialog=new MyDialog(MainActivity.this,R.style.MyDialog);
4、最后,自定义的dialog中包含了一些按钮的时候,这个时候要想让按钮有点击事件,并且把这个点击事件能够传递给activity,让acitvity做一些事情,这里就需要设置监听接口,让button的点击事件能够让外界activity知道。如下面的代码。
 1     /**
 2      * 确定按钮接口
 3      */
 4     public interface onNoOnclickListener {
 5         public void onNoClick();
 6     }
 7
 8     /**
 9      * 取消按钮接口
10      */
11     public interface onYesOnclickListener {
12         public void onYesOnclick();
13     }
 1  private onNoOnclickListener noOnclickListener;//取消按钮被点击了的监听器
 2  private onYesOnclickListener yesOnclickListener;//确定按钮被点击了的监听器
 3
 4   /**
 5      * 设置取消按钮的显示内容和监听
 6      *
 7      * @param str
 8      * @param onNoOnclickListener
 9      */
10     public void setNoOnclickListener(String str, onNoOnclickListener onNoOnclickListener) {
11         if (str != null) {
12             noStr = str;
13         }
14         this.noOnclickListener = onNoOnclickListener;
15     }
16
17     /**
18      * 设置确定按钮的显示内容和监听
19      *
20      * @param str
21      * @param yesOnclickListener
22      */
23     public void setYesOnclickListener(String str, onYesOnclickListener yesOnclickListener) {
24         if (str != null) {
25             yesStr = str;
26         }
27         this.yesOnclickListener = yesOnclickListener;
28     }
 1    //设置确定按钮被点击后,向外界提供监听
 2         yes.setOnClickListener(new View.OnClickListener() {
 3             @Override
 4             public void onClick(View v) {
 5                 if (yesOnclickListener != null) {
 6                     yesOnclickListener.onYesOnclick();
 7                 }
 8             }
 9         });
10         //设置取消按钮被点击后,向外界提供监听
11         no.setOnClickListener(new View.OnClickListener() {
12             @Override
13             public void onClick(View v) {
14                 if (noOnclickListener != null) {
15                     noOnclickListener.onNoClick();
16                 }
17             }
18         });
activity就可以设置监听接口来实时获取button的点击事件如下:
 1                myDialog.setYesOnclickListener("确定", new MyDialog.onYesOnclickListener() {
 2                     @Override
 3                     public void onYesOnclick() {
 4                         Toast.makeText(getApplicationContext(),"拜拜,我们来生见",Toast.LENGTH_LONG).show();
 5                         myDialog.dismiss();
 6                     }
 7                 });
 8                 myDialog.setNoOnclickListener("取消", new MyDialog.onNoOnclickListener() {
 9                     @Override
10                     public void onNoClick() {
11                         Toast.makeText(getApplicationContext(),"明智的选择",Toast.LENGTH_LONG).show();
12                         myDialog.dismiss();
13                     }
14                 });
