nexus3 的使用
nexus3 的使用
nexus3 的搭建:https://www.cnblogs.com/1285026182YUAN/p/11555123.html
docker run -d -p 10001:8081 -p 7000:7000 --restart=always --name nexus -v D:\DockerVolume\nexus3\nexus-data:/nexus-data sonatype/nexus3
其中 proxy、hosted、group 和上篇文章搭建 docker 私服中的概念是一样的:
proxy(代理仓库):用来代理远程的公共仓库,默认是从远程中央仓库中寻找数据的仓库下载需要的 jar 包。
hosted(宿主仓库):用来部署我们自己项目打包的构建,供内部人员下载。
group(仓库组):用来合并多个hosted/proxy仓库,都加入到一个仓库组中,提供统一的访问地址,下载时按配置顺序从中依次查找。
创建Docker 私有镜像仓库
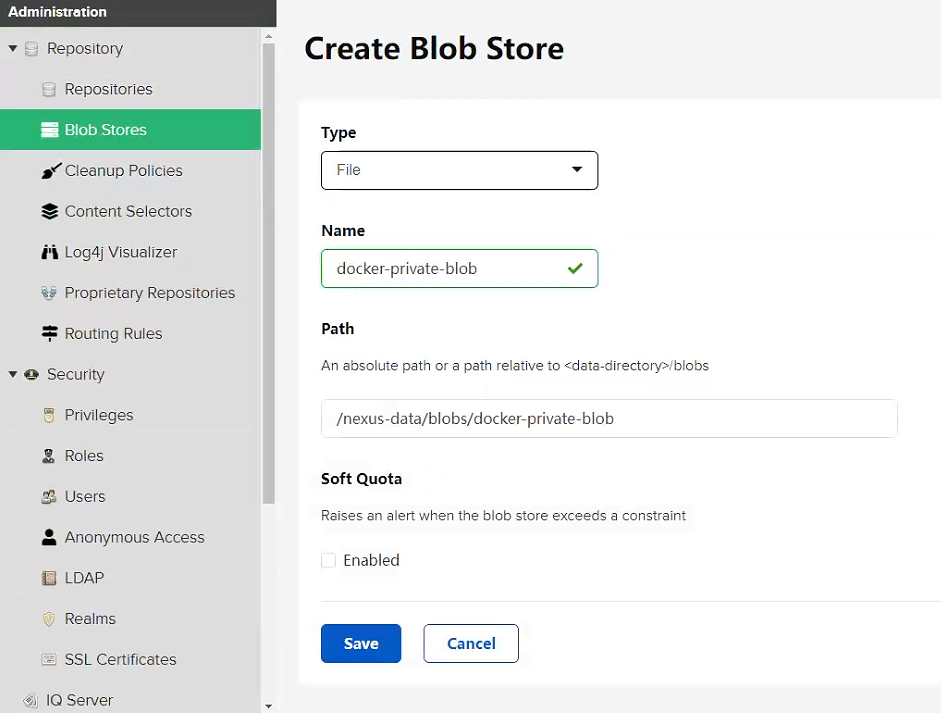
一. 创建仓库

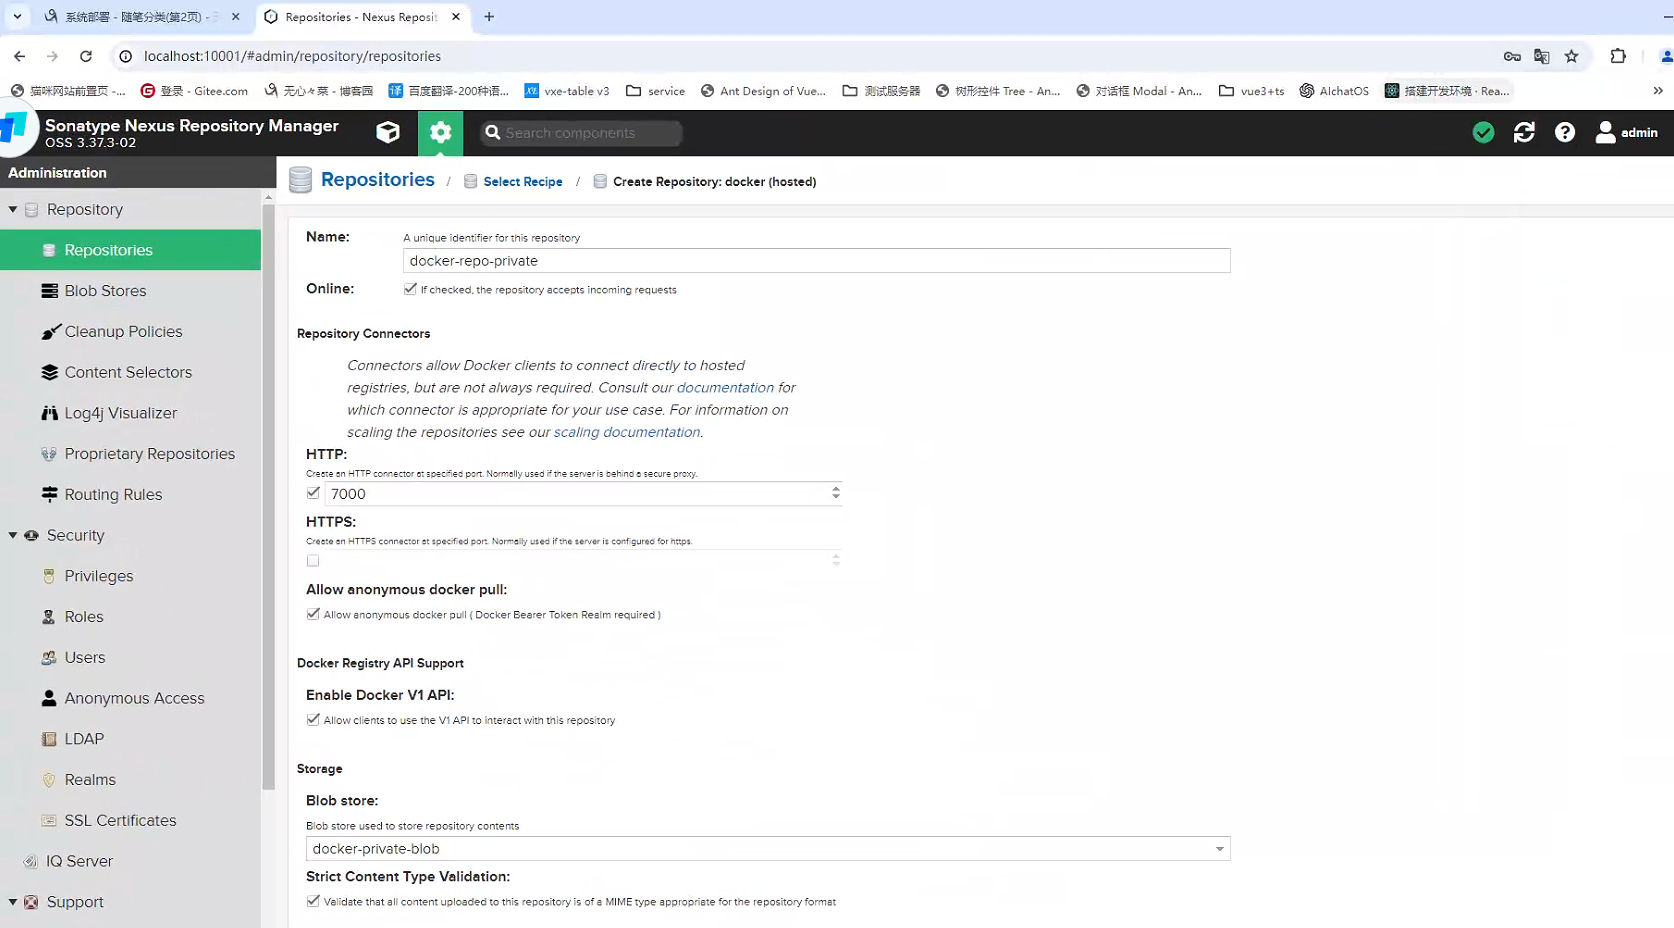
二.创建仓库
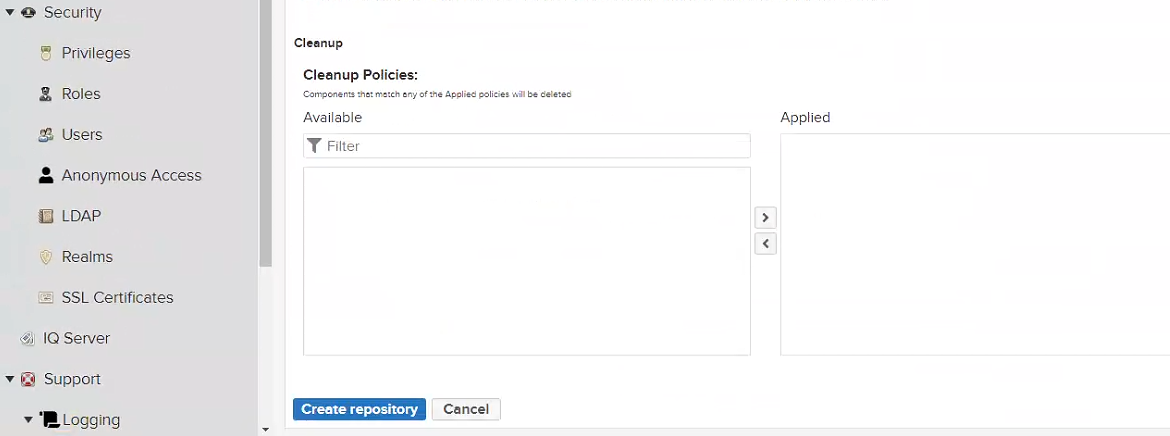
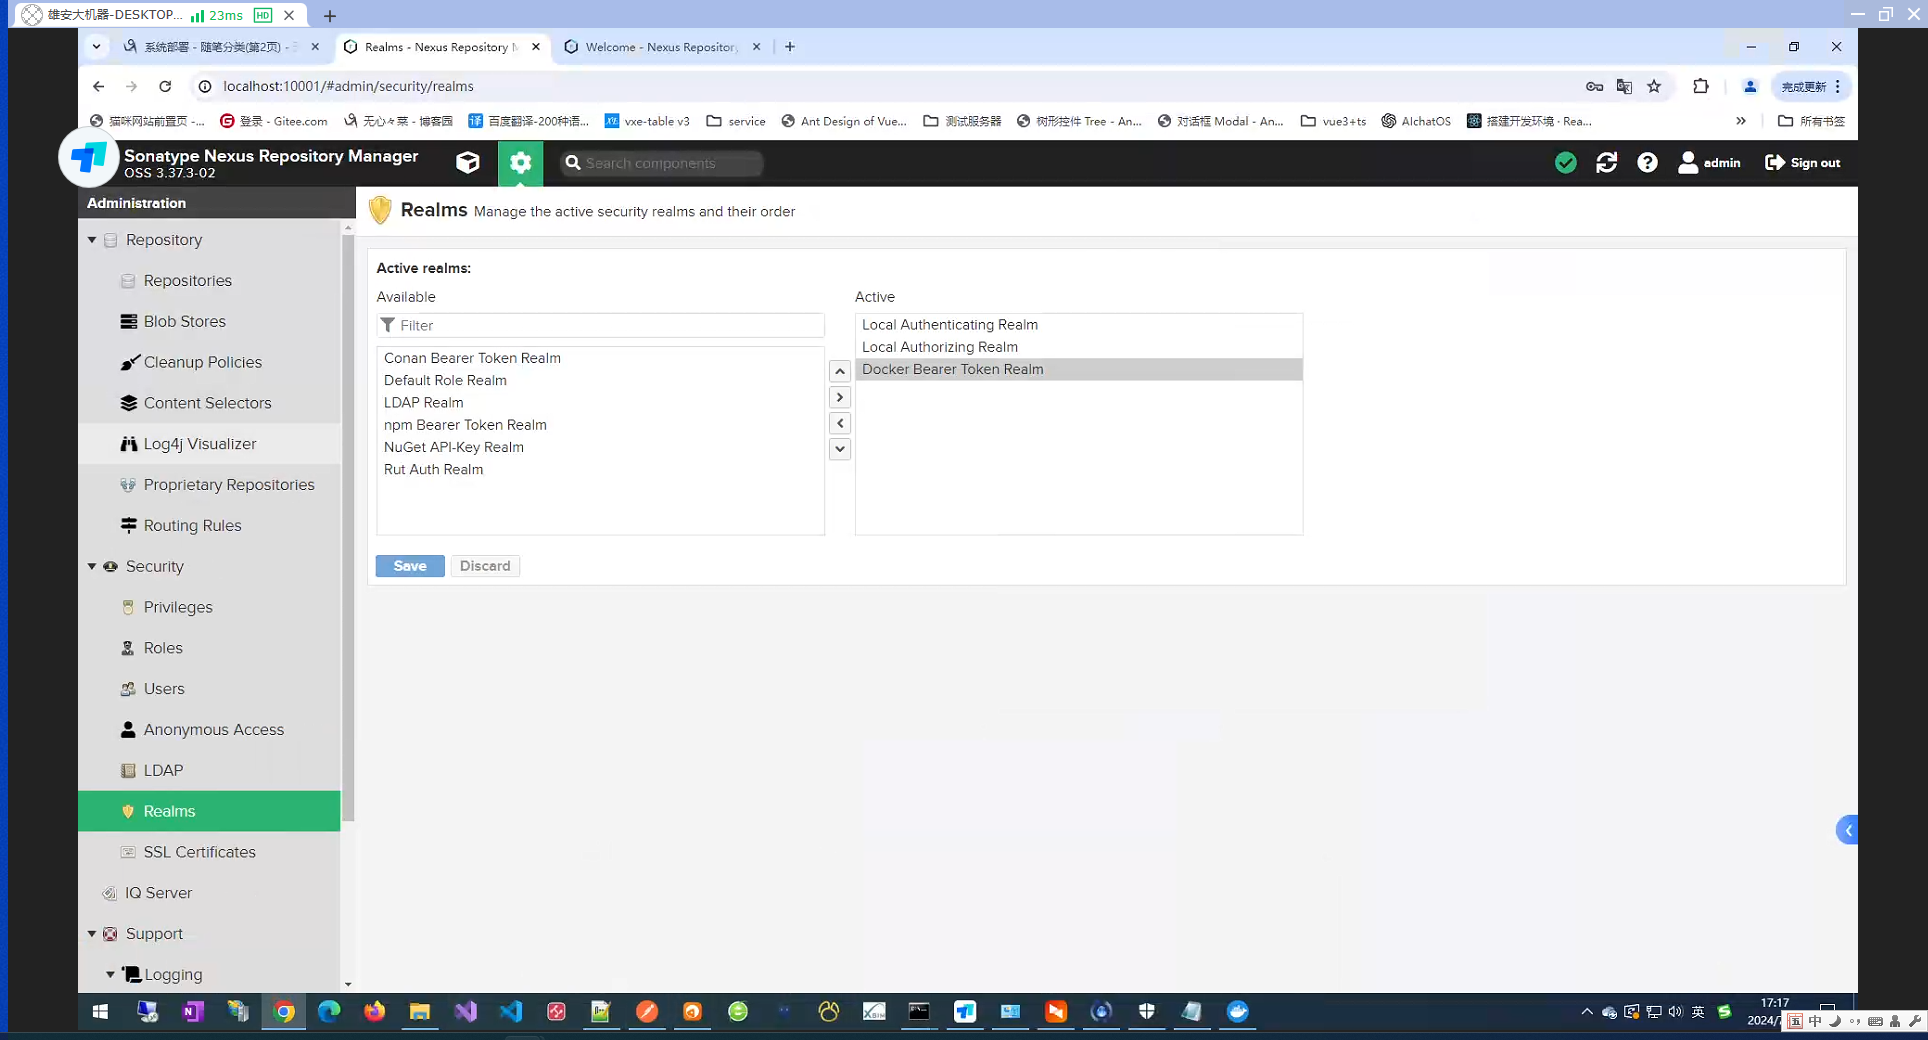
点击Repositories ,create repository,创建docker(hosted) 类型的仓库、


在客户端修改 docker engine,增加insecure-registries配置
{
  "insecure-registries": [
    "172.16.40.170:7000"
  ],
  "log-driver": "json-file",
  "log-opts": {
    "compress": "true",
    "max-file": "3",
    "max-size": "500m"
  },
  "registry-mirrors": [
    "https://registry.docker-cn.com",
    "https://hmdsd139.mirror.aliyuncs.com",
    "https://docker.mirrors.ustc.edu.cn"
  ]
}

cmd登录
docker login 172.16.40.170:7000
输入用户名、密码
登录成功
推送镜像
docker tag sysassist:latest 172.16.40.170:7000/sysassist:latest
docker push 172.16.40.170:7000/sysassist:latest
end.
分类:
框架方向 / 系统部署


【推荐】国内首个AI IDE,深度理解中文开发场景,立即下载体验Trae
【推荐】编程新体验,更懂你的AI,立即体验豆包MarsCode编程助手
【推荐】抖音旗下AI助手豆包,你的智能百科全书,全免费不限次数
【推荐】轻量又高性能的 SSH 工具 IShell:AI 加持,快人一步
· TypeScript + Deepseek 打造卜卦网站:技术与玄学的结合
· Manus的开源复刻OpenManus初探
· AI 智能体引爆开源社区「GitHub 热点速览」
· C#/.NET/.NET Core技术前沿周刊 | 第 29 期(2025年3.1-3.9)
· 从HTTP原因短语缺失研究HTTP/2和HTTP/3的设计差异