

APP - React Native - 热更新(React-native-code-push)
APP - React Native - 热更新(React-native-code-push)
参考文档:https://learn.microsoft.com/zh-cn/appcenter/distribution/codepush/
1. 创建项目
参考:https://www.cnblogs.com/1285026182YUAN/p/18185806
npx react-native@0.71.8 init awerncc --version 0.71.8
2. 下载依赖包
npm install --save react-native-code-push
3.更改android的原生代码
1)android/settings.gradle在 文件中,进行以下操作
rootProject.name = 'awerncd'
apply from: file("../node_modules/@react-native-community/cli-platform-android/native_modules.gradle"); applyNativeModulesSettingsGradle(settings)
include ':app', ':react-native-code-push'
project(':react-native-code-push').projectDir = new File(rootProject.projectDir, '../node_modules/react-native-code-push/android/app')
includeBuild('../node_modules/react-native-gradle-plugin')
2)在文件中 android/app/build.gradle ,将 codepush.gradle 文件添加为其他生成任务定义
apply from: file("../../node_modules/@react-native-community/cli-platform-android/native_modules.gradle"); applyNativeModulesAppBuildGradle(project)
apply from: "../../node_modules/react-native-code-push/android/codepush.gradle"
3)MainApplication.java 更新文件
路径:android/app/src/main/java/com/项目名称/MainApplication.java

// 1. 导入插件
import com.microsoft.codepush.react.CodePush;

public class MainApplication extends Application implements ReactApplication {
    private final ReactNativeHost mReactNativeHost = new ReactNativeHost(this) {
        ...
        // 2. 重写 getJSBundleFile 方法以让 CodePush运行时确定从那里获取JS
        @Override
        protected String getJSBundleFile() {
            return CodePush.getJSBundleFile();
        }
    };
}
4. 添加部署密钥
先去后台创建app 微软管理平台,使用github登录,(备注:创建完成app之后,会自动生成Staging和Production环境)
第一步 - 使用 appcenter-cli,进行创app环境密钥
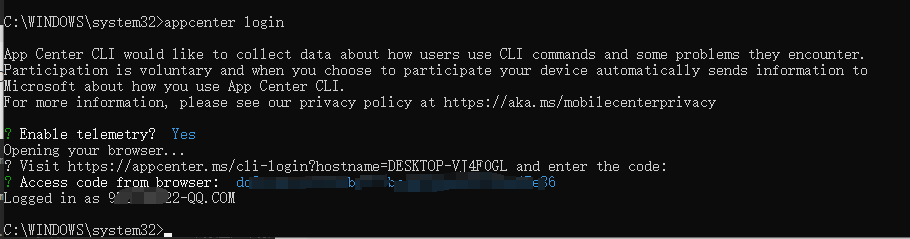
安装 App Center CLI:
npm install -g appcenter-cli
查看注册信息
appcenter profile list
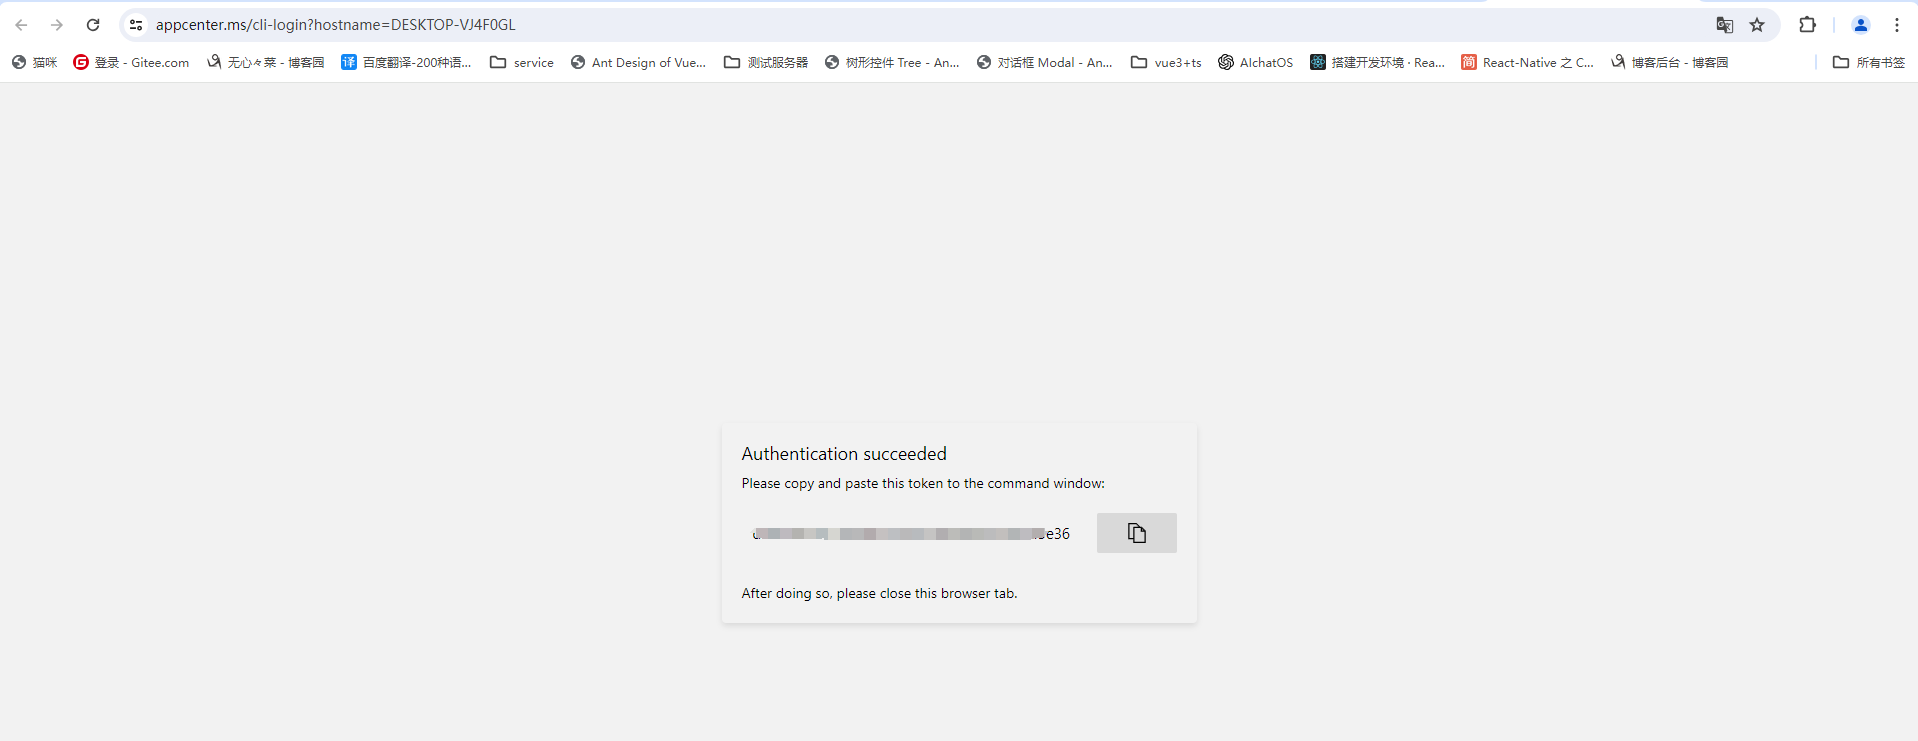
第二步 - 登入
// 回车之后,按照提示输入yes,然后会自动打开浏览给出密码,只需要复制粘贴回终端再回车就OK了
appcenter login
第三步 - 应用管理
部署更新之前,必须使用以下命令使用 App Center 创建应用:
如果您的应用同时针对 Android 和 iOS,我们强烈建议您使用 CodePush 创建单独的应用。每个平台一个。这样,您可以分别管理和发布更新,从长远来看,这会使事情变得更简单。大多数人只是在应用名称后缀-Android和-iOS。例如:
appcenter apps create -d <appDisplayName> -o <operatingSystem> -p <platform>
appcenter apps create -d awerncd-Android -o Android -p React-Native
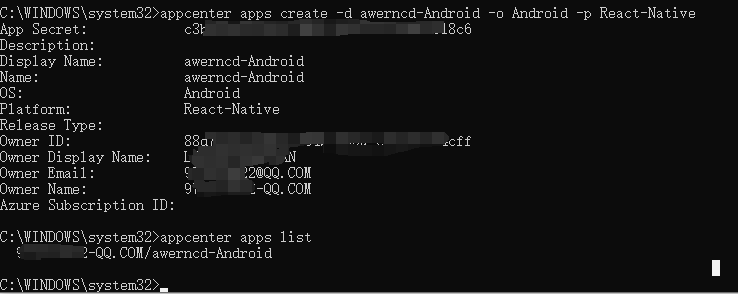
获取 owner名称 和 app名称
appcenter apps list
第四步 - 创建密钥
进入项目,创建部署任务
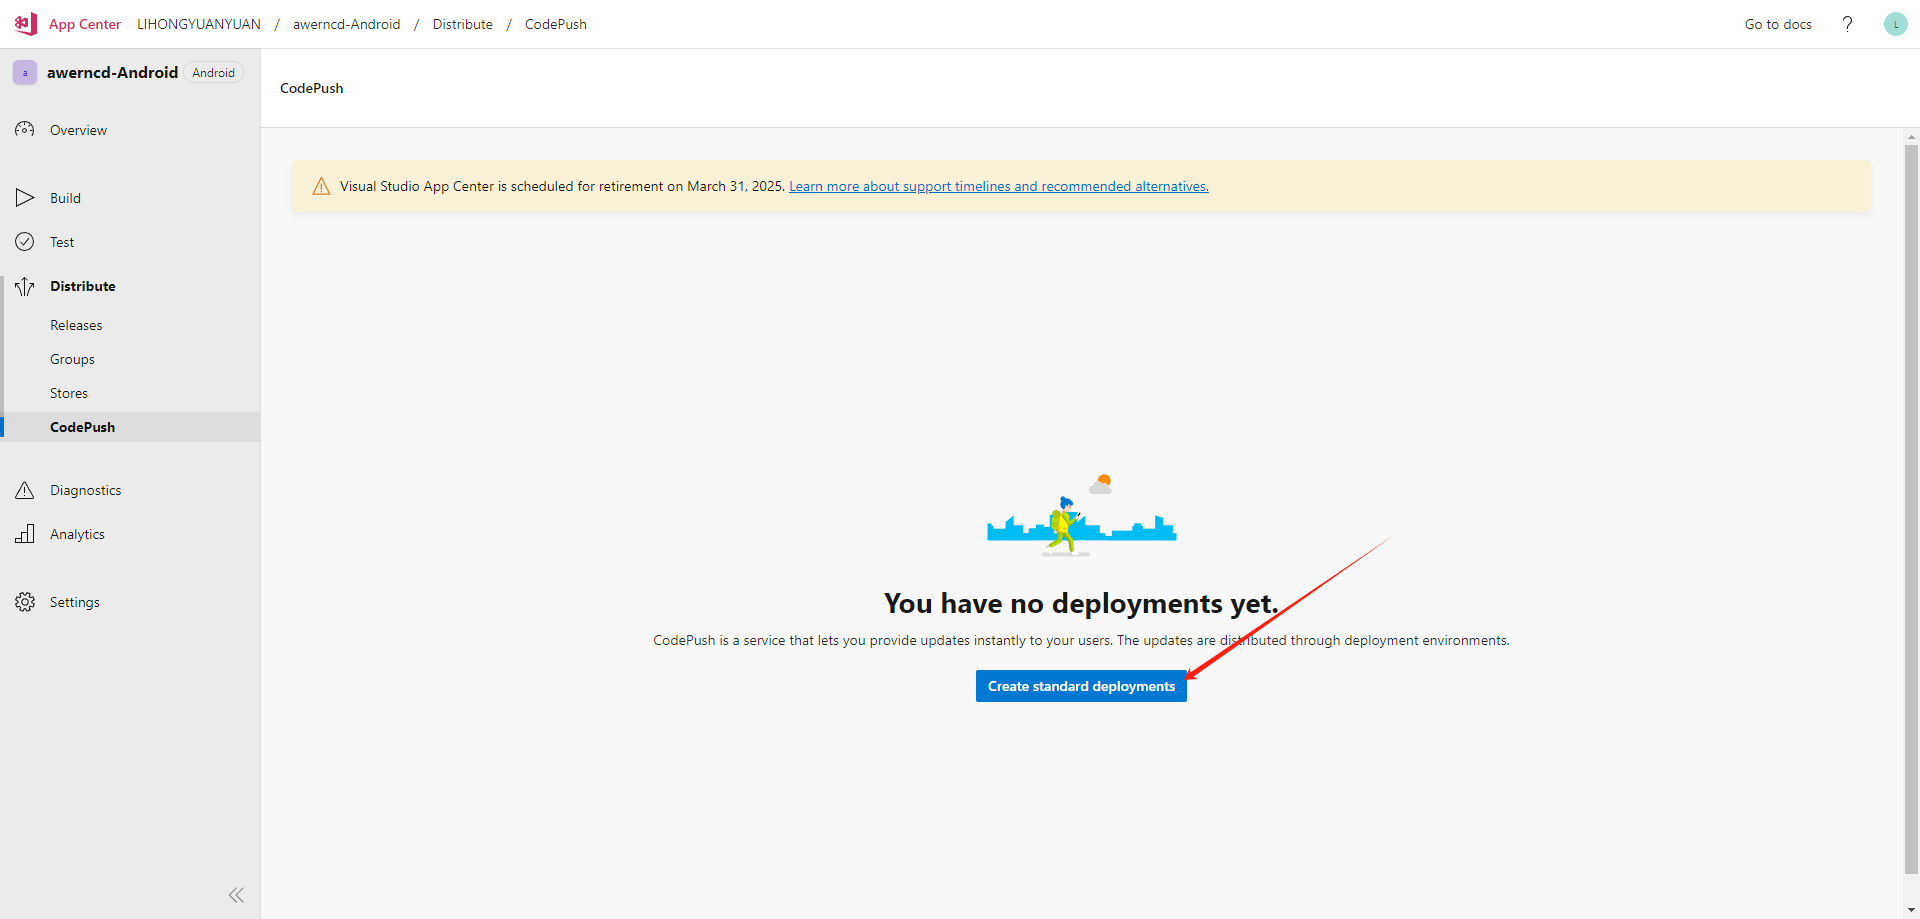
选择你要的配置的app项目,进行创建SIT和PROD环境的密钥(一定要核对好 owner名称 和 app名称的单词大小写)
appcenter codepush release-react -a 97*******2-QQ.COM/awerncd-Android -d Staging
appcenter codepush release-react -a 97*******2-QQ.COM/awerncd-Android -d Production
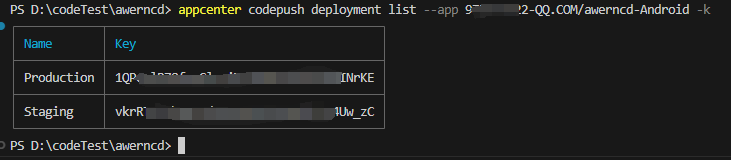
第五步 - 获取密钥
appcenter codepush deployment list --app 97*******2-QQ.COM/awerncd-Android -k
密钥的配置分两种形式,a. 固定环境 b.多种环境,这些根据自己的业务需求选择(选择其一)
a. 固定环境:
在 android/app/src/main/res/values/strings.xml 进行添加
 <resources>
     <string name="app_name">AppName</string>
     <string moduleConfig="true" name="CodePushDeploymentKey">替换自己需要的环境密钥</string>
 </resources>
b.多种环境
在 android/app/build.gradle 进行添加
android {
    ...
    buildTypes {
        debug {
            ...
            resValue "string", "CodePushDeploymentKey", '""'
            ...
        }
        releaseStaging {
            ...
            resValue "string", "CodePushDeploymentKey", '"<INSERT_STAGING_KEY>"'
            matchingFallbacks = ['release']
            ...
        }
        release {
            ...
            resValue "string", "CodePushDeploymentKey", '"<INSERT_PRODUCTION_KEY>"'
            ...
        }
    }
    ...
}
到这一步app密钥已经配置好了,接下来就是写js代码进行发布和测试热更新
详细介绍可以看这里API Reference
5. 调整代码
在 App.tsx 中,修改代码
import CodePush from 'react-native-code-push';
export default CodePush(App);
6. 发布版本
发布 Staging 或 Production
appcenter codepush release-react -a 97*******2-QQ.COM/appro -t "*" -d Staging --description "v1.0.0 测试更新" --sourcemap-output --output-dir ./build/android

备注:
-t 是指目标版本,意思是只有是指定的目标版本才会触发更新,比如说,现在你的用户用的版本是1.1.1 和 1.0.0这两种版本,那么 -t "1.1.1" 就是发布之后,只有版本为1.1.1的用户才会触发热更新
如果不需要指定目标版本就输入 -t "*" 通配符为全部版本 或者不输入 -t
6. 查看发布历史
appcenter codepush deployment history -a 97*******2-QQ.COM/appro Staging

7. 测试
2、重新打开APP检查是否有更新提示(上面的组建,可以根据自己的想法写出弹窗和显示进度条)
引用:https://www.jianshu.com/p/78d883b7fd20
引用:https://juejin.cn/post/6955426002910576671


【推荐】国内首个AI IDE,深度理解中文开发场景,立即下载体验Trae
【推荐】编程新体验,更懂你的AI,立即体验豆包MarsCode编程助手
【推荐】抖音旗下AI助手豆包,你的智能百科全书,全免费不限次数
【推荐】轻量又高性能的 SSH 工具 IShell:AI 加持,快人一步
· TypeScript + Deepseek 打造卜卦网站:技术与玄学的结合
· Manus的开源复刻OpenManus初探
· AI 智能体引爆开源社区「GitHub 热点速览」
· C#/.NET/.NET Core技术前沿周刊 | 第 29 期(2025年3.1-3.9)
· 从HTTP原因短语缺失研究HTTP/2和HTTP/3的设计差异
2022-05-11 React 中使用 tailwind 样式框架