最小化安装kubesphere
版本:
-
KubeSphere 3.3
-
kubernetes 1.22.10
链接:
- https://v2-1.docs.kubesphere.io/docs/zh-cn/installation/install-on-k8s
- https://github.com/kubesphere/kubesphere
1. 准备工作
-
kubectl version
kubectl version
Client Version: version.Info{Major:"1", Minor:"22", GitVersion:"v1.22.10", GitCommit:"eae22ba6238096f5dec1ceb62766e97783f0ba2f", GitTreeState:"clean", BuildDate:"2022-05-24T12:56:35Z", GoVersion:"go1.16.15", Compiler:"gc", Platform:"linux/amd64"}
Server Version: version.Info{Major:"1", Minor:"22", GitVersion:"v1.22.10", GitCommit:"eae22ba6238096f5dec1ceb62766e97783f0ba2f", GitTreeState:"clean", BuildDate:"2022-05-24T12:50:52Z", GoVersion:"go1.16.15", Compiler:"gc", Platform:"linux/amd64"}$ free -g
total used free shared buff/cache available
Mem: 16 4 10 0 3 2
Swap: 0 0 0-
默认
kubectl get sc
NAME                    PROISIONER                                   RECLAIMPOLICY   VOLUMEBINDINGMODE   ALLOWVOLUMEEXPANSION   AGE
nfs-storage (default) k8s-sigs.io/nfs-subdir-external-provisioner Delete Immediate false 30d注:使用nfs方式存储。
kubectl apply -f https://github.com/kubesphere/ks-installer/releases/download/v3.3.1/kubesphere-installer.yaml
kubectl apply -f https://github.com/kubesphere/ks-installer/releases/download/v3.3.1/cluster-configuration.yamlkubectl logs -n kubesphere-system $(kubectl get pod -n kubesphere-system -l 'app in (ks-install, ks-installer)' -o jsonpath='{.items[0].metadata.name}') -f
Collecting installation results ...
#####################################################
### Welcome to KubeSphere! ###
#####################################################
Console: http://192.168.80.45:30880 #登录的地点
Account: admin #账户
Password: P@88w0rd #密码
NOTES:
1. After you log into the console, please check the
monitoring status of service components in
"Cluster Management". If any service is not
ready, please wait patiently until all components
are up and running.
2. Please change the default password after login.
#####################################################
https://kubesphere.io 2023-01-18 00:27:10
#####################################################-
使用
kubectl get pod --all-namespaces
kubectl get svc/ks-console -n kubesphere-system
NAME         TYPE       CLUSTER-IP       EXTERNAL-IP   PORT(S)        AGE
ks-console   NodePort   10.105.105.226   <none>        80:30880/TCP   71m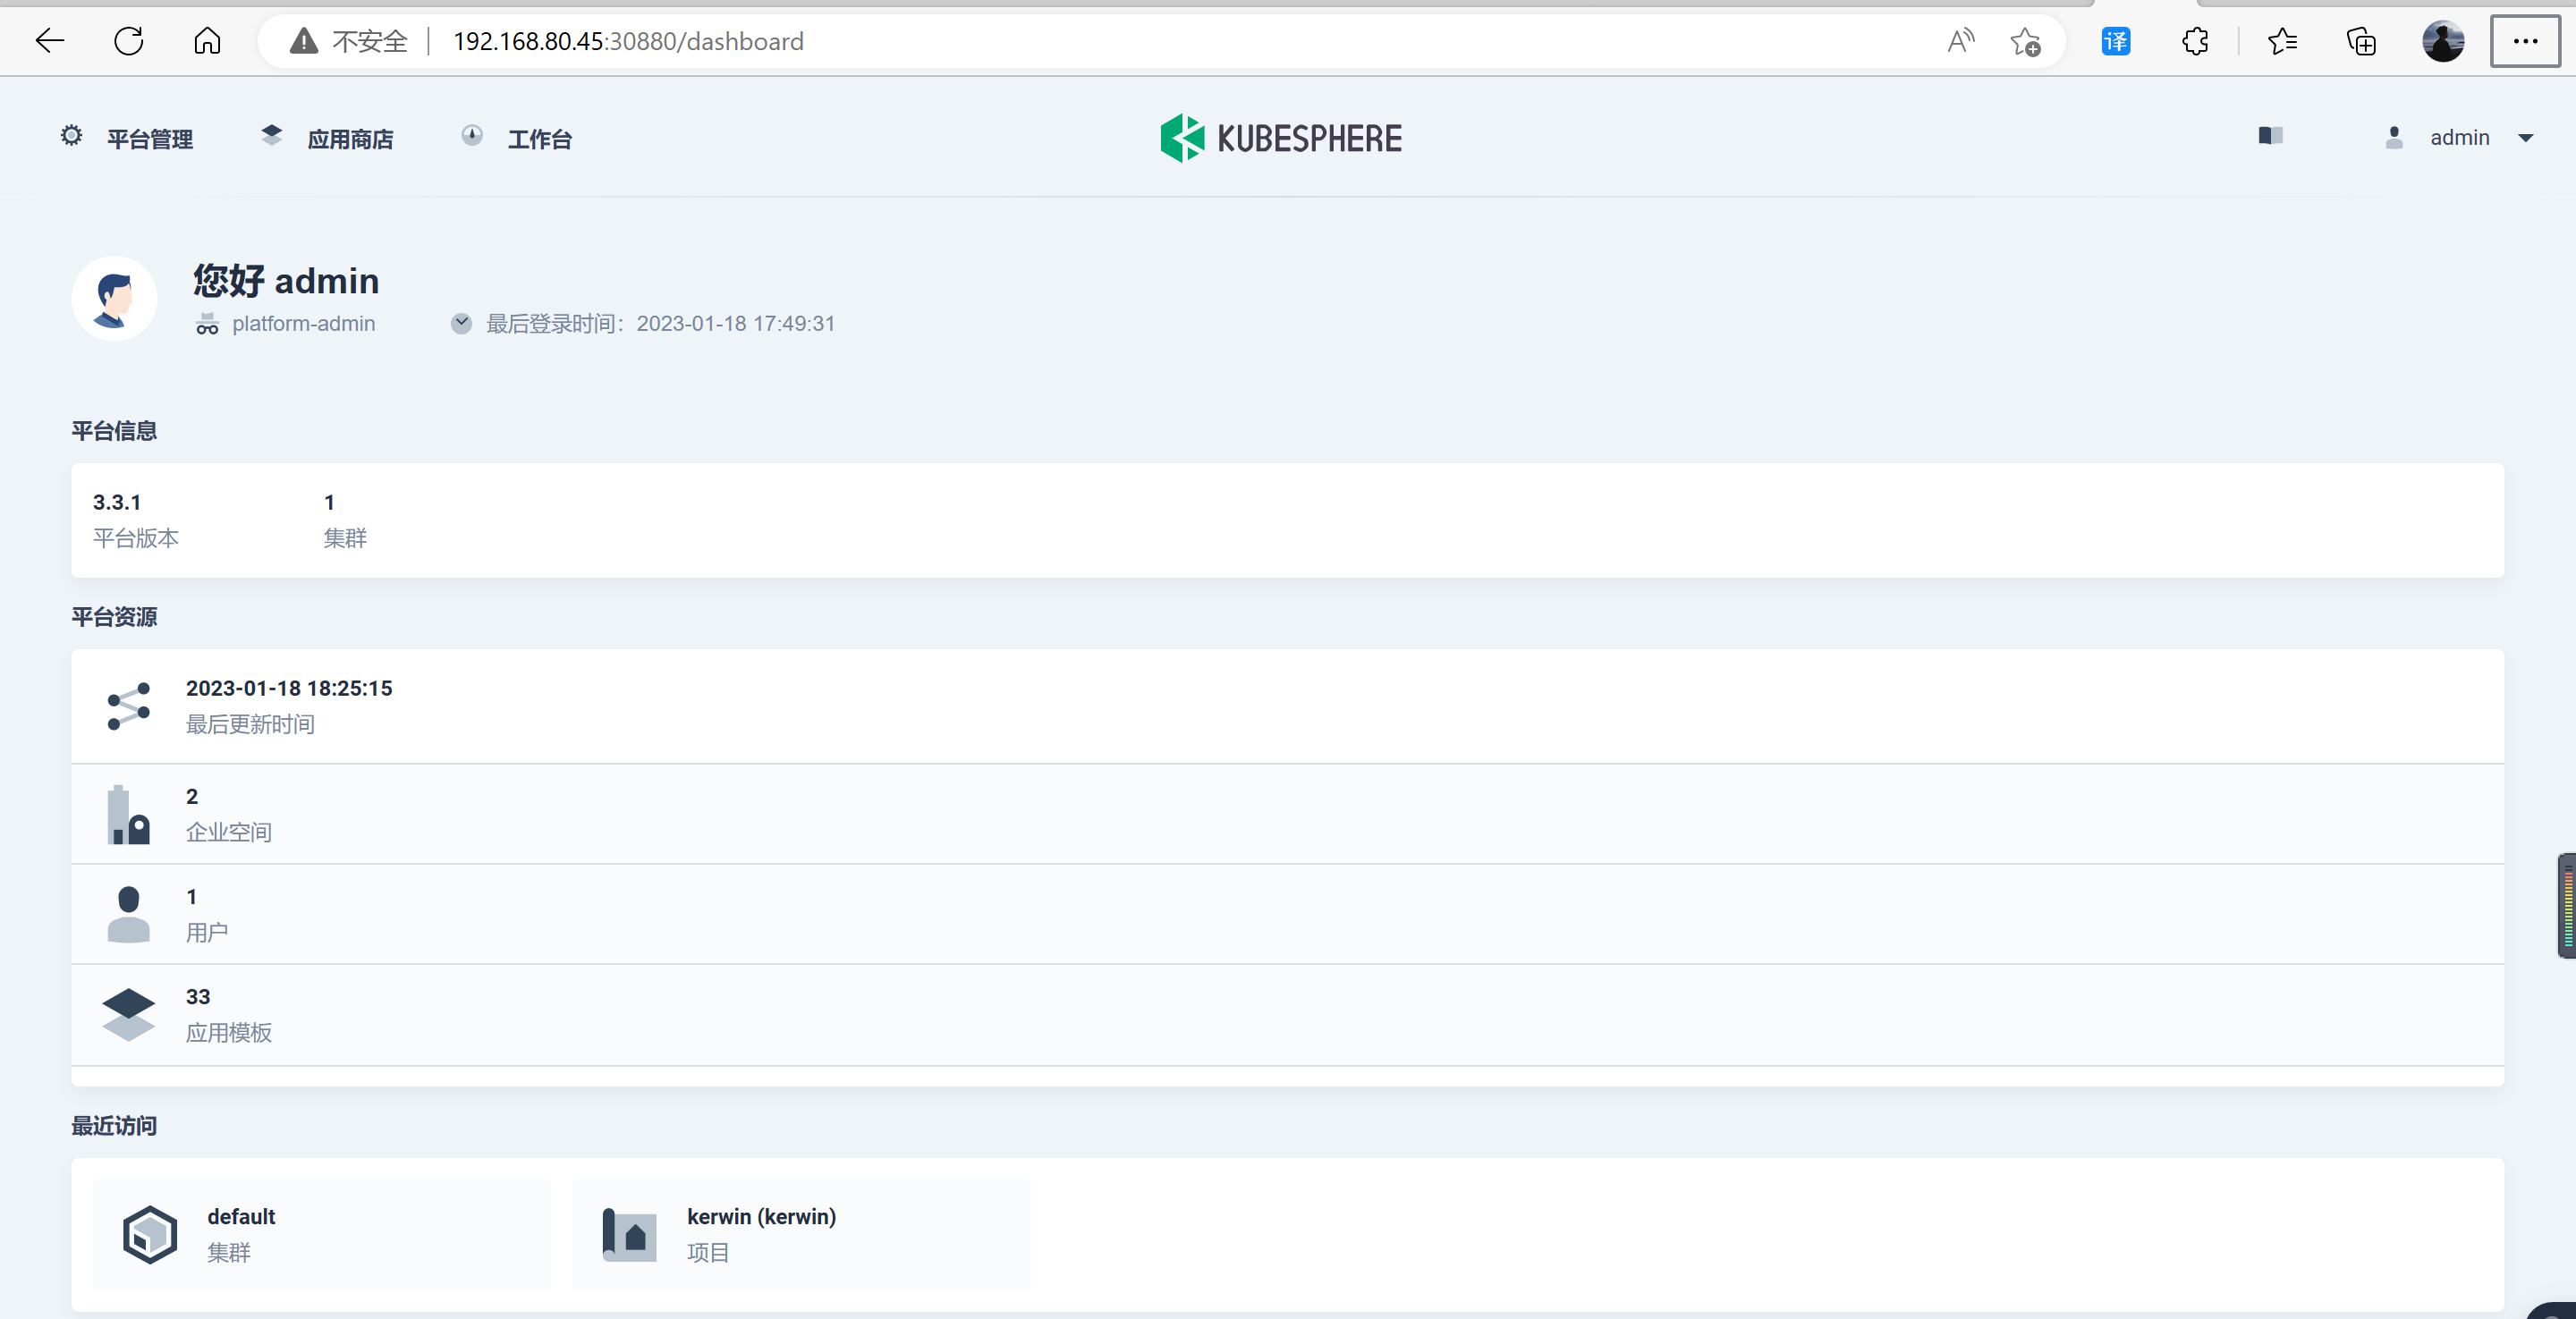
3.1 在 Kubernetes 上安装
mkdir -p /root/kubesphere && cd /root/kubesphere
wget https://github.com/kubesphere/ks-installer/releases/download/v3.3.1/cluster-configuration.yaml
vim cluster-configuration.yaml
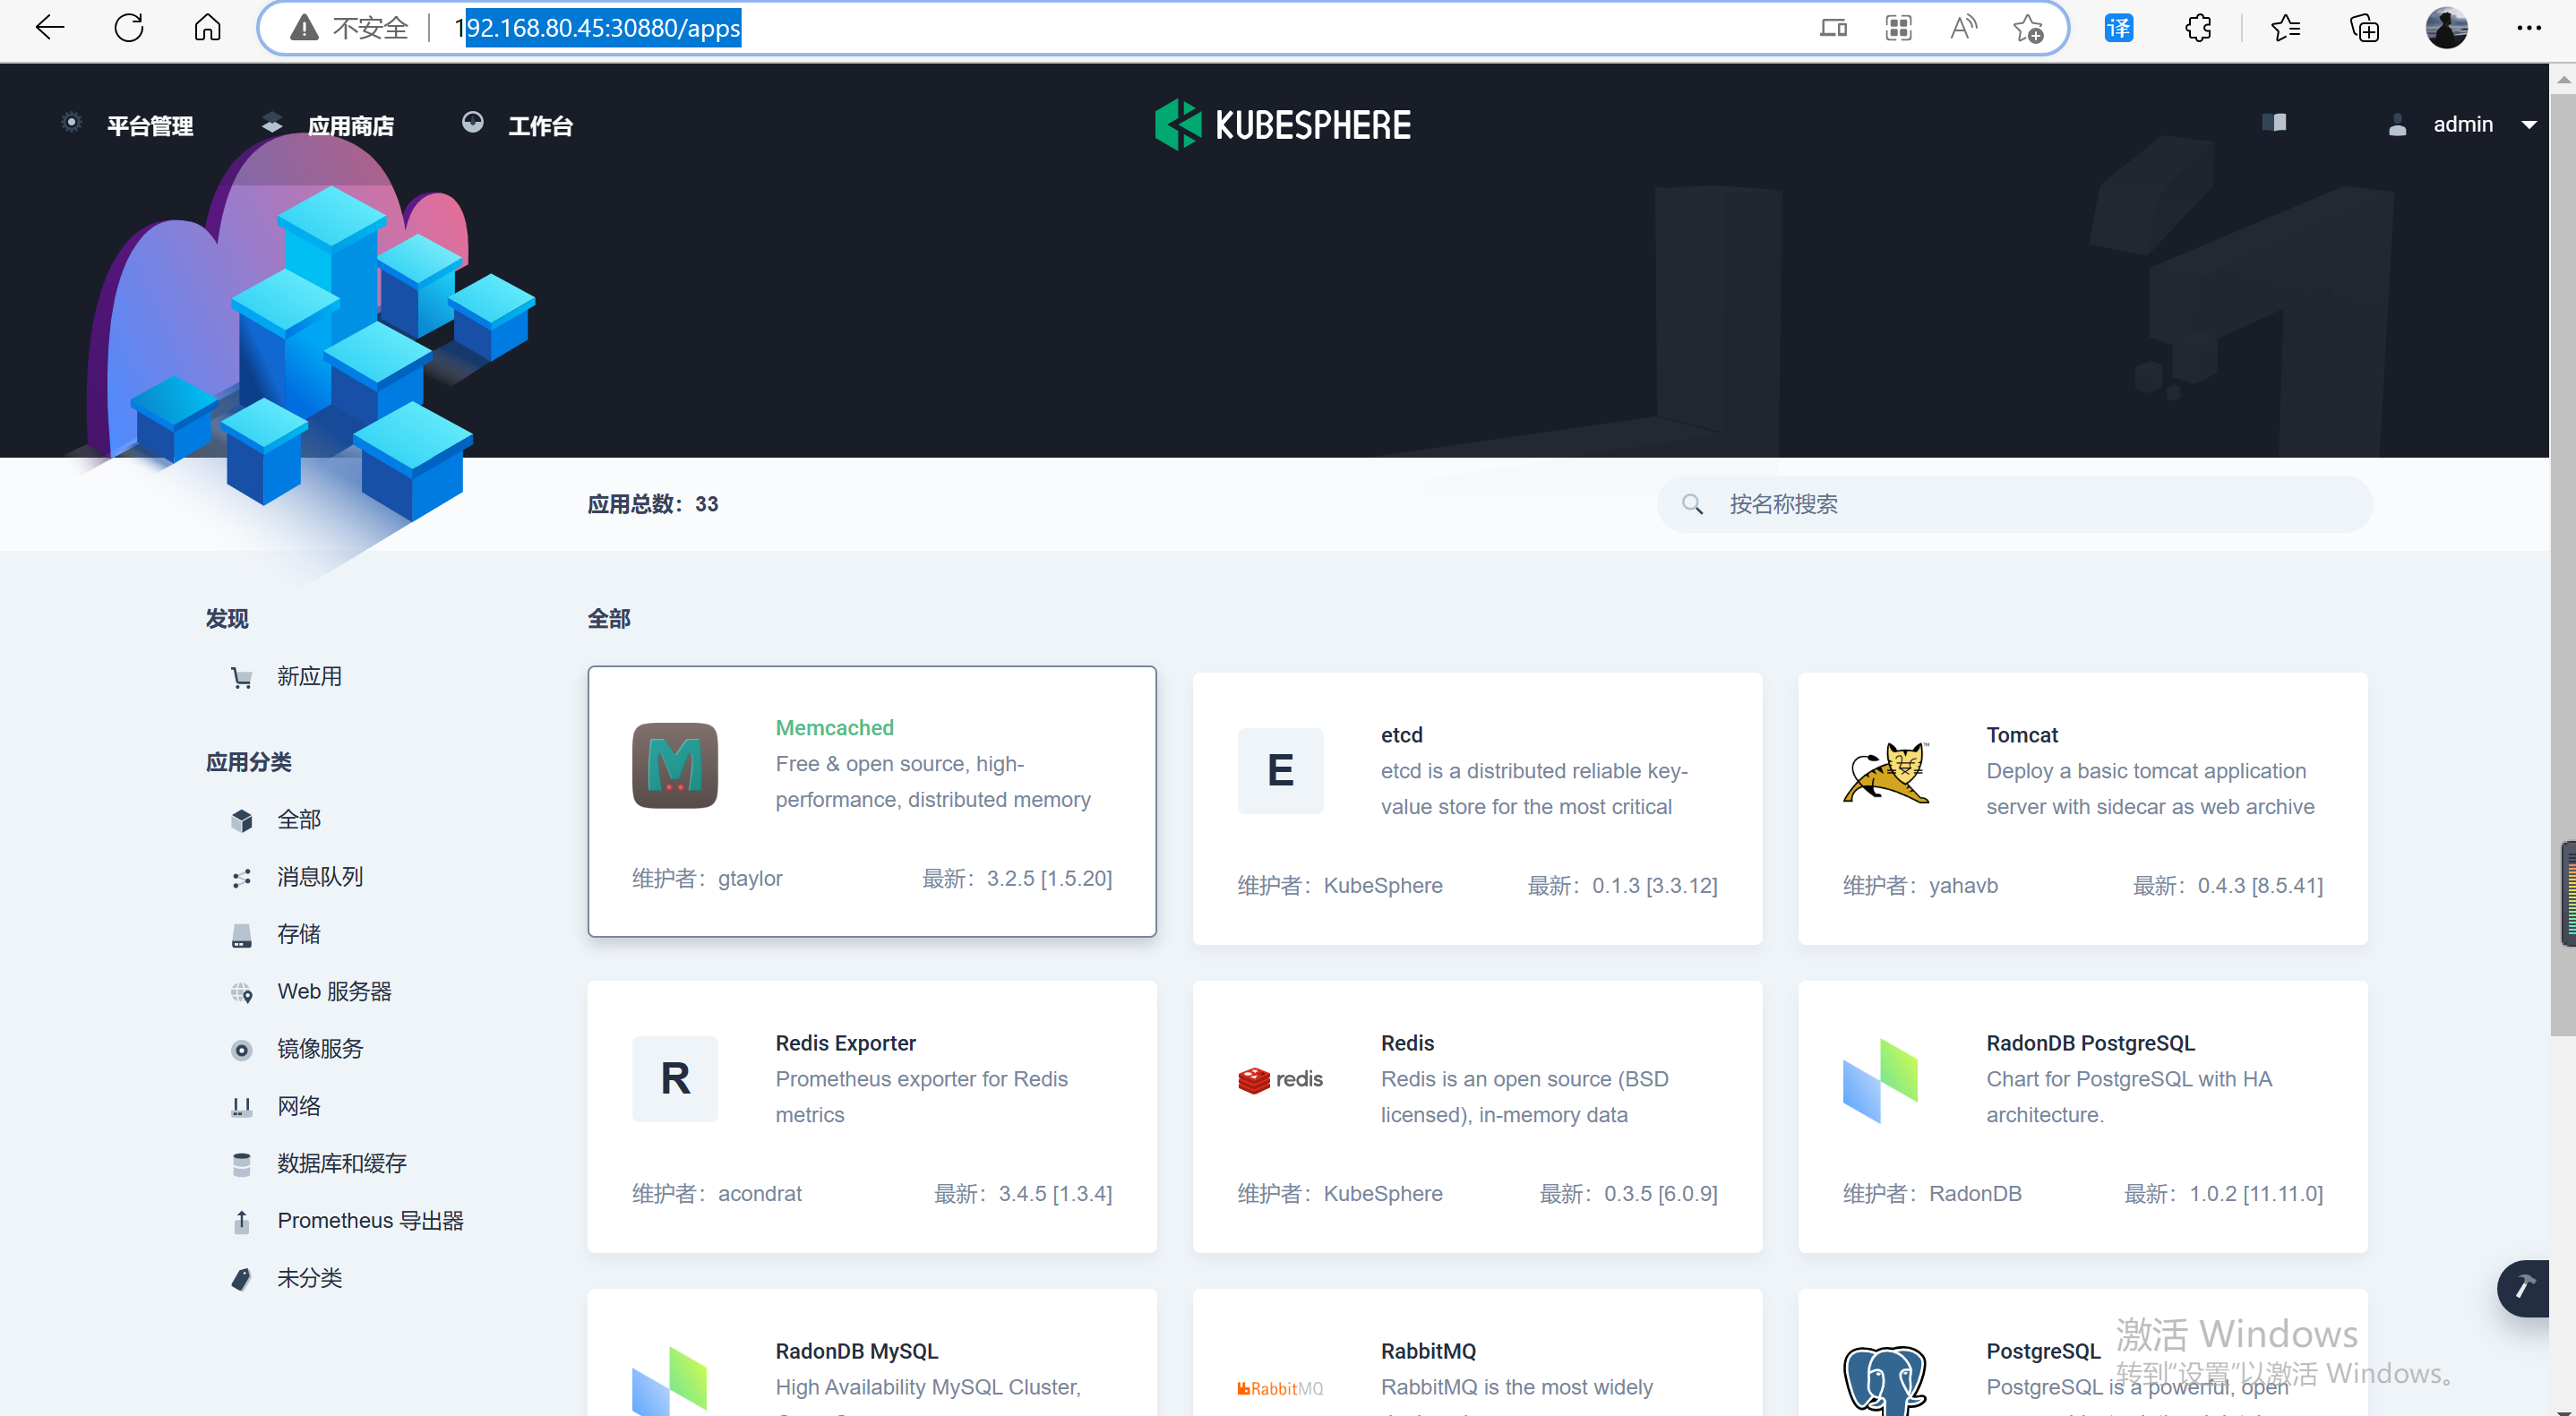
# 在 cluster-configuration.yaml 文件中,搜索 openpitrix,并将 enabled 的 false 改为 true。完成后保存文件
openpitrix:
store:
enabled: true # 将“false”更改为“true”。kubectl apply -f https://github.com/kubesphere/ks-installer/releases/download/v3.3.1/kubesphere-installer.yaml
kubectl apply -f cluster-configuration.yamlhttp://192.168.80.45:30880/apps
-
admin用户登录控制台,点击左上角的平台管理,选择集群管理。 -
点击定制资源定义,在搜索栏中输入
clusterconfiguration,点击结果查看其详细页面。 -
在自定义资源中,点击
ks-installer右侧的 ,选择编辑 YAML。
 -
在该 YAML 文件中,搜索
openpitrix,将enabled的false改为true。完成后,点击右下角的确定
openpitrix:
  store:
    enabled: true # 将“false”更改为“true”。
kubectl logs -n kubesphere-system $(kubectl get pod -n kubesphere-system -l 'app in (ks-install, ks-installer)' -o jsonpath='{.items[0].metadata.name}') -f

 浙公网安备 33010602011771号