k8s eck 1.10版本 集群部署
前言:一开始准备部署 版本及以上版本eck集群,但是在部署 时死活挂载不上pvc,kubectl get pv,pvc发现pv和pvc已经是Bound状态,但是pod内依然有0/3 nodes are available: 3 pod has unbound immediate PersistentVolumeClaims.挂载不上问题😒,退而求此次部署了 。😂
参考文档:https://www.codenong.com/cs105948927/
-
-
https://github.com/elastic/cloud-on-k8s/tree/master/config/recipes/beats
-
https://www.elastic.co/guide/en/cloud-on-k8s/current/k8s-volume-claim-templates.html
-
1. StorageClass创建
| hostname | ip address | service |
|---|---|---|
| k8s-master01 | 192.168.80.45 | nfs服务端 |
| k8s-node01 | 192.168.80.46 | nfs客户端 |
| k8s-node02 | 192.168.80.47 | nfs客户端 |
1.1 nfs服务安装
-
k8s-master01操作
apt install nfs-kernel-server nfs-common
mkdir /nfs # 挂在目录
sudo vim /etc/exports
/nfs *(rw,sync,no_root_squash,no_subtree_check)

#重启
exportfs -a
systemctl restart nfs-kernel-server
systemctl enable nfs-kernel-serverapt install nfs-common
mkdir -p /nfs/
mount -t nfs 192.168.80.45:/nfs/ /nfs/
df -h
# 设置启动自动挂载
vim /etc/fstab
192.168.80.45:/nfs /nfs nfs defaults 0 0cat > nfs-storage.yaml << EOF
apiVersion: storage.k8s.io/v1
kind: StorageClass
metadata:
name: nfs-storage
annotations:
storageclass.kubernetes.io/is-default-class: "true"
provisioner: k8s-sigs.io/nfs-subdir-external-provisioner
parameters:
archiveOnDelete: "true" ## 删除pv的时候,pv的内容是否要备份
---
apiVersion: apps/v1
kind: Deployment
metadata:
name: nfs-client-provisioner
labels:
app: nfs-client-provisioner
# replace with namespace where provisioner is deployed
namespace: default
spec:
replicas: 1
strategy:
type: Recreate
selector:
matchLabels:
app: nfs-client-provisioner
template:
metadata:
labels:
app: nfs-client-provisioner
spec:
serviceAccountName: nfs-client-provisioner
containers:
- name: nfs-client-provisioner
image: registry.cn-hangzhou.aliyuncs.com/lfy_k8s_images/nfs-subdir-external-provisioner:v4.0.2
# resources:
# limits:
# cpu: 10m
# requests:
# cpu: 10m
volumeMounts:
- name: nfs-client-root
mountPath: /persistentvolumes
env:
- name: PROVISIONER_NAME
value: k8s-sigs.io/nfs-subdir-external-provisioner
- name: NFS_SERVER
value: 192.168.80.45 ## 指定自己nfs服务器地址
- name: NFS_PATH
value: /nfs/ ## nfs服务器共享的目录
volumes:
- name: nfs-client-root
nfs:
server: 192.168.80.45 #注意这里的地址
path: /nfs/
---
apiVersion: v1
kind: ServiceAccount
metadata:
name: nfs-client-provisioner
# replace with namespace where provisioner is deployed
namespace: default
---
kind: ClusterRole
apiVersion: rbac.authorization.k8s.io/v1
metadata:
name: nfs-client-provisioner-runner
rules:
- apiGroups: [""]
resources: ["nodes"]
verbs: ["get", "list", "watch"]
- apiGroups: [""]
resources: ["persistentvolumes"]
verbs: ["get", "list", "watch", "create", "delete"]
- apiGroups: [""]
resources: ["persistentvolumeclaims"]
verbs: ["get", "list", "watch", "update"]
- apiGroups: ["storage.k8s.io"]
resources: ["storageclasses"]
verbs: ["get", "list", "watch"]
- apiGroups: [""]
resources: ["events"]
verbs: ["create", "update", "patch"]
---
kind: ClusterRoleBinding
apiVersion: rbac.authorization.k8s.io/v1
metadata:
name: run-nfs-client-provisioner
subjects:
- kind: ServiceAccount
name: nfs-client-provisioner
# replace with namespace where provisioner is deployed
namespace: default
roleRef:
kind: ClusterRole
name: nfs-client-provisioner-runner
apiGroup: rbac.authorization.k8s.io
---
kind: Role
apiVersion: rbac.authorization.k8s.io/v1
metadata:
name: leader-locking-nfs-client-provisioner
# replace with namespace where provisioner is deployed
namespace: default
rules:
- apiGroups: [""]
resources: ["endpoints"]
verbs: ["get", "list", "watch", "create", "update", "patch"]
---
kind: RoleBinding
apiVersion: rbac.authorization.k8s.io/v1
metadata:
name: leader-locking-nfs-client-provisioner
# replace with namespace where provisioner is deployed
namespace: default
subjects:
- kind: ServiceAccount
name: nfs-client-provisioner
# replace with namespace where provisioner is deployed
namespace: default
roleRef:
kind: Role
name: leader-locking-nfs-client-provisioner
apiGroup: rbac.authorization.k8s.io
EOF
# 创建默认存储
kubectl apply -f nfs-storage.yaml
# 查看创建情况
kubectl get storageclasses.storage.k8s.io
NAME PROVISIONER RECLAIMPOLICY VOLUMEBINDINGMODE ALLOWVOLUMEEXPANSION AGE
nfs-storage (default) k8s-sigs.io/nfs-subdir-external-provisioner Delete Immediate false 33mkubectl get nodes
NAME STATUS ROLES AGE VERSION
k8s-master1 Ready master 21d v1.19.11
k8s-node01 Ready node 21d v1.19.11
k8s-node02 Ready node 21d v1.19.11注:这里master节点允许部署pod。
2.1 安装eck operator
kubectl apply -f https://download.elastic.co/downloads/eck/1.1.0/all-in-one.yaml
# 查看pod启动
kubectl -n elastic-system get pods
NAME                 READY   STATUS    RESTARTS   AGE
elastic-operator-0   1/1     Running   1          81s
查看创建的crd,创建了3个crd,apmserver、elasticsearche以及kibana.
kubectl get crd | grep elastic
apmservers.apm.k8s.elastic.co                         2022-11-16T13:27:59Z
elasticsearches.elasticsearch.k8s.elastic.co          2022-11-16T13:27:59Z
kibanas.kibana.k8s.elastic.co                         2022-11-16T13:27:59Z
2.2 部署es和kibana
curl -LO https://github.com/elastic/cloud-on-k8s/archive/1.1.0.tar.gz
tar zxvf 1.1.0.tar.gz
cd cloud-on-k8s-1.1.0/config/recipes/beats/
ll
0_ns.yaml  1_monitor.yaml  2_filebeat-kubernetes.yaml  3_metricbeat-kubernetes.yaml
创建命名空间:
kubectl apply -f 0_ns.yaml部署es和kibana,配置 storageClassName为nfs-client,服务类型改为nodePort。:
cat > 1_monitor.yaml <<EOF
apiVersion: elasticsearch.k8s.elastic.co/v1
kind: Elasticsearch
metadata:
  name: monitor
  namespace: beats
spec:
  version: 7.6.2
  nodeSets:
  - name: mdi
    count: 3
    config:
      node.master: true
      node.data: true
      node.ingest: true
      node.store.allow_mmap: false
    volumeClaimTemplates:
    - metadata:
        name: elasticsearch-data
      spec:
        accessModes:
        - ReadWriteOnce
        resources:
          requests:
            storage: 50Gi
        storageClassName: nfs-storage
  http:
    service:
      spec:
        type: NodePort
---
apiVersion: kibana.k8s.elastic.co/v1
kind: Kibana
metadata:
  name: monitor
  namespace: beats
spec:
  version: 7.6.2
  count: 1
  elasticsearchRef:
    name: "monitor"
  http:
    service:
      spec:
        type: NodePort
EOF
执行yaml文件部署es和kibana:
kubectl apply -f 1_monitor.yaml

kubectl get pod -n beats
NAME                          READY   STATUS    RESTARTS   AGE
monitor-es-mdi-0              1/1     Running   0          2m44s
monitor-es-mdi-1              1/1     Running   0          2m43s
monitor-es-mdi-2              1/1     Running   0          2m43s
monitor-kb-7df4ffb4d9-b2qbf   1/1     Running   0          2m44s
查看创建的Elasticsearch和kibana资源,包括运行状况,版本和节点数:
kubectl get elasticsearch -n beats
NAME      HEALTH   NODES   VERSION   PHASE   AGE
monitor   green    3       7.6.2     Ready   3m29s

kubectl get kibana -n beats
NAME      HEALTH   NODES   VERSION   AGE
monitor   green    1       7.6.2     4m
查看创建的pv和pvc:
kubectl -n beats get pvc
NAME                                                        STATUS   VOLUME                                     CAPACITY   ACCESS MODES   STORAGECLASS   AGE
persistentvolumeclaim/elasticsearch-data-monitor-es-mdi-0   Bound    pvc-831c8864-e0c3-4a02-8ce8-3bacc5d0738f   50Gi       RWO            nfs-storage    4m51s
persistentvolumeclaim/elasticsearch-data-monitor-es-mdi-1   Bound    pvc-b65463af-0553-4b73-8d61-a7d8d7f5a6c2   50Gi       RWO            nfs-storage    4m50s
persistentvolumeclaim/elasticsearch-data-monitor-es-mdi-2   Bound    pvc-4e50ab12-737a-4b6e-ab72-5ca499cb2ac8   50Gi       RWO            nfs-storage    4m50s

kubectl -n beats get pv
NAME                                       CAPACITY   ACCESS MODES   RECLAIM POLICY   STATUS   CLAIM                                       STORAGECLASS   REASON   AGE
pvc-4e50ab12-737a-4b6e-ab72-5ca499cb2ac8   50Gi       RWO            Delete           Bound    beats/elasticsearch-data-monitor-es-mdi-2   nfs-storage             5m26s
pvc-69d5e974-61eb-4868-9d34-6d429cc3ca6b   20Gi       RWX            Delete           Bound    default/eck-pvc                             nfs-storage             3d11h
pvc-831c8864-e0c3-4a02-8ce8-3bacc5d0738f   50Gi       RWO            Delete           Bound    beats/elasticsearch-data-monitor-es-mdi-0   nfs-storage             5m26s
pvc-b65463af-0553-4b73-8d61-a7d8d7f5a6c2   50Gi       RWO            Delete           Bound    beats/elasticsearch-data-monitor-es-mdi-1   nfs-storage             5m26s
查看创建的service,部署时已经将es和kibana服务类型改为NodePort,方便从集群外访问。:
kubectl -n beats get svc
NAME                   TYPE        CLUSTER-IP       EXTERNAL-IP   PORT(S)          AGE
monitor-es-http        NodePort    10.254.229.106   <none>        9200:30938/TCP   6m51s
monitor-es-mdi         ClusterIP   None             <none>        <none>           6m46s
monitor-es-transport   ClusterIP   None             <none>        9300/TCP         6m51s
monitor-kb-http        NodePort    10.254.128.69    <none>        5601:32133/TCP   6m48s
默认elasticsearch启用了验证,获取elastic用户的密码:
PASSWORD=$(kubectl -n beats get secret monitor-es-elastic-user -o=jsonpath='{.data.elastic}' | base64 --decode)
echo $PASSWORD
浏览器访问elasticsearch:
{
"name" : "monitor-es-mdi-2",
"cluster_name" : "monitor",
"cluster_uuid" : "KHl5tzDSSHa1Lnt4qKmy5g",
"version" : {
"number" : "7.6.2",
"build_flavor" : "default",
"build_type" : "docker",
"build_hash" : "ef48eb35cf30adf4db14086e8aabd07ef6fb113f",
"build_date" : "2020-03-26T06:34:37.794943Z",
"build_snapshot" : false,
"lucene_version" : "8.4.0",
"minimum_wire_compatibility_version" : "6.8.0",
"minimum_index_compatibility_version" : "6.0.0-beta1"
},
"tagline" : "You Know, for Search"
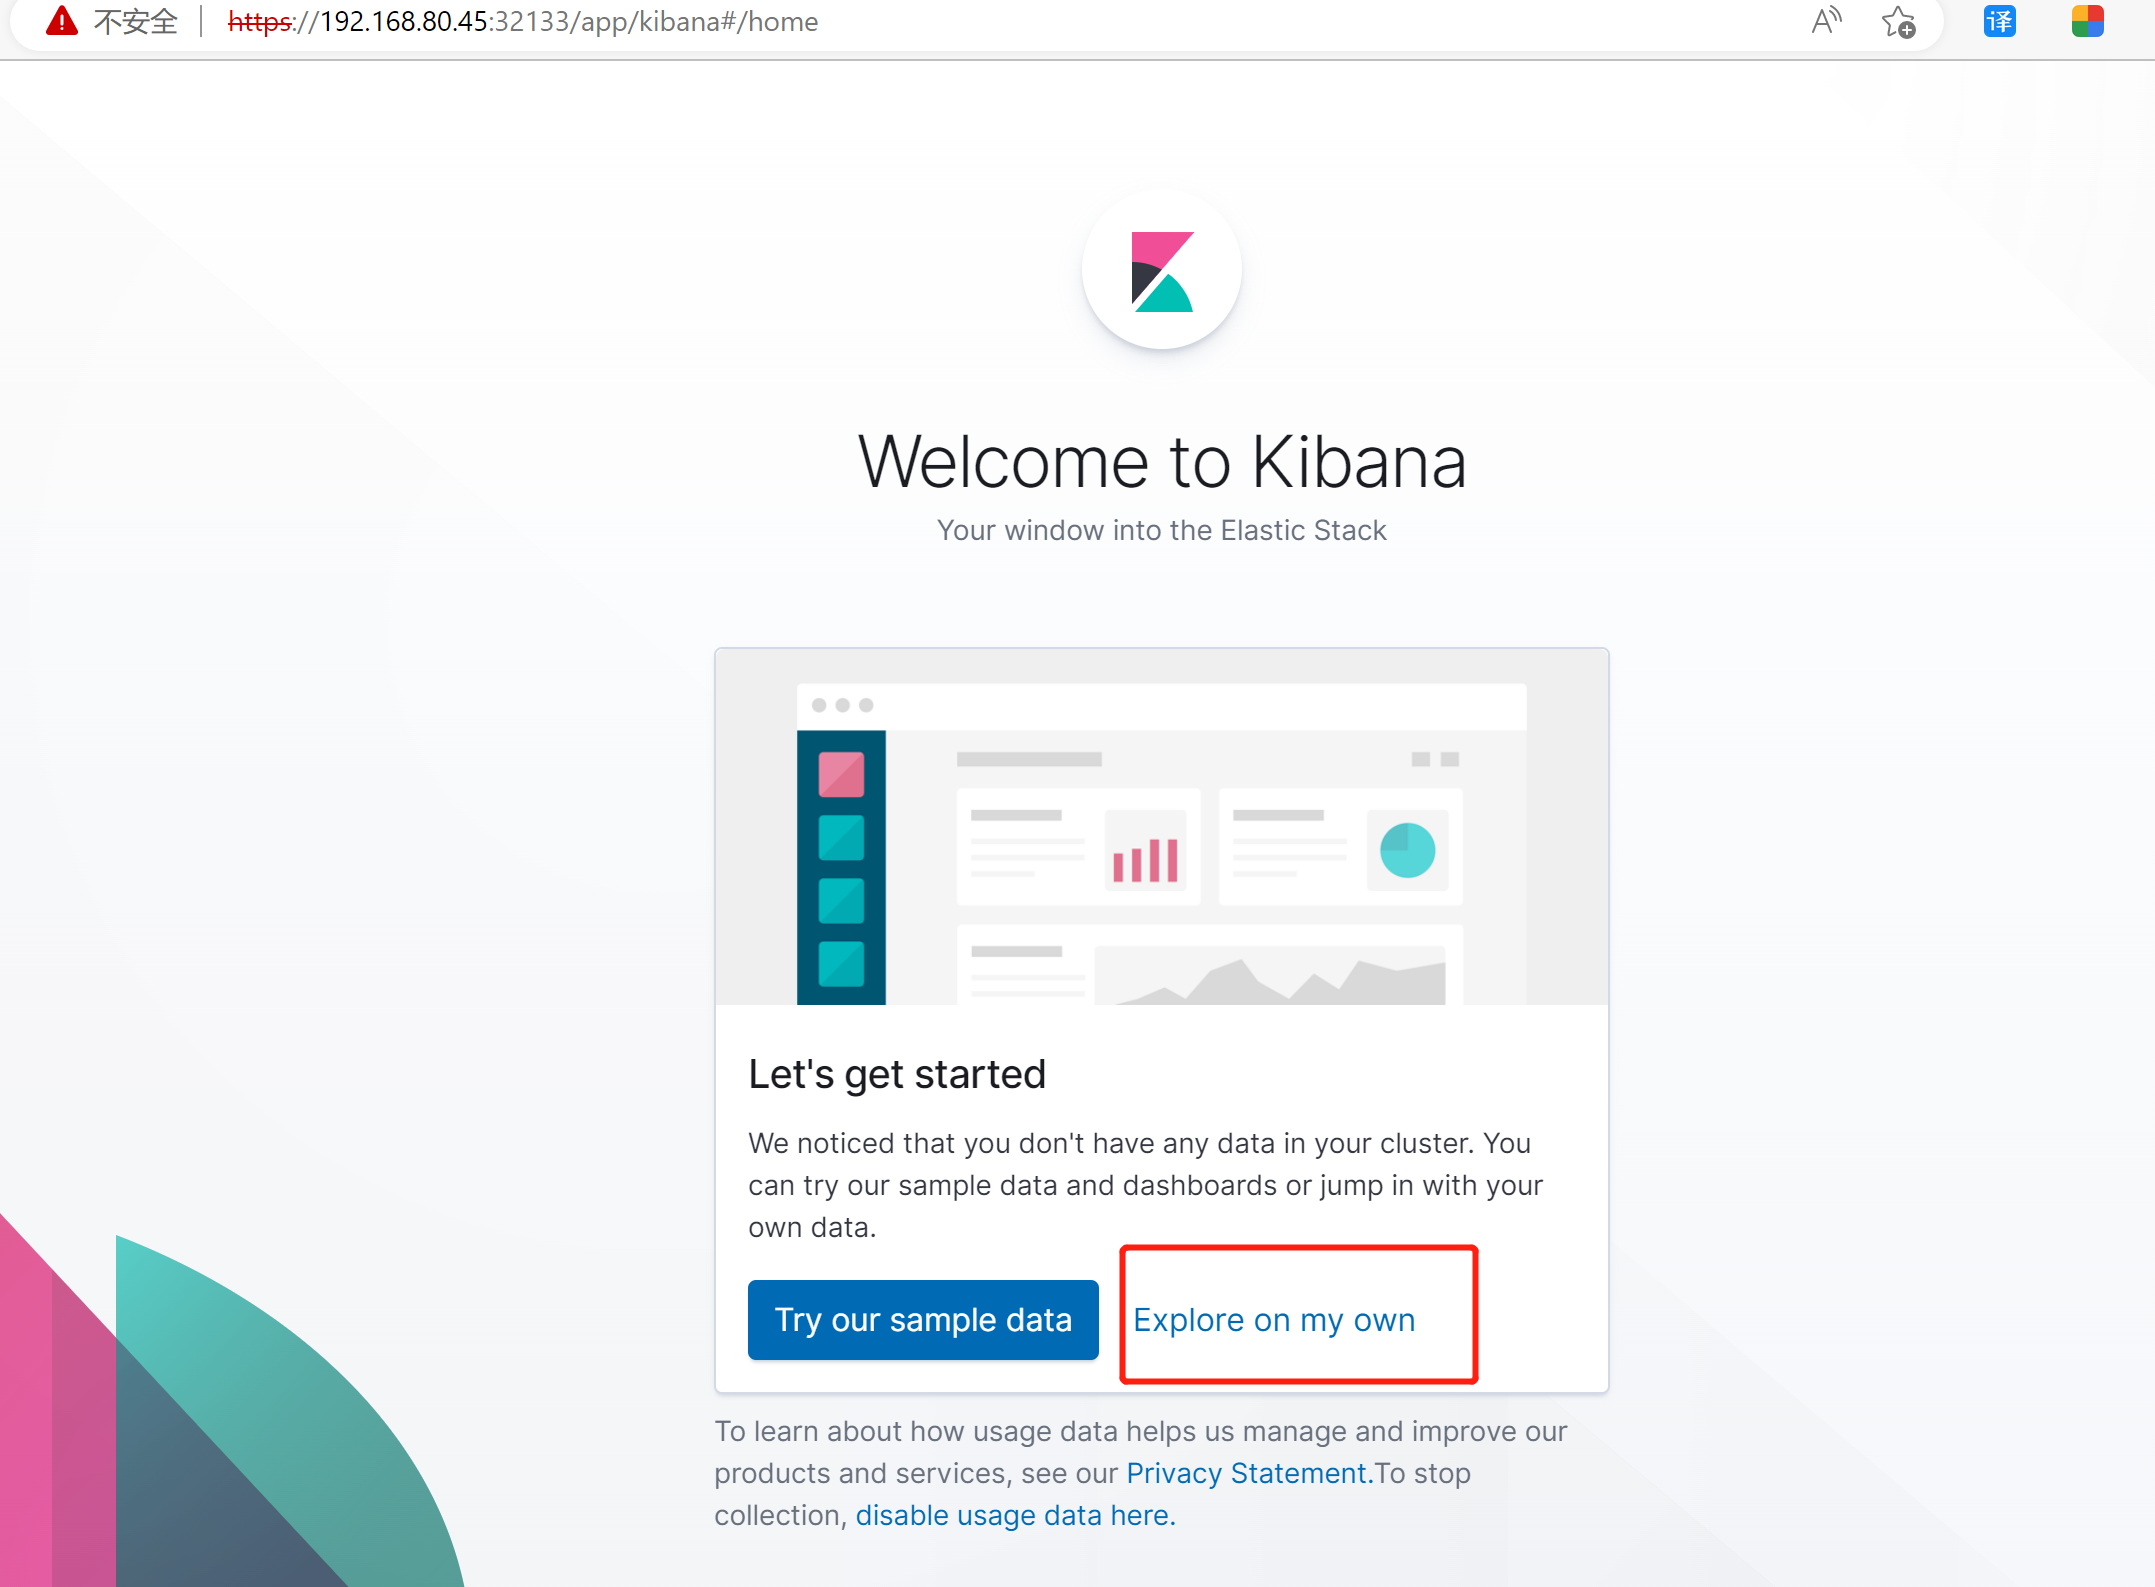
}在浏览器中访问kibana,用户密码与elasticsearch相同,选择Explore on my own,可以看到还没有创建index。
https://192.168.80.45:32133,user:elastic,password:(上面的echo $PASSWORD
sed -i 's#docker.elastic.co/beats/filebeat:7.6.0#elastic/filebeat:7.6.2#g' 2_filebeat-kubernetes.yaml
kubectl apply -f 2_filebeat-kubernetes.yaml
查看创建的pods:
kubectl -n beats get pods -l k8s-app=filebeat
NAME             READY   STATUS    RESTARTS   AGE
filebeat-9vg75   1/1     Running   0          14s
filebeat-hn9tb   1/1     Running   0          14s
filebeat-qd284   1/1     Running   0          14s
访问kibana,此时可以搜索到filebeat的index,填写index pattern,选择@timestrap然后创建index.:
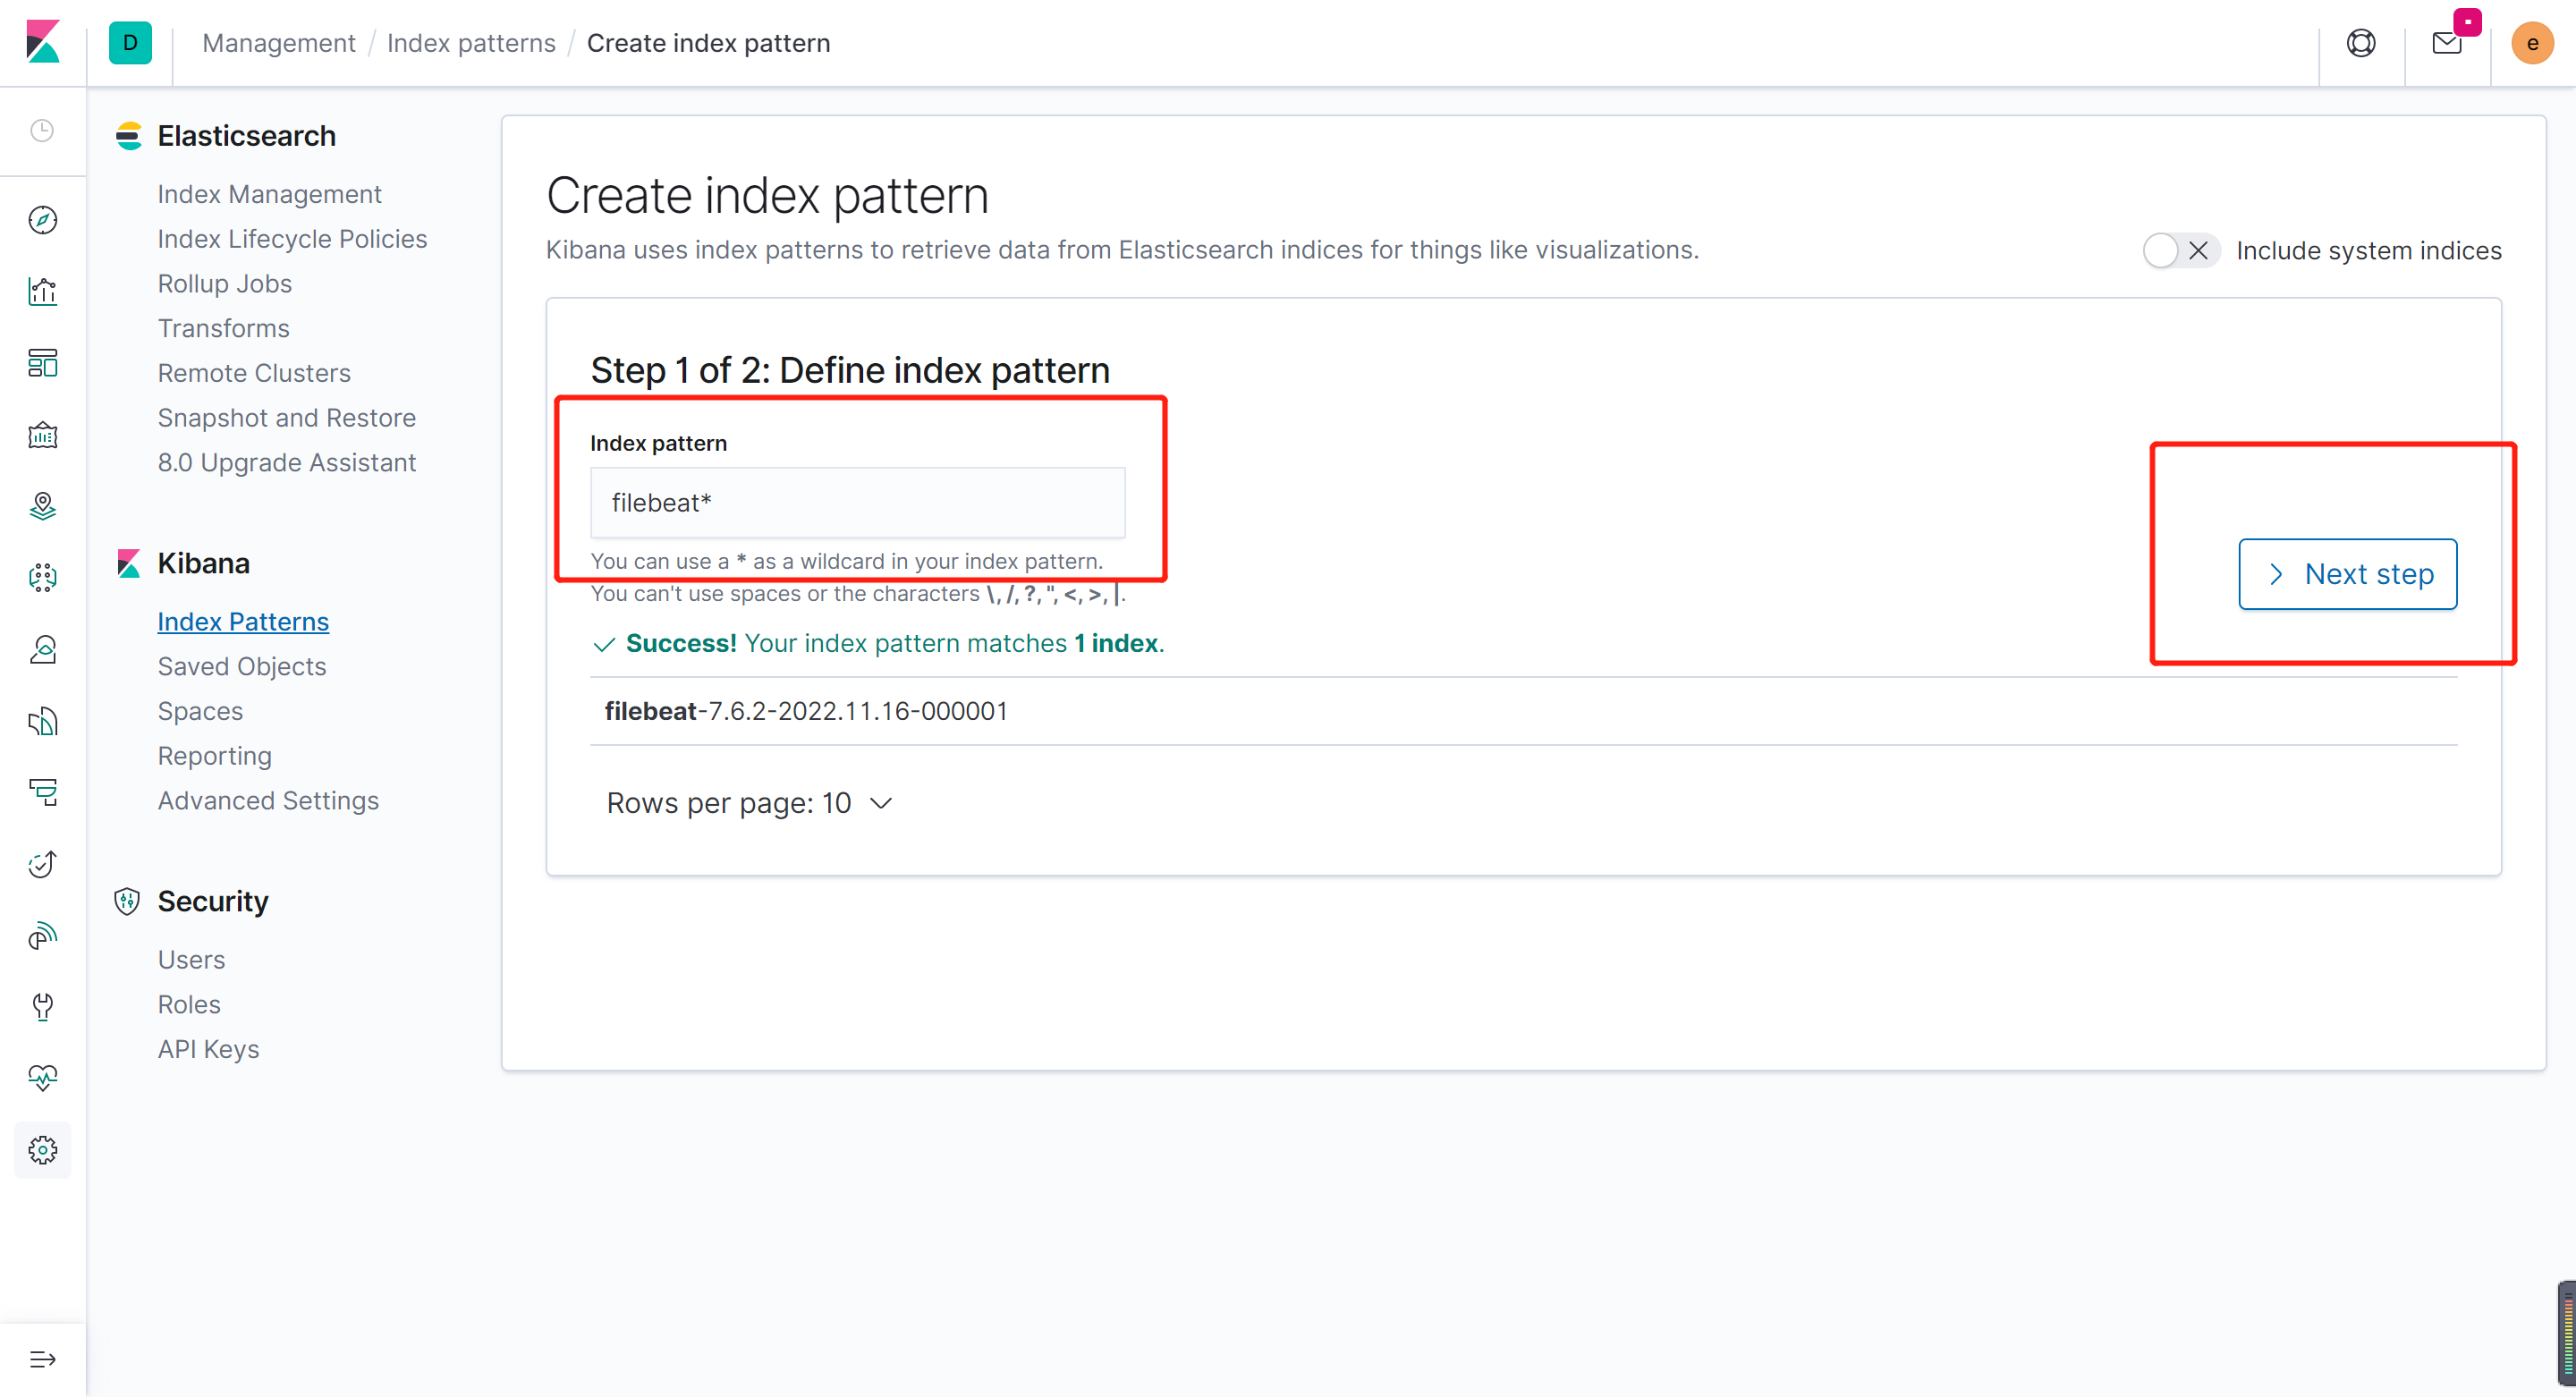

点击Create index pattern。

sed -i 's#docker.elastic.co/beats/metricbeat:7.6.0#elastic/metricbeat:7.6.2#g' 3_metricbeat-kubernetes.yaml
kubectl apply -f 3_metricbeat-kubernetes.yaml

# 查看pod
kubectl -n beats get pods -l k8s-app=metricbeat
NAME                         READY   STATUS    RESTARTS   AGE
metricbeat-95959544b-n5hz9   1/1     Running   0          25s
metricbeat-hlg9b             1/1     Running   0          25s
metricbeat-tttr5             1/1     Running   0          25s
metricbeat-x4z8g 1/1 Running 0 25s问题描述:0/3 nodes are available: 3 pod has unbound immediate PersistentVolumeClaims.
-
pvc没有创建成功,动态pvc由
provisioner来负责创建,需要查看日志kubectl describe pod nfs-client-provisioner-5c7fbb465d-m69pd -
pvc和pv绑定完成,有同样报错,可能是本地机器被重启过目录没有挂载,可以将挂载命令写入到文件内。

 浙公网安备 33010602011771号