iOS 网络与多线程--6.下载并保存网络图片
使用二进制数据对象的,从制定网站获取数据的方法,下载网络图片,并转化为二进制数据,然后将二进制数据保存到磁盘
按照注释需要进行阅读以下代码
 1 //  Created by JinXin on 15/12/2.
 2 //  Copyright © 2015年 JinXin. All rights reserved.
 3 //
 4
 5 #import "ViewController.h"
 6
 7 @interface ViewController ()
 8 @end
 9
10 @implementation ViewController
11
12 - (void)viewDidLoad {
13     [super viewDidLoad];
14     // Do any additional setup after loading the view, typically from a nib.
15
16     // 5.获取项目沙箱中的Documents文件夹。
17     NSString *documentsDirectoryPath = [NSSearchPathForDirectoriesInDomains(NSDocumentDirectory,
18             NSUserDomainMask, YES) objectAtIndex:0];
19     // 6.获取网络图片
20     UIImage *imageFromURL = [self getImageFromURL:@"http://face.weiphone.net/data/avatar/001/27/35/59_avatar_big.jpg"];
21     // 7.将图片保存到磁盘
22     [self saveImage:imageFromURL withFileNmae:@"image" ofType:@"jpg" inDirectory:documentsDirectoryPath];
23     // 7.输出路径
24     NSLog(@"Path of saved image:%@",documentsDirectoryPath);
25
26 }
27
28 // 1.创建一个方法,用来获取网络图片,参数为图片的网络路径
29 -(UIImage *)getImageFromURL:(NSString *)fileURL
30 {
31     NSLog(@"Getting image........");
32     UIImage *result;
33
34     // 2.获取网络图片,并将数据存入二进制数据对象
35     NSData *data = [NSData dataWithContentsOfURL:[NSURL URLWithString:fileURL]];
36     // 3.将二进制数据转为图像
37     result = [UIImage imageWithData:data];
38     // 4.返回结果
39     return result;
40 }
41
42 // 2.创建一个方法,用来将图像保存到磁盘
43 // 参数1.UIImage 对象
44 // 参数2.文件名
45 // 参数3.文件类型
46 // 参数4.保存文件的路径
47 -(void)saveImage:(UIImage *)image withFileNmae:(NSString *)imageName ofType:(NSString *)extension
48      inDirectory:(NSString *)directoryPath
49 {
50     // 3.检测图片扩展名,如果是png后缀,则使用UIImagePNGRepresentation方法,将图片转为二进制数据,并写入磁盘
51     if ([[extension lowercaseString] isEqualToString:@"png"])
52     {
53         [UIImagePNGRepresentation(image) writeToFile:[directoryPath stringByAppendingPathComponent:
54             [NSString stringWithFormat:@"%@.%@",imageName,@"png"]] options:NSAtomicWrite error:nil];
55     }
56     // 4. 检测图片扩展名,如果是jpg后缀,则使用UIImageJPEGRepresentation方法,将图片转为二进制数据,并写入磁盘
57     else if ([[extension lowercaseString] isEqualToString:@"jpg"] || [[extension lowercaseString] isEqualToString:@"jpeg"] )
58     {
59         [UIImageJPEGRepresentation(image, 1.0) writeToFile:[directoryPath stringByAppendingPathComponent:
60             [NSString stringWithFormat:@"%@.%@",imageName,@"jpg"]] options:NSAtomicWrite error:nil];
61     }
62 }
63
64 - (void)didReceiveMemoryWarning {
65     [super didReceiveMemoryWarning];
66     // Dispose of any resources that can be recreated.
67 }
68
69 @end
输出结果:
1 2015-12-04 21:58:47.132 AppDemo[1030:104437] Getting image........
2 2015-12-04 21:58:47.312 AppDemo[1030:104437] Path of saved image:/Users/jinxin/Library/Developer/CoreSimulator/Devices/78B0547C-FAC7-4343-AAF0-EEB564932491/data/Containers/Data/Application/5051F20E-5736-46DC-BC4E-C00D9F9CDDFF/Documents
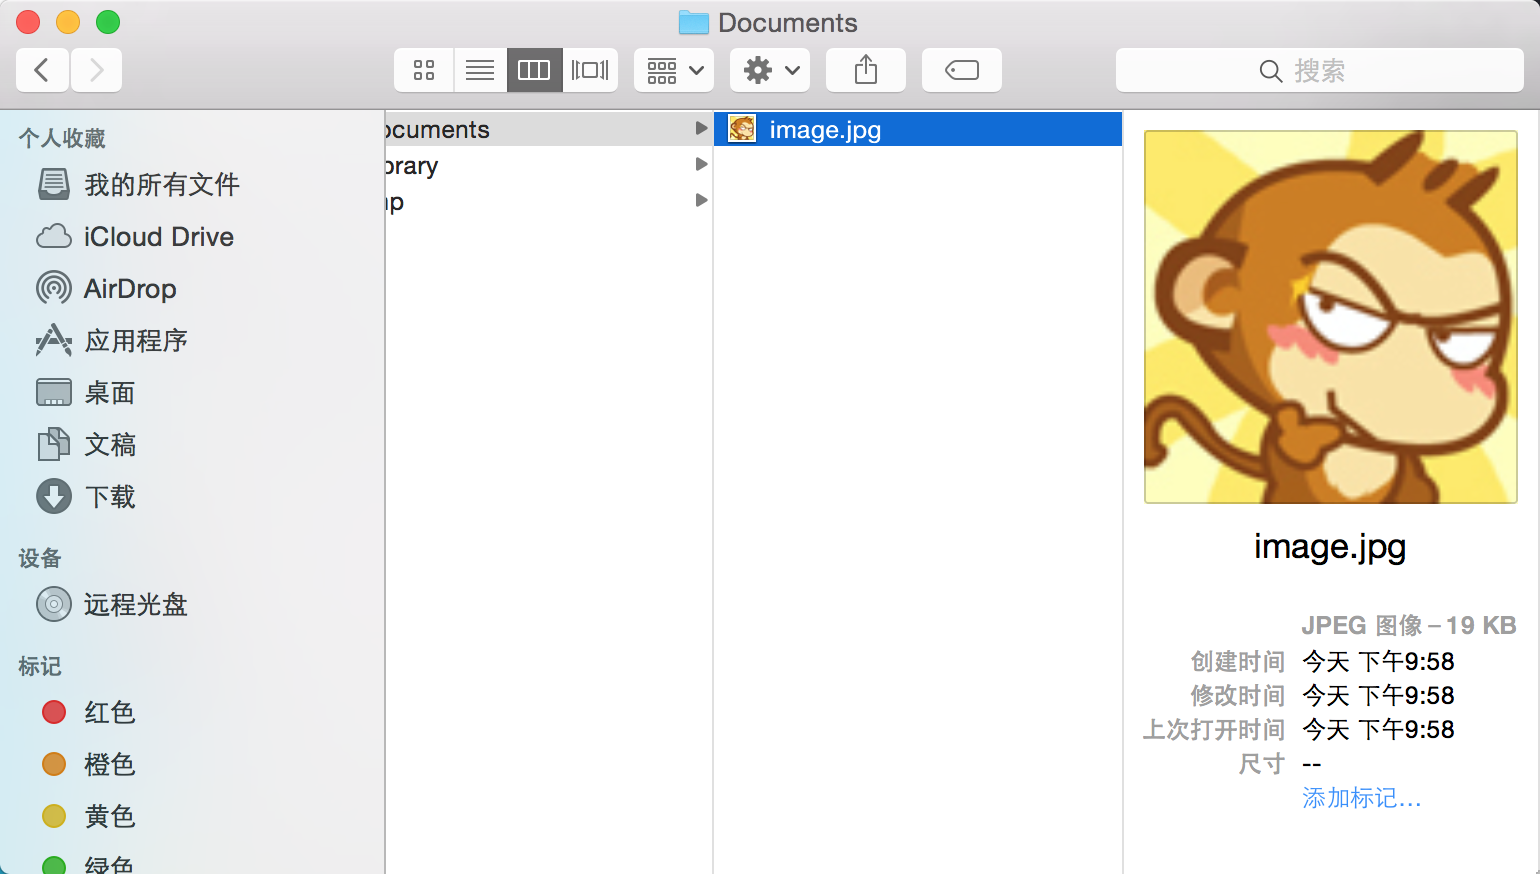
之后打开finder 按Shift+Command+G 将路径粘贴进去 进入目录
将可以看到下载到的图片了


