Cloudera Manager安装之时间服务器和时间客户端(二)
福利 => 每天都推送
前期博客
Cloudera Manager安装之Cloudera Manager安装前准备(CentOS6.5)(一)
带大家手把手读cloudera官网
https://www.cloudera.com/documentation/enterprise/5-3-x.html
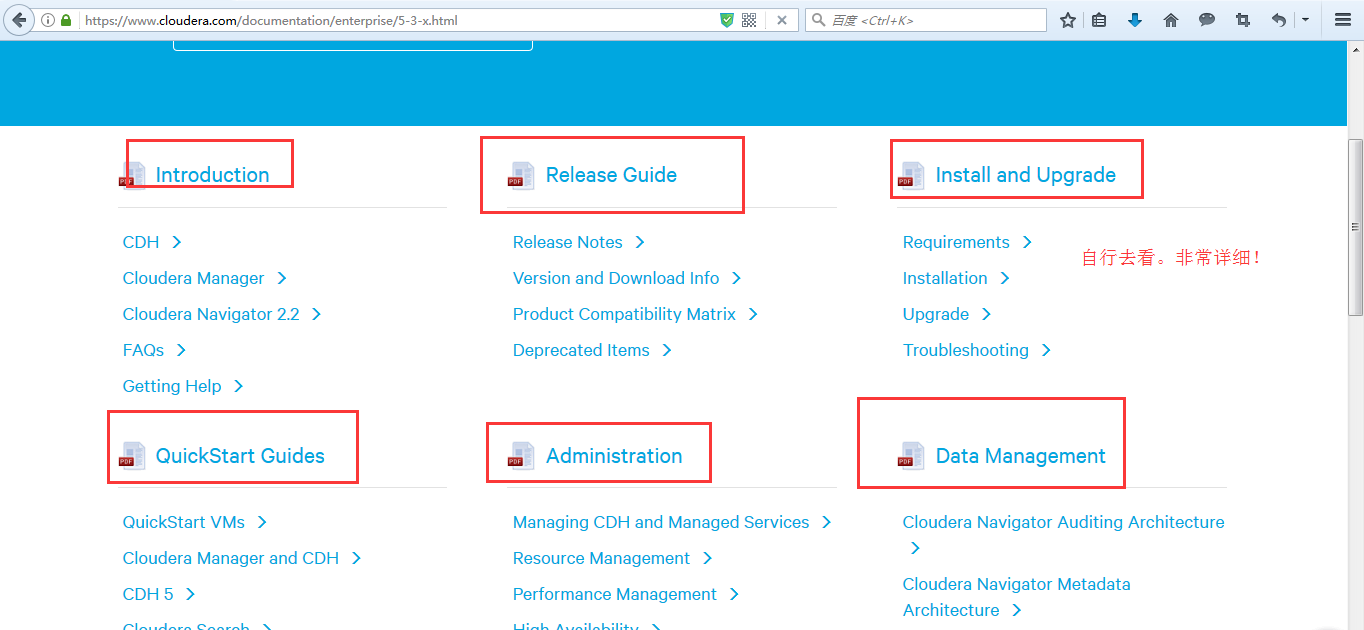
说明:这些是可以点击进入,就直接可以下载得到电子档了。我这里不多赘述。
(1) 找一台机器作为时间服务器
我这里,放到clouderaManager01这台机器!
注意,之前是已经做了集群时间同步了。

[hadoop@clouderaManager01 ~]$ sudo rpm -qa|grep ntp
fontpackages-filesystem-1.41-1.1.el6.noarch
ntp-4.2.6p5-10.el6.centos.2.x86_64
ntpdate-4.2.6p5-10.el6.centos.2.x86_64
[hadoop@clouderaManager01 ~]$ sudo vim /etc/ntp.conf
默认是如下
# For more information about this file, see the man pages
# ntp.conf(5), ntp_acc(5), ntp_auth(5), ntp_clock(5), ntp_misc(5), ntp_mon(5).

driftfile /var/lib/ntp/drift

# Permit time synchronization with our time source, but do not
# permit the source to query or modify the service on this system.
restrict default kod nomodify notrap nopeer noquery
restrict -6 default kod nomodify notrap nopeer noquery

# Permit all access over the loopback interface.  This could
# be tightened as well, but to do so would effect some of
# the administrative functions.
restrict 127.0.0.1
restrict -6 ::1

# Hosts on local network are less restricted.
#restrict 192.168.1.0 mask 255.255.255.0 nomodify notrap

# Use public servers from the pool.ntp.org project.
# Please consider joining the pool (http://www.pool.ntp.org/join.html).
server 0.centos.pool.ntp.org iburst
server 1.centos.pool.ntp.org iburst
server 2.centos.pool.ntp.org iburst
server 3.centos.pool.ntp.org iburst

#broadcast 192.168.1.255 autokey        # broadcast server
#broadcastclient                        # broadcast client
#broadcast 224.0.1.1 autokey            # multicast server
#multicastclient 224.0.1.1              # multicast client
#manycastserver 239.255.254.254         # manycast server
#manycastclient 239.255.254.254 autokey # manycast client


# Enable public key cryptography.
#crypto

includefile /etc/ntp/crypto/pw

# Key file containing the keys and key identifiers used when operating
# with symmetric key cryptography.
keys /etc/ntp/keys

# Specify the key identifiers which are trusted.
#trustedkey 4 8 42

# Specify the key identifier to use with the ntpdc utility.
#requestkey 8

# Specify the key identifier to use with the ntpq utility.
#controlkey 8

# Enable writing of statistics records.
#statistics clockstats cryptostats loopstats peerstats
注意,这里有2处地方需要我们进行修改,如下
因为,
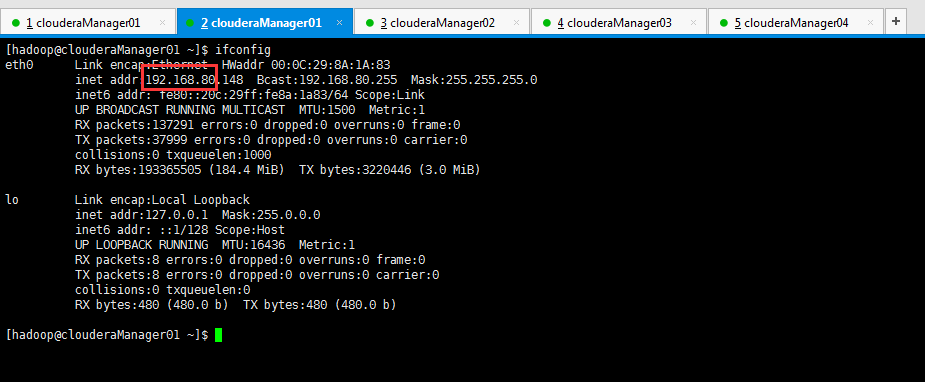
所以,修改地方1:

restrict 192.168.80.0 mask 255.255.255.0 nomodify notrap
所以,修改地方2:
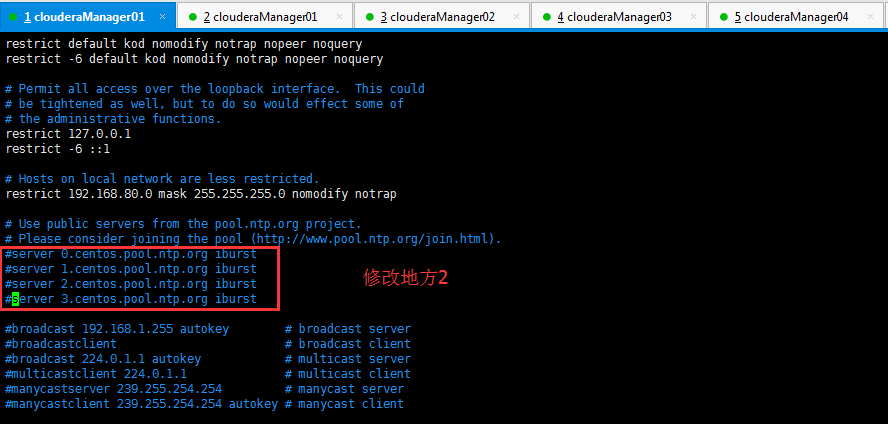
#server 0.centos.pool.ntp.org iburst
#server 1.centos.pool.ntp.org iburst
#server 2.centos.pool.ntp.org iburst
#server 3.centos.pool.ntp.org iburst
有些人的机器上,如果有,需要如下去掉注释。(我的这里是没有的)
server 127.127.1.0    #local  clock
fudge   127.127.1.0   stratum  10
(2)找一台机器与,保持boss与时间同步
我这里,放到clouderaManager01这台机器!

[hadoop@clouderaManager01 ~]$ sudo vi /etc/sysconfig/ntpd
默认是

# Drop root to id 'ntp:ntp' by default.
OPTIONS="-u ntp:ntp -p /var/run/ntpd.pid -g"
我们,需要进行修改

# Drop root to id 'ntp:ntp' by default.
SYNC_HWCLOCK=yes
OPTIONS="-u ntp:ntp -p /var/run/ntpd.pid -g"
只需,增加如上的一行即可。
然后,我们需设置clouderaManager01这台机器的时间服务器,为开机就启动,方便呗!

[hadoop@clouderaManager01 ~]$ sudo service ntpd status
ntpd is stopped
[hadoop@clouderaManager01 ~]$ sudo service ntpd start
Starting ntpd:                                             [  OK  ]
[hadoop@clouderaManager01 ~]$ sudo chkconfig ntpd on
[hadoop@clouderaManager01 ~]$ sudo chkconfig --list|grep ntpd
ntpd               0:off    1:off    2:on    3:on    4:on    5:on    6:off
ntpdate            0:off    1:off    2:off    3:off    4:off    5:off    6:off
[hadoop@clouderaManager01 ~]$
(2) 找三台机器作为时间客户端
我这里,放到clouderaManager02和clouderaManager03这三台机器!
注意,这里使用的是Linux的定时任务,即Linux Crontab,必须得root用户来操作啊!我这里是每10分钟同步一次!

[root@clouderaManager02 hadoop]# pwd
/home/hadoop
[root@clouderaManager02 hadoop]# crontab -l
no crontab for root
[root@clouderaManager02 hadoop]# crontab -e
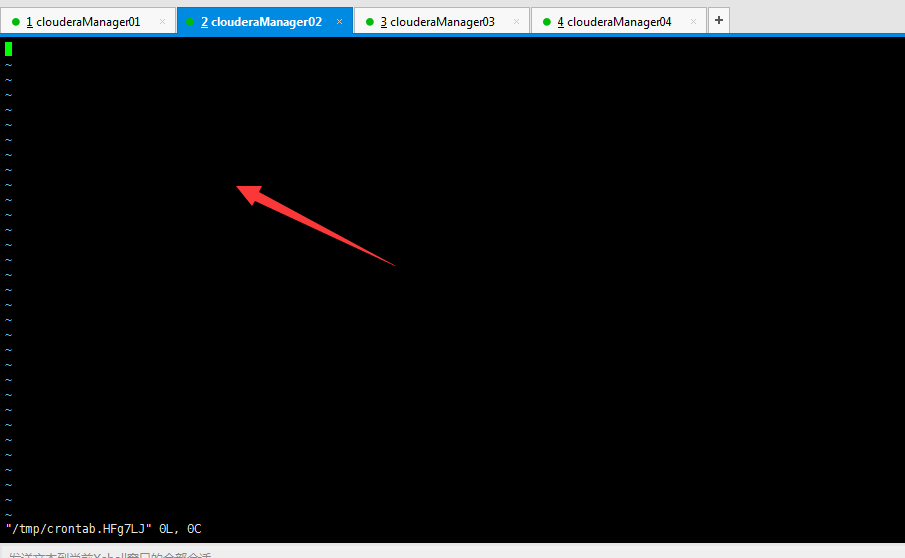
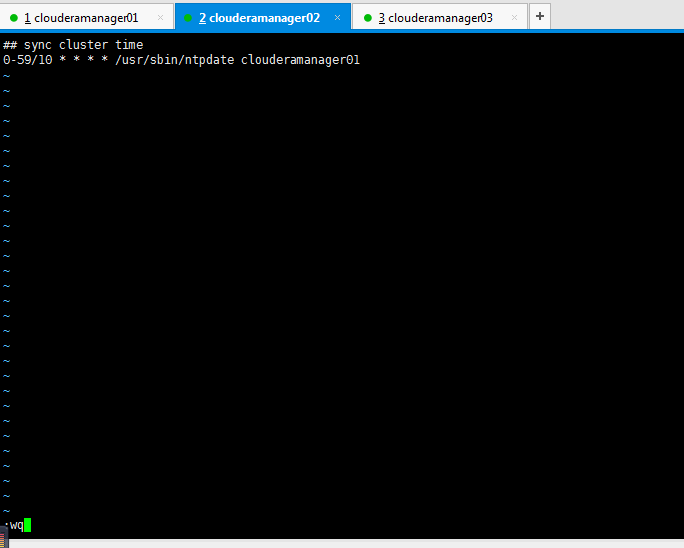
## sync cluster time
0-59/10 * * * * /usr/sbin/ntpdate clouderamanager01
其实啊,这里的写法很多种,我这里不多赘述,我喜欢用这种。
第一个*是分
第二个*是时
第三个*是天
第四个*是月
clouderamanager01指的是,时间同步服务器是在哪台机器上。
10是每10分钟一次,比如,你也设置为5,即每5分钟一次。
clouderamanager03这台机器也是一样!这里不多赘述了。


***************************************************************
扩展:
若是在工作中以后,需要手动来时间同步,则分别在时间客户端(louderaManager02、clouderaManager03和clouderaManager04)上,执行
sudo /usr/sbin/ntpdate clouderaManager01
即可,我这里不多说。
***************************************************************
接下来,我们进入,CM的安装!
Cloudera Manager安装之Cloudera Manager 5.3.X安装(三)(tar方式、rpm方式和yum方式)
同时,大家可以关注我的个人博客:
http://www.cnblogs.com/zlslch/ 和 http://www.cnblogs.com/lchzls/ http://www.cnblogs.com/sunnyDream/
详情请见:http://www.cnblogs.com/zlslch/p/7473861.html
人生苦短,我愿分享。本公众号将秉持活到老学到老学习无休止的交流分享开源精神,汇聚于互联网和个人学习工作的精华干货知识,一切来于互联网,反馈回互联网。
目前研究领域:大数据、机器学习、深度学习、人工智能、数据挖掘、数据分析。 语言涉及:Java、Scala、Python、Shell、Linux等 。同时还涉及平常所使用的手机、电脑和互联网上的使用技巧、问题和实用软件。 只要你一直关注和呆在群里,每天必须有收获
对应本平台的讨论和答疑QQ群:大数据和人工智能躺过的坑(总群)(161156071)


打开百度App,扫码,精彩文章每天更新!欢迎关注我的百家号: 九月哥快讯
作者:大数据和人工智能躺过的坑
出处:http://www.cnblogs.com/zlslch/
本文版权归作者和博客园共有,欢迎转载,但未经作者同意必须保留此段声明,且在文章页面明显位置给出原文链接,否则保留追究法律责任的权利。
如果您认为这篇文章还不错或者有所收获,您可以通过右边的“打赏”功能 打赏我一杯咖啡【物质支持】,也可以点击右下角的【好文要顶】按钮【精神支持】,因为这两种支持都是我继续写作,分享的最大动力!


