ArcGIS 10.3 for Server 在windows下的安装教程
以下是10.2的教程,10.3同样适用。
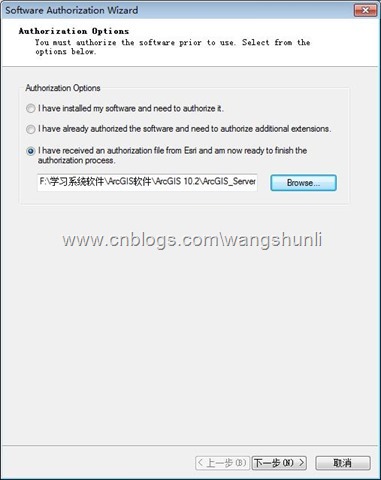
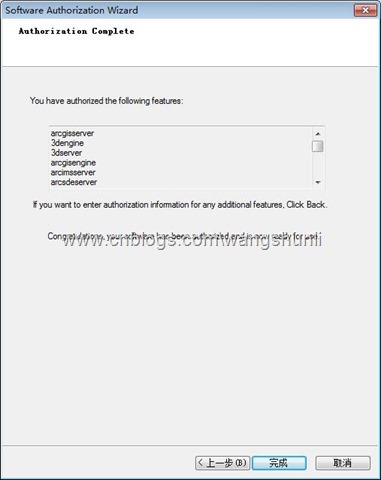
许可文件:
ArcGIS For Server10.3许可文件 - 下载频道 - CSDN.NET
http://download.csdn.net/detail/u013172428/8606589
一、操作系统要求
Operating Systems
Minimum OS Version
Maximum OS Version
Windows Server 2012 R2 Standard and Datacenter*
Windows Server 2012 Standard and Datacenter
Windows 2008 R2 Server Standard, Enterprise, and Datacenter
SP1
Windows 2008 Server Standard, Enterprise, and Datacenter
SP2
SP2
Windows 2003 Server Standard, Enterprise, and Datacenter
SP2
SP2
Windows 8.1 Professional and Enterprise*
Windows 8 Professional and Enterprise
Windows 7 Ultimate, Enterprise, Professional, Home Premium
SP1
Windows Vista Ultimate, Enterprise, Business, Home
SP2
SP2
Windows XP Professional Edition, Home Edition
SP2
SP2
http://resources.arcgis.com/en/help/system- requirements/10.2/index.html#/ArcGIS_for_Server/015100000072000000/
|
*Windows 8.1 and Windows Server 2012 R2 support begins at ArcGIS 10.2.1
· ArcGIS Server requires a 64-bit operating system; 32-bit operating systems are not supported.
· Python 2.7 (64 bit) is installed with ArcGIS for Server.
· Windows 8.1, 8, Windows 7, Vista, and XP: These operating systems are supported for basic testing and application development use only. They are not recommended for deployment in a production environment.
· Microsoft Windows Server 2003, 2003 R2, Vista and XP are no longer supported starting at ArcGIS 10.2.2.
对于部署环境,最小内存须 4GB。这个要求是基于以下环境的典型部署:
· Two cached map services
· One dynamic map service
· One locator service
· One geoprocessing service
· Geometry service
· PrintingTools service
· SQL Server Express
· IIS with Web Adaptor 真正部署时,最低硬件需求并不能具体化,因为要根据用户和需求的不同进行调整。硬 件需求必须考虑用户对性能和可扩展性的需求。
二、安装步骤
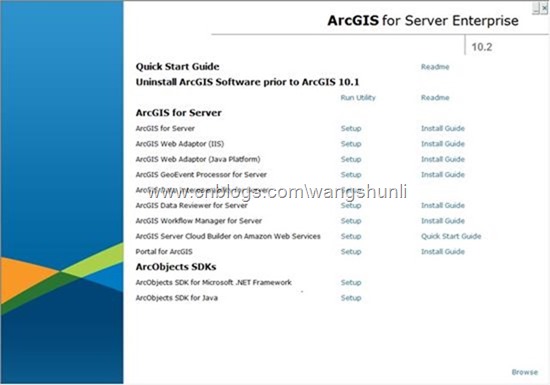
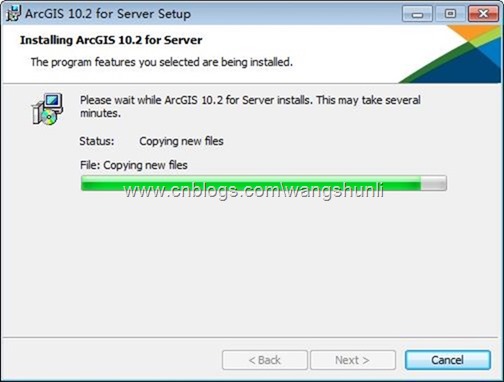
这次我们要安装的是 ArcGIS for Server
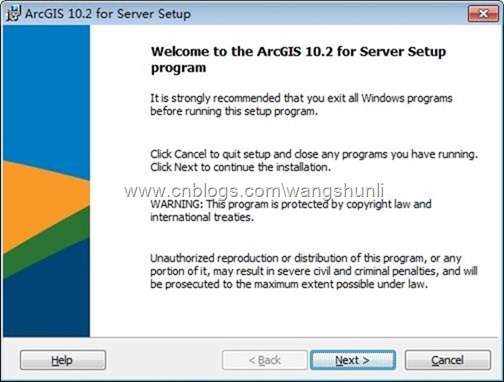
我们选择安装 ArcGIS for Server,点击 ArcGIS for Server 后面的的 Setup
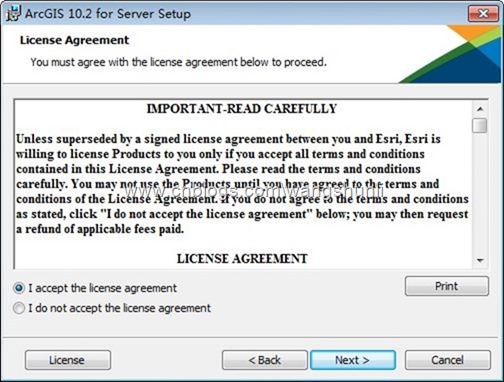
勾选 I accept the license agreement
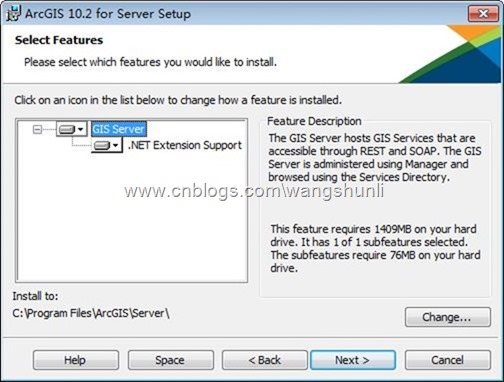
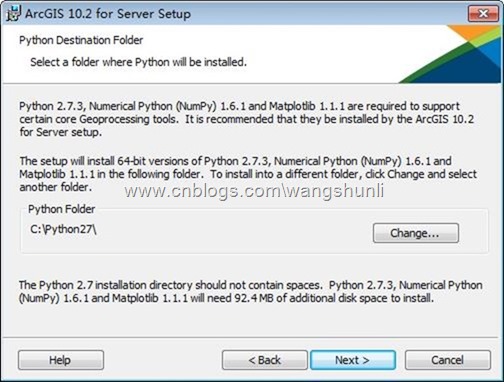
点击 Browse 可以选择 Python 的安装目录,选择好后点击 Next 继续
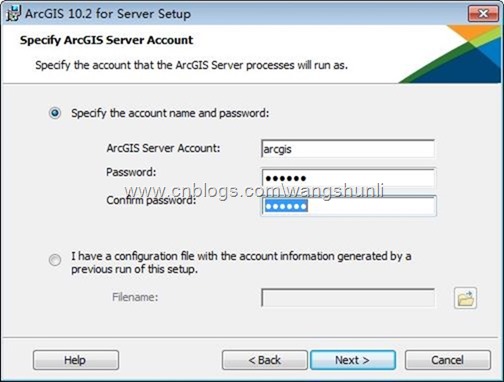
创建 server 账户和密码,设置完毕后点击 Next 继续
如果有之前安装时候创建的账户配置文件,可以勾选下面的那个选项。
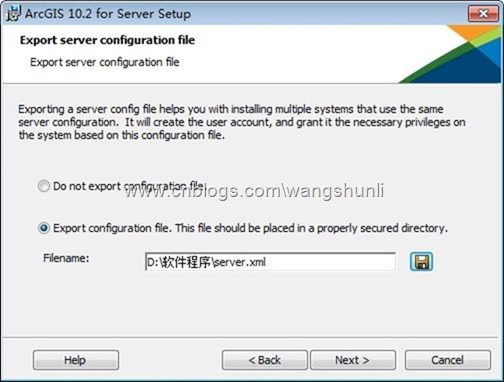
提示是否导出账号信息。如无需要,可以选择不导出。点击 Next 继续
·
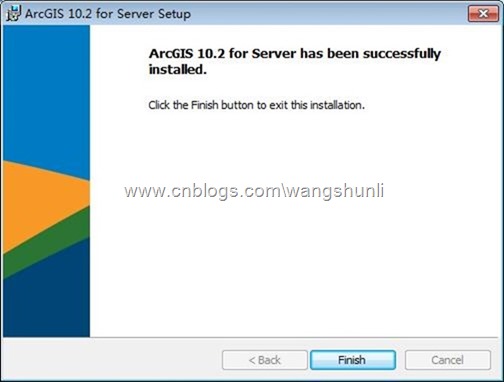
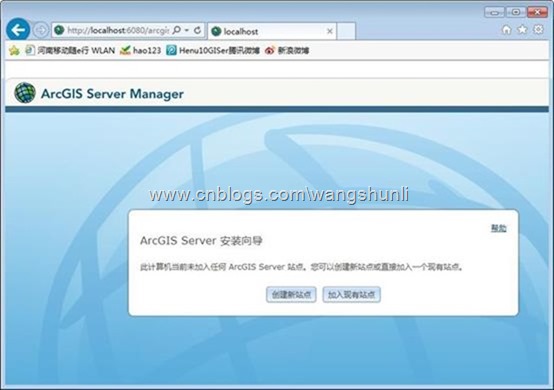
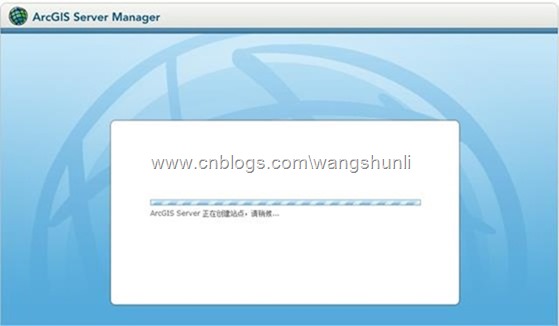
安装完成后,会自动弹出 Manager 页面,这里我们选择创建站点。加入现有站点是用来搭建 集群的,以后会介绍。
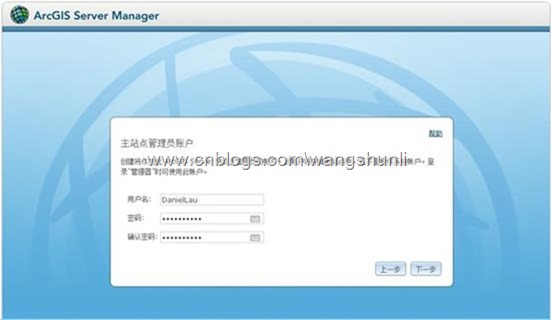
输入主站点管理员账户点击”下一步”。很多人到这一步会有一个疑问:这个账户和刚刚安装
ArcGIS Server 步骤中创建的账户有关系吗?分别用来控制什么?首先在上一节中我们创建的 ArcGIS Server 账户,是为 ArcGIS Server 创建的操作系统账户(安装完你可以切换操作系统 账户看一下,是不是多了一个 ArcGIS Server),该账户实际上用来管理 ArcGIS Server 的操 作系统进程(启动、停止 ArcGIS Server 服务);而我们此时创建的站点账户,主要是为了管 理站点中的各种服务形式的 GIS 资源(各种类型服务的发布、启动、停止、删除;站点安全; 集群管理等等)。这两个账户的设置完全没有关系,可以随意设置。
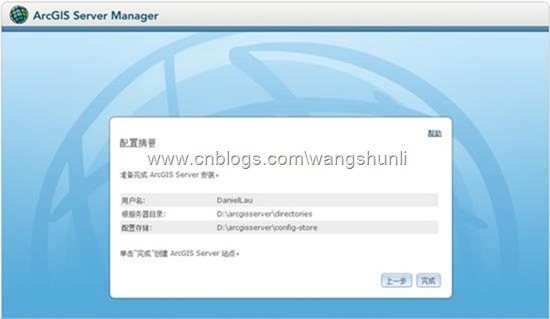
现在我们已经成功安装了 ArcGIS 10.1 for Server
· 美国官方已经启用 60 天试用,登录官网即可下载产品安装包并申请试用许可。地 址:http://www.esri.com/software/arcgis/trial
欢迎访问我的的博客:www.wshunli.com
-------------------
已迁移文章:
VMware 12安装Mac OS X 10.10
http://www.wshunli.com/posts/65583447.html
Tomcat安装配置




![clip_image058[1] clip_image058[1]](http://images0.cnblogs.com/blog/649703/201504/181051215892660.jpg)


【推荐】编程新体验,更懂你的AI,立即体验豆包MarsCode编程助手
【推荐】凌霞软件回馈社区,博客园 & 1Panel & Halo 联合会员上线
【推荐】抖音旗下AI助手豆包,你的智能百科全书,全免费不限次数
【推荐】博客园社区专享云产品让利特惠,阿里云新客6.5折上折
【推荐】轻量又高性能的 SSH 工具 IShell:AI 加持,快人一步
· DeepSeek 解答了困扰我五年的技术问题
· 为什么说在企业级应用开发中,后端往往是效率杀手?
· 用 C# 插值字符串处理器写一个 sscanf
· Java 中堆内存和栈内存上的数据分布和特点
· 开发中对象命名的一点思考
· PPT革命!DeepSeek+Kimi=N小时工作5分钟完成?
· What?废柴, 还在本地部署DeepSeek吗?Are you kidding?
· DeepSeek企业级部署实战指南:从服务器选型到Dify私有化落地
· 程序员转型AI:行业分析
· 重磅发布!DeepSeek 微调秘籍揭秘,一键解锁升级版全家桶,AI 玩家必备神器!