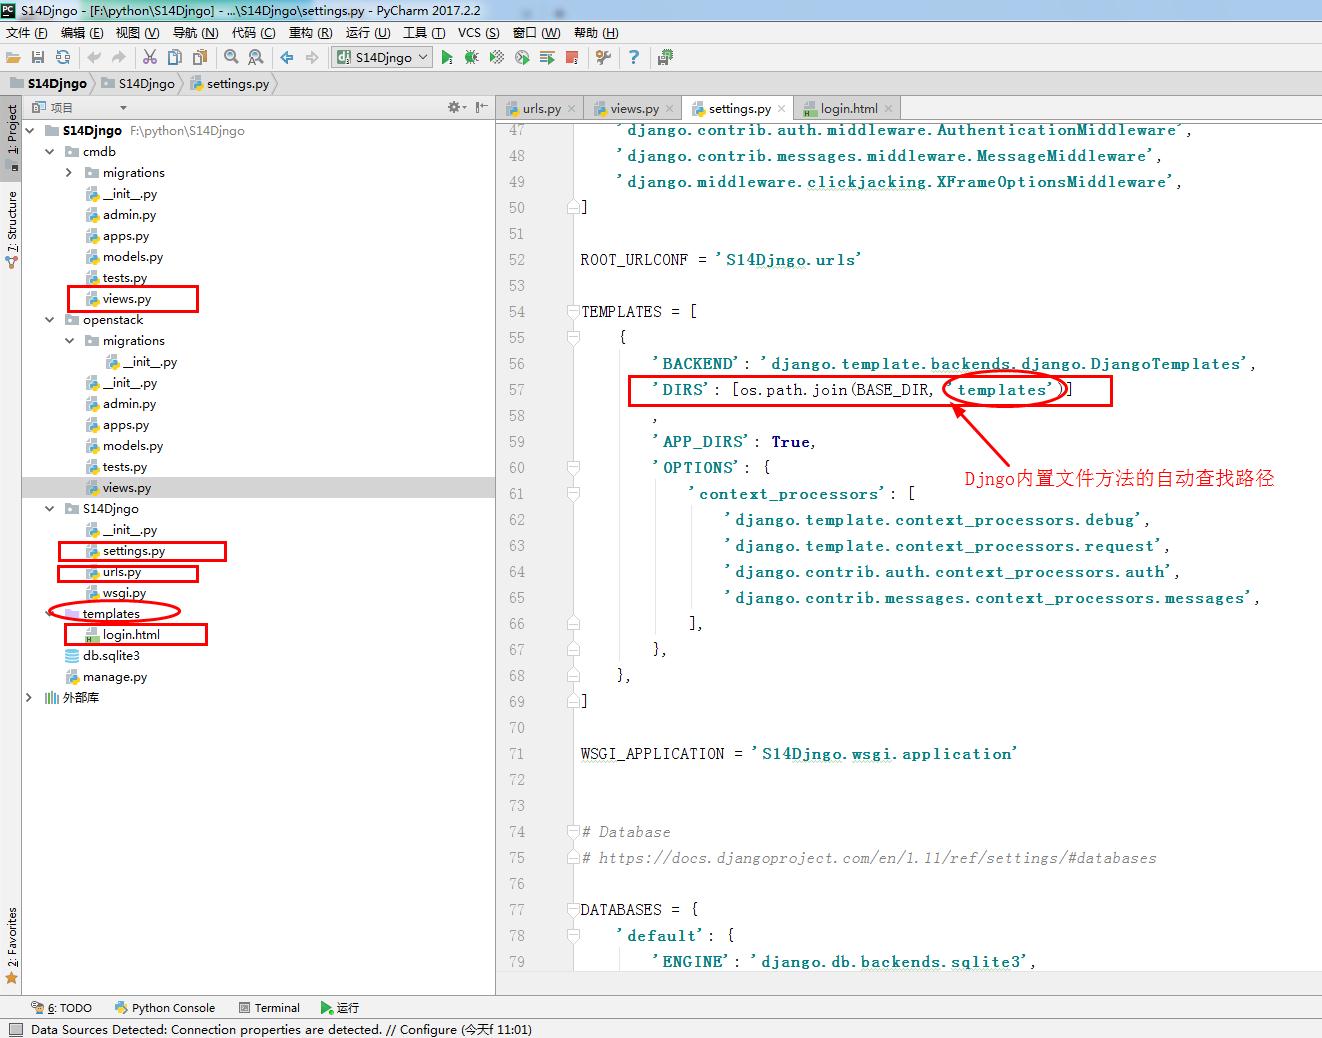
 1 """S14Djngo URL Configuration
 2
 3 The `urlpatterns` list routes URLs to views. For more information please see:
 4     https://docs.djangoproject.com/en/1.11/topics/http/urls/
 5 Examples:
 6 Function views
 7     1. Add an import:  from my_app import views
 8     2. Add a URL to urlpatterns:  url(r'^$', views.home, name='home')
 9 Class-based views
10     1. Add an import:  from other_app.views import Home
11     2. Add a URL to urlpatterns:  url(r'^$', Home.as_view(), name='home')
12 Including another URLconf
13     1. Import the include() function: from django.conf.urls import url, include
14     2. Add a URL to urlpatterns:  url(r'^blog/', include('blog.urls'))
15 """
16 from django.conf.urls import url
17 from django.contrib import admin
18
19 from cmdb import views
20
21
22
23 urlpatterns = [
24     url(r'^admin/', admin.site.urls),
25     #url(r'^h.html/',views.home),
26     url(r'^login',views.login),
27 ]


