CentOS7系统安装
CenOS7安装系统
镜像下载地址:
http://isoredirect.centos.org/centos/7/isos/x86_64/
https://mirrors.aliyun.com/centos/7.5.1804/isos/x86_64/CentOS-7-x86_64-DVD-1804.iso
镜像名字解释:CentOS-7-x86_64-DVD-1708.iso
CentOS-7 –-> 系统是7.X版本
x86_64 –-> 64位操作系统,并且从7以后不再提供32位镜像。
1708 –-> 2017年08月发表的版本
从CentOS7之后,版本命名就跟发行的日期有关了。
安装Centos7.2版本
修改网卡名称:选择 install centos 7 。 按 Tab 键 会出现下面一行字母
在最后添加 net.ifnames=0 biosdevname=0 PS:注意检查好,错一个字母也不好使。 确认后 回车键。
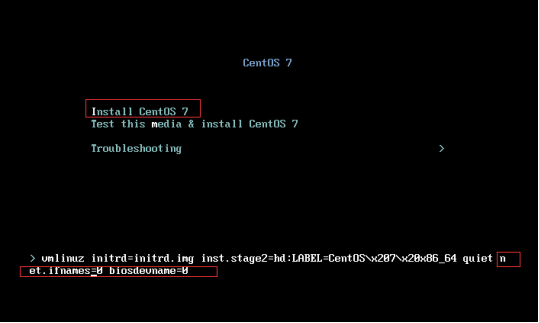
图1.1
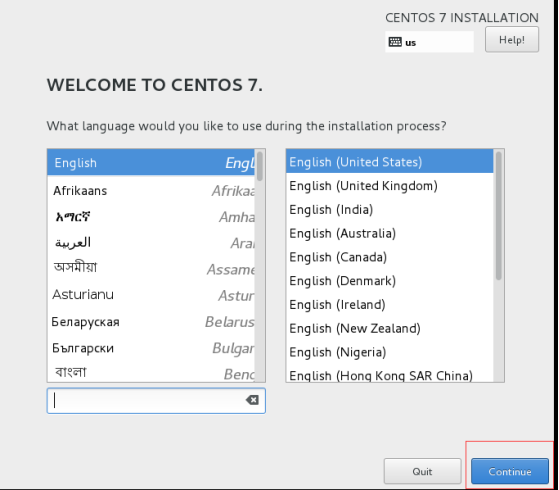
图1.2 默认英语就好
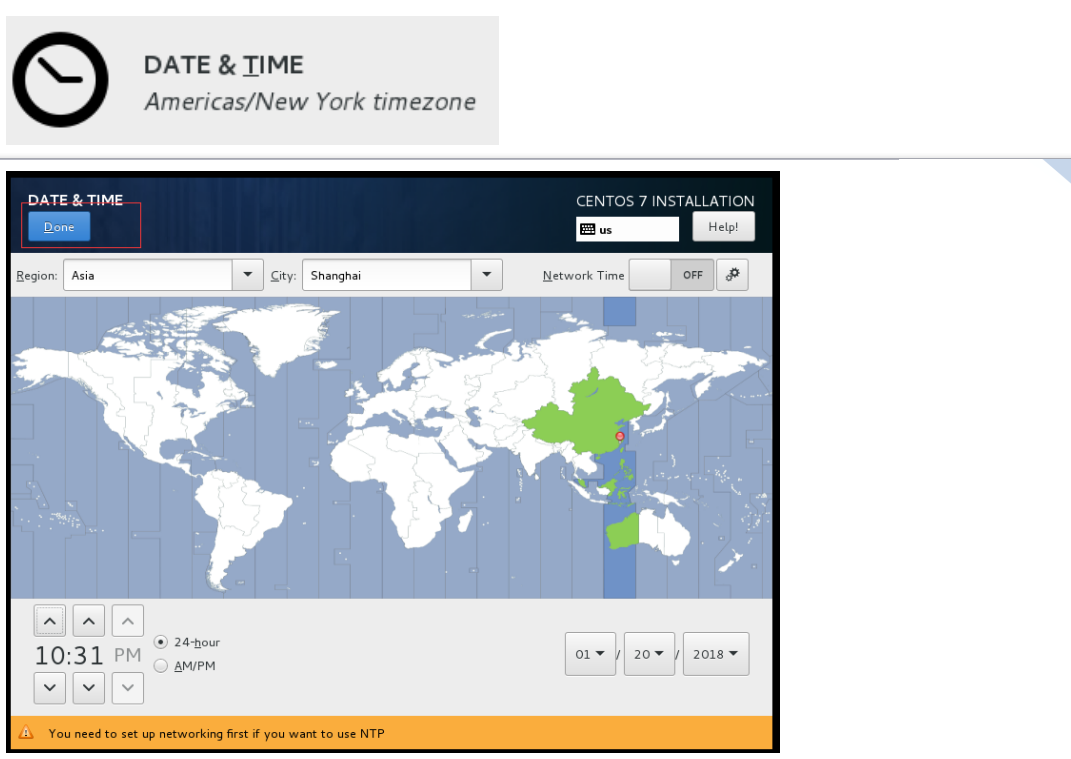
图1.3 修改时间,选择亚洲上海
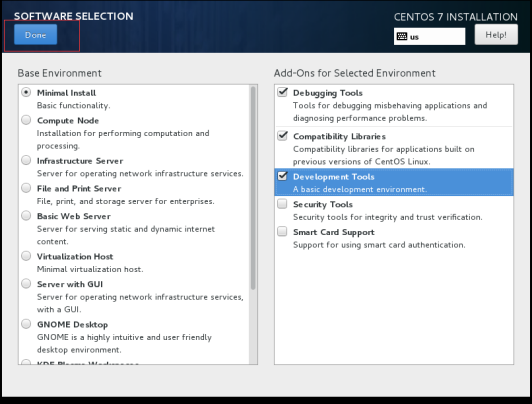
图1.5 最小化安装,选择安装包
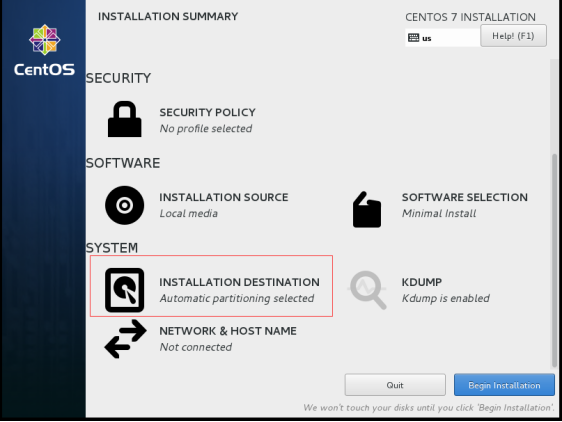
图1.6 磁盘分区
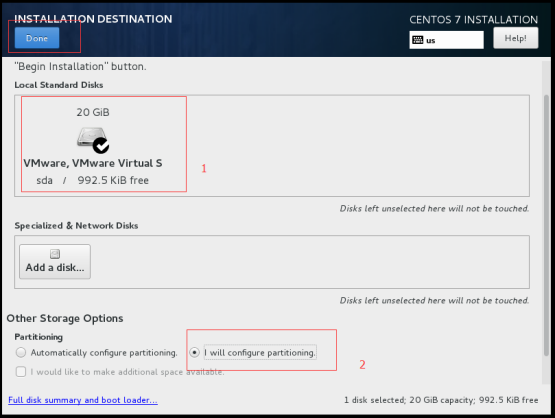
图1.7 选择手动分区
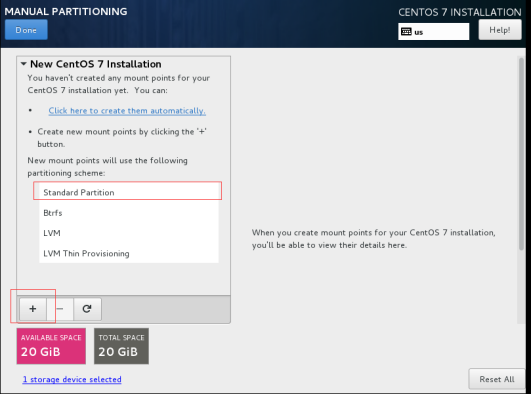
图1.8
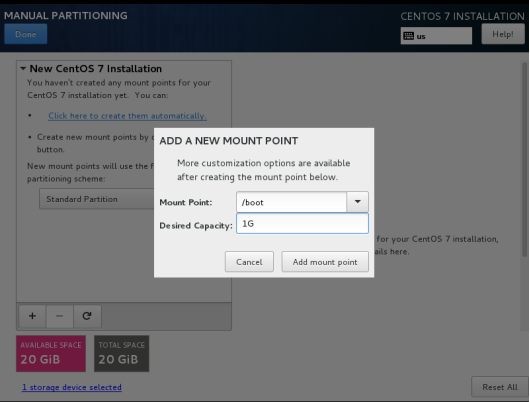
图1.9
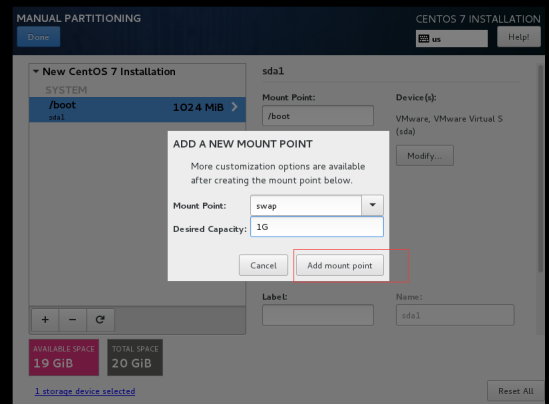
图2.0
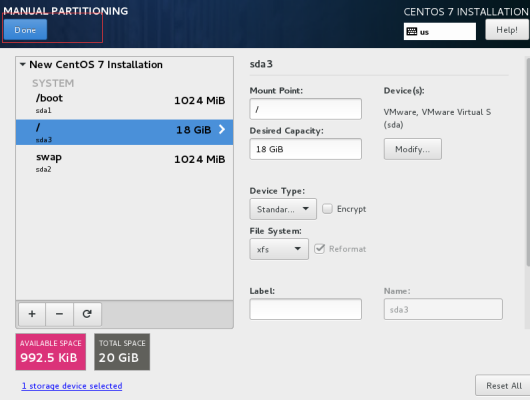
图2.1 centos7 默认文件系统是 xfs
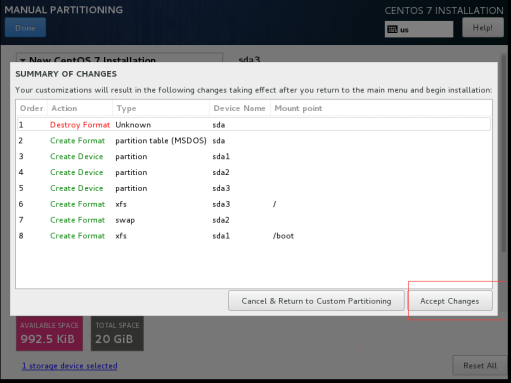
图2.2
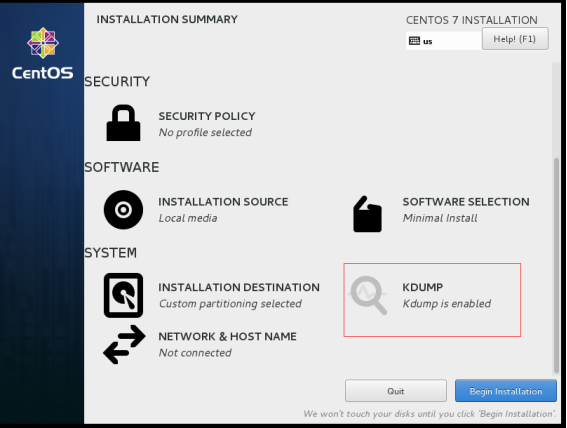
图2.3
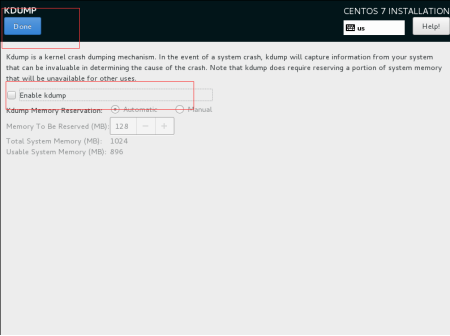
图2.4
kdump是在系统崩溃、死锁或者死机的时候用来转储内存运行参数的一个工具和服务 不需要分析内核崩溃原因的话,不用开启,需要的时候再开启也可以

图2.5 配置网卡
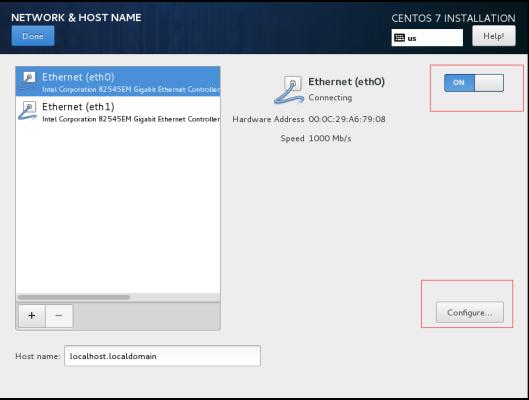
图2.6
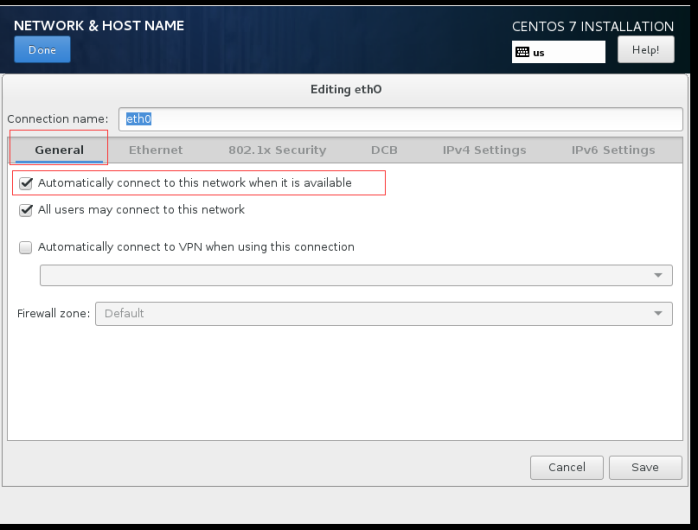
图2.7
就相当于 ONBOOT=yes
系统启动时激活网卡,只有在激活状态的网卡才能去连接网络,进行网络通讯。

图 2.8
manuai 手动模式 add添加
address 添加地址 netmask 子网掩码 gateway 网关

图2.9 配置完成后进入系统
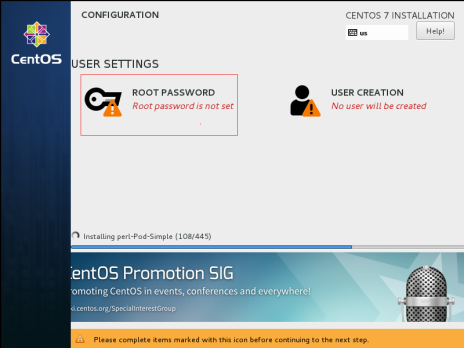
图 3.0 设置用户密码
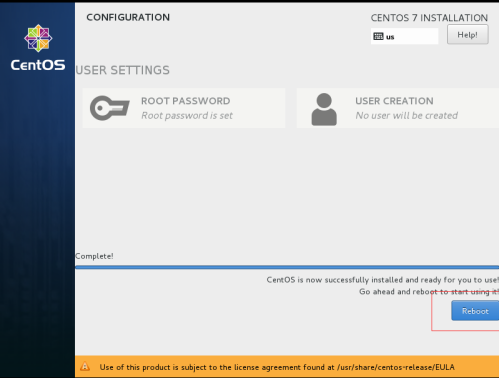
图3.1 重启系统

图3.2 登录系统
CenOS7安装系统后优化
yum源优化
默认没有wget  yum install  -y wget
wget -O /etc/yum.repos.d/epel.repo http://mirrors.aliyun.com/repo/epel-7.repo
安装vim、tab补全,其他常用包
yum -y install vim wget bash-completion lrzsz nmap tree nc net-tools htop iotop iftop psmisc
关闭防火墙
systemctl stop firewalld.service
systemctl disable firewalld.service
systemctl is-enabled firewalld.service
关闭selinux
[root@localhost ~]# setenforce  0
[root@localhost ~]# getenforce
Permissive
[root@localhost ~]# sed '7s#enabled#disabled#g' /etc/selinux/config -i
ssh优化
sed -i.bak 's@#UseDNS yes@UseDNS no@g;s@^GSSAPIAuthentication yes@GSSAPIAuthentication no@g'  /etc/ssh/sshd_config
systemctl restart sshd
