CAS (1) —— Mac下配置CAS到Tomcat(服务端)
CAS (1) —— Mac下配置CAS到Tomcat(服务端)
tomcat版本: tomcat-8.0.29
jdk版本: jdk1.8.0_65
cas版本: cas4.1.2
cas-client-3.4.1
参考来源:
Tomcat (1) —— Mac下配置Tomcat Https/SSL
【高可用HA】Apache (2) —— Mac下安装多个Apache Tomcat实例
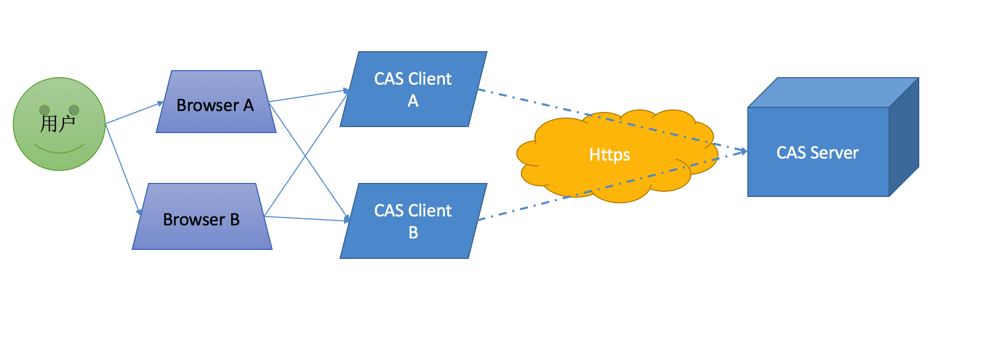
目标架构
下载
首先登陆jasig网站http://downloads.jasig.org/,下载相应的cas版本。
由于网站只提供源码包而不提供发布包,所以需要自己下载来编译。
cas会为不同的客户端消费者提供client包,这里我们选择java-client作为演示。
先编译服务端
cas-server-webapp Richard$ mvn clean install -Dmaven.test.skip
然后在target下找到相应的war包"cas-server-webapp-4.1.2.war"
配置
服务端
-
简单设置
参照以下文章为Tomcat配置好Https
Tomcat (1) —— Mac下配置Tomcat Https/SSL
【高可用HA】Apache (2) —— Mac下安装多个Apache Tomcat实例
然后我们将打好的war包部署再Tomcat上

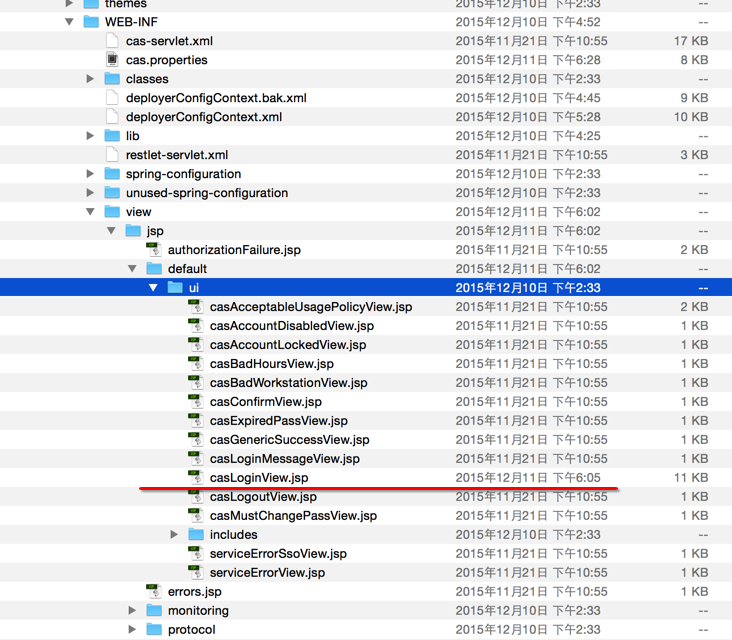
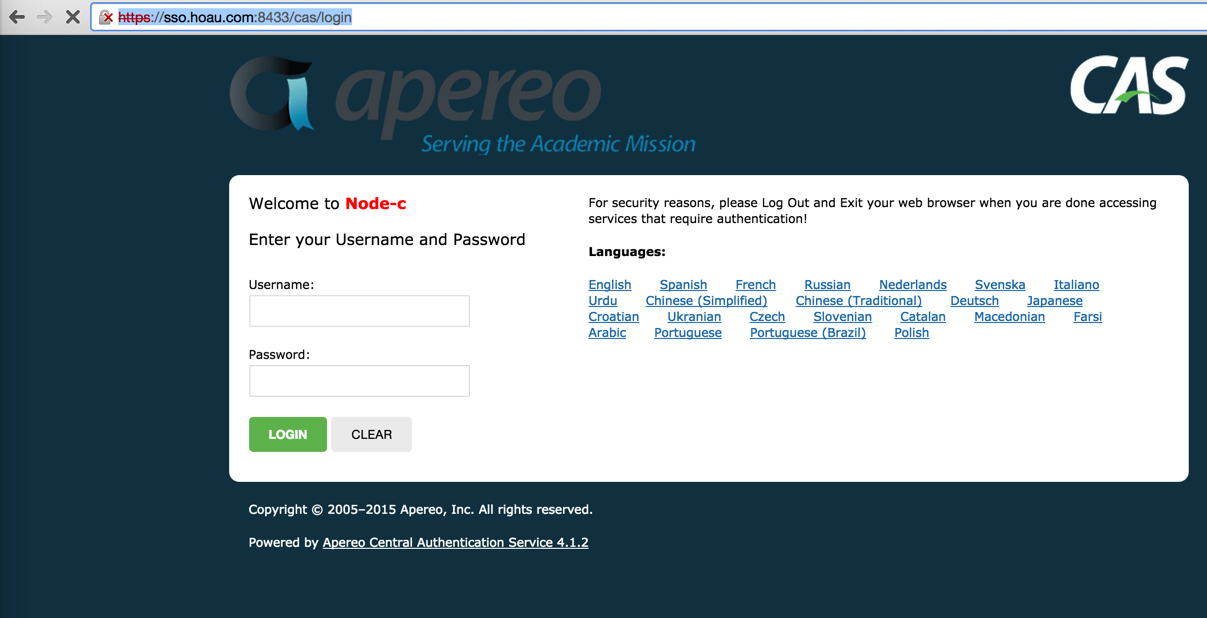
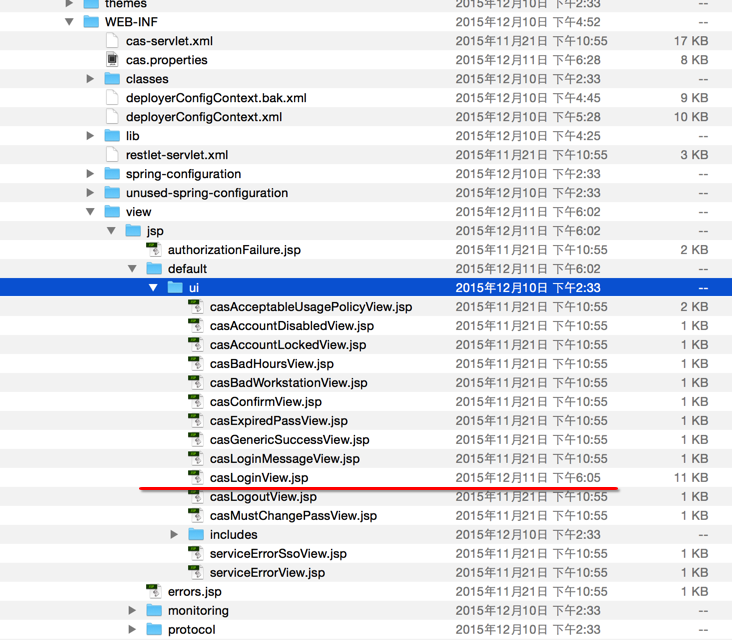
修改登陆的提示文字"./servers/cluster/tomcat/node-c/webapps/cas/WEB-INF/view/jsp/default/ui/casLoginView.jsp"(为以后的集群环境测试做准备)
然后通过https访问node-c
https://sso.hoau.com:8433/cas/login
打开文件"deployerConfigContext.xml"查看CAS相关的配置:
<bean id="primaryAuthenticationHandler"
      class="org.jasig.cas.authentication.AcceptUsersAuthenticationHandler">
    <property name="users">
        <map>
            <entry key="casuser" value="Mellon"/>
        </map>
    </property>
</bean>
* 初始默认状态下,CAS 通过配置的文件里的用户名密码登陆 casuser/Mellon
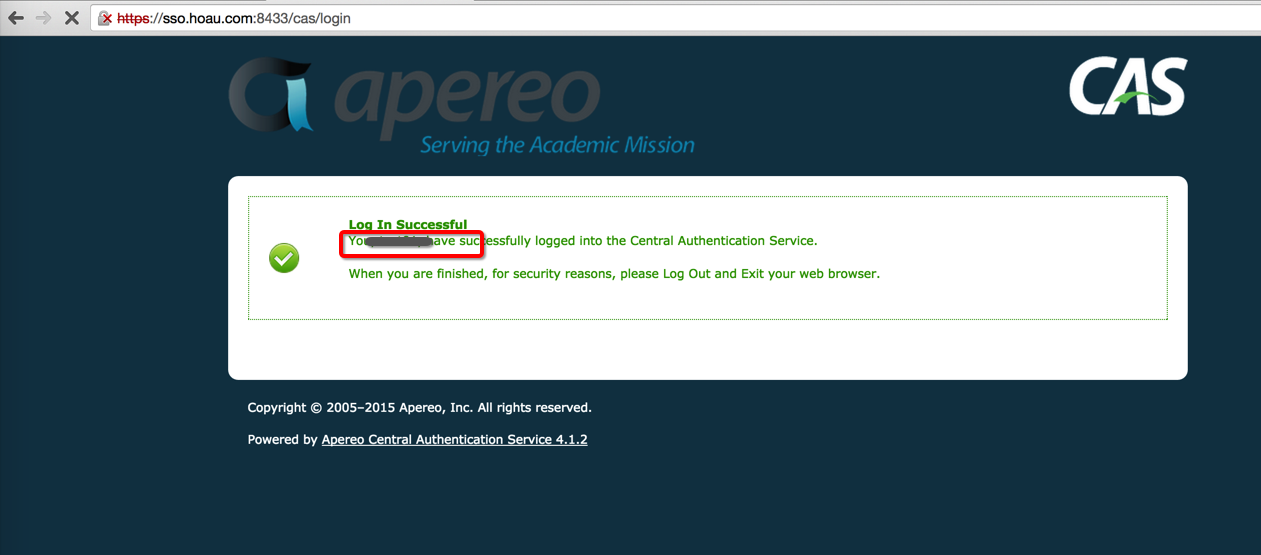
尝试登陆
-
利用数据库来验证
需要的依赖:
cas-server-support-jdbc-4.1.2.jar
mysql-connector-java-5.1.37.jar
MySQL:
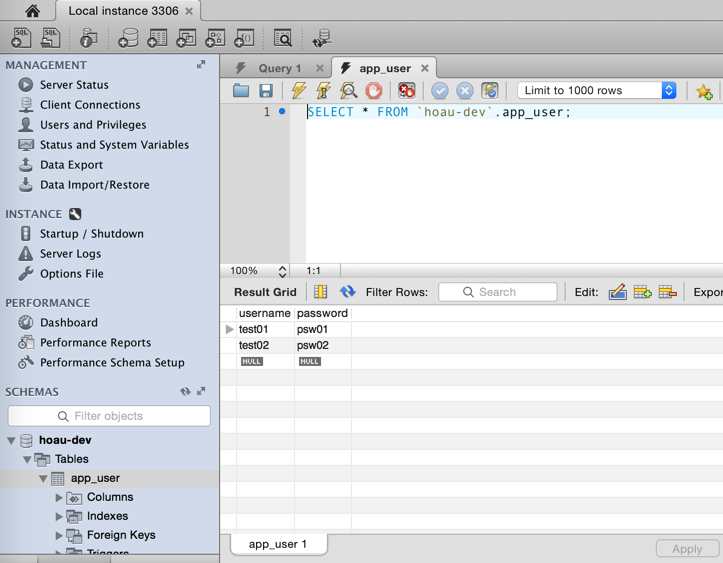
在本地的MySQL中创建新的数据库并新建表app_user作为验证用户的目标数据库
修改 deployerConfigContext.xml:
将bean "primaryAuthenticationHandler"注释掉
<!--  by Richard
<bean id="primaryAuthenticationHandler"
      class="org.jasig.cas.authentication.AcceptUsersAuthenticationHandler">
    <property name="users">
        <map>
            <entry key="casuser" value="Mellon"/>
        </map>
    </property>
</bean>
-->
增加数据库dataSource
<bean id="dataSource" class="org.springframework.jdbc.datasource.DriverManagerDataSource">
  <property name="driverClassName" value="com.mysql.jdbc.Driver"></property>
  <property name="url" value="jdbc:mysql://localhost:3306/hoau-dev"></property>
  <property name="username" value="root"></property>
  <property name="password" value="Root123"></property>
</bean>
增加PasswordEncoder
<bean id="myPasswordEncoder"
  class="org.jasig.cas.authentication.handler.PlainTextPasswordEncoder"/>
*注意 此处的Encoder必须,有的论坛文章可能会使用"DefaultPasswordEncoder",因为我们示例中的密码数据并没有使用加密,所以我们这里用"PlainTextPasswordEncoder"
<bean id="myPasswordEncoder"
        class="org.jasig.cas.authentication.handler.DefaultPasswordEncoder">
    <constructor-arg index="0">
        <value>MD5</value>
    </constructor-arg>
</bean>
增加DB的""
<bean id="dbAuthHandler" class="org.jasig.cas.adaptors.jdbc.QueryDatabaseAuthenticationHandler">
     <property name="sql" value="select password from app_user where username=?" />
     <property name="dataSource" ref="dataSource" />         <property  name="passwordEncoder"  ref="myPasswordEncoder"/>    </bean>
最后回头查看"authenticationManager"的参数
由于我们已经将配置文件的用户验证方式"primaryAuthenticationHandler"修改成了DB的验证方式"dbAuthHandler",所以我们需要修改"primaryPrincipalResolver"的参数
<bean id="authenticationManager" class="org.jasig.cas.authentication.PolicyBasedAuthenticationManager">
    <constructor-arg>
        <map>
            <!--
               | IMPORTANT
               | Every handler requires a unique name.
               | If more than one instance of the same handler class is configured, you must explicitly
               | set its name to something other than its default name (typically the simple class name).
               -->
            <entry key-ref="proxyAuthenticationHandler" value-ref="proxyPrincipalResolver" />
            <!-- Richard change primaryPrincipalResolver
            <entry key-ref="primaryAuthenticationHandler" value-ref="primaryPrincipalResolver" />
            -->
            <entry key-ref="dbAuthHandler" value-ref="primaryPrincipalResolver" />
        </map>
    </constructor-arg>
测试
尝试访问
https://sso.hoau.com:8433/cas
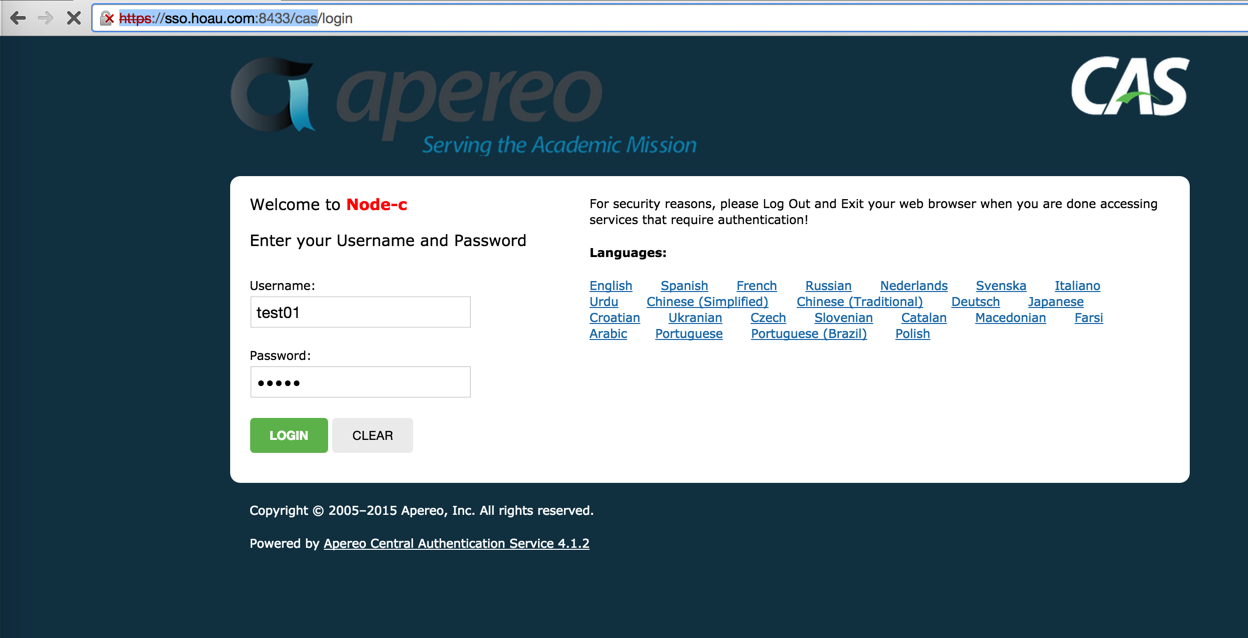
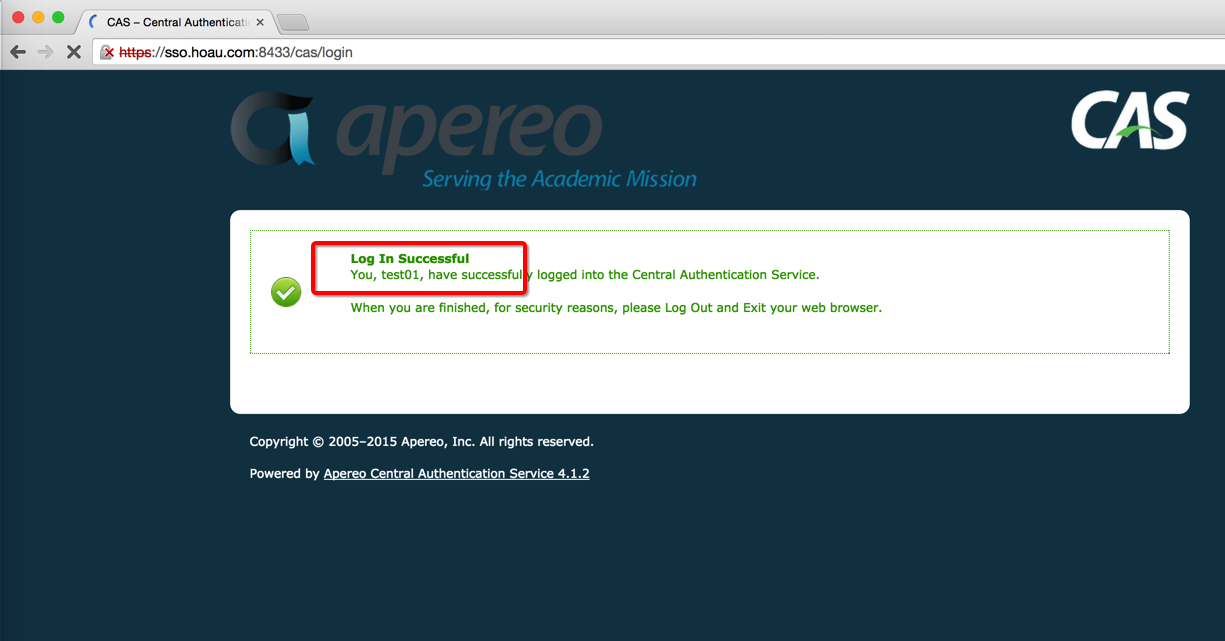
并使用我们在数据库里面预埋的数据"test01/psw01"登陆
