
1. 本组件基于 wangeditor
如有侵权 请告知,
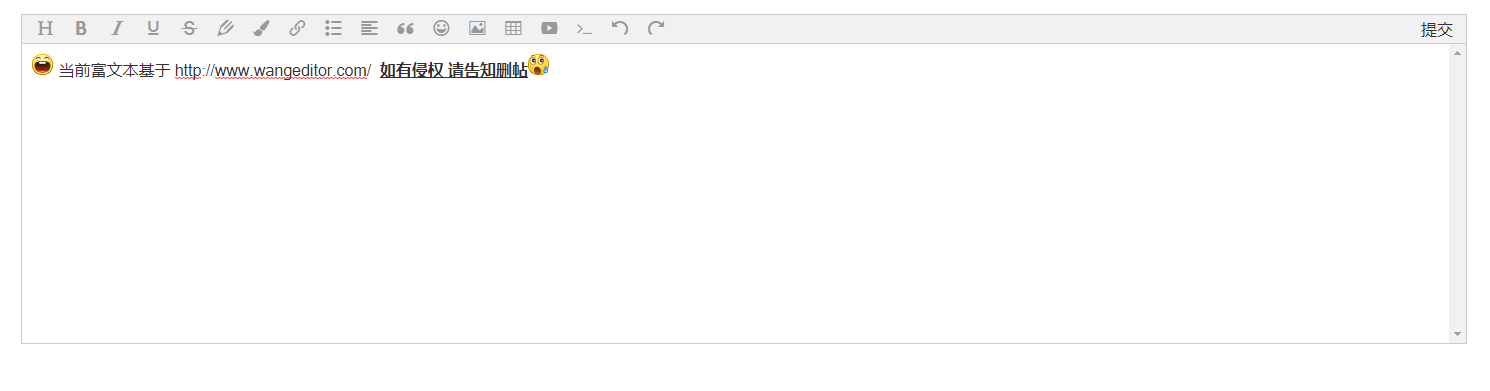
2. 效果图
3. 依赖安装
package.json 中 devDependencies
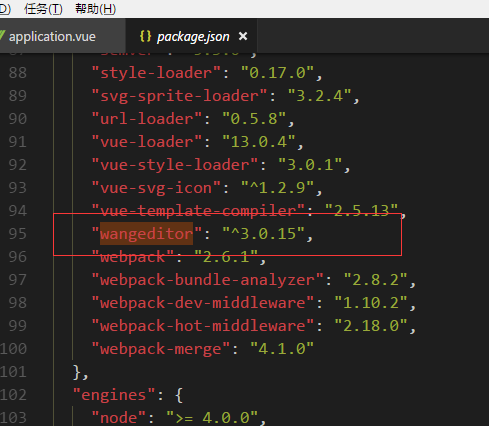
或者直接 npm install wangeditor --save-dev
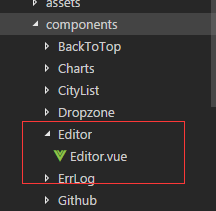
2. 引入
<script>
import Editor from '@/components/Editor/Editor'
</script>
3.注册组件 && 获取组件编辑数据
export default {
components: {
Editor
},
data() {
return {
editorData: ''
}
},
methods: {
getEditorData(val) {
this.editorData = val
}
}
}
4. HTML中写入
<template>
<div>
...
<Editor @getEditorData="getEditorData"></Editor>
</div>
</template>
5. 源码:
<template>
    <div class="editorWrap">
        <div id="editorElem" style="text-align:left"></div>
        <div id="submit" :style="'height:' + submitHeight + 'px;line-height:' + submitHeight + 'px;'" v-on:click="getContent">提交</div>
    </div>
</template>

<script>
    import E from 'wangeditor'

    export default {
      name: 'editor',
      data() {
        return {
          editorContent: '',
          submitHeight: 30
        }
      },
      methods: {
        getContent: function() {
          this.$emit('getEditorData', this.editorContent)
        }
      },
      mounted() {
        const editor = new E('#editorElem')
        editor.customConfig.onchange = (html) => {
          this.editorContent = html
        }
        editor.customConfig.uploadImgShowBase64 = true   // 使用 base64 保存图片
//        editor.customConfig.uploadImgServer = '/upload'  // 上传图片到服务器
        editor.create()
        this.submitHeight = document.getElementsByClassName('w-e-toolbar')[0].offsetHeight
      }
    }
</script>

<style lang="scss">
  .editorWrap {
    position: relative;
    #submit {
    position: absolute;
    top: 0;
    right: 0;
    width: 60px;
    text-align: center;
    cursor: pointer;
    }
    #submit:hover {
      color: #00b7ee;
    }
    .w-e-text-container {
      z-index: 200!important;
    }
  }
</style>
git 地址: https://github.com/IceGogh/vue-components
