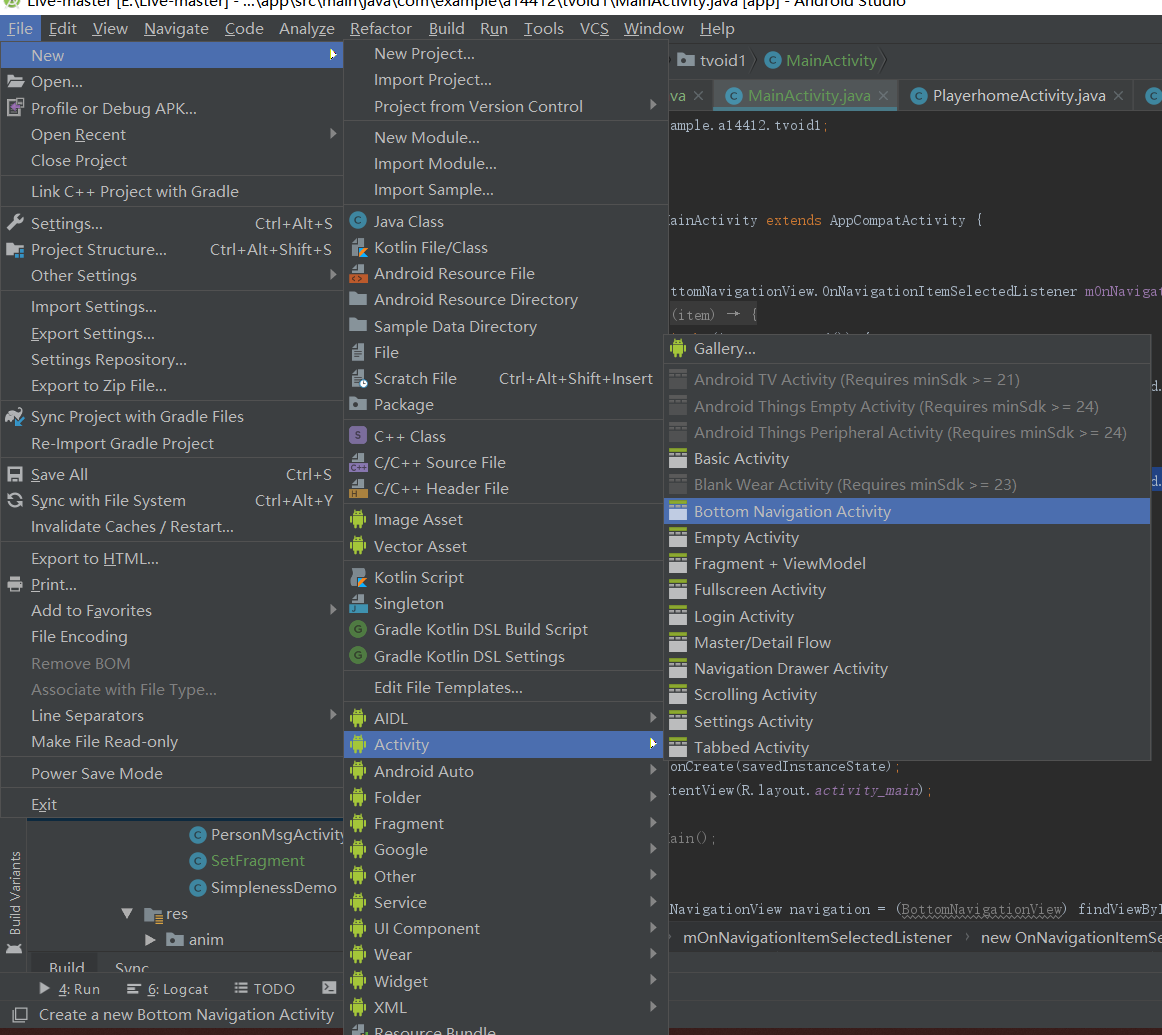
Android Studio 将Activity改成Fragment
项目中遇到一个尴尬的问题,因为初学Android,所以用了大量Activity,但现在想要改成Fragment,但是Activity太多,感觉很头大,研究了很久怎么改,没有看到合适的文章,但好在最后还是成功了
这里举一个例子,免得忘记做法了:
那么就随意贴一个需要修改的Activity:
public class SetActivity extends AppCompatActivity {

    @Override
    protected void onCreate(Bundle savedInstanceState) {
        super.onCreate(savedInstanceState);
        setContentView(R.layout.activity_set);

        Resources resourse = this.getResources();
        String[] data = resourse.getStringArray(R.array.set);
        //android.R.layout.simple_list_item_1这是Android内置的布局文件,里面只有一个TextView,可用于简单显示一段文本
        ArrayAdapter<String> adapter = new ArrayAdapter<String>(
                this, android.R.layout.simple_list_item_1, data
        );

        ListView listview_set = findViewById(R.id.listview_set);
        listview_set.setAdapter(adapter);

        UsersInfo user = UsersInfo.getCurrentUser(UsersInfo.class);

        //设置item监听事件
        listview_set.setOnItemClickListener(new AdapterView.OnItemClickListener() {
            @Override
            public void onItemClick(AdapterView<?> parent, View view, int position, long id) {
                switch (position){
                    case 0://修改密码
                        Intent intent_pwdchange = new Intent(SetActivity.this, PwdchangeActivity.class);
                        startActivity(intent_pwdchange);

                        break;
                    case 1://修改注册邮箱并发送验证
                        Intent intent_changeemail = new Intent(SetActivity.this, ChangeemailActivity.class);
                        startActivity(intent_changeemail);
                        break;
                    case 2://修改手机号码
                        Intent intent_changephone = new Intent(SetActivity.this, ChangephoneActivity.class);
                        startActivity(intent_changephone);
                        break;
                    case 3://退出登录,返回到登录界面
                        UsersInfo.logOut();//退出登录,同时清除缓存用户对象。
                        Intent intent_logout = new Intent(SetActivity.this, LoginActivity.class);
                        startActivity(intent_logout);
                        break;
                    case 4:
                        Intent intent_verifyphone = new Intent(SetActivity.this, VerifyphoneActivity.class);
                        startActivity(intent_verifyphone);
                        break;
                }
            }
        });

    }
}
下面是对应的activity_set.xml文件
<?xml version="1.0" encoding="utf-8"?>
<LinearLayout xmlns:android="http://schemas.android.com/apk/res/android"
    xmlns:app="http://schemas.android.com/apk/res-auto"
    xmlns:tools="http://schemas.android.com/tools"
    android:layout_width="match_parent"
    android:layout_height="match_parent"
    tools:context=".set.SetActivity">

    <ListView
        android:id="@+id/listview_set"
        android:layout_width="match_parent"
        android:layout_height="match_parent">

    </ListView>
</LinearLayout>
复制一份activity_set.xml,还是放在layout文件里,更名为fragment_set.xml
接下来新建一个fragment,名为SetFragment
把activity里的逻辑放到frgment里面去,注意这里很关键
View view = View.inflate(getActivity(),R.layout.fragment_set,null);
其实没有什么改变的,就是把原本activity中onCreate()中的逻辑放到了Fragment的onCreateView()里面去,
1、布局是通过inflate来的,
2、把this替换为getActivity()
3、findViewById->view.findViewById
public class SetFragment extends Fragment {
    @Override
    public View onCreateView(LayoutInflater inflater, ViewGroup container,
                             Bundle savedInstanceState) {

        View view = View.inflate(getActivity(),R.layout.fragment_set,null);

        Resources resourse = getActivity().getResources();
        String[] data = resourse.getStringArray(R.array.set);
        //android.R.layout.simple_list_item_1这是Android内置的布局文件,里面只有一个TextView,可用于简单显示一段文本
        ArrayAdapter<String> adapter = new ArrayAdapter<String>(
                getActivity(), android.R.layout.simple_list_item_1, data
        );

        ListView listview_set = view.findViewById(R.id.listview_set);
        listview_set.setAdapter(adapter);

        UsersInfo user = UsersInfo.getCurrentUser(UsersInfo.class);

        //设置item监听事件
        listview_set.setOnItemClickListener(new AdapterView.OnItemClickListener() {
            @Override
            public void onItemClick(AdapterView<?> parent, View view, int position, long id) {
                switch (position){
                    case 0://修改密码
                        Toast.makeText(getActivity(), "修改密码!", Toast.LENGTH_SHORT).show();
//                        Intent intent_pwdchange = new Intent(SetActivity.this, PwdchangeActivity.class);
//                        startActivity(intent_pwdchange);

                        break;
                    case 1://修改注册邮箱并发送验证
                        Toast.makeText(getActivity(), "点击1", Toast.LENGTH_SHORT).show();
//                        Intent intent_changeemail = new Intent(SetActivity.this, ChangeemailActivity.class);
//                        startActivity(intent_changeemail);
                        break;
                    case 2://修改手机号码
                        Toast.makeText(getActivity(), "点击2", Toast.LENGTH_SHORT).show();
//                        Intent intent_changephone = new Intent(SetActivity.this, ChangephoneActivity.class);
//                        startActivity(intent_changephone);
                        break;
                    case 3://退出登录,返回到登录界面
                        Toast.makeText(getActivity(), "点击3", Toast.LENGTH_SHORT).show();
//                        UsersInfo.logOut();//退出登录,同时清除缓存用户对象。
//                        Intent intent_logout = new Intent(SetActivity.this, LoginActivity.class);
//                        startActivity(intent_logout);
                        break;
                    case 4:
                        Toast.makeText(getActivity(), "点击4", Toast.LENGTH_SHORT).show();
//                        Intent intent_verifyphone = new Intent(SetActivity.this, VerifyphoneActivity.class);
//                        startActivity(intent_verifyphone);
                        break;
                }
            }
        });
        // Inflate the layout for this fragment
        return view;
    }
}
最后在需要添加fragment的主activity中:
getSupportFragmentManager().beginTransaction().add(R.id.main_body,new SetFragment()).commit();
因为我是想要一个底部导航栏的效果,那我这里直接用了android studio中写好的一个底部导航栏,然后稍微改了一点儿:

嗯还是贴一下代码吧,MainActivity:
public class MainActivity extends AppCompatActivity {


    private BottomNavigationView.OnNavigationItemSelectedListener mOnNavigationItemSelectedListener
            = new BottomNavigationView.OnNavigationItemSelectedListener() {

        @Override
        public boolean onNavigationItemSelected(@NonNull MenuItem item) {
            switch (item.getItemId()) {
                case R.id.navigation_home:
                    //getSupportFragmentManager().beginTransaction().replace(R.id.main_body,new HomeFragment()).commit();

                    return true;
                case R.id.navigation_dashboard:
                    getSupportFragmentManager().beginTransaction().replace(R.id.main_body,new SetFragment()).commit();

                    return true;
                case R.id.navigation_notifications:

                    return true;
            }
            return false;
        }
    };

    @Override
    protected void onCreate(Bundle savedInstanceState) {
        super.onCreate(savedInstanceState);
        setContentView(R.layout.activity_main);

        setMain();


        BottomNavigationView navigation = (BottomNavigationView) findViewById(R.id.navigation);
        navigation.setOnNavigationItemSelectedListener(mOnNavigationItemSelectedListener);
    }

    //用于打开初始页面
    private void setMain() {
        //getSupportFragmentManager() -> beginTransaction() -> add -> (R.id.main_boy, new Fragment()
        this.getSupportFragmentManager().beginTransaction().add(R.id.main_body,new HomeFragment()).commit();
    }

}
下面是activity_main.xml:
<?xml version="1.0" encoding="utf-8"?>
<android.support.constraint.ConstraintLayout xmlns:android="http://schemas.android.com/apk/res/android"
    xmlns:app="http://schemas.android.com/apk/res-auto"
    xmlns:tools="http://schemas.android.com/tools"
    android:id="@+id/container"
    android:layout_width="match_parent"
    android:layout_height="match_parent"
    tools:context=".MainActivity">

    <LinearLayout
        android:orientation="vertical"
        android:background="@android:color/white"
        android:layout_width="match_parent"
        android:layout_height="match_parent">
        <!--标题栏-->
        <!--<include layout="@layout/main_title_bar" />-->
        <!--放置Fragment的main_body-->
        <RelativeLayout
            android:id="@+id/main_body"
            android:background="@android:color/white"
            android:layout_width="match_parent"
            android:layout_height="match_parent"
            android:gravity="center">

        </RelativeLayout>
    </LinearLayout>


    <android.support.design.widget.BottomNavigationView
        android:id="@+id/navigation"
        android:layout_width="0dp"
        android:layout_height="wrap_content"
        android:layout_marginStart="0dp"
        android:layout_marginEnd="0dp"
        android:background="?android:attr/windowBackground"
        app:layout_constraintBottom_toBottomOf="parent"
        app:layout_constraintLeft_toLeftOf="parent"
        app:layout_constraintRight_toRightOf="parent"
        app:menu="@menu/navigation" />

</android.support.constraint.ConstraintLayout>
嗯 大致就是这样啦


