

Effects on PV3D
参考一些外国的demo,做了3个effect,分享之。
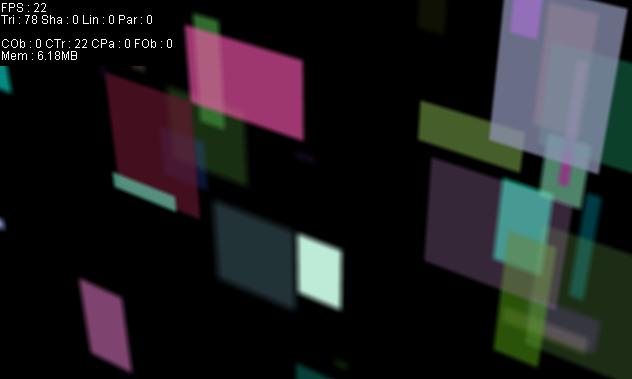
随机坐标创建50个3D矩形

 for(var i:int = 0; i < 50; i ++)
 {
{

 var p:Plane = new Plane(new ColorMaterial(Math.random()*0xFFFFFF), Math.random()*180+10, Math.random()*180+10); p.x = Math.random() * 1000 - 500; p.y = Math.random() * 1000 - 500; p.z = Math.random() * 700 - 400; p.material.doubleSided = true; scene.addChild(p); p.useOwnContainer = true; planes.push(p); depthDemo = true; p.filters = [new BlurFilter()]; p.alpha = Math.random() + 0.1;
 }
}为每个矩形创建Blur效果
if(depthDemo) { for each(var do3d:DisplayObject3D in planes) {
{ if(do3d.container) var deph:int = int(do3d.container.screenDepth); do3d.filters[0].blurX = do3d.filters[0].blurY = int(deph * 0.005);
 } }
} }创建一个3D球体
var s:Sphere = new Sphere(new WireframeMaterial(), 150, 12, 8);s.name = "sphere 11";scene.addChild(s);创建一个特效层
var bfx:BitmapEffectLayer = new BitmapEffectLayer(viewport, 500, 500);viewport.containerSprite.addLayer(bfx);把球体加入这个特效层,并为层定义特效
bfx.addDisplayObject3D(s);bfx.addEffect(new BitmapLayerEffect(new BlurFilter(2, 2, 8)));bfx.setScroll(0, -4);bfx.setTracking(s);光照效果在前面的文章已提供源码,请参阅。
Preview:http://niuniuzhu.cn/p/3DRenderDemo/index.html?p=1

【推荐】编程新体验,更懂你的AI,立即体验豆包MarsCode编程助手
【推荐】凌霞软件回馈社区,博客园 & 1Panel & Halo 联合会员上线
【推荐】抖音旗下AI助手豆包,你的智能百科全书,全免费不限次数
【推荐】博客园社区专享云产品让利特惠,阿里云新客6.5折上折
【推荐】轻量又高性能的 SSH 工具 IShell:AI 加持,快人一步