springboot-day01-引入如何读取配置文件以及helloWorld
前言:该文章是紧接上一篇文章http://www.cnblogs.com/newAndHui/p/8058527.html
3.3. 实战
3.3.1.读取外部的资源配置文件
通过@PropertySource可以指定读取的配置文件,通过@Value注解获取值,具体用法见代码:
a.添加jdbc.properties文件
1 driverClasss=com.mysql.jdbc.Driver
2 jdbcUrl=jdbc:mysql://localhost:3306/station
3 username=root
4 password=admin
b.获取配置文件中的值
 1 package com.day01.springboot.demo;
 2
 3 import com.day01.springboot.demo.dao.UserDao;
 4 import org.springframework.beans.factory.annotation.Value;
 5 import org.springframework.context.annotation.*;
 6
 7 /**
 8  * Created by Administrator on 2017/12/19.
 9  */
10 @Configuration //通过该注解来表明该类是一个Spring的配置,相当于一个xml文件
11 @ComponentScan(basePackages = "com.day01.springboot.demo") //配置扫描包
12
13 //1.Spring4中对这个注解进行了功能增强,增加了@PropertySources注解,相当于其父标签,下面可以包括多个子PropertySource注解,示例如下:
14 /*@PropertySources({
15         @PropertySource("classpath:jdbc.properties"),
16         @PropertySource("classpath:redis.properties")
17 })*/
18 //2.ignoreResourceNotFound = true表示如果文件找不到就忽略,即不会报错
19 @PropertySource(value = {"classpath:jdbc.properties"},ignoreResourceNotFound = true)
20 public class SpringConfig {
21     //取出配置文件中的值
22     @Value("${driverClasses}")
23     private String driverClasses;
24     //取其他值与这样类似
25
26     @Bean // 通过该注解来表明是一个Bean对象,相当于xml中的<bean>
27     public UserDao getUserDAO(){
28         //测试是否取到该值
29         System.out.println(" driverClasses = "+driverClasses);
30         return new UserDao(); // 直接new对象做演示
31     }
32 }
4. Spring Boot
4.1. Spring Boot简介
Spring Boot是由Pivotal团队提供的全新框架,其设计目的是用来简化新Spring应用的初始搭建以及开发过程。该框架使用了特定的方式来进行配置,从而使开发人员不再需要定义样板化的配置。通过这种方式,Spring Boot致力于在蓬勃发展的快速应用开发领域(rapid application development)成为领导者。(来自百度百科)
4.2. Spring Boot的优缺点
优点
1.快速构建项目
2.对主流框架的无配置集成
3.项目可独立运行,无需外部依赖Servlet容器
4.提供运行时的应用监控
5.极大地提高了开发、部署效率
6.与云计算天然集成
缺点
1.文档资料比较少
2.必须依赖spring
4.3. 基于 intellij idea 的spring boot HelloWorld
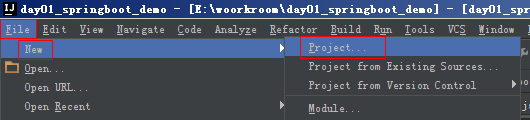
1.File->New->Project新建一个工程
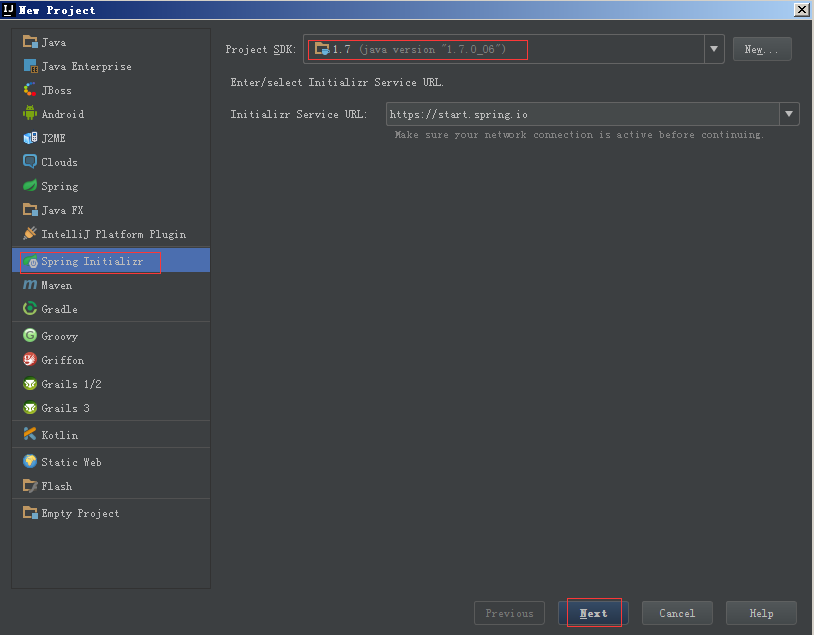
2.jdk选择
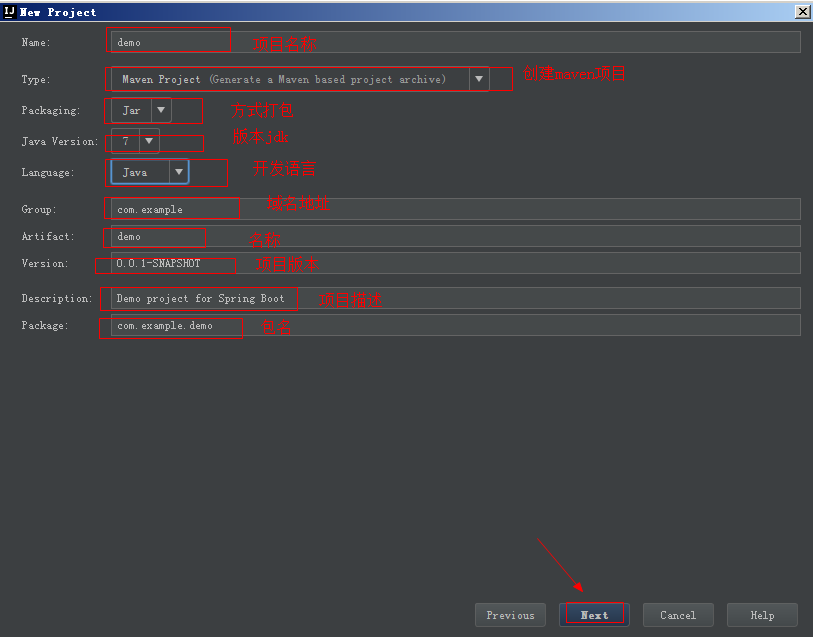
3.设置项目名称版本信息相关
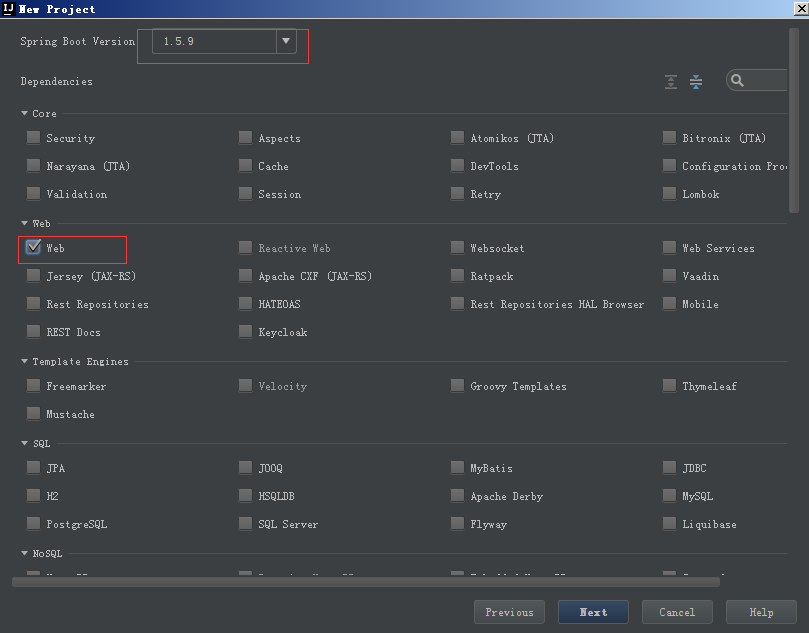
4.勾选web,在以后的实际项目中勾选要用的依赖,就相当于添加jar包
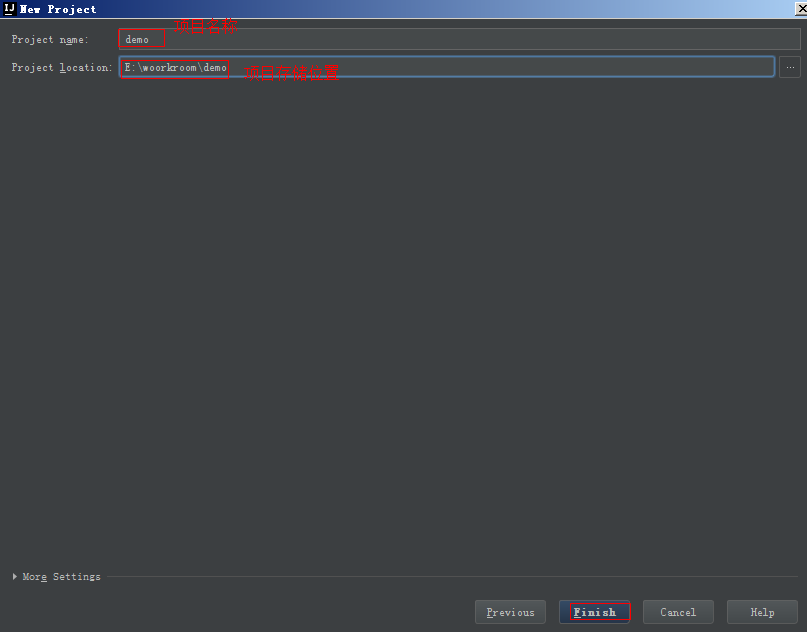
5.设置项目名称以及存储位置
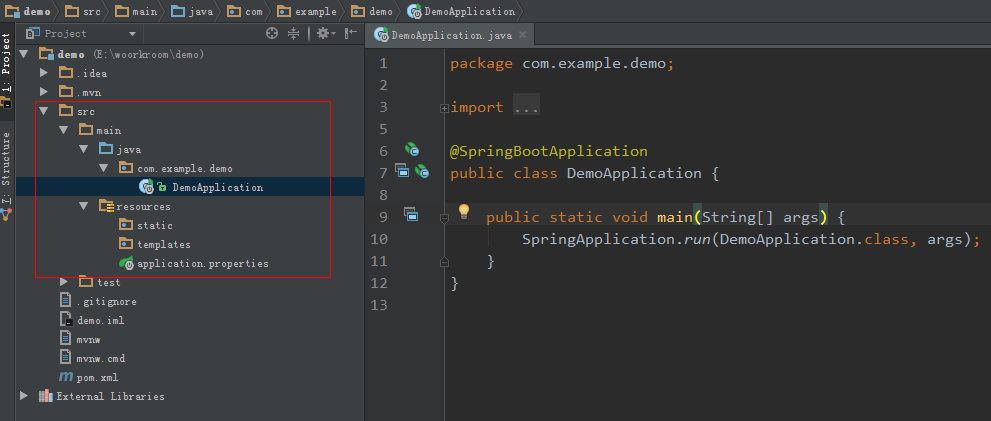
6.创建完成后的项目如图所示
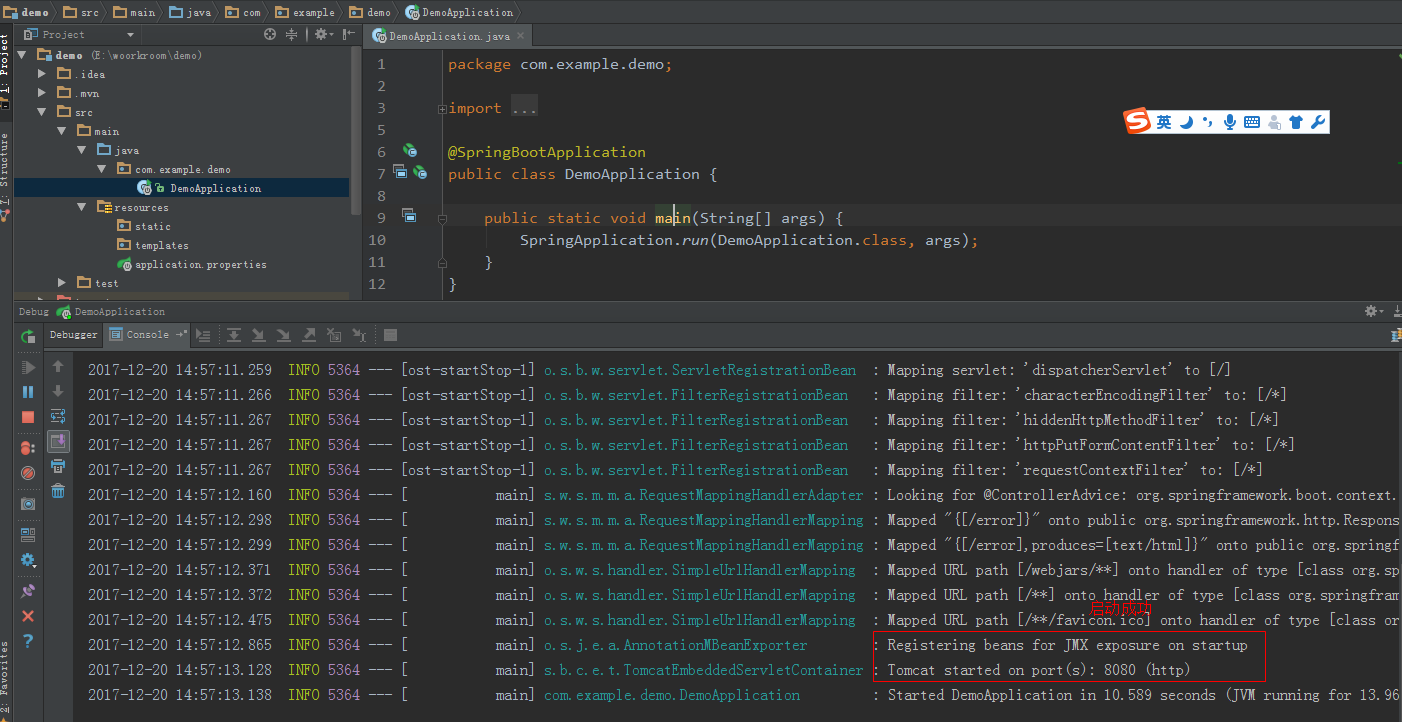
7.执行main方法启动项目
8.按照以前springMVC,编写控制层,并访问一个html页面,注意springboot对传统的jsp页面支持不友好,在后面章节中将详细讲解
重点springboot只是帮我们整合很多东西,整合完成后与以前的ssm写代码方式一样
 1 package com.example.demo.controller;
 2
 3 import org.springframework.stereotype.Controller;
 4 import org.springframework.web.bind.annotation.RequestMapping;
 5
 6 /**
 7  * Created by Administrator on 2017/12/20.
 8  */
 9 @Controller
10 @RequestMapping("/")
11 public class HelloWorldController {
12     /**
13      * 获取页面
14      * @return
15      */
16     @RequestMapping("/page")
17     public String getPage(){
18         System.out.println("----getPage----------");
19         //templates/index.html  springboot有默认的前缀后缀配置(在后面章节会详细讲解)
20         return "index";
21     }
22 }
index.html页面写在,templates文件夹中
 1 <!DOCTYPE html>
 2 <html lang="en">
 3 <head>
 4     <meta charset="UTF-8">
 5     <title>Title</title>
 6 </head>
 7 <body>
 8 你好世界!
 9 </body>
10 </html>
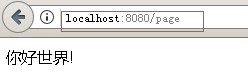
9.访问 http://localhost:8080/page 结果如下:
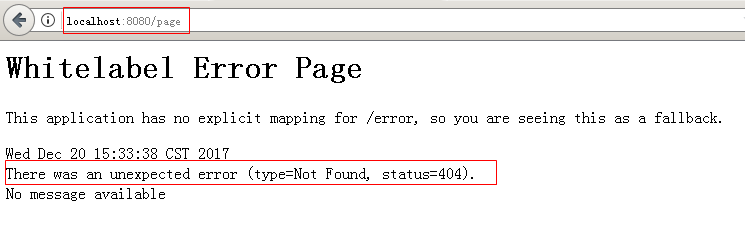
看到这个结果各位少年们是不是很失望,不用担心这是因为没有添加模板引擎依赖jar包,添加spring-boot-starter-thymeleaf包
1 <!--添加依赖 可以访问html页面-->
2         <dependency>
3             <groupId>org.springframework.boot</groupId>
4             <artifactId>spring-boot-starter-thymeleaf</artifactId>
5         </dependency>
10.重新启动,再次访问
可以了吧,springboot 的 helloWorld完美谢幕! 在接下来的章节中我们集成mybatis,基于springboot的ssm结构就完美了,再次强调springboot是在帮你减少与spring的整合配置文件,整合完成后开发和以前几乎一样!
下一章见!
有问题或获取源码请留言,或加 QQ:851298348 加QQ时请注明博客springboot
