
xampp构建虚拟域名【个人课程学习经验总结,部分摘自他处,仅供学习参考】
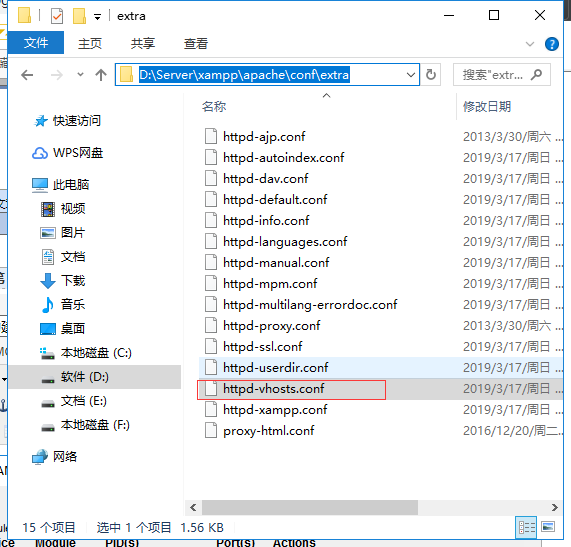
末尾添加:
<VirtualHost *:80>
DocumentRoot "D:\Server\xampp\htdocs\zerg\public"
ServerName z.cn
</VirtualHost>
配置环境识别路径,紧接着配置让电脑进行识别自定义路径:
c:\Windows\system32\drivers\etc
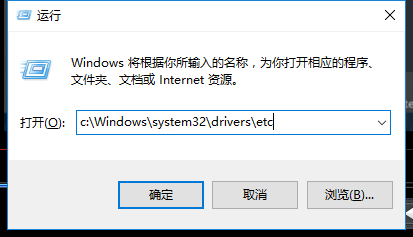
hosts.txt文件夹下:
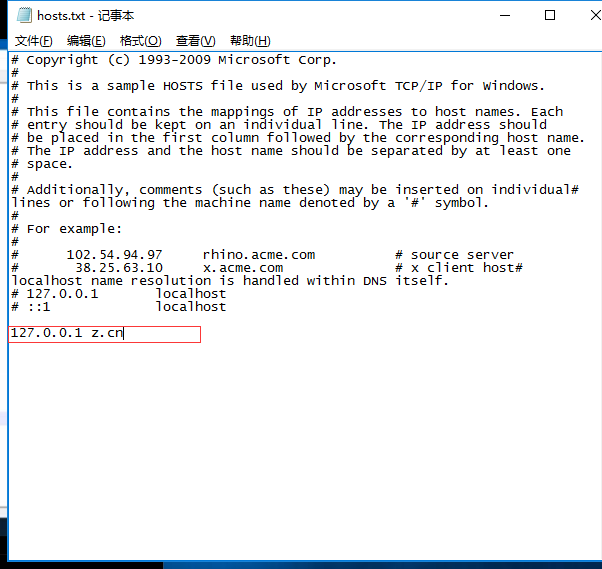
针对电脑无hosts文件解决方法:
1.自己定义新建文件,粘贴以下代码:
# Copyright (c) 1993-2009 Microsoft Corp.
#
# This is a sample HOSTS file used by Microsoft TCP/IP for Windows.
#
# This file contains the mappings of IP addresses to host names. Each
# entry should be kept on an individual line. The IP address should
# be placed in the first column followed by the corresponding host name.
# The IP address and the host name should be separated by at least one
# space.
#
# Additionally, comments (such as these) may be inserted on individual
# lines or following the machine name denoted by a '#' symbol.
#
# For example:
#
# 102.54.94.97 rhino.acme.com # source server
# 38.25.63.10 x.acme.com # x client host
# localhost name resolution is handled within DNS itself.
# 127.0.0.1 localhost
# ::1 localhost
127.0.0.1 z.cn
进行保存。
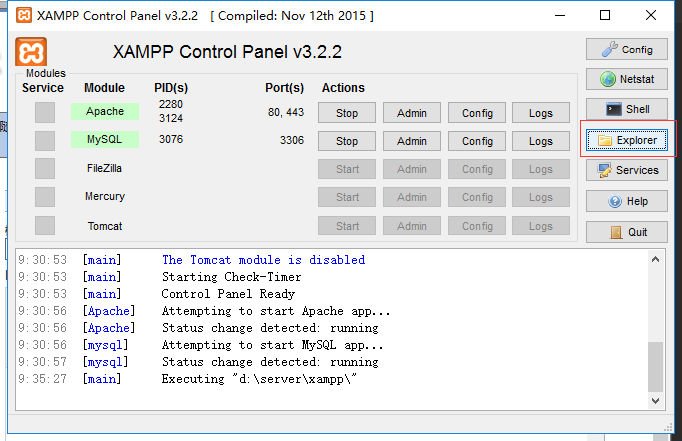
重启xampp!!!
【个人使用状况:使用谷歌浏览器可能效果和预期不一样,尝试使用火狐或其他浏览器对自己定义的虚拟域名进行测试】
