jquery表格插件开发
开发jqury插件,其实就是把开发的组件挂载到jqury原型下面,例如这样子。
!(function($, window, document, undefined) {//块级作用域
function Grid() {//表格构造方法
}
$.fn.bsGrid = function(options) {//挂载到jqury原型下面
var bsGrid = new Grid(this, options);
return bsGrid;
}
})(jQuery, window, document, undefined);
先简单介绍一下表格插件的开发思想:就是通过遍历配置的数据对象,动态生成表头,再遍历要填充的数据,根据表头字段匹配,动态生成单元格并填充数据。另外,给每一列添加一个class属性,以便扩展操作,提供是否隐藏属性和格式化属性,便于在表格中放置具备业务属性但不需要展示的列和格式化单元格内容。再结合分页插件,实现分页的功能。
首先,就是要把样式写好,为了实现表头固定,表格内容滚动和表格内的滚动条不要那么丑陋,我还在Js里面使用了jquery的niceScroll插件。
先贴一下css代码
/*通用表格样式*/
.bsTable {
width: 100%;
margin: 0 auto;
border-collapse: collapse;
font-size: 12px;
text-align: center;
border-top: 1px solid #EAEAEA;
border-left: 1px solid #EAEAEA;
word-break:break-all;
word-wrap:break-word;
}
.bsTable thead {
color: #999;
background: #F9F9F9;
}
.bsTable thead,
.bsTable tbody tr {
display: table;
width: 100%;
}
.bsTable thead tr th,
.bsTable tbody tr td {
border-bottom: 1px solid #EAEAEA;
border-right: 1px solid #EAEAEA;
}
.bsTable tbody {
display: block;
max-height: 247px;
}
.bsTable thead th {
font-weight: 500;/*表头不加粗*/
}
.bsTable thead th,
.bsTable tbody td {
text-align: center;
line-height: 40px;/*单元格高度,这样设置会垂直居中*/
}
进入正题,从使用入手吧。我们使用插件的时候,一般都是写好设置就动态生成了。类似于这样子
var defaultSettings = {
pageSize:100,
columns:[
{
field:'id',
title:'选择',
width:'5%',
class:'center',
formatter: function(data){
return '<input type="radio" name="ruleMap" id =' + data + '>'
}
},
{
field:'areaCode',
title:'区域编码',
hidden: true
class:'left',
width:'0'
},
{
field:'ruleName',
title:'区域',
class:'left',
width:'10%'
}
}
this.patchMapGrid = this.$(".dispatch-map-table").bsGrid(defaultSettings);//生成表头啦
this.patchRuleGrid.setGridData(arrayList);//生成表格数据单元格啦,这里的arrayList是一个对象数组,对象里面的key就是defaultSetting里面的field值,类似这样[{id: 123, areaCode: '590', areaName: '福建省'}]
插件开发代码:
!(function($, window, document, undefined) {
var Grid = function(ele, opt) {
this.$element = ele;
this.defaults = {//可以写自定义的哦
};
this.options = $.extend({}, this.defaults, opt);
this.init();
}
Grid.prototype.init = function() {//生成表头
var $table = $("<table class='bsTable'><thead><tr></tr></thead></table>");
this.$element.append($table);
$.each(this.options.columns, function(index, element) {//遍历表头设置字段,动态生成表头
var width = element["width"];
var hcell = $("<th dataFile="+element["field"]+">" + element["title"] + "</th>");
if(width) {
hcell.css("width", width);
}
$table.find("tr").append(hcell);
if(element.hasOwnProperty("hidden") && element.hidden == true) {//需要隐藏的列在这里隐藏
hcell.css("display", "none");
}
if(element.hasOwnProperty("class")) {//给列添加class属性
hcell.addClass(element["class"]);
}
});
}
Grid.prototype.setGridData = function(params) {//插入单元格数据
var that = this;
this.clearData();
var tBody = $("<tbody></tbody>");
this.$element.find("table").append(tBody);
//创建行模板
var $trTemplate = $(this.$element.find("thead").html().replace(/<th/g,"<td"));
params.forEach(function(element, index, array){
var $tr = $trTemplate.clone();
$tr.find("td").each(function(index){
$(this).html("");
if(that.options.columns[index].hasOwnProperty('formatter')){
$(this).html(that.options.columns[index]['formatter'](element[$(this).attr('dataFile')]));
}else {
$(this).html(element[$(this).attr('dataFile')]);
}
})
tBody.append($tr);
})
tBody.niceScroll({//用niceScroll优化滚动条
cursorcolor: '#1d5987',
cursorwidth: "2px",
cursoropacitymax: "0.2"
});
}
Grid.prototype.clearData = function() {//清除表格数据
this.$element.find("tbody").remove();
}
$.fn.bsGrid = function(options) {
var bsGrid = new Grid(this, options);
return bsGrid;
}
})(jQuery, window, document, undefined);
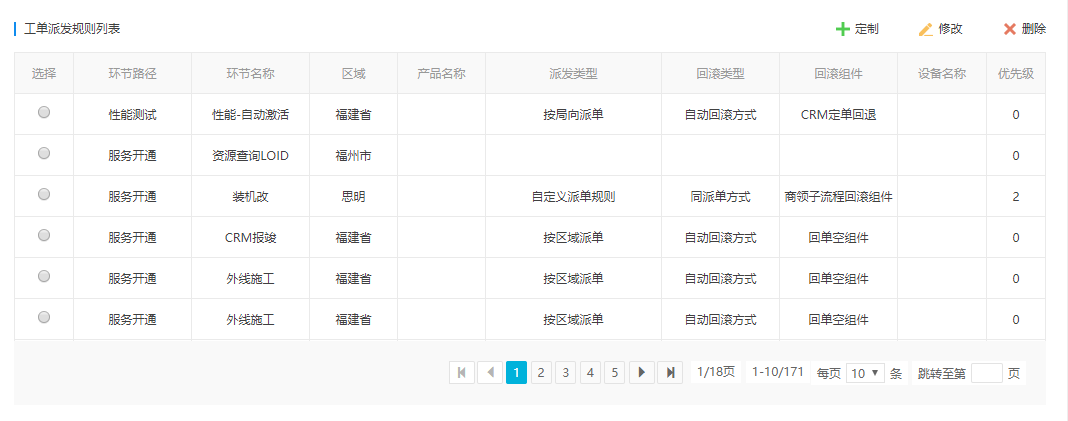
这样就完成了,配合分页插件就可以实现我们要的效果啦。自己写的嘛,样式、功能好控制,最重要的是,写的时候会开心,哈哈哈。最后,上张效果图。