
一步一步学习IdentityServer4 (5) .NETCore2.0 Swagger
首先添加nuget: Swashbuckle.AspNetCore
 services.AddSwaggerGen(c =>
            {
                c.SwaggerDoc("v1", new Info
                {
                    Version = "v1",
                    Title = "IdentityServer4 & WebApi"
                });
                var basePath = PlatformServices.Default.Application.ApplicationBasePath;
                var xmlPath = Path.Combine(basePath, "LYM.ApiServices.xml");
                c.IncludeXmlComments(xmlPath);
            }
             );
 app.UseMvc();
            app.UseSwagger();
            app.UseSwaggerUI(c => {
                c.SwaggerEndpoint("/swagger/v1/swagger.json", "IdentityServer4 & WebApi");
            });
没有问题,值得注意的是webapi写法与mvc有区别
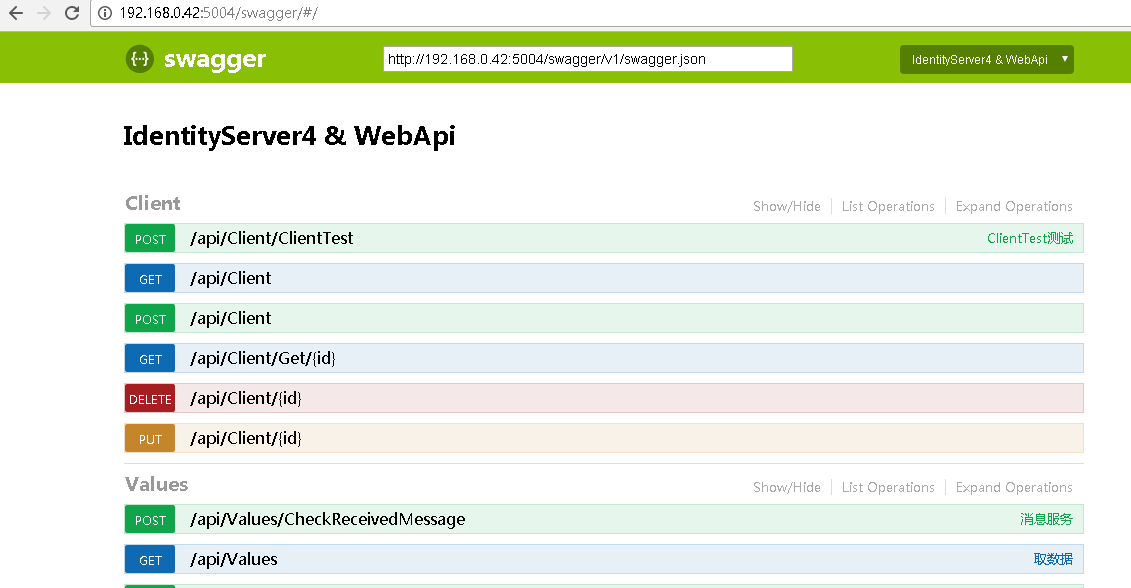
自定义名称需要这样写
/// <summary>
        /// ClientTest测试
        /// </summary>
        /// <param name="value"></param>
        [HttpPost("ClientTest")]
        public void ClientTest([FromBody]string value)
        {

        }
名称已经放到上面去了,而在传统的写法[RoutePrefix("api/Client")] 被取代了,
如果需要Identityserver4授权需要添加下面的处理 与IdentityServer3一样
  c.AddSecurityDefinition("oauth2", new OAuth2Scheme
                {
                    Type = "oauth2",
                    Flow = "implicit",
                    AuthorizationUrl = "http://Identityserver4授权地址",
                    Scopes = new Dictionary<string, string>
                    {
                        { "cloudservices", "cloudservices" },
                        { "clientservices", "clientservices" }
                    }
                });

                c.OperationFilter<SecurityRequirementsOperationFilter>();
如果您觉得阅读本文对您有帮助,请点一下“推荐”按钮,您的“推荐”将是我最大的写作动力!
本文版权归作者和博客园共有,来源网址:http://www.cnblogs.com/liyouming欢迎各位转载,但是未经作者本人同意,转载文章之后必须在文章页面明显位置给出作者和原文连接。
