用Spring Tools Suite(STS)开始一个RESTful Web Service
spring.io官方提供的例子Building a RESTful Web Service提供了用Maven、Gradle、STS构建一个RESTFul Web Service,实际上采用STS构建会更加的便捷。
目标
在浏览器中输入url:
http://localhost:8080/greeting
访问后得到结果:
{"id":1,"content":"Hello, World!"}
可以在url中带上参数:
http://localhost:8080/greeting?name=User
带上参数后的结果:
{"id":1,"content":"Hello, User!"}
开始
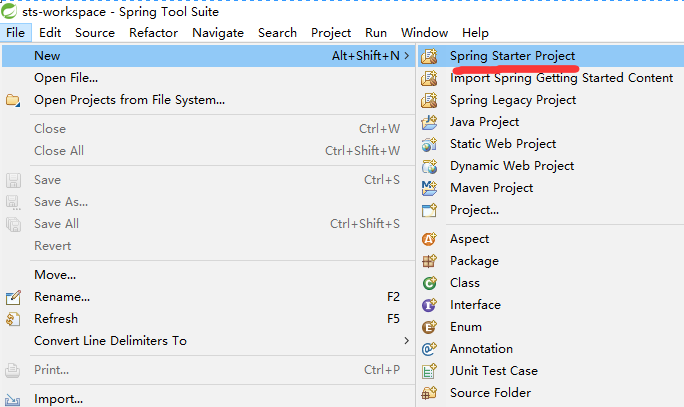
新建项目,通过菜单“File->New->Spring Starter Project” 新建。
在“New Spring Starter Project”对话框里自定义打上项目名,Atifact,Group,Package后,点Next。

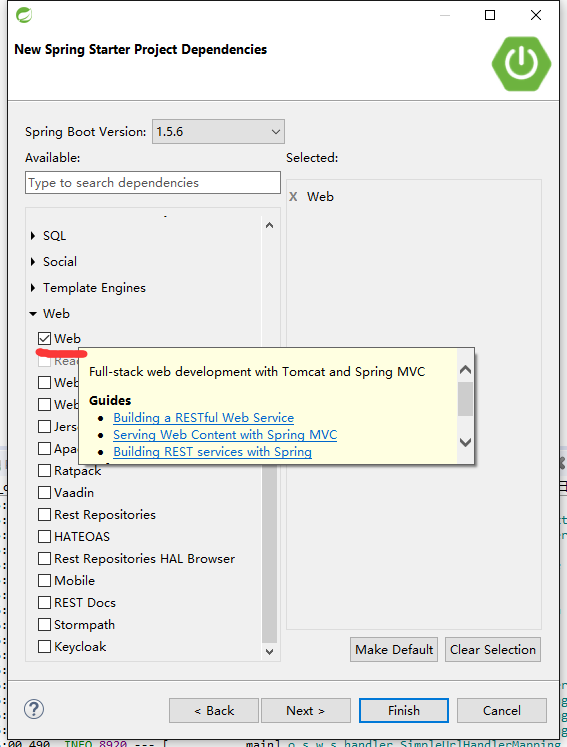
在“New Spring Starter Project Dependencies”中,选择Spring Boot Version,把Web组件勾上,表示要构建支持RESTful的服务。Web组件中包含的内容可以在提示框中看到,可以支持RESTful和Spring MVC。
点Finish完成向导,等待STS构建完成,可以看右下角的构建进度。
待构建完成后,在STS左侧的"Package Explorer"中就能看到整个项目的结构了。
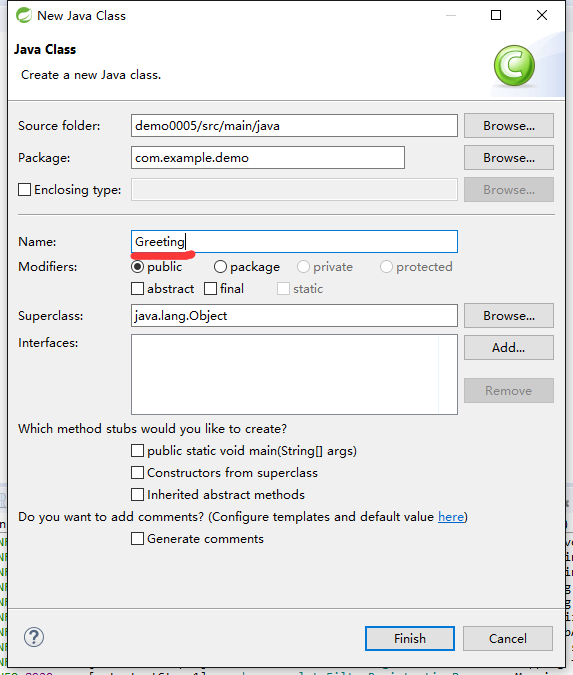
建完项目后, 首先创建一个该服务响应的json数据对应的对象,右击包“com.example.demo”,新建一个Class,取名Greeting,然后点Finish 。

Greeting.java的代码为:
package com.example.demo;

public class Greeting {
    private final long id;
    private final String content;

    public Greeting(long id, String content) {
        this.id = id;
        this.content = content;
    }

    public long getId() {
        return this.id;
    }

    public String getContent() {
        return this.content;
    }
}
按照最终访问url响应的结果,写上对应的字段已经他们的getter。
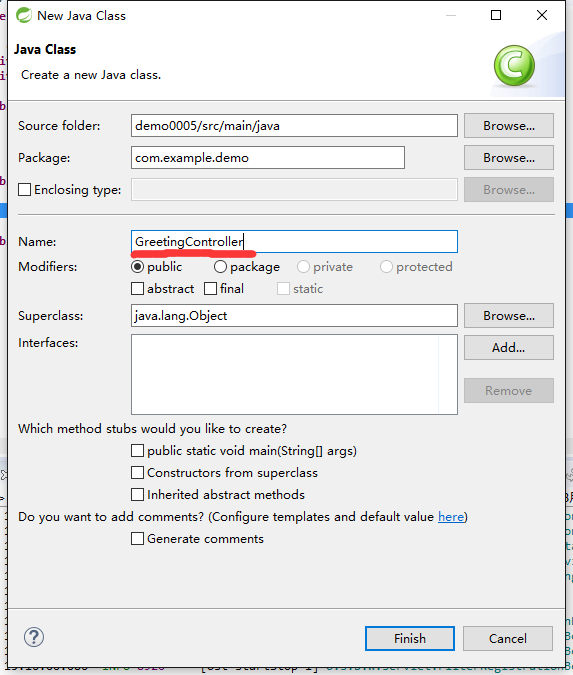
接着为了完成响应,创建对应的Controller,创建一个名为GreetingController的类,方法同上,点Finish。
GreetingController.java的代码为:
package com.example.demo;

import java.util.concurrent.atomic.AtomicLong;
import org.springframework.web.bind.annotation.RequestMapping;
import org.springframework.web.bind.annotation.RequestParam;
import org.springframework.web.bind.annotation.RestController;

@RestController
public class GreetingController {
    private static final String template = "Hello, %s!";
    private final AtomicLong counter = new AtomicLong();

    @RequestMapping("/greeting")
    public Greeting greeting(@RequestParam(value="name", required=false, defaultValue="World") String name) {
        return new Greeting(counter.incrementAndGet(), String.format(template, name));
    }
}
在Class定义上面,我们直接使用了@RestController注释,直接表示这是一个提供RESTful服务的Controller,这样在所有与url关联的方法上就不需要指定@ResponseBody来明确响应的数据类型,直接就会响应json数据。
在greeting方法的上面使用@RequestMapping将访问的url和处理方法进行关联,默认情况下支持GET,PUT,POST,DELETE所有的HTTP Method,如果要指定GET,可以写成@RequestMapping(method=GET)。
在greeting方法的参数中,将方法的参数和url中的参数进行了绑定,可以通过required指明参数是否必须,如果指明了true,那么要根据情况把defaultValue指定默认值,否则会报异常。
最后,以Spring Boot App方式运行。
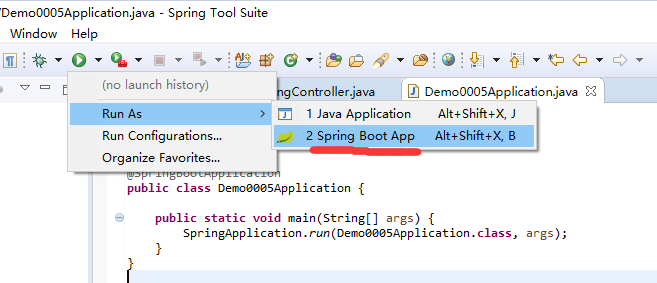
运行后,在浏览器里访问url就能看到结果了。
url
http://localhost:8080/greeting?name=bobeut
结果:
{"id":1,"content":"Hello, bobeut!"}
End


