

使用vue-cli 搭建element-admin后台
准备工作: node + npm + vue-cli
确保node安装成功
1、终端查询一下 node -v
2、使用命令全局安装vue-cli
npm install -g vue-cli
3、使用命令创建项目
vue init webpack basics(项目名称)
$ vue init webpack projectName -- 安装vue-cli,初始化vue项目命令
? Target directory exists. Continue? (Y/n) y ------找到了projectName这个目录是否要继续
? Target directory exists. Continue? Yes
? Project name (projectName)---------------------项目的名称(默认是文件夹的名称),ps:项目的名称不能有大写,不能有中文,否则会报错
? Project name projectName
? Project description (A Vue.js project)---------------------项目描述,可以自己写
? Project description A Vue.js project
? Author (king)---------------------项目创建者
? Author king
? Vue build (Use arrow keys)--------------------选择打包方式,有两种方式(runtime和standalone),使用默认即可
? Vue build standalone
? Install vue-router? (Y/n) y--------------------是否安装路由,一般都要安装
? Install vue-router? Yes
? Use ESLint to lint your code? (Y/n) n---------------------是否启用eslint检测规则,这里个人建议选no,因为经常会各种代码报错,新手还是不安装好
? Use ESLint to lint your code? No
? Setup unit tests with Karma + Mocha? (Y/n)--------------------是否安装单元测试
? Setup unit tests with Karma + Mocha? Yes
? Setup e2e tests with Nightwatch? (Y/n) y)--------------------是否安装e2e测试
? Setup e2e tests with Nightwatch? Yes
创建完成
使用命令 npm run dev运行
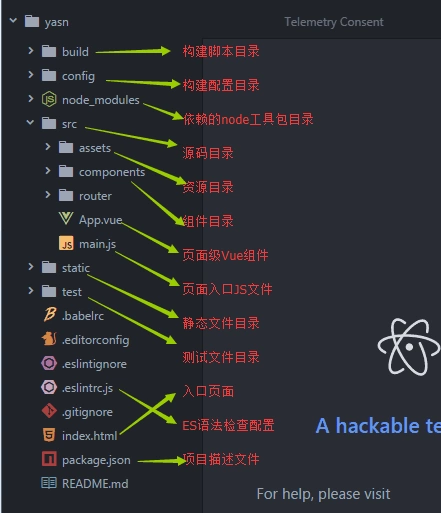
文件目录
搭建admin后台需要的依赖
axios、elementUI、sass、
首先安装axios依赖,使用命令:
npm install --save axios

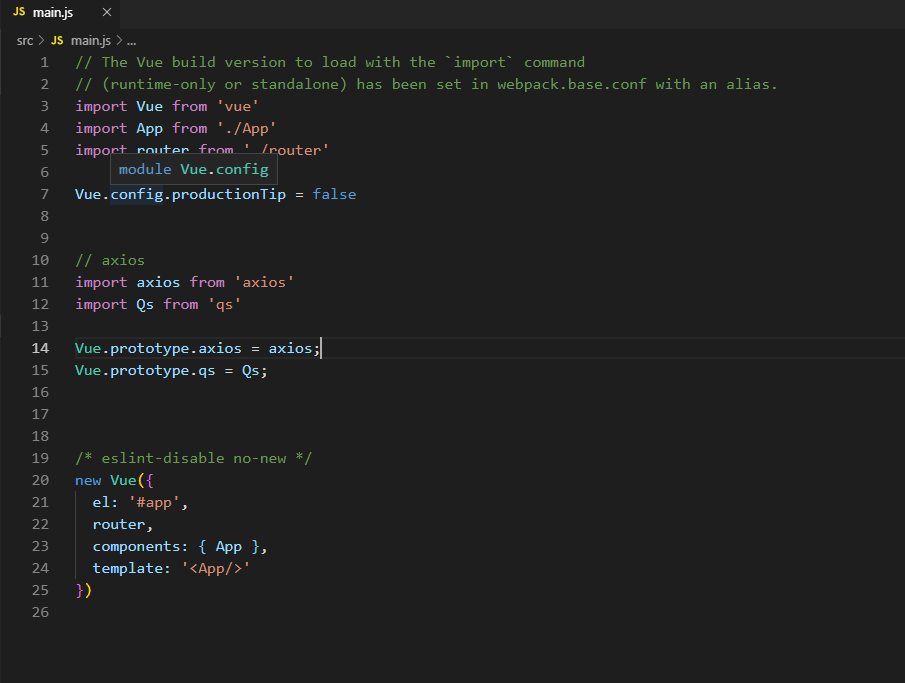
然后在入口main.js文件中导入刚刚下载的依赖
import axios from 'axios'
import Qs from 'qs'       //QS是axios库中自带的,不需要再npm安装

Vue.prototype.axios = axios;
Vue.prototype.qs = Qs;
在安装elementUI (两种方式:按需引入、全部引入)这里使用全部引入 省事。。。。
npm install element-ui -S

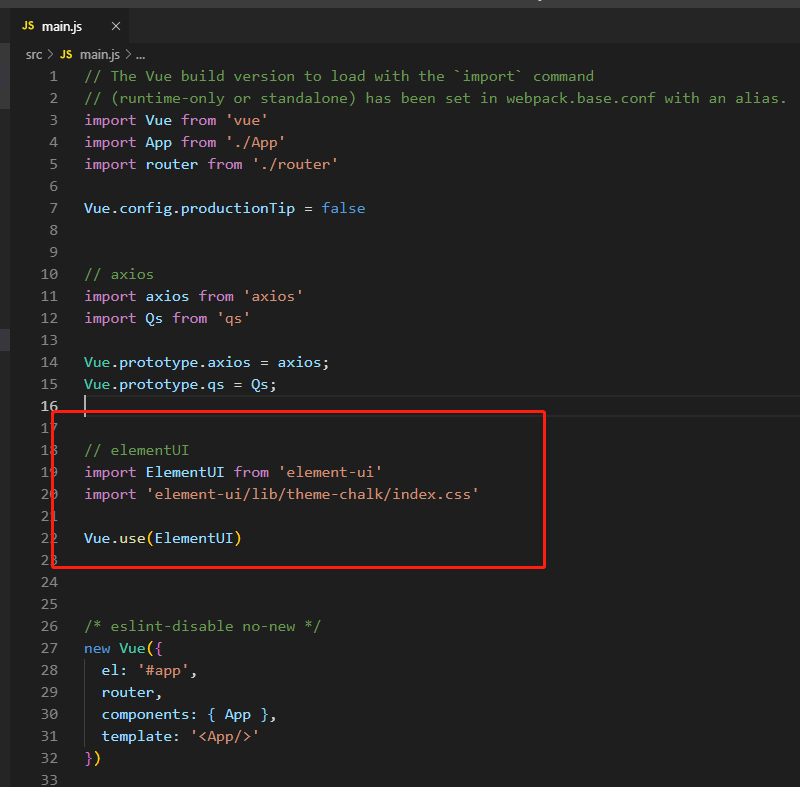
然后在入口main.js文件中导入刚刚下载的依赖
import ElementUI from 'element-ui'
import 'element-ui/lib/theme-chalk/index.css'

Vue.use(ElementUI)
在vue单页面中使用此代码验证是否安装成功
<el-row>
        <el-button>默认按钮</el-button>
        <el-button type="primary">主要按钮</el-button>
        <el-button type="success">成功按钮</el-button>
        <el-button type="info">信息按钮</el-button>
        <el-button type="warning">警告按钮</el-button>
        <el-button type="danger">危险按钮</el-button>
</el-row>

如果页面出现按钮有了样式说明elementUI已经安装成功了!
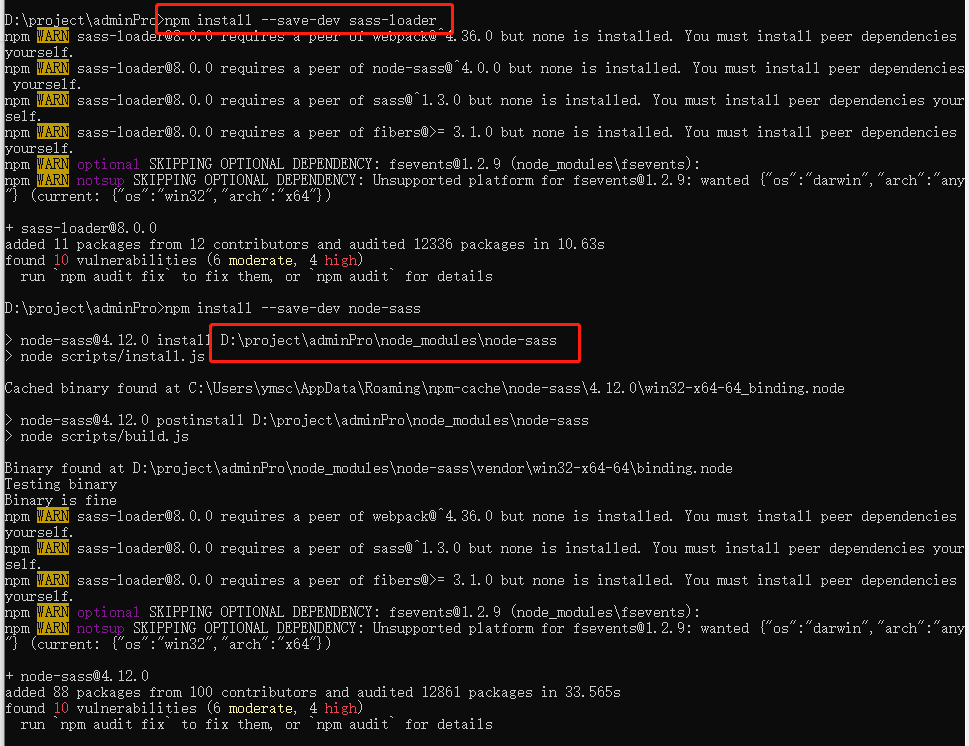
现在使用sass
使用命令
npm install --save-dev sass-loader   //sass-loader依赖于node-sass

npm install --save-dev node-sass
在build文件夹下的webpack.base.conf.js的rules里面添加配置
{
    test: /\.sass$/,
    loaders: ['style', 'css', 'sass']
 }
然后在页面中使用一下代码验证sass是否安装成功
<div class="testDemo">
        <ul>
            <li>
                <span>
                    <a href="">如果这里有变化就说明sass安装成功了哦</a>
                </span>
            </li>
        </ul>
 </div>
在style中添加样式 (注:在style的标签中要添加 lang=“scss”)
<style lang="scss">

$font-colr: red;
.testDemo {
    width: 100%;
    height: 50px;
    background: pink;
    ul {
        li {
            span {
                a {
                    color: $font-colr;
                    font-size: 20px;
                }
            }
        }
    }
}
</style>
页面呈现
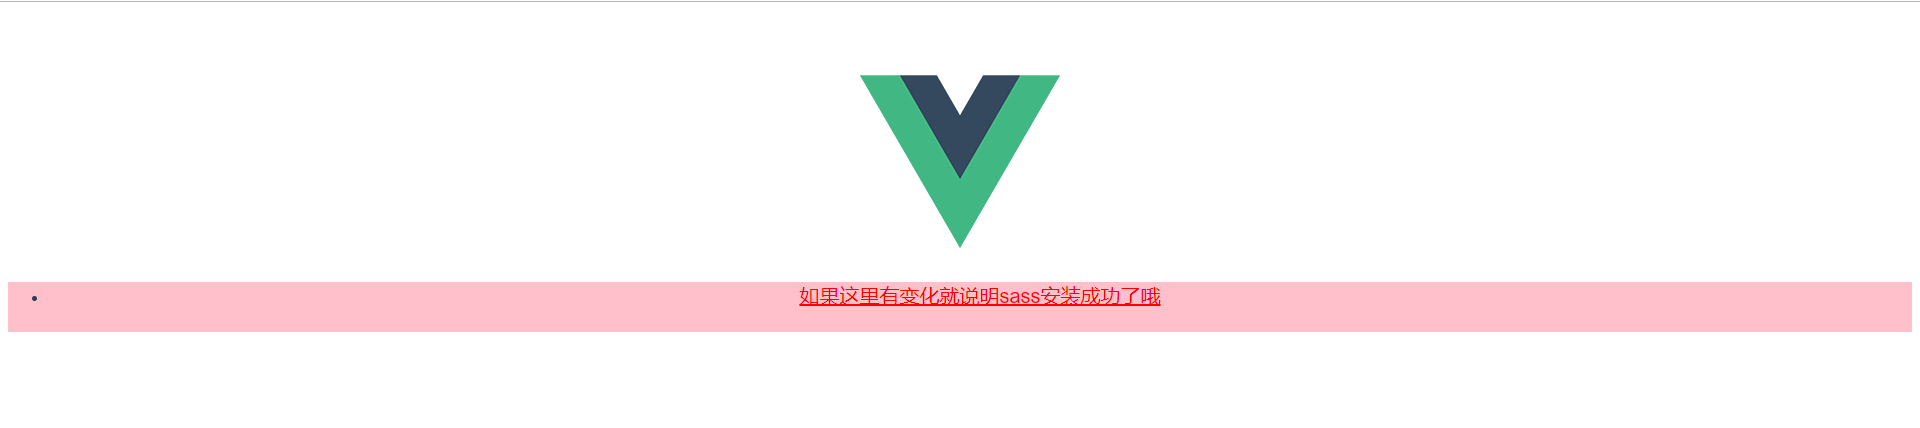
这就说明成功了。。。。。。
如果期间出现一下这个问题
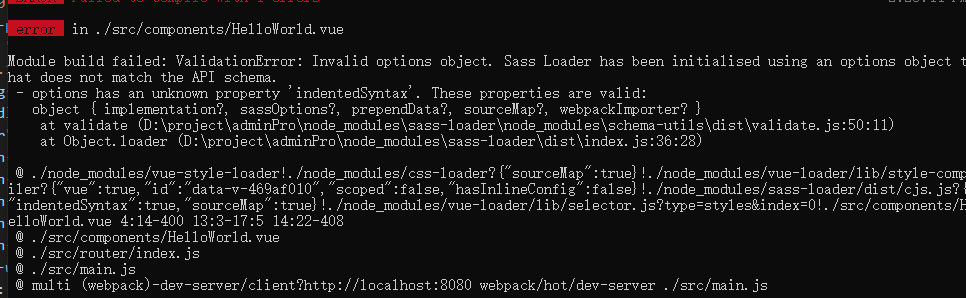
说明安装的依赖
现在项目需要配置一些东西才能更加快速的开发
npm run dev 后自动打开浏览器
在config中index.js文件找到
autoOpenBrowser: true
port: 8080, 更改端口号
使用cnpm
npm install -g cnpm --registry=https://registry.npm.taobao.org

//验证是否安装成功
npm config get registry
//如果返回https://registry.npm.taobao.org,说明镜像配置成功。
//全局安装cnpmnpm install -g cnpm --registry=https://registry.npm.taobao.org
