NUnit在Visual Studio 2010中的配置和使用
1、下载NUnit的bin包。这里使用bin包而不是msi自动安装包,因为这样更容易理解下面步骤的意图。
http://launchpad.net/nunitv2/2.5/2.5.9/+download/NUnit-2.5.9.10348.zip
2、解压到任意位置,比如C:\NUnit-2.5.9.10348。
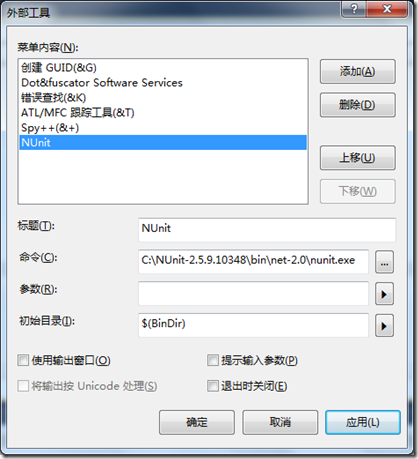
3、在VS工具栏的“工具”菜单下的“外部工具”中,新加一个外部工具指向你的C:NUnit-2.5.9.10348\bin\net-2.0\nunit.exe。初始目录设为项目的exe目录。
4、在VS2010中新建一个C#项目,并且新建一个类Game,代码如下:
 Game代码
 1 using System;
 2  using System.Collections.Generic;
 3  using System.Linq;
 4  using System.Text;
 5
 6  namespace test_nunit
 7 {
 8     class Game
 9     {
10         private int score;
11
12         public int Score
13         {
14             get { return score; }
15             set { score = value; }
16         }
17         public Game(int newScore)
18         {
19             score = newScore;
20         }
21     }
22 }
23
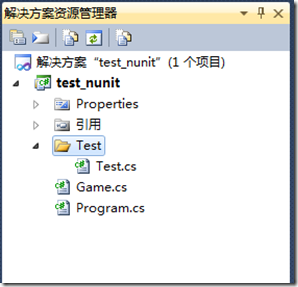
5、项目新建一个Test目录,在其中新建Test类,用来进行测试。
代码如下:
 Test代码
 1 using System;
 2  using System.Collections.Generic;
 3 using System.Linq;
 4 using System.Text;
 5 using NUnit.Framework;
 6
 7
 8 namespace test_nunit.Test
 9 {
10     [TestFixture]
11     public class Test
12     {
13         [Test]
14         public void TestScore()
15         {
16             Game g = new Game(1);
17             g.Score = 2;
18             Assert.AreEqual(2, g.Score);
19         }
20     }
21 }
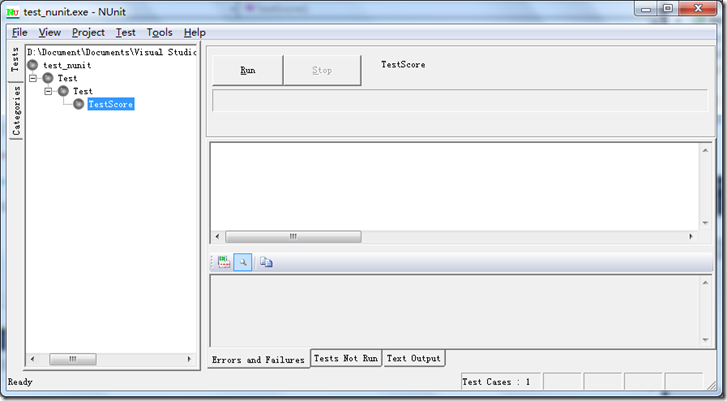
6、编译项目,在菜单工具栏使用刚才建立的NUnit工具,并且载入编译好的exe文件。
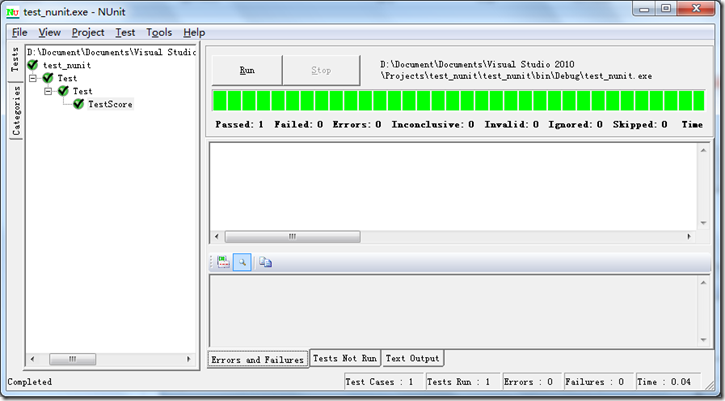
Run一下,
可以看到测试成功。
NUnit的详细用法参见附带的doc文档,这里不再赘述。
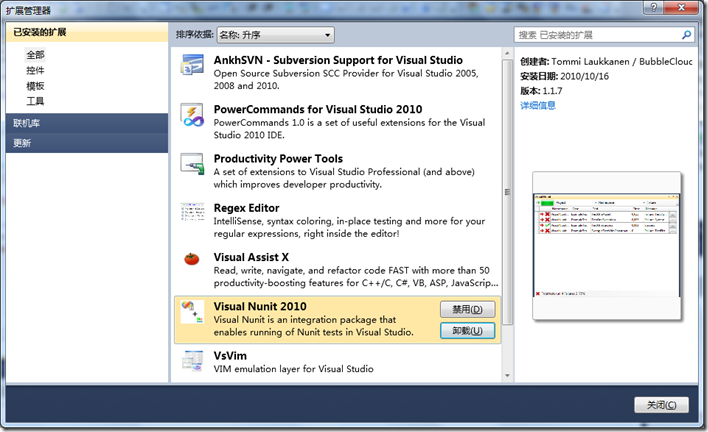
PS:也可以不使用外部工具而是用VS的扩展,在VS2010扩展管理器中有Visual Nunit这个玩意,差不多的用法。


