iOS 3D 之 SceneKit框架Demo分析
Scene Kit 是Apple 向 OS X 开发者们提供的 Cocoa 下的 3D 渲染框架。
Scene Kit 建立在 OpenGL 的基础上,包含了如光照、模型、材质、摄像机等高级引擎特性,这些组件都是面向对象的,你可以用熟悉的 Objective-C 或 Swift 语言来编写代码。假如你用过 OpenGL 最早的版本,那时还没有 shader,只能苦逼的使用各种底层受限制的 API 开发。而 Scene Kit 就好了很多,对于大多数需求 (甚至像动态阴影等高级特性),使用它提供的上层 API 来配置,就已经足够了。
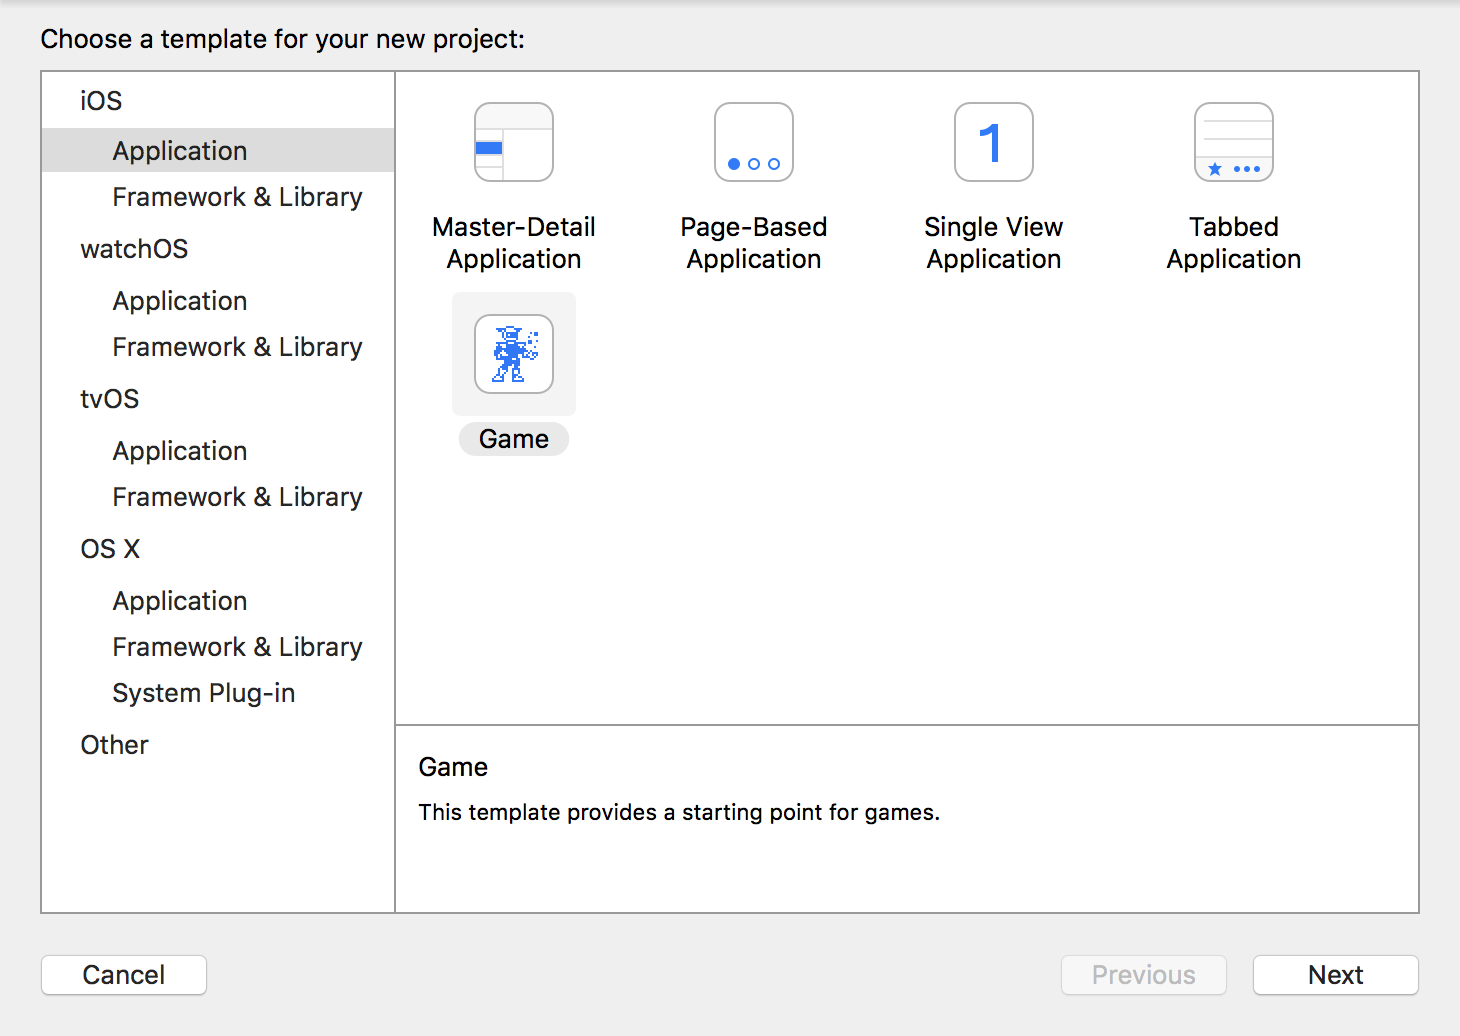
创建一个项目:


在demo中比一般的文件多了一个scnasssets文件夹,这个是存放3d模型的文件夹,打开可以看到.scn后缀的文件,这个就是xcode识别的模型文件后缀的一种

    // create a new scene
    //创建一个场景scene
    SCNScene *scene = [SCNScene sceneNamed:@"art.scnassets/ship.scn"];

    //实例化SCNcene,场景本身并不可见,需要添加在SceneView的场景上
    //创建并添加一个相册到scene
    //这段代码是用来创建并配置摄像机。摄像机处于的位置即视角所看的位置。  注意这里创建摄像机是创建了一个SCNNode,赋值了node的属性。这里需要了解一下node的作用。在SceneKit中,node即节点是非常关键的部分。node本身同样是不可见的,它的作用是节点化各个部件。比如一辆车,车身和方向盘都是模型,可以把方向盘的node添加在车身模型的node上,这样在车移动的时候,车模型的子node也会一起移动。车身各部件之间的相对位置是不变的。这样可以大大节省工作量。在渲染场景的时候,sceneKit会遍历所有的子node,cameraNode设置了属性camera,并把自己添加在了scene的rootNode上才会在scene显示的时候起作用

    // create and add a camera to the scene
    SCNNode *cameraNode = [SCNNode node];
    cameraNode.camera = [SCNCamera camera];
    [scene.rootNode addChildNode:cameraNode];

    //设置camera
    // place the camera
    cameraNode.position = SCNVector3Make(0, 0, 15);

    //代码用来创建并配置灯光效果。在3d成像中,灯光是很重要的一个环节。灯光和阴影可以让物体更有质感。light的type有四种,大家可以尝试。
    //创建light到scene
    // create and add a light to the scene
    SCNNode *lightNode = [SCNNode node];
    lightNode.light = [SCNLight light];
    lightNode.light.type = SCNLightTypeOmni;
    lightNode.position = SCNVector3Make(0, 10, 10);
    [scene.rootNode addChildNode:lightNode];


    // create and add an ambient light to the scene
    SCNNode *ambientLightNode = [SCNNode node];
    ambientLightNode.light = [SCNLight light];
    ambientLightNode.light.type = SCNLightTypeAmbient;
    ambientLightNode.light.color = [UIColor darkGrayColor];
    [scene.rootNode addChildNode:ambientLightNode];


    //得到飞机模型。注意这个方法recursively:(BOOL)的意思为是否在子node中查询。node是树形结构,会返回第一个遇到的@“ship”node。
    // retrieve the ship node
    SCNNode *ship = [scene.rootNode childNodeWithName:@"ship" recursively:YES];


    //让飞机绕y轴飞行。这里的动画是SCNAction,封装性和使用方法与UIVIew的二维动画类似,相当便捷。
    // animate the 3d object
    [ship runAction:[SCNAction repeatActionForever:[SCNAction rotateByX:0 y:2 z:0 duration:1]]];

    //得到用于展示的SCNView,并配置scnView的scene。
    // retrieve the SCNView
    SCNView *scnView = (SCNView *)self.view;

    // set the scene to the view
    scnView.scene = scene;


    //设置允许用户控制摄像机,显示状态,(fps等)一般是在开发中用作调试的

    // allows the user to manipulate the camera
    scnView.allowsCameraControl = YES;

    // show statistics such as fps and timing information
    scnView.showsStatistics = YES;

    // configure the view
    scnView.backgroundColor = [UIColor blackColor];

    //添加手势
    // add a tap gesture recognizer
    UITapGestureRecognizer *tapGesture = [[UITapGestureRecognizer alloc] initWithTarget:self action:@selector(handleTap:)];
    NSMutableArray *gestureRecognizers = [NSMutableArray array];
    [gestureRecognizers addObject:tapGesture];
    [gestureRecognizers addObjectsFromArray:scnView.gestureRecognizers];
    scnView.gestureRecognizers = gestureRecognizers;
    //这就是官方demo的基本内容。实现了一个模型的显示和动画。告诉了我们模型想变为可见,需要摄像机模拟视角,灯光和周围灯光展示,添加在根node中。
- (void) handleTap:(UIGestureRecognizer*)gestureRecognize
{
    //去到SCNView
    // retrieve the SCNView
    SCNView *scnView = (SCNView *)self.view;

    //找到对应的node
    // check what nodes are tapped
    CGPoint p = [gestureRecognize locationInView:scnView];
    NSArray *hitResults = [scnView hitTest:p options:nil];

    // check that we clicked on at least one object
    if([hitResults count] > 0){
        // retrieved the first clicked object
        SCNHitTestResult *result = [hitResults objectAtIndex:0];

        // get its material
        SCNMaterial *material = result.node.geometry.firstMaterial;

        // highlight it
        [SCNTransaction begin];
        [SCNTransaction setAnimationDuration:0.5];

        // on completion - unhighlight
        [SCNTransaction setCompletionBlock:^{
            [SCNTransaction begin];
            [SCNTransaction setAnimationDuration:0.5];

            material.emission.contents = [UIColor blackColor];

            [SCNTransaction commit];
        }];

        material.emission.contents = [UIColor redColor];

        [SCNTransaction commit];
    }
}


