PS网页设计教程IX——巧用大括号设计惊艳的咨询页面
作为编码者,美工基础是偏弱的。我们可以参考一些成熟的网页PS教程,提高自身的设计能力。套用一句话,“熟读唐诗三百首,不会作诗也会吟”。
本系列的教程来源于网上的PS教程,都是国外的,全英文的。本人尝试翻译这些优秀的教程。因为翻译能力有限,翻译的细节上还有待推敲,希望广大网友不吝赐教。
约定:
1、本文的软件是Photoshop CS5版本
2、原教程的截图是英文的,本人在重新制作的基础上,重新截了中文版的图
3、原文中有些操作没有给出参数。本人在反复测试的情况下测定了一些参数,以红色的文字显示。有些错误的参数,直接以红色文字显示正确的参数
例如:(90,22,231,77),表示矩形的左上角的坐标是(90,22),宽231,高77
例如:(90,22),表示矩形的左上角的坐标是(90,22),矩形的其他两个参数教程里已经指定
4、在教程的最后会附上本人的心得。有些是对教程中的一些步骤的优化等。
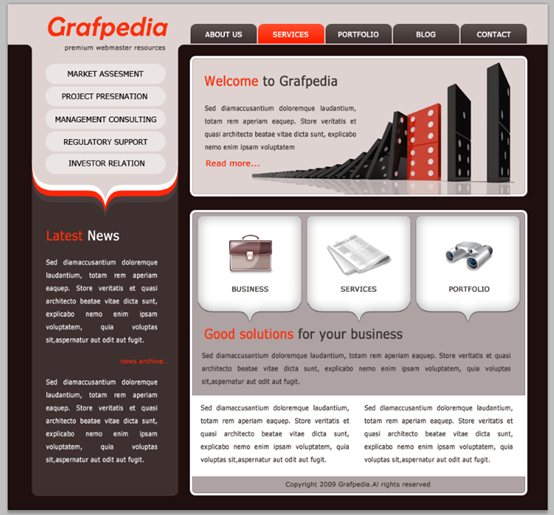
With this layout you will be able to easily build a web site dedicated to teaching and learning, or a business layout, as well as management or marketing layouts. This layout can be transformed also in a WordPress theme.
致力于教学和学习,此布局使能您将能够轻松地构建 web 站点,或业务布局,以及管理或市场营销布局。这种布局可以转换成一个 WordPress 主题。
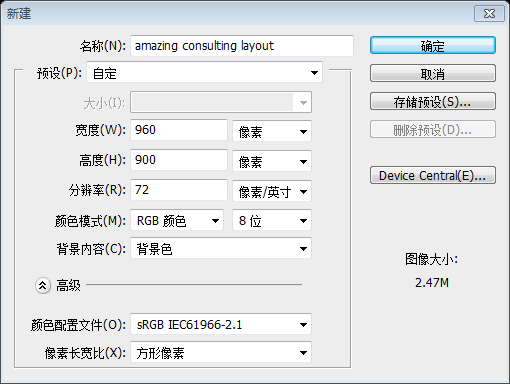
I will use my default document size: 960 x 900 pixels.
我将新建一个文档,文档默认大小为:960*900px
Feel free to use any size you want.
你也可以使用其他的尺寸
Set your foreground color to #1f0f0e and then with Paint Bucket Tool press one time on your canvas. This will be the background of our consulting layout.
设置前景色为 #1f0f0e,用油漆桶工具在你的画布上喷涂一下。这是我们的咨询页面的背景。
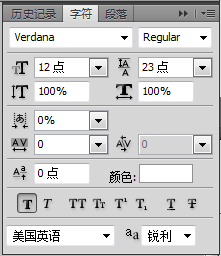
Select you Horizontal Type Tool, and type a brace. I have used the following font, and size:
选择水平文字工具,输入一个大括号,我将如下图设置字体、尺寸等
注:关于字体的方式是“锐利”还是“柔和”,要亲自实验才行,笔者做了两次,分别得用不同的方式,才有本教程下面的样子,也不知为何。
Right click on the layer in your layer palette, and choose Convert to shape
在图层面板上右键文字图层,选择转换为形状
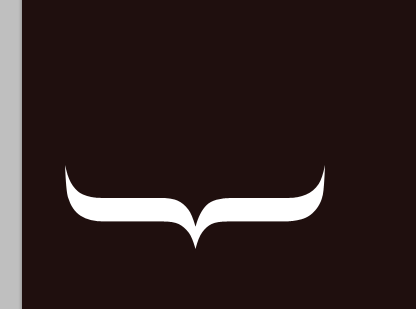
Rotate this shape until you have something like this. To rotate a shape you can select the shape, then press on CTRL+T, and then with mouse too rotate the shape. Another way to rotate a shape is to go to Edit > transform > rotate….
旋转该形状如下图。旋转该形状,你可以选择该形状,然后按Ctrl+T,用鼠标去旋转该形状。另一个办法是,点击:编辑 > 变换 > 旋转...
经测算,该形状的位置点为(43,296,260,84)
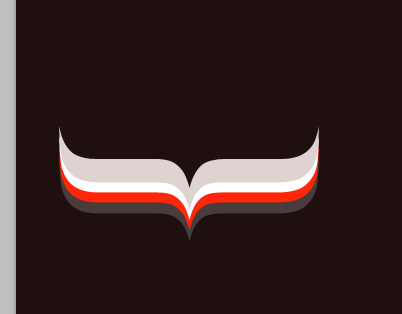
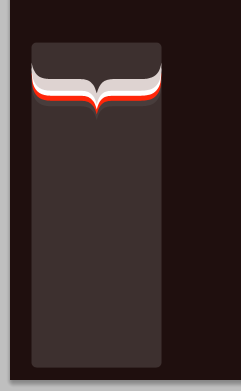
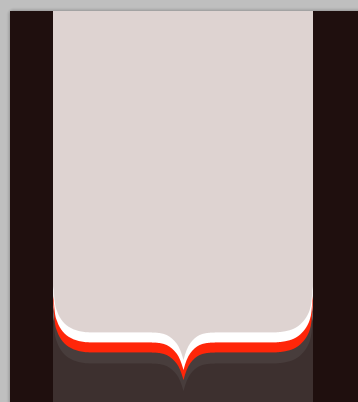
Duplicate the shape a few times and with Move Tool, place them like in the following image
复制该形状多次(三次),用移动工具,摆放如下图所示:
自下而上的四个形状分别为
(43,296),颜色: #483d3c
(43,285),颜色: #ff2609
(43,275),颜色: #ffffff
(43,265),颜色: #ded3d1
I will change the foreground color to #3d302f, and I will create a rectangle with Rounded Rectangle Tool. I will place this layer under the previous ones.
将前景色更改为 #3d302f,用圆角矩形工具创建一个圆角矩形(43,225,260,650),将该图层移到刚刚四个形状的下方
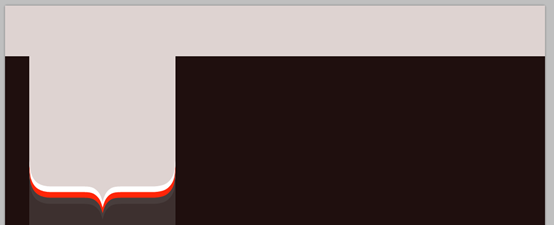
With Rectangle Tool I will create another shape on the top. The color used to create this shape is: #ded3d1
用矩形工具在顶部创建一个新的矩形。该矩形的颜色为: #ded3d1
建议是圆角矩形,半径为50px,位置(43,-50,250,400)
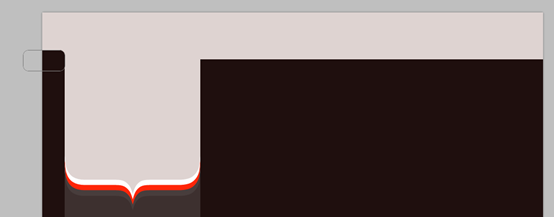
On top of the layout I will add another shape
在页面的顶部,还是要新建另一个矩形
注:为了后续的操作方便,在此步的矩形的高度调的大一点,矩形为(0,0,960,90)
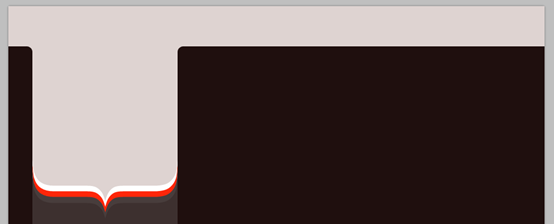
With Pen Tool I will create a shape like in the following image. I want to create a round corner.
I will duplicate this shape (press CTRL+J), and I will place it on the other side of the layout.
I will go to Edit > Transform > Flip Horizontal. If this option is not enabled, then you need to select the layer in your layer palette. The next step is to align this layer. This is my result.
用钢笔工具创建如下图所示的形状。我创建了一个圆角
复制这个形状(按Ctrl+J),移动该形状到页面的另一边
点击:编辑 > 变形 > 水平翻转。如果该选项没有激活,你需要在图层面板选中该图层,接下来就是对齐该图层
还是不擅长钢笔工具的使用,于是换了一个思路,选中圆角矩形工具,半径设置为10px,新建一个圆角矩形(-37,72,80,40),颜色为: #1f0f0e
再用同样的颜色新建另一个圆角矩形(303,72,700,40)
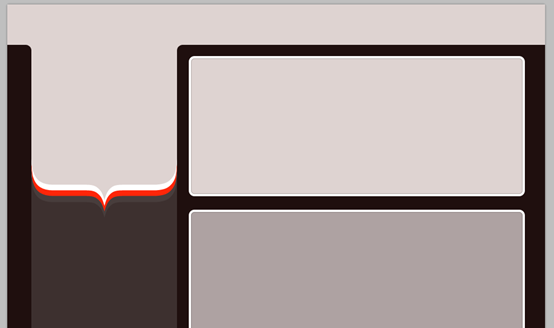
On the right side I will create 2 shapes with Rounded Rectangle Tool.
在右侧用圆角矩形工具创建两个圆角矩形。分别是(328,96,593,242),颜色: #ded3d1;和(328,370,593,500),颜色: #aea2a2
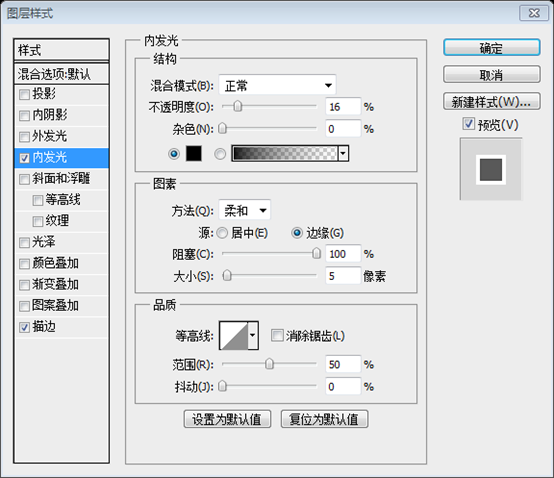
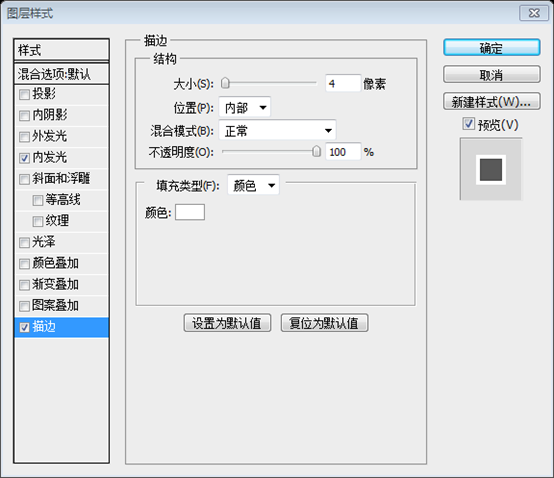
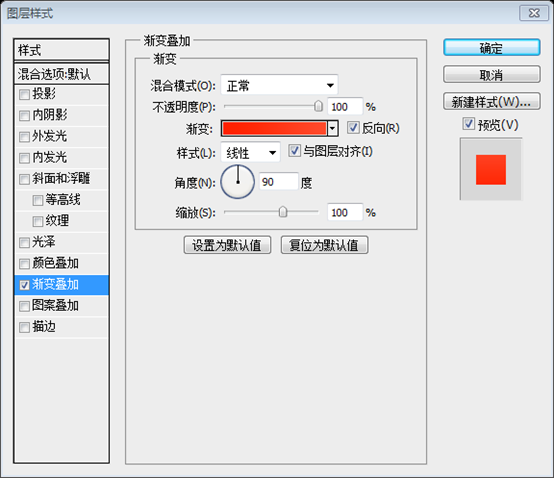
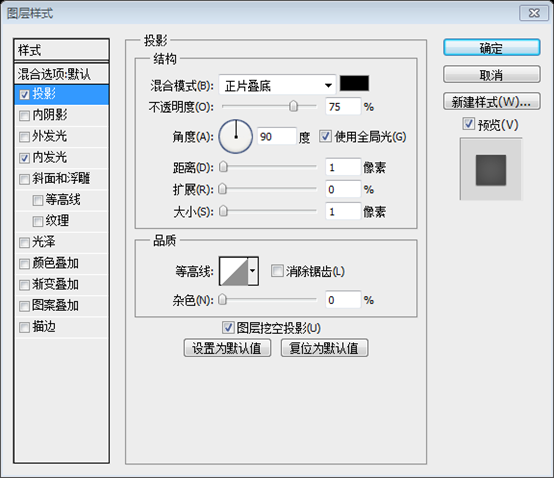
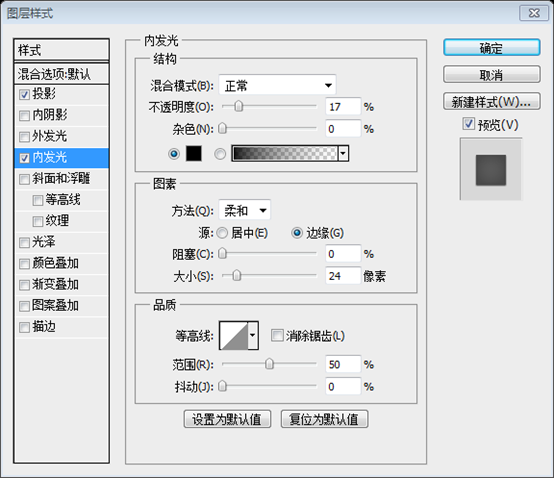
For both layer I will add the following layer styles
对这两个图层添加如下的图层样式:
This is my result
这是我的结果
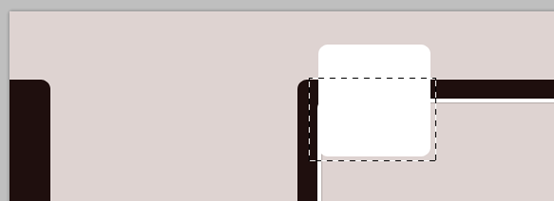
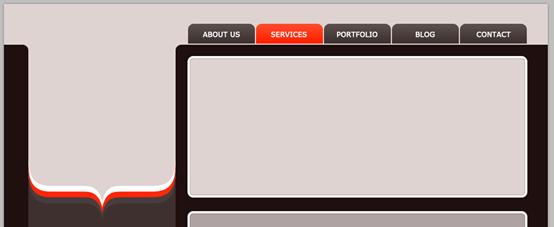
On the top I will create a button with Rounded Rectangle Tool.
在顶部用圆角矩形工具创建一个按钮(325,35,118,118),由于后面还要切除按钮的一部分,所以制作正方形的按钮比较容易
I will right click on the layer in my layer palette, and I will choose rasterize layer. With Rectangular Marquee Tool, draw a selection on the bottom of the shape
在图层面板上右键,选择栅格化图层。用矩形选择工具,在按钮的底部画一个选区。
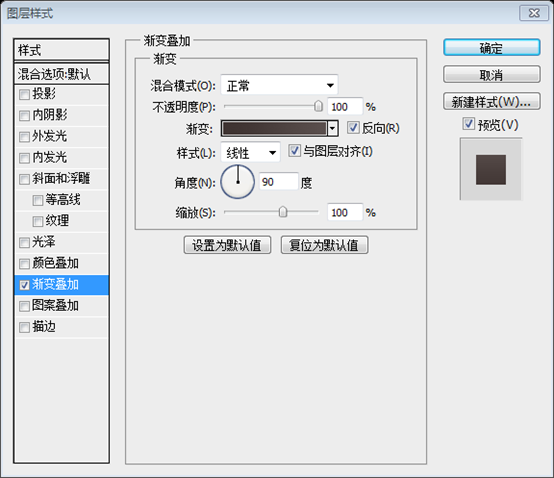
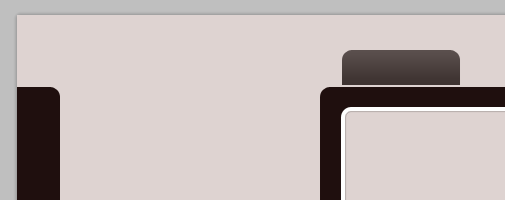
Be sure you have the layer with the button selected, then hit delete key from your keyboard and press on CTRL+D to deselect. After I will apply a nice gradient from this set: 27.000 Photoshop gradients my button looks like this:
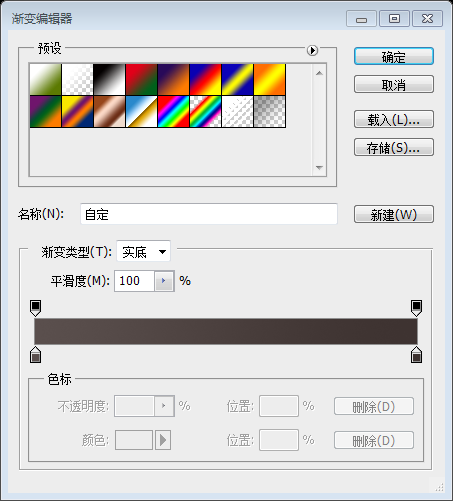
保证按钮的图层被选中,然后按键盘上的delete键,然后按Ctrl+D取消选择。接下来我要从27.000 Photoshop gradients添加一个漂亮的渐变,我的按钮如下图所示:由于没有注册为会员,故手动添加渐变,如下图所示,
左边的颜色: #5a4f4d,右边的颜色: #3e3331
I will duplicate this button and with Move Tool I will place it near this one.
复制该按钮,用移动工具移到合适的位置
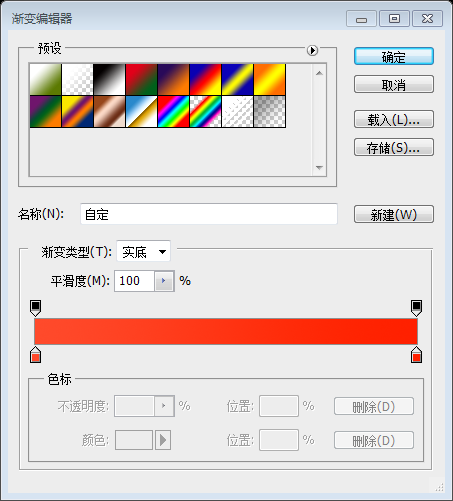
对第二个的按钮添加合适的渐变,如下图所示:
左边的颜色: #ff4a2b,右边的颜色: #ff2000
对五个按钮分别添加文字:ABOUT US、SERVICES、PORTFOLIO、BLOG、CONTACT。文字的式样设置如下:
You will notice a red button. I have used another gradient from our huge gradient set.
你注意到那个红色的按钮。我从our huge gradient set添加另一个渐变。(还是自己设置渐变,设置如上)
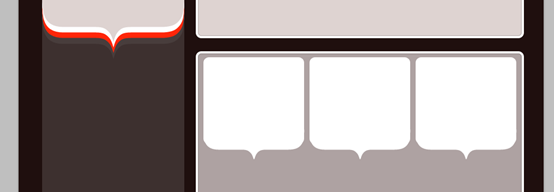
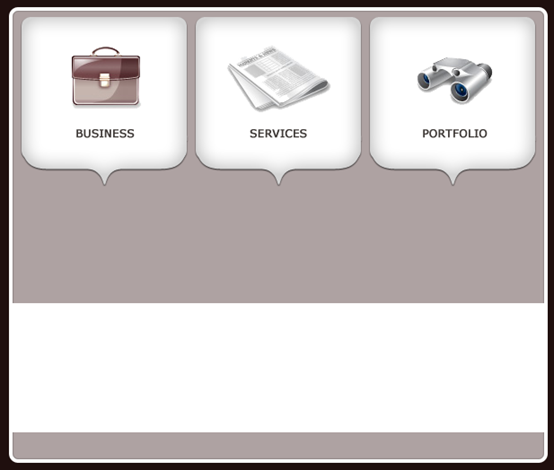
In the middle of my business consulting layout I will create three shapes, and three brace.
在我的商业咨询布局的中间,我要创建三个圆角矩形,和三个大括号
I will change the color of the round shapes to white, and I will select all 6 layers in my layer palette. Then I will press on CTRL+E to merge all the layers into a single one. With Brush Tool I will draw over the empty spot. This is my result so far.
将圆角矩形的颜色改为白色。选择这6个图层。然后按Ctrl+E合并图层到一个图层。用画笔工具填充空白部分。这是我的结果
我的做法是:
1、新建一个圆角矩形(338,377,184,159),颜色为白色
2、用文字工具输入右大括号,字号为194,字体为Book Antiqua,旋转90度。然后移到合适的位置
3、再用矩形工具填充空白部分
4、合并刚才的三个图层,然后复制两次,移到合适的位置
For this layer I will add the following layer styles.
对这些图层添加如下的图层样式
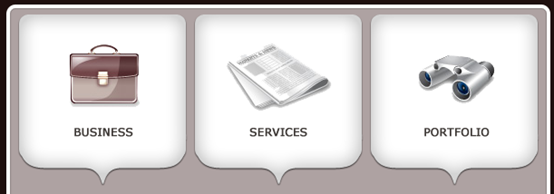
After I will add some icons this is my result
接下来添加一些图标,和一些文字
With Rectangle Tool, I will create a shape on the bottom of the layout
用矩形工具,在布局的底部添加一个白色的矩形(324,696,600,144)
It is time to add some text with Horizontal Type Tool. Please click on the image to see how I placed the text.
用文字工具添加一些文字。对照图片摆放文字,并且添加一张图片
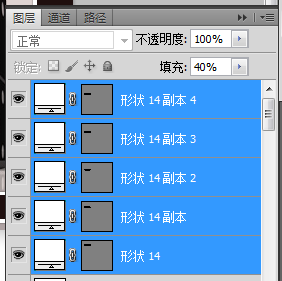
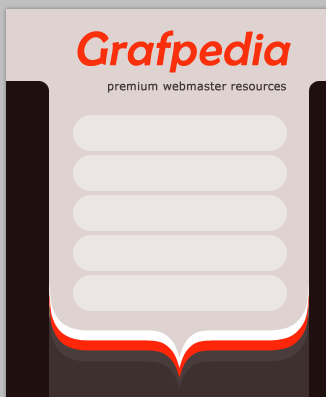
Right under the logo I will create some shapes with Rounded Rectangle Tool. I will use a white color for all these shapes, and I will lover the fill value for each layer to 40 %.
在LOGO的下方添加一些圆角矩形。颜色:白色。对这些图层设置填充为40%
I will place some text over the buttons.
我要在按钮上添加一些文字
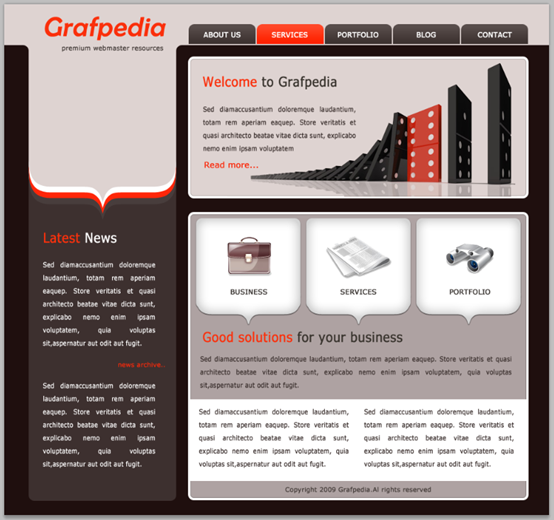
This is my final consulting layout. I hope you like it, and if you want to use it for your website please let me know. I really want to see how it looks.
这是我最终的咨询布局。我希望你会喜欢它,并且让我知道你会用在你的网站布局中。我真的想知道你的作品。
后记:
利用大括号巧妙的实现布局。有时候看起来惊艳的效果,其实也就是一些小小的技巧。


