基于阿里云容器服务用docker容器运行ASP.NET 5示例程序
小试阿里云容器服务 之后,接下来有一个挡不住的小试冲动——用docker容器运行程序。首先想到的程序是 ASP.NET 5示例程序,于是参考msdn博客中的这篇博文 Running ASP.NET 5 applications in Linux Containers with Docker 小试了一下。
首先连上阿里云容器服务的群集,然后用 docker pull 命令从 hub.docker.com 上下载 ASP.NET 5的docker镜像(我们选用基于coreclr的ASP.NET 5):
docker pull microsoft/aspnet:1.0.0-rc1-update1-coreclr
问题
基于阿里云容器服务,下载docker镜像时没有下载进度指示,如果下载速度慢,干等的感觉让人难受(这是docker smarm的问题,详见Docker client via Swarm hangs for the first pull)。
c6bca914b855b44f2af39ca74ce4a6b7c-node1: Pulling microsoft/aspnet:1.0.0-rc1-update1-coreclr...
c6bca914b855b44f2af39ca74ce4a6b7c-node2: Pulling microsoft/aspnet:1.0.0-rc1-update1-coreclr...
如果不用阿里云容器服务,基于自己运行的docker daemon,就会有下载进度指示。
9ee13ca3b908: Downloading 524.4 kB/51.35 MB
23cb15b0fcec: Download complete
ec73306ee200: Download complete
d376f9e966df: Download complete
7a4b50ae736b: Download complete
a3e8edf3e8fc: Downloading  1.08 MB/67.12 MB
e07cc3a60cb9: Download complete
52159185b7a9: Downloading 786.4 kB/18.2 MB
38903d7083ef: Downloading   401 kB/713.3 kB
4b6ac5688c98: Download complete
继续
下载好ASP.NET 5镜像之后,接着就用这个镜像运行容器。
docker run -it microsoft/aspnet:1.0.0-rc1-update1-coreclr
如果出现下面的命令提示符,说明容器已经成功启动了。
root@4bc82a74681c:/#
然后运行dnvm命令验证一下:
root@4bc82a74681c:/# dnvm list

Active Version              Runtime Architecture OperatingSystem Alias
------ -------              ------- ------------ --------------- -----
       1.0.0-rc1-update1    coreclr x64          linux           default
接下来,我们要基于这个容器创建包含ASP.NET 5示例程序的容器。
先用exit命令退出容器,接着从github下载ASP.NET 5示例程序。
git clone git@github.com:aspnet/Home.git
cd samples/1.0.0-rc1-update1/HelloWeb/
然后修改一下当前文件夹中的Dockerfile文件,将 1.0.0-rc1-update1 改为 1.0.0-rc1-update1-coreclr:
FROM microsoft/aspnet:1.0.0-rc1-update1-coreclr

COPY . /app
WORKDIR /app
RUN ["dnu", "restore"]

EXPOSE 5004
ENTRYPOINT ["dnx", "-p", "project.json", "web"]
紧接着我们基于这个Dockerfile用docker build命令生成一个新的容器镜像:
docker build -t aspnet5-hello-web /git/Home/samples/1.0.0-rc1-update1/HelloWeb
生成过程中的输出如下:
Sending build context to Docker daemon   321 kB
Step 1 : FROM microsoft/aspnet:1.0.0-rc1-update1-coreclr
 ---> 4b6ac5688c98
Step 2 : COPY . /app
 ---> 5eb606a7926f
Removing intermediate container c8f1d23fc130
Step 3 : WORKDIR /app
 ---> Running in 0b2a32a9a251
 ---> b5f1d718f699
Removing intermediate container 0b2a32a9a251
Step 4 : RUN dnu restore
 ---> Running in 7d1f6154e72b
Microsoft .NET Development Utility CoreClr-x64-1.0.0-rc1-16231
....
Restore complete, 83316ms elapsed
...
Installed:
    120 package(s) to /root/.dnx/packages
 ---> d469c112c0a0
Removing intermediate container 7d1f6154e72b
Step 5 : EXPOSE 5004
 ---> Running in 6b5760820818
 ---> 7aa563e208ee
Removing intermediate container 6b5760820818
Step 6 : ENTRYPOINT dnx -p project.json web
 ---> Running in a513a06fd393
 ---> 4cb553854bff
Removing intermediate container a513a06fd393
Successfully built 4cb553854bff
docker build成功之后,通过docker images可以看到我们创建的aspnet5-hello-web镜像。紧接着我们用这个新的镜像运行容器:
docker run -t -d -p 8080:5004 --name aspnet5-hello-web aspnet5-hello-web
成功运行之后,我们进入阿里云容器服务控制台看一下(访问路径:集群->点击集群名称->点击节点IP->容器列表),在容器列表中就会看到我们刚刚运行的容器:

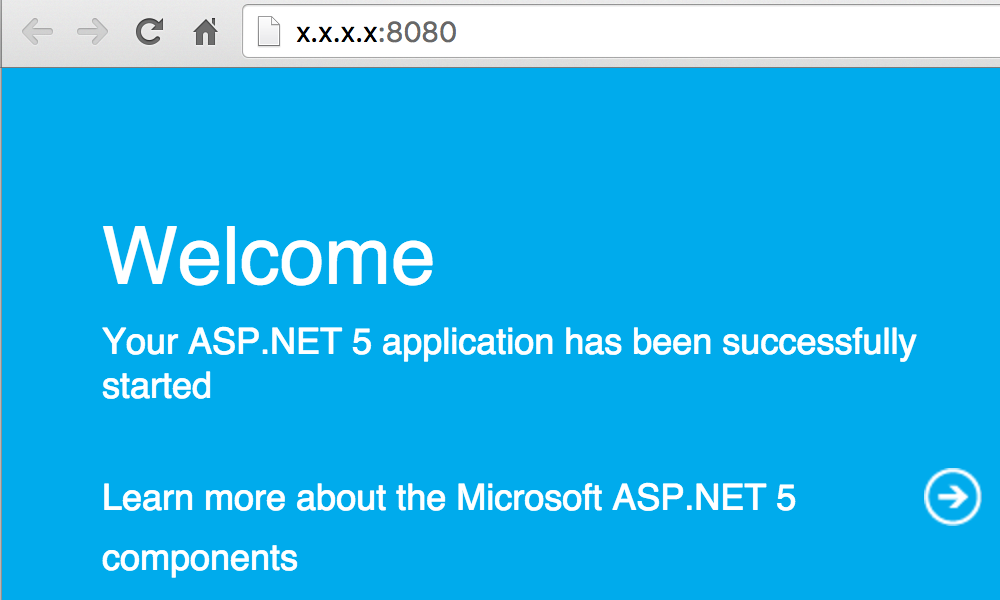
最后,通过浏览器访问http://节点IP:8080,就能访问托管于阿里云容器服务运行于docker容器中的ASP.NET 5示例站点:

搞定!


